Homemade Healthy Goldfish Crackers
on Feb 01, 2022, Updated Jan 10, 2024
This post may contain affiliate links. Please read our disclosure policy.
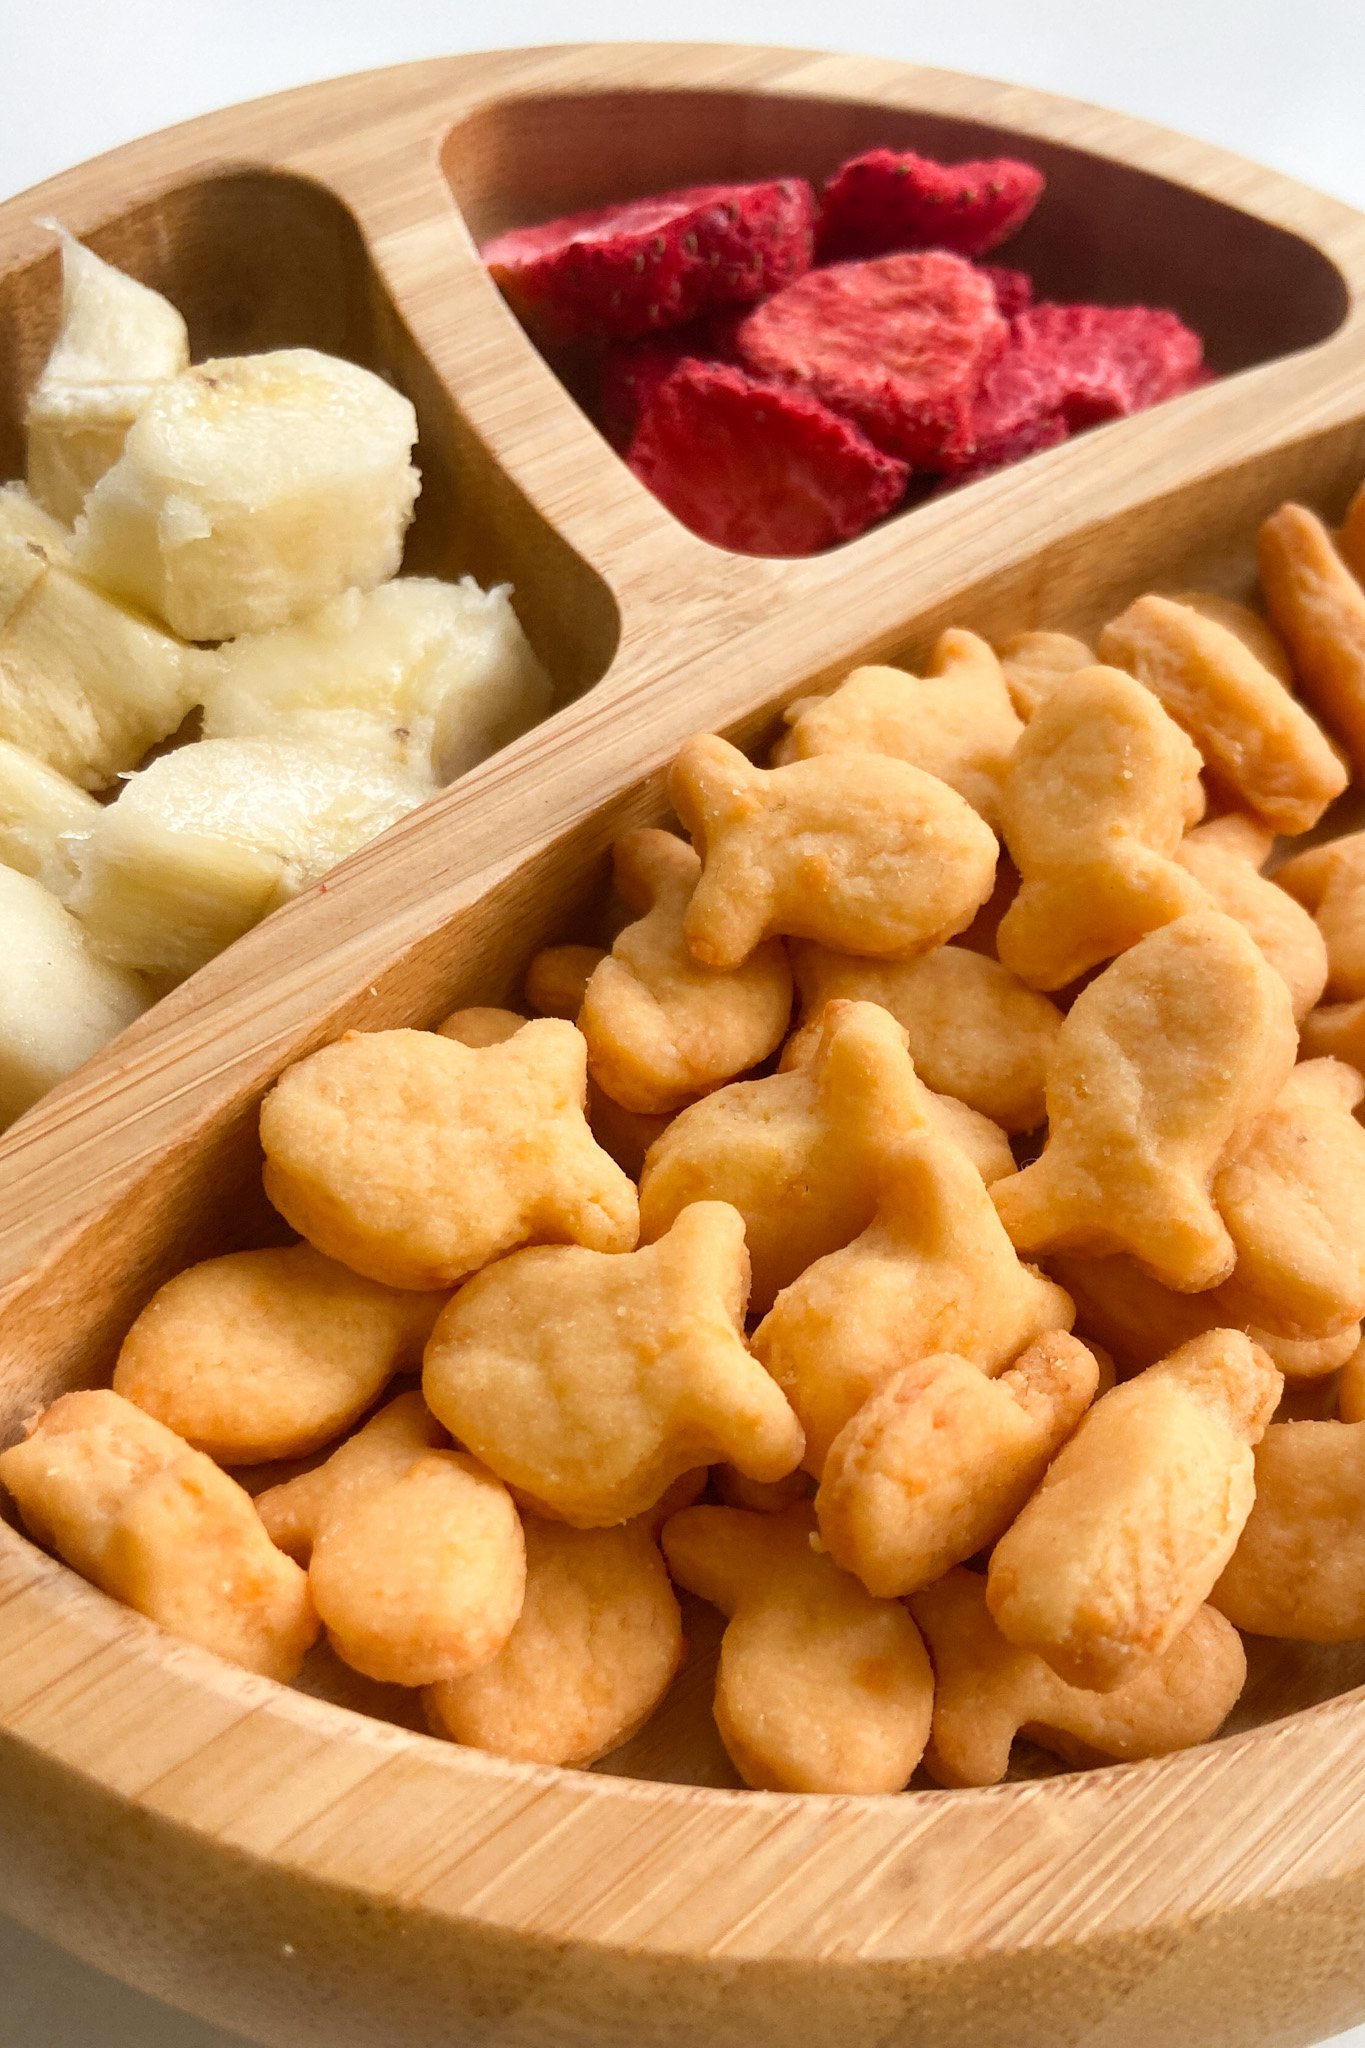
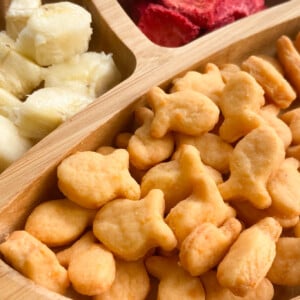
These homemade healthy goldfish crackers are so simple to make! They taste just like the store ones but contain only 3 ingredients!
I shared a recipe for homemade cheez-it crackers and was inspired to make a similar variation for goldfish. I was a little hesitant to try it out because I didn’t want to spend a long time cutting out small fish shapes from dough, but I found this 5-in-one fish cutter that cuts out 5 small goldfish shapes at once! I’ve made these crackers with my toddler several times and he loves getting a chance to cut out the fish shapes and count off how many there are. Counting goldfish is a fun math activity, and getting to eat them is even more fun 😉 If you love store-bought goldfish crackers, you’ll love this easy-to-make homemade version!
If you’re looking for more snack ideas that can double as snacktivities for your little ones, be sure to also try out these homemade cocoa puffs and these easy 4 ingredient peanut butter cookies!
What You’ll Need
Here is what you’ll need to make these homemade healthy goldfish crackers:
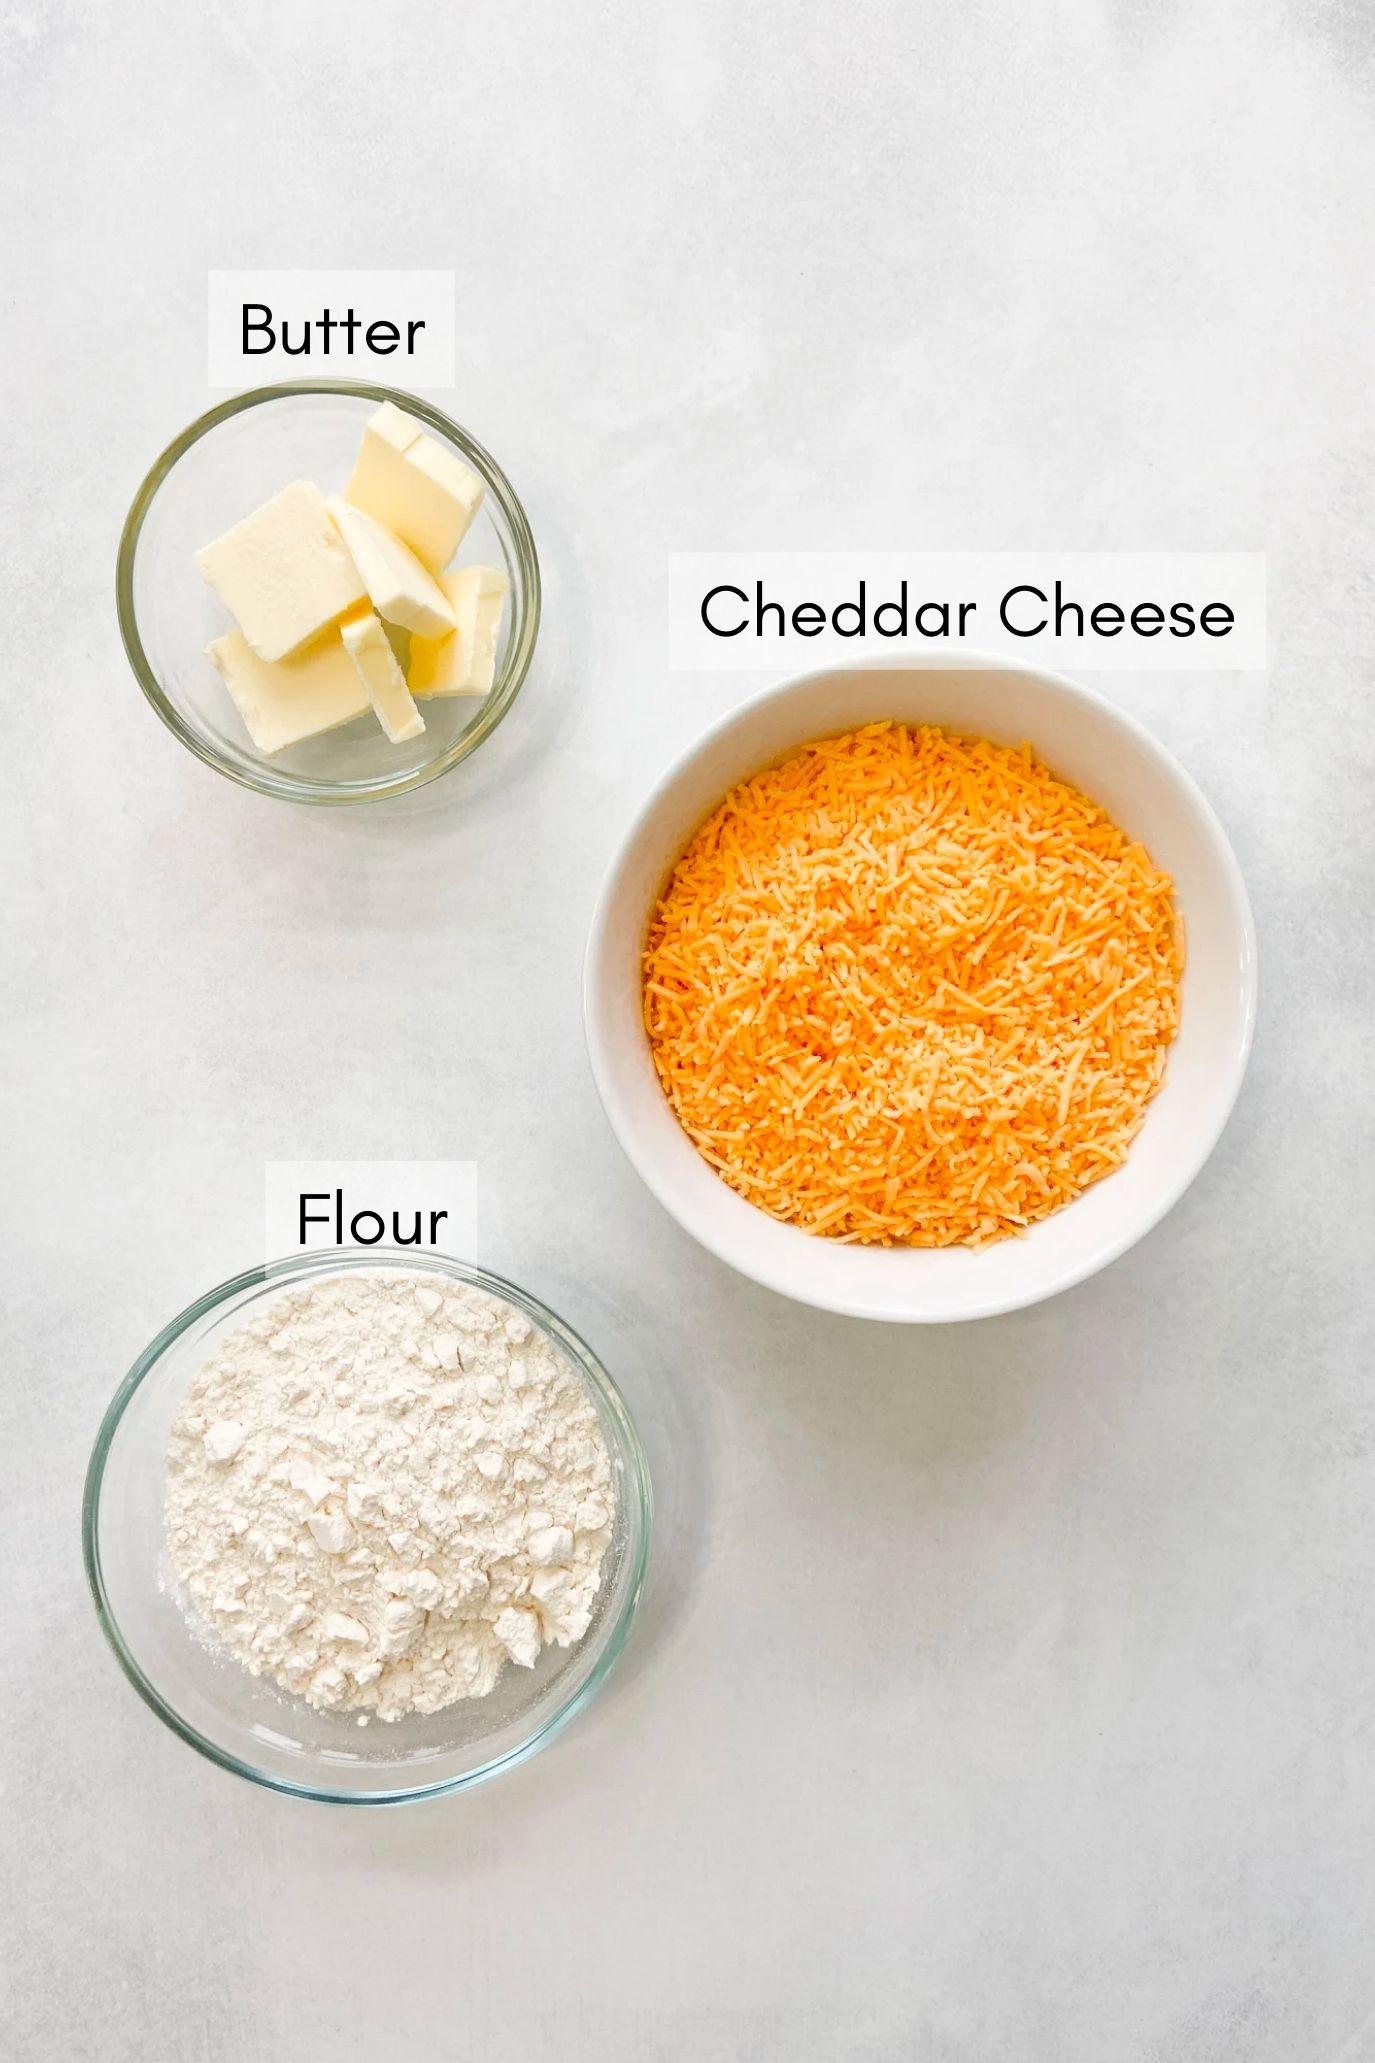
- Shredded Cheddar Cheese: Use a good quality cheese for best results.
- All Purpose Flour: Main component for the dough.
- Butter: Adds moisture and fats to the cheese dough. Make sure to use cold butter.
- Cold Water: Use as needed to help moisten the dough.
Recipe Substitutions & Additions
- Cheddar cheese: You may substitute cheddar cheese with another type of cheese. Try to use a cheese that is low in moisture for best results. I tried this recipe out with a 4-cheese Mexican blend and obtained good results.
- All purpose flour: All purpose flour may be replaced with whole wheat flour, but the texture of the crackers may vary slightly. The amount of water needed to moisten the dough may also vary.
- Butter: The butter may be replaced with a plant based butter.
- Optional Add Ins* Feel free to add in extra spices and seasonings for a little more flavor and taste!
Step by Step Instructions

STEP 1: Add the shredded cheese, flour, and butter to a food processor and pulse it in increments until it forms into a grainy, sand-like texture (Images 1 & 2).
STEP 2: Add 1 to 2 tablespoons of iced cold water to the food processor and pulse until it starts to form into a dough (Images 3 & 4). Avoid pulsing too much so that it doesn’t overpower the processor, just pulse until it starts coming together into a dough. The amount of water needed will vary depending on the temperature of the environment.
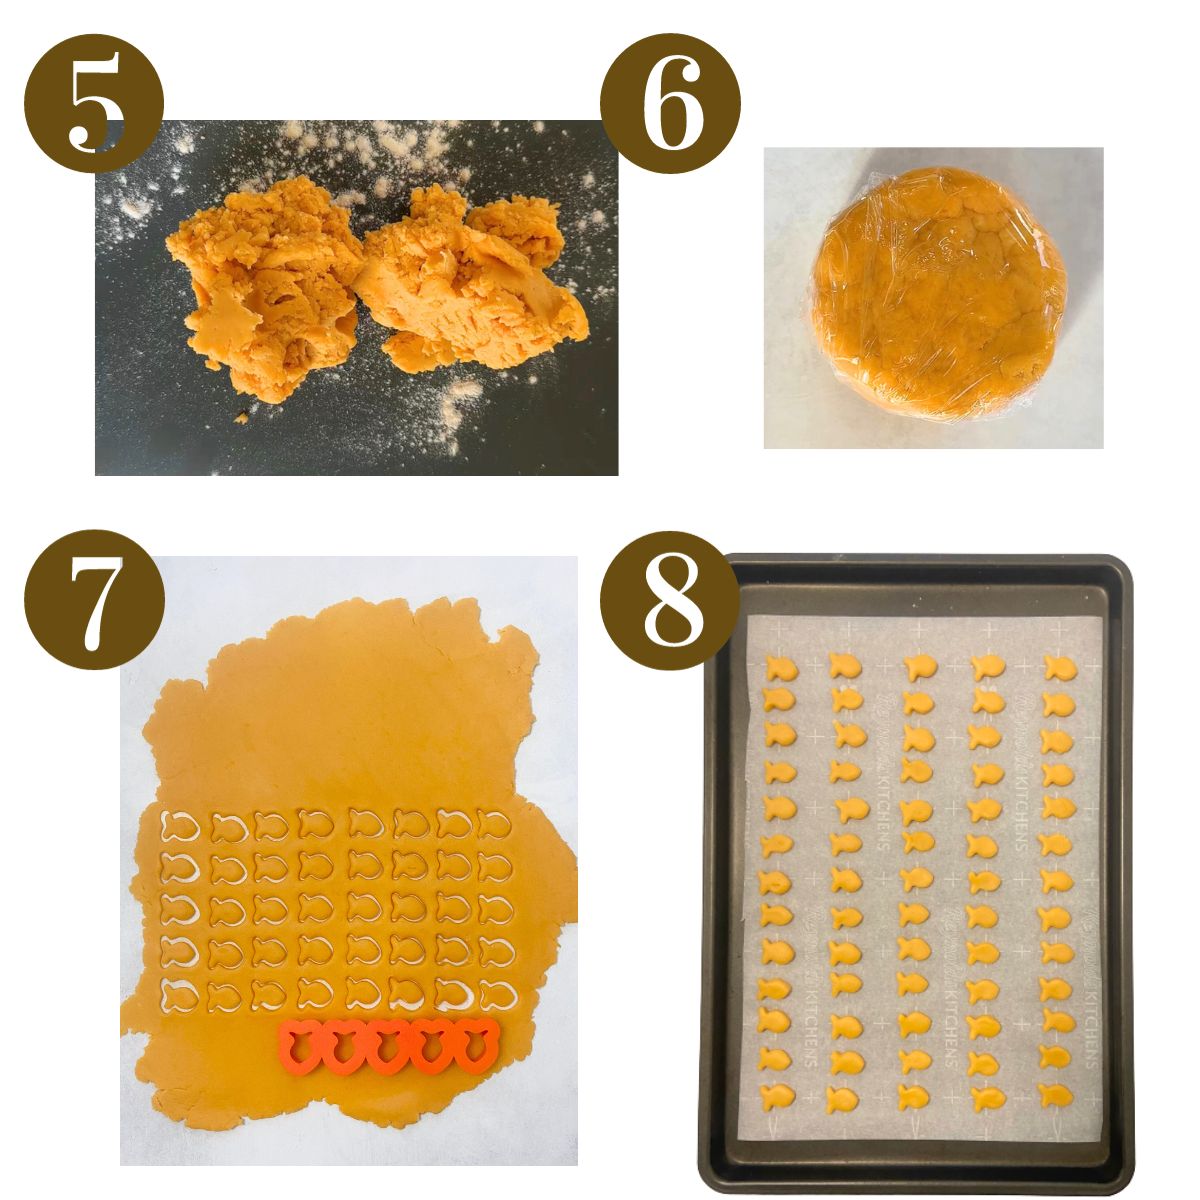
STEP 3: Place the dough mixture onto a surface and lightly knead it to come together (Image 5).
STEP 4: Form a disc with the dough, wrap it in plastic, and refrigerate the dough for 30 minutes (Image 6).
STEP 5: Roll out the dough onto a lightly floured surface ⅛ to ¼ of an inch thick. Use a small cookie cutter to cut out small shapes from the dough (Image 7). You can also use a pizza slicer to slice the dough into small square-shaped crackers.
STEP 6: Gather the scraps, re-roll the dough, and cut out more cracker shapes. Repeat this process until all of the dough is used up. Place the shapes on a parchment paper lined pan (Image 8).
STEP 7: Bake the crackers at 350 degrees F for 10 minutes or until the edges are slightly brown. The total cook time will depend on the thickness of your crackers. Keep a very close eye on the crackers as they can burn quickly. Let them cool completely before serving.
Storage Instructions
Once cooled, store the crackers in an airtight container at room temperature for up to 5 days. They will be slightly less crisp the longer they are stored, but they will still have the same taste.

Tips For Success
- Use good quality cheese when making these crackers. I’ve made this both with pre-shredded packaged cheese and cheese grated from a block and have had success both times.
- Use a good quality food processor, I love using this 5-cup food processor to make these crackers.
- Keep a very close eye on these crackers as they are baking so that they do not burn. The bake time will vary depending on the thickness of the crackers, so check on them after a few minutes! The crackers will harden as they cool.
- Feel free to add in other spices like garlic powder, onion powder, paprika, etc. for a little added flavor!
- I used this 5-in-one fish shape cutter to cut out 5 fish cracker shapes at a time, but you can use anything that you have on hand!
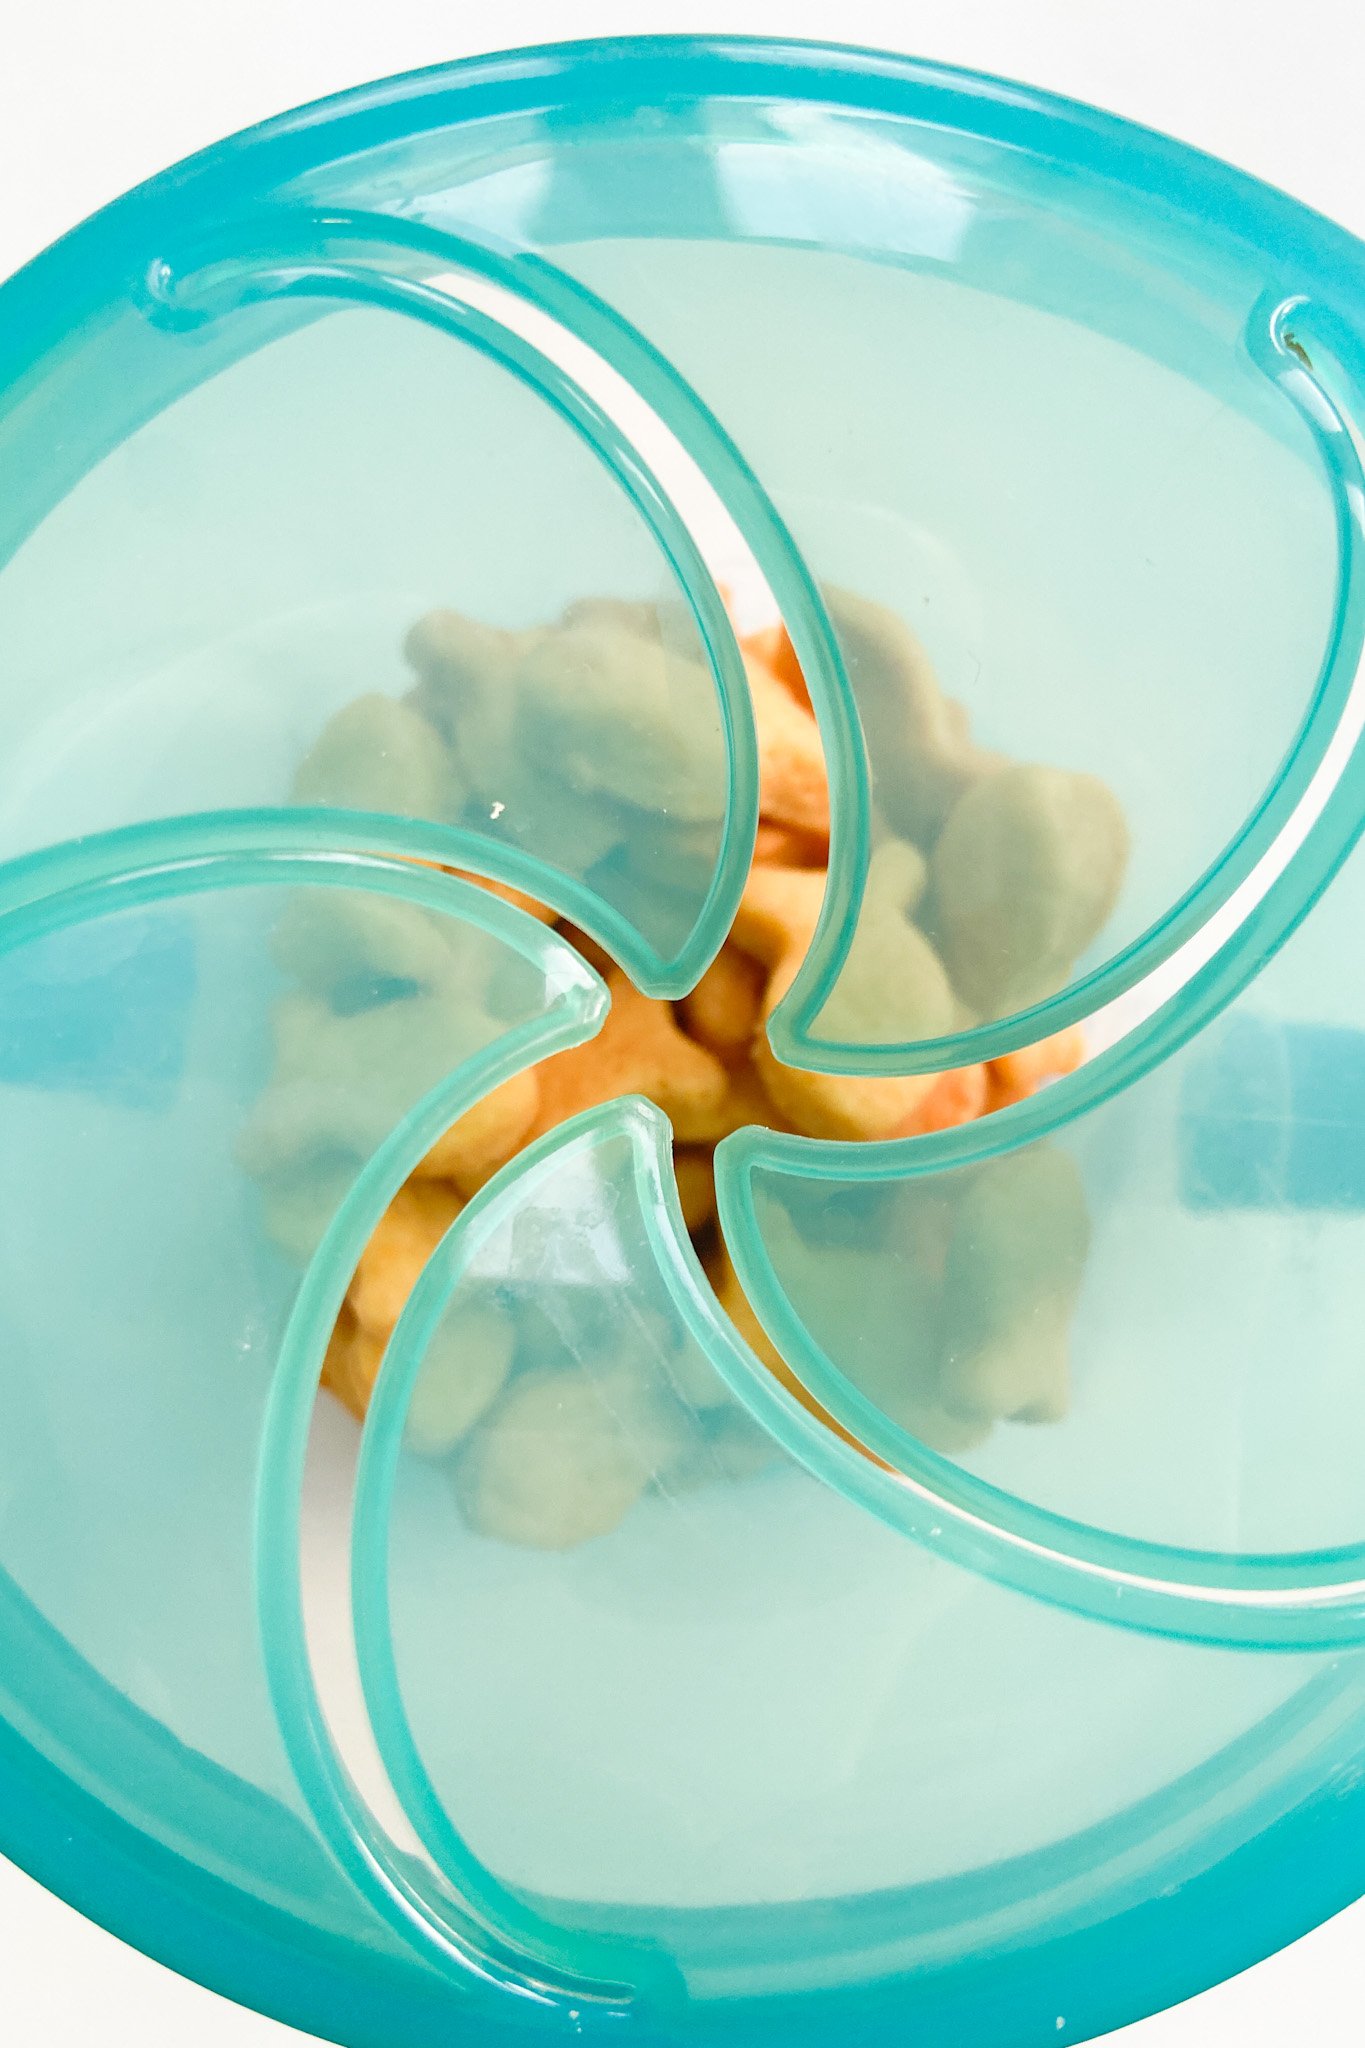
- I love serving these crackers in a portable mini snack holder!

Other On-The-Go Snacks You’ll Love
Homemade Goldfish Crackers
Ingredients
- 2 cups (8 oz) shredded cheddar cheese
- 1 cup all purpose flour
- 4 tbsp unsalted butter, cold
- 1-2 tbsp ice water, as needed
Instructions
- Preheat the oven to 350 degrees F (180 degrees C).
- Add the shredded cheese, flour, and butter to a food processor and pulse it in increments until it forms into a grainy, sand-like texture.
- Add 1 to 2 tablespoons of iced cold water to the food processor and pulse until it starts to form into a dough. Avoid pulsing too much so that it doesn't overpower the processor, just pulse until it starts coming together into a dough. The amount of water needed will vary depending on the temperature of the environment.
- Place the dough mixture onto a surface and lightly knead it to come together.
- Form a disc with the dough, wrap it in plastic, and refrigerate the dough for 30 minutes
- Roll out the dough onto a lightly floured surface ⅛ to ¼ of an inch thick. Use a small cookie cutter to cut out small shapes from the dough. You can also use a pizza slicer to slice the dough into small square-shaped crackers.
- Gather the scraps, re-roll the dough, and cut out more cracker shapes. Repeat this process until all of the dough is used up. Place the shapes on a parchment paper lined pan
- Bake the crackers at 350 degrees F for 10 minutes or until the edges are slightly brown. The total cook time will depend on the thickness of your crackers. Keep a very close eye on the crackers as they can burn quickly. Let them cool completely before serving.
Notes
- Use good quality cheese when making these crackers. I’ve made this both with pre-shredded packaged cheese and cheese grated from a block and have had success both times.
- Use a good quality food processor, I love using this 5-cup food processor to make these crackers.
- Keep a very close eye on these crackers as they are baking so that they do not burn. The bake time will vary depending on the thickness of the crackers, so check on them after a few minutes! The crackers will harden as they cool.
- Feel free to add in other spices like garlic powder, onion powder, paprika, etc. for a little added flavor!
- I used this 5-in-one fish shape cutter to cut out 5 fish cracker shapes at a time, but you can use anything that you have on hand!
- I love serving these crackers in a portable mini snack holder!


Another win for my little one! He already loves crackers so this recipe was perfect. Thanks!
Delicious!! Best of all is the simplicity of this recipe and how these crackers have so much flavor. I did add, sea salt, garlic powder, and onion powder. This is my very first time making crackers and I must admit, I am a fan and will definitely be making these often. Thank you for sharing!
I’m so glad to hear that you enjoyed these crackers and I love those additions!😊
Hi- if I made extra dough and ran out of energy, could I possibly freeze it, do you think?
My first try wasn’t too bad! Thank you so much for a perfect recipe!
Hi Sarah! I haven’t tried freezing this dough but you could refrigerate it for a couple of days until you’re ready to use it! It will get hard as a rock in the fridge when stored but will soften back up once left out at room temperature before using😊
So yummy and SO SIMPLE!!! Nothing beats a delicious recipe that takes barely any effort. Thanks for sharing this recipe – my toddler (and I lol) love these!
I’m so glad hear that you both loved these crackers, Morgan!😊
This is delicious! My VERY picky eaters also loved them. I didn’t have cheddar so subbed Colby jack.
I’m so glad to hear that your little ones enjoyed them, Beth!😊
Thank you so much for the recipe. Love making it with my so
I’m so glad to hear that you enjoy these crackers, Jaz!😊
My son doesn’t do well with change in snacks so I wasn’t sure if these would pass the test. They are a winner!
I also made A GF batch and they came out just as great.
I’m so glad that your son loved these crackers, Mari!😊
did you change anything else besides using GF flour
They were very yummy but mine puffed up! They’re more like cheese puffs vs crackers. What did I do wrong?
Hi Jen! I’m so glad you liked them! The crackers will puff up a bit during baking but to ensure that they are crunchy in texture, like normal crackers, be sure to roll the dough out thin. The thinner you roll out the dough, the crunchier the crackers will be. I hope that helps!😊
Made these with Parmesan cheese instead of cheddar. They are so yummy my 2 year old (and my husband) loved them!! They definitely feel more like a cheesy puffy pastry than a cracker, but I will definitely be making them again.
I’m so glad you enjoyed this recipe, Ana!😊
Thank you for sharing this recipe! I’m thrilled to offer my daughter a better alternative to the store bought kind. I love that you can taste the cheese! Mine did not end up crunchy like a cracker (though they were still a big hit). Any tips?
I had just made your animal cracker recipe which did turn out to be a harder texture so was expecting the same, but perhaps that’s not the case. The animal crackers were a huge hit as well so I’ll be making more of both!
Hi Sarah! I’m glad to hear that you enjoyed this recipe! As for the crunch component, I recommend rolling the dough out thinner to get the crackers to be more crunchy in texture. The thinner you roll out the dough, the crunchier they’ll be. You can also try baking them for a couple of extra minutes. I hope that helps!😊
Hello! I’m excited to make this, what is ths serving size? How many of the crackers would be 175 calories?
Hi Marisa! I’m not sure of the exact number of crackers for each serving, but this batch makes 8 servings, so the 175 calories per serving would be the total number of crackers divided by 8. Hope that helps!😊