
Fudge Stripe Cookies Recipe
on Apr 04, 2024
This post may contain affiliate links. Please read our disclosure policy.
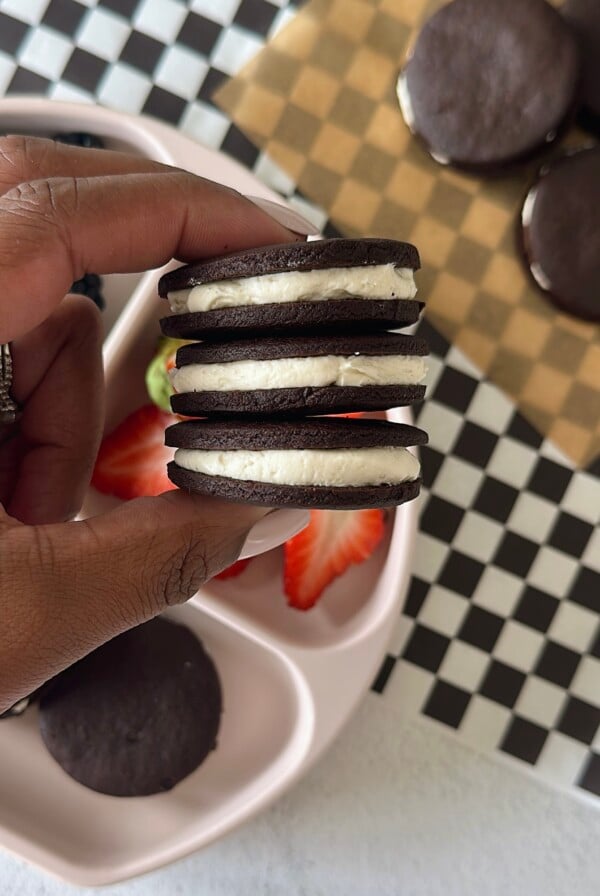
These fudge stripe cookies are a gluten-free, dairy-free, and egg-free copycat of classic Keebler shortbread cookies. They come together with 5 simple ingredients and are the perfect crunchy sweet treat!
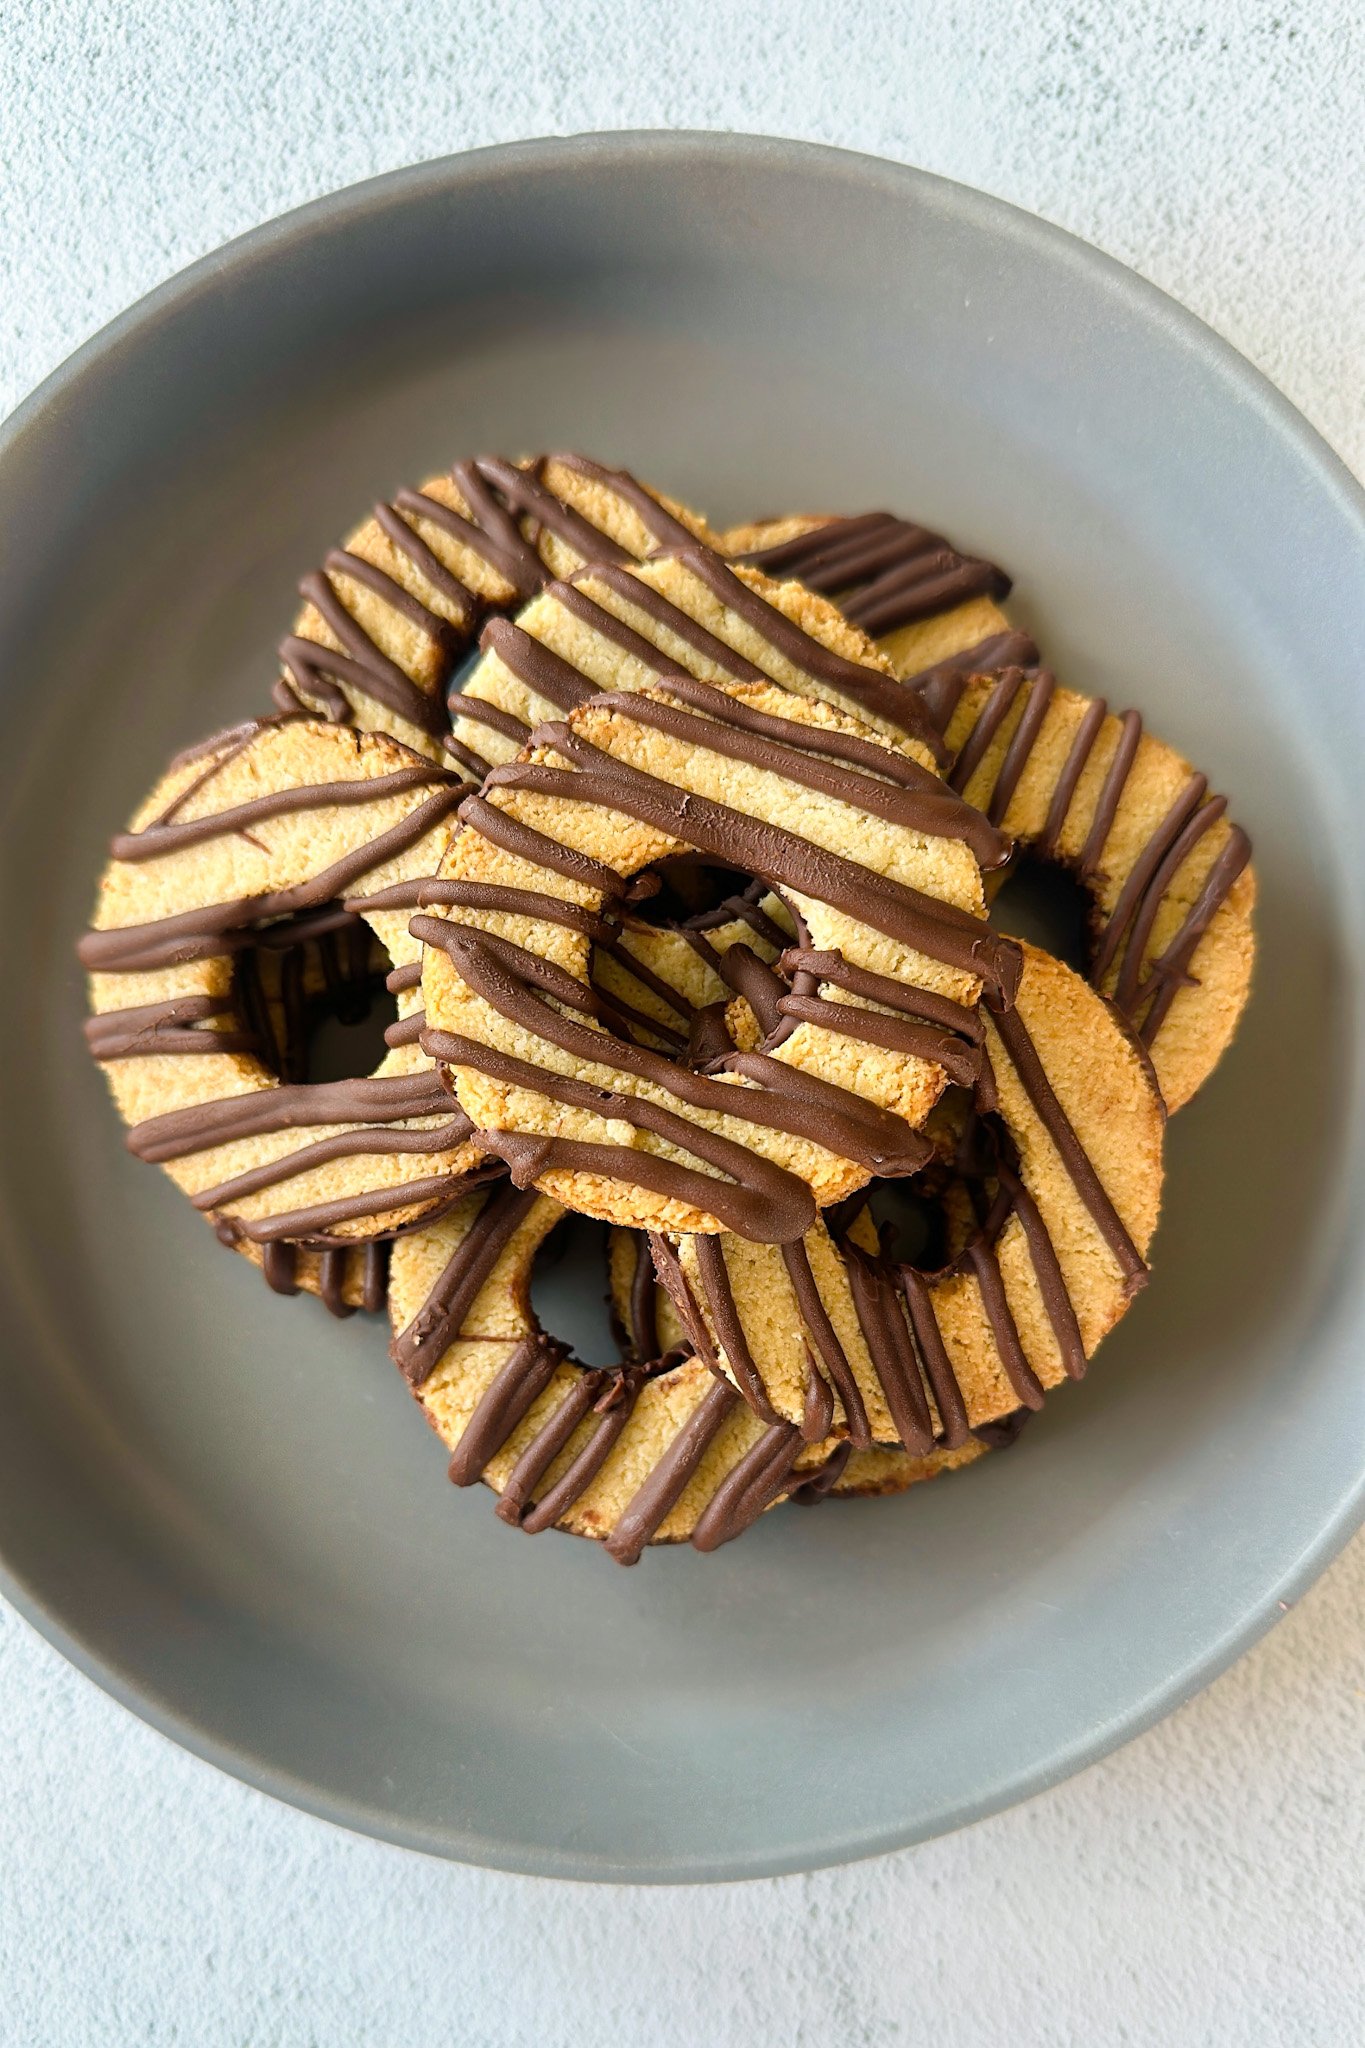
Keebler fudge stripe cookies are a classic with their buttery crunch base coated with a thin chocolate layer. They’re crispy and sweet and this homemade version gives that same classic crunch and sweetness. It’s allergy-friendly and I promise you won’t be able to stop snacking on them!
If you love these cookies and are looking for other fun nolgastic snacks to make, you’ll love these homemade animal crackers, 3-ingredient goldfish crackers, homemade ritz crackers, and copycat nutter butters.
Table of Contents
What You’ll Need
Here is what you’ll need to make these homemade fudge stripe cookies:
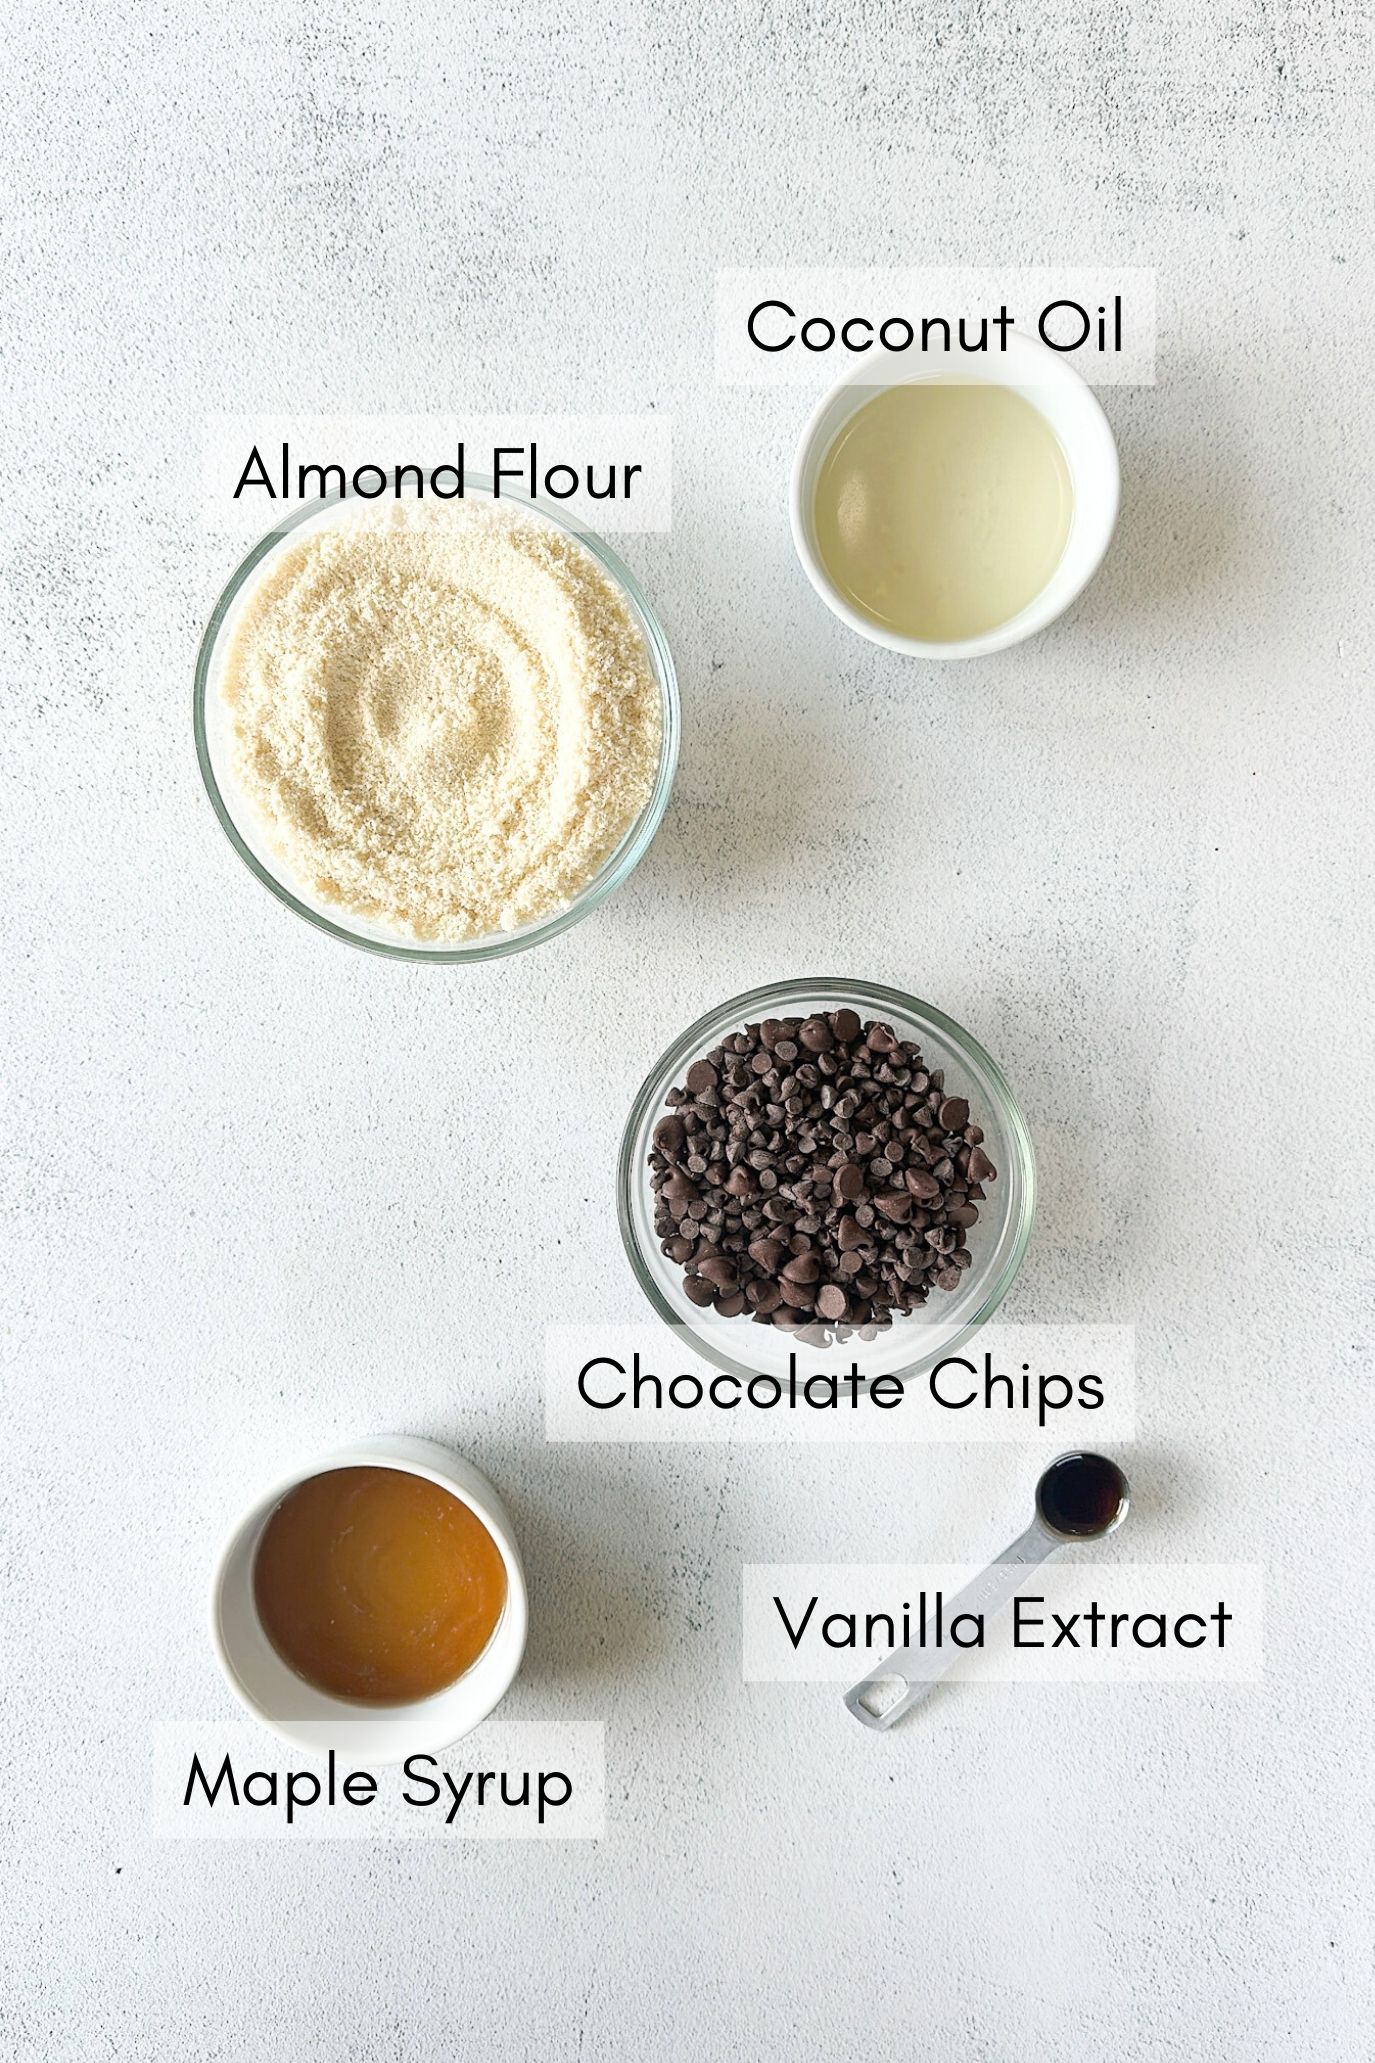
- Almond Flour: The base ingredient for these cookies. I always use the Kirkland brand blanched almond flour!
- Coconut Oil: Added fat to help make the cookies moist, yet crisp.
- Maple Syrup: The main source of sweetness for these cookies.
- Vanilla Extract: For added flavor in the cookies.
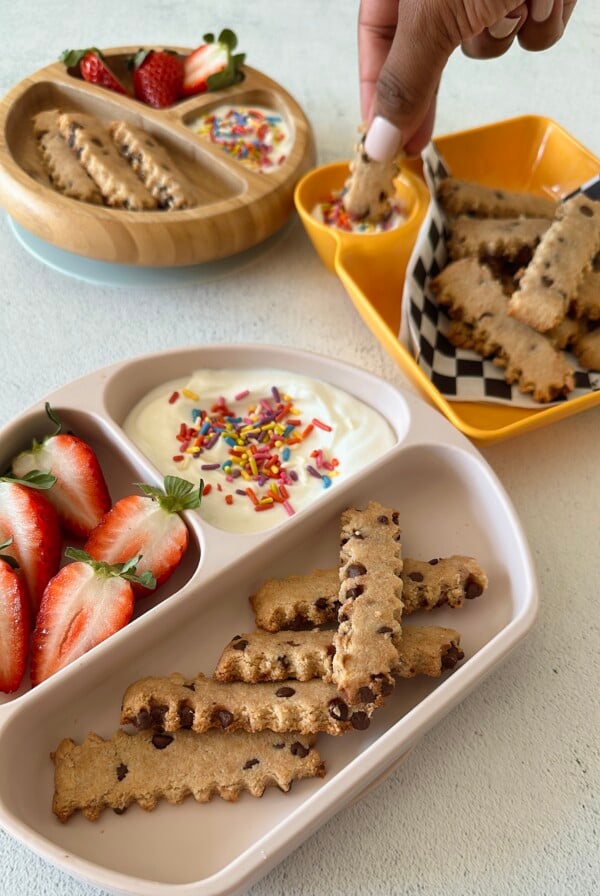
- Chocolate Chips: To drizzle on the cookies for added sweetness and that classic stripe effect! Use dairy-free chips to keep these cookies dairy-free if needed.
See the recipe card below for full information on ingredients and quantities.
Recipe Substitutions & Additions
- Coconut Oil: The coconut oil may be replaced with melted and cooled butter.
Step By Step Instructions
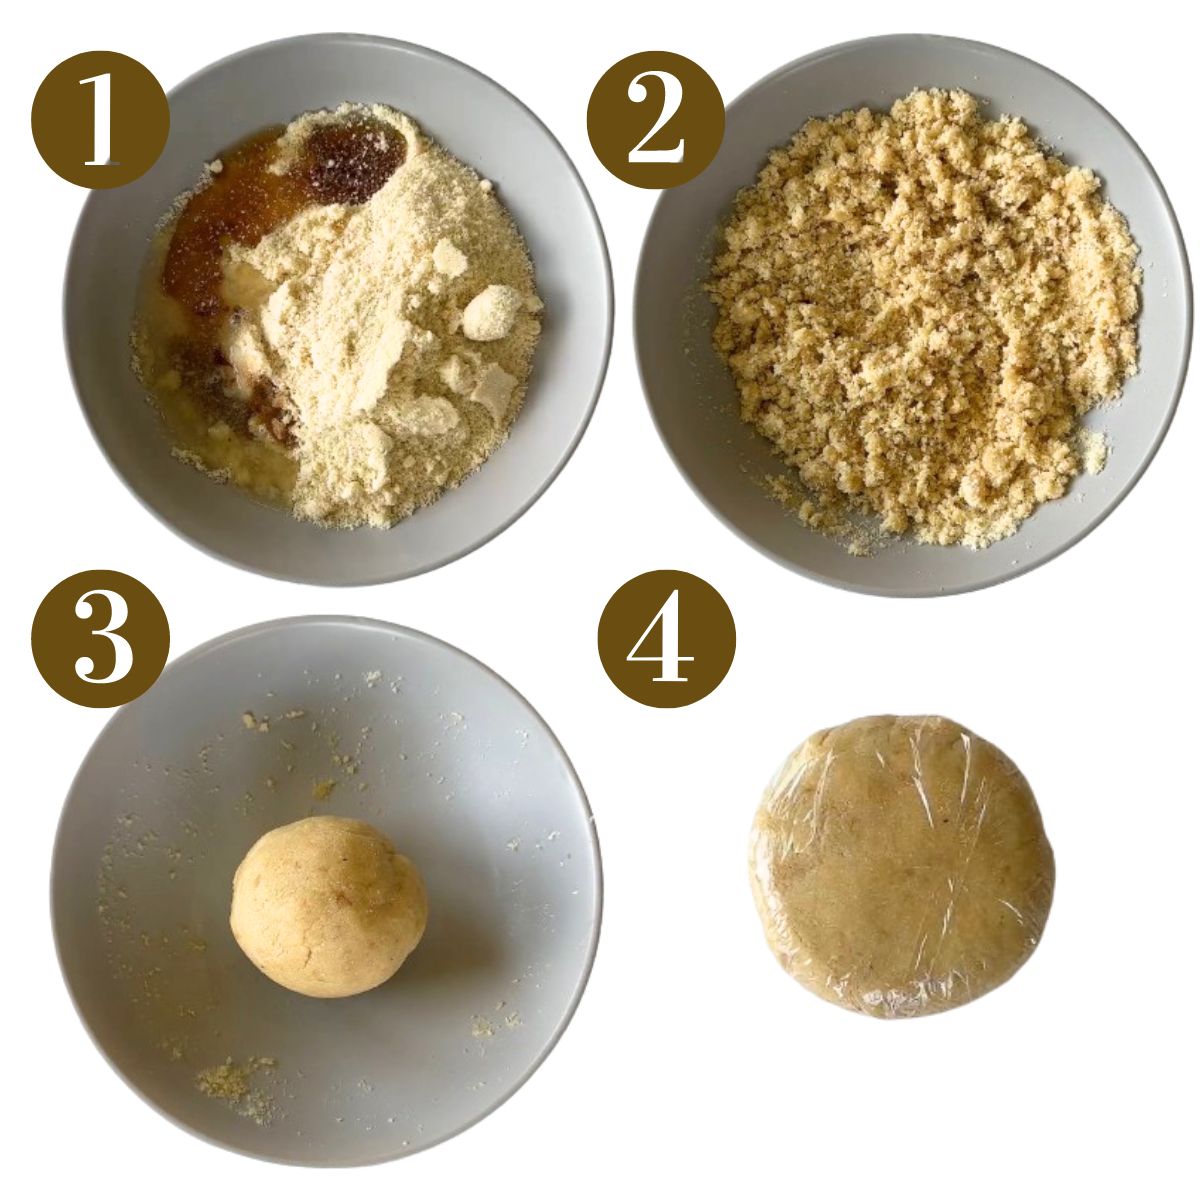
STEP 1: Add the almond flour, coconut oil, maple syrup, and vanilla extract to a bowl and mix with a fork until it starts to become crumbly (Images 1 & 2). Continue mixing (use your hands as needed) to mix until the dough comes together into a ball (Image 3).
STEP 2: Shape the dough into a thin disk and wrap it in plastic wrap (Image 4). Place the dough in the freezer for 20 minutes (or in the fridge for 1 hour). Preheat the oven to 350 degrees F and line a baking sheet with parchment paper.
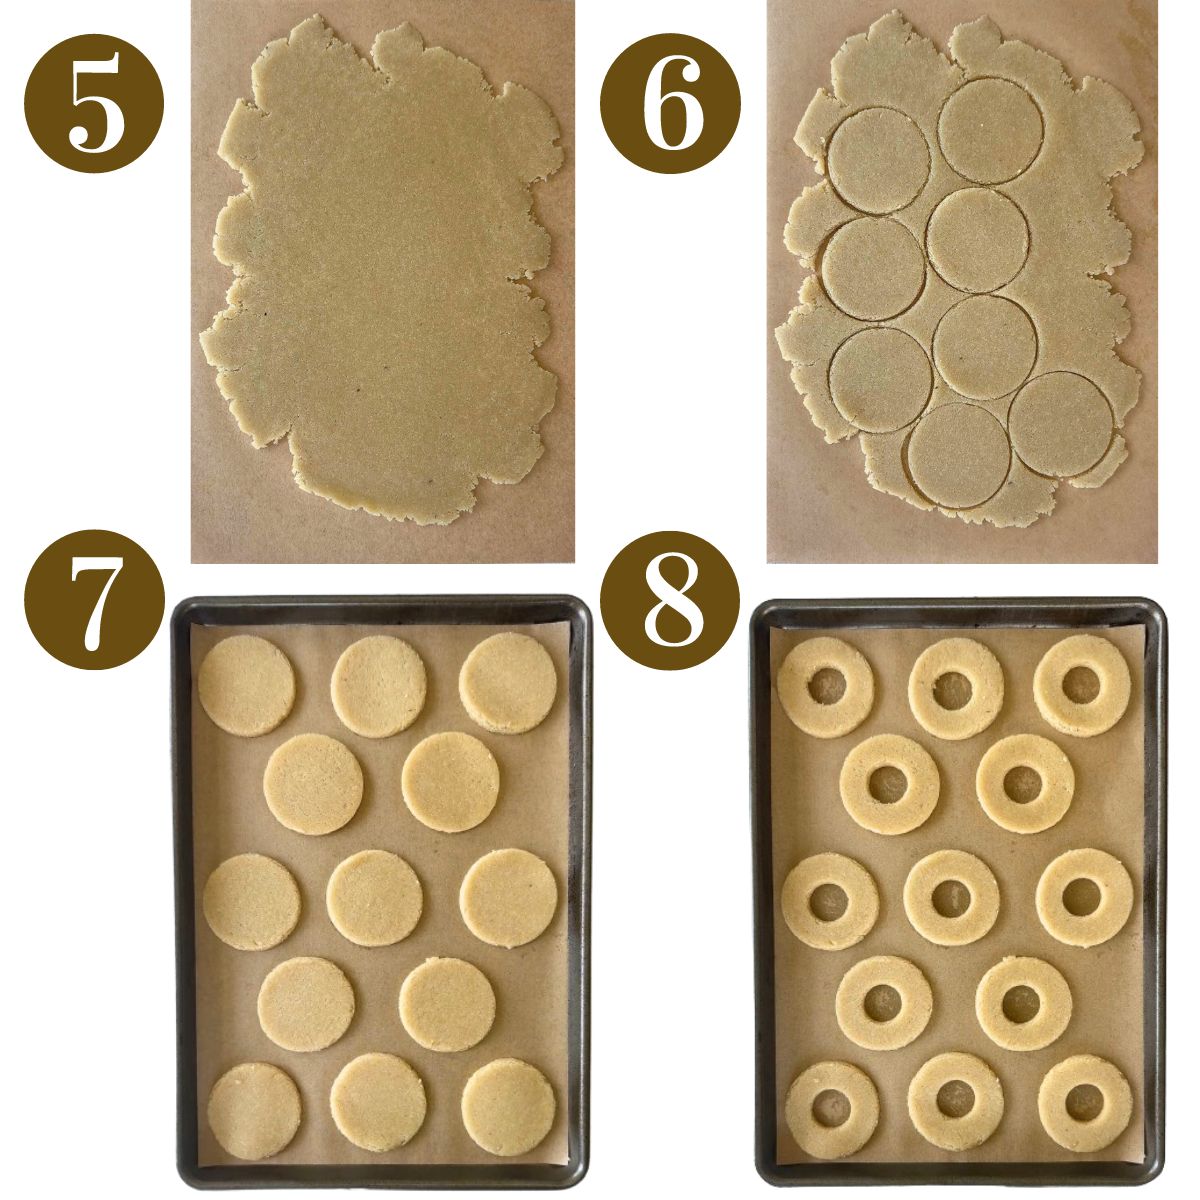
STEP 3: Roll the chilled dough out between two sheets of parchment paper to be about 1/4 inch thick (Image 5).
STEP 4: Use a 2.5-inch circular cutter (or similar-sized circular object) to cut out circles from the dough (Image 6). Gently transfer these circles to a parchment paper-lined baking sheet (Image 7).
STEP 5: Gather all of the scraps and reroll out the dough. Cut out more circles until all of the dough is used. You should be able to get 12 or 13 cookies from this dough.
STEP 6: Use a small circular cutter (or small circular object) to cut out the center of each cookie to form a ring shape (Image 8). Don’t throw out those scraps – gather and reroll them to form another cookie or two!
STEP 7: Bake the cookies for 8 minutes, or until lightly golden around the edges. Be sure to check on the cookies right at the 8-minute mark as almond flour can burn quickly. Let the cookies cool as you prepare the chocolate.
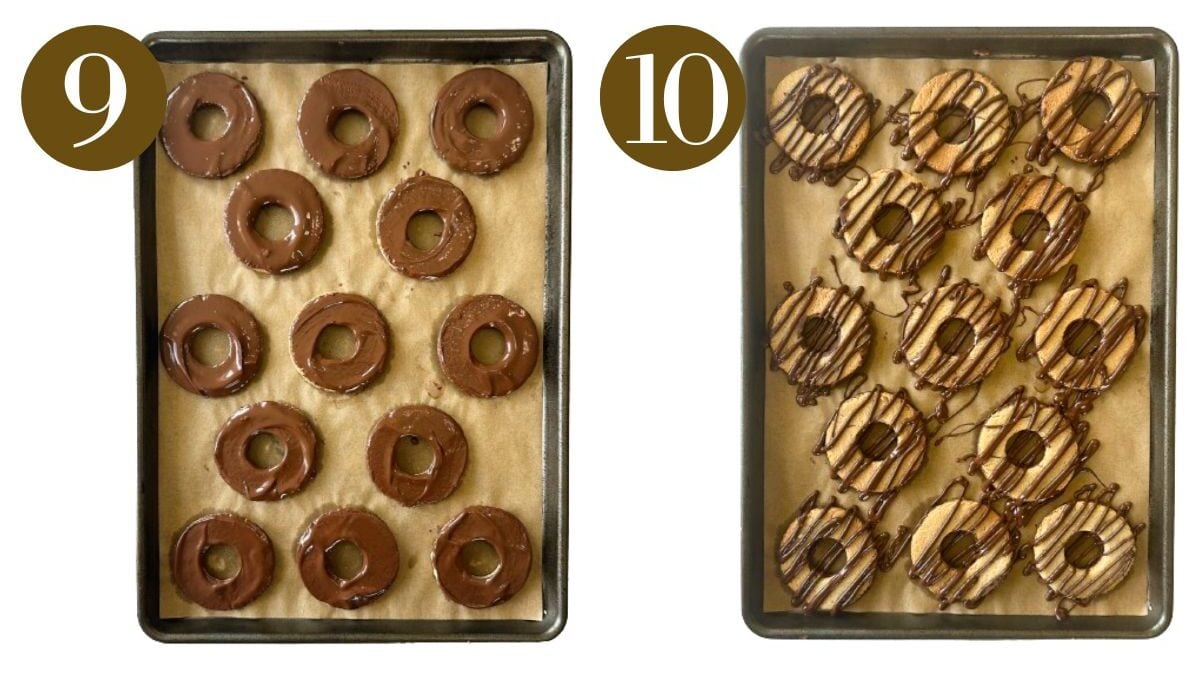
STEP 8: Add the chocolate to a microwave-safe bowl with 1 teaspoon of coconut oil and heat for 30 seconds. Stir the chocolate and reheat for an additional 10 seconds. Stir again and repeat in 10-second increments as needed until the chocolate is fully melted. Dip the bottom of each cookie into the chocolate, place it back on the baking sheet, and freeze for 5 minutes until the chocolate is set (Image 9). Once chilled, flip over all of the cookies.
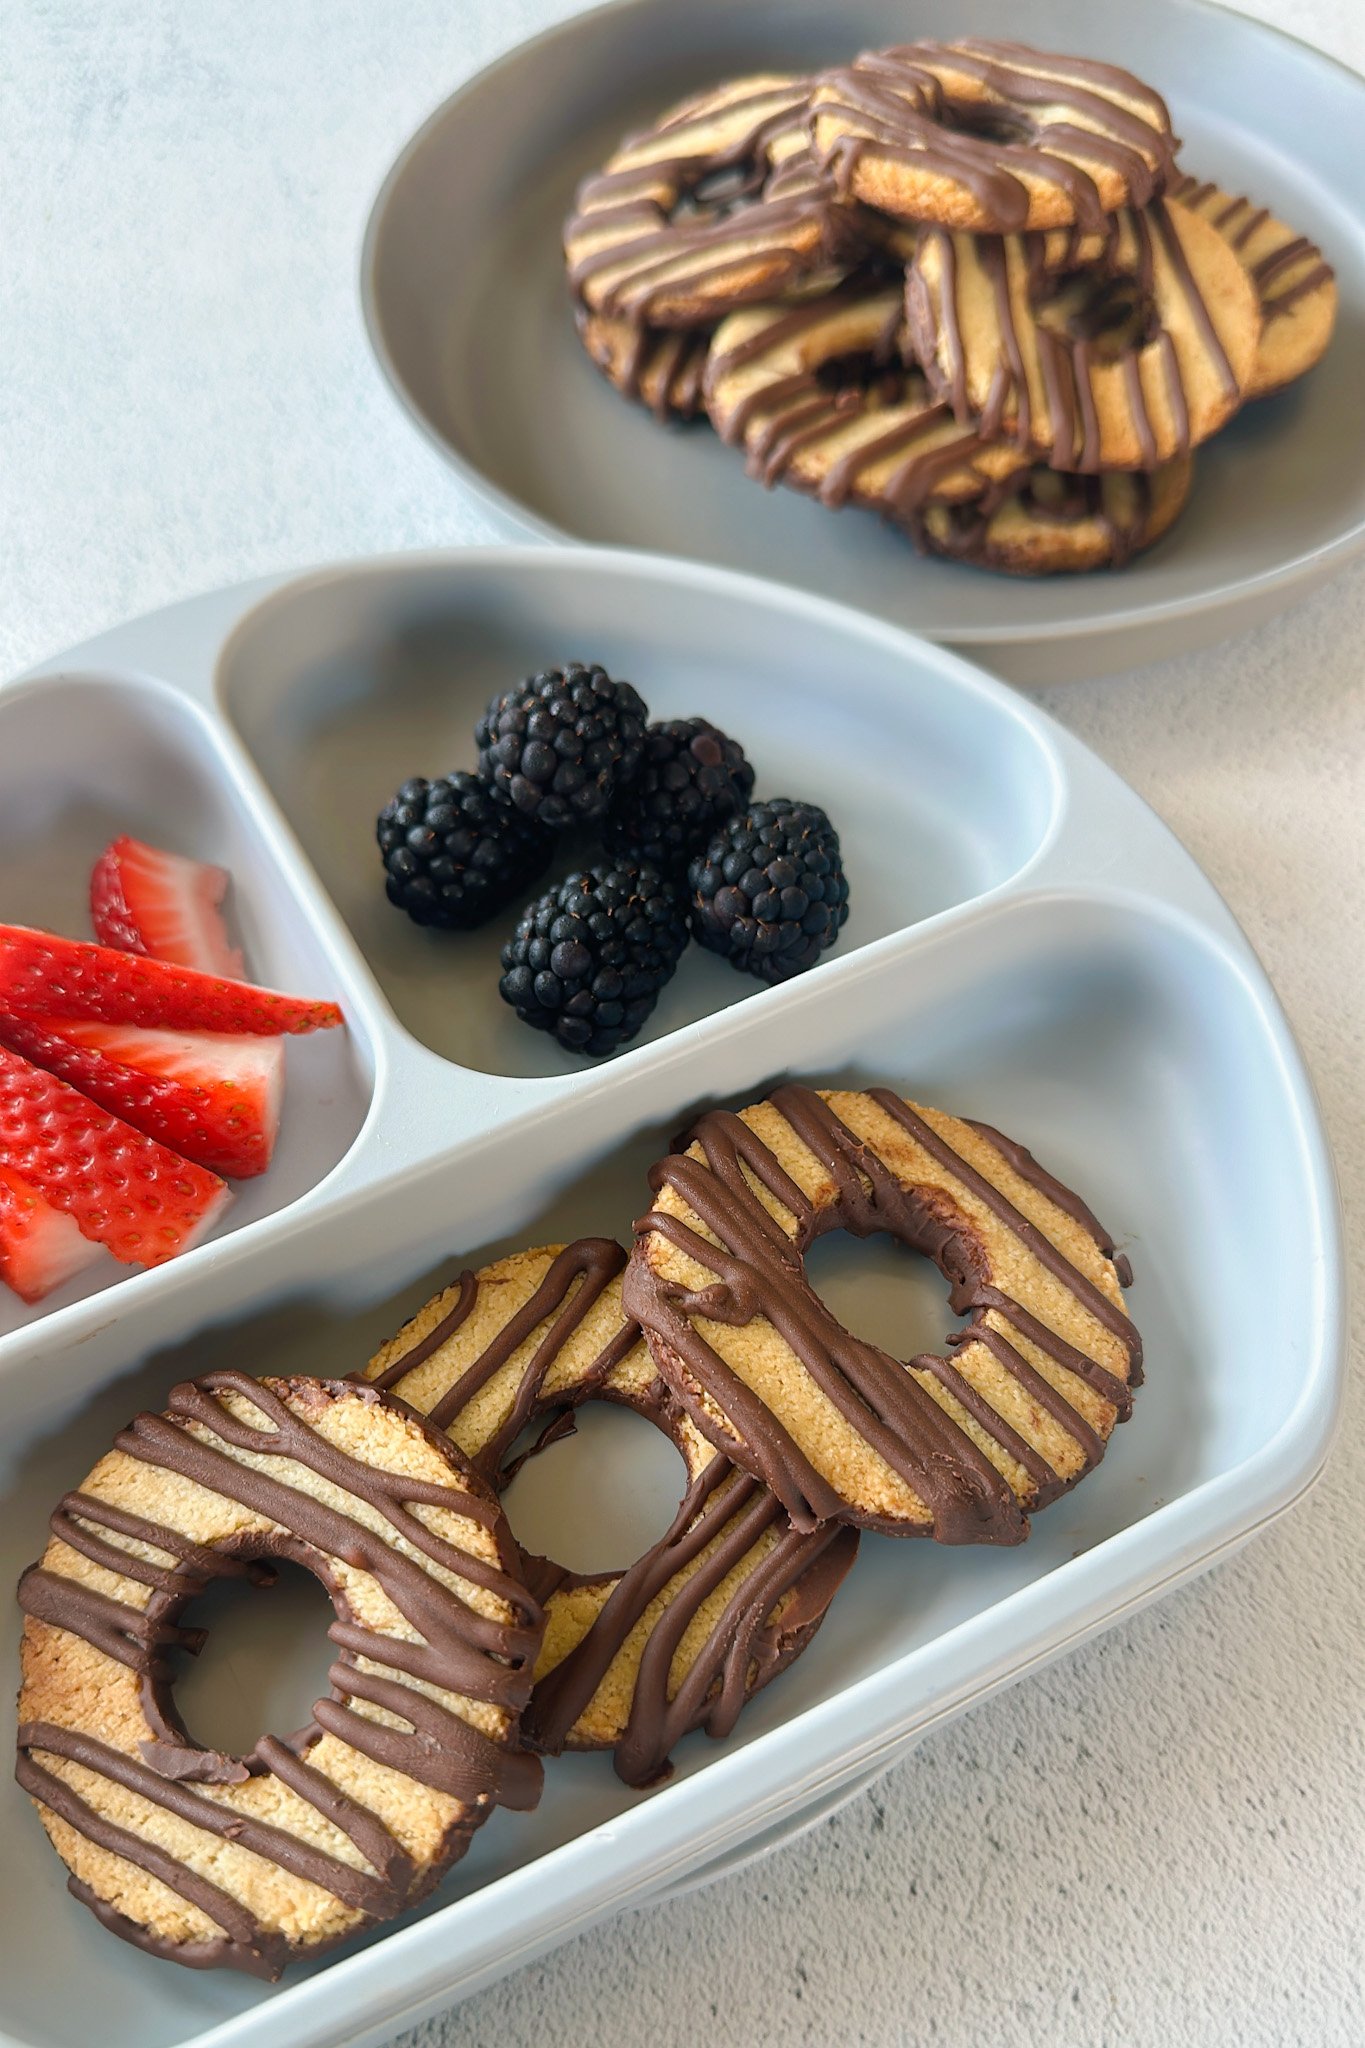
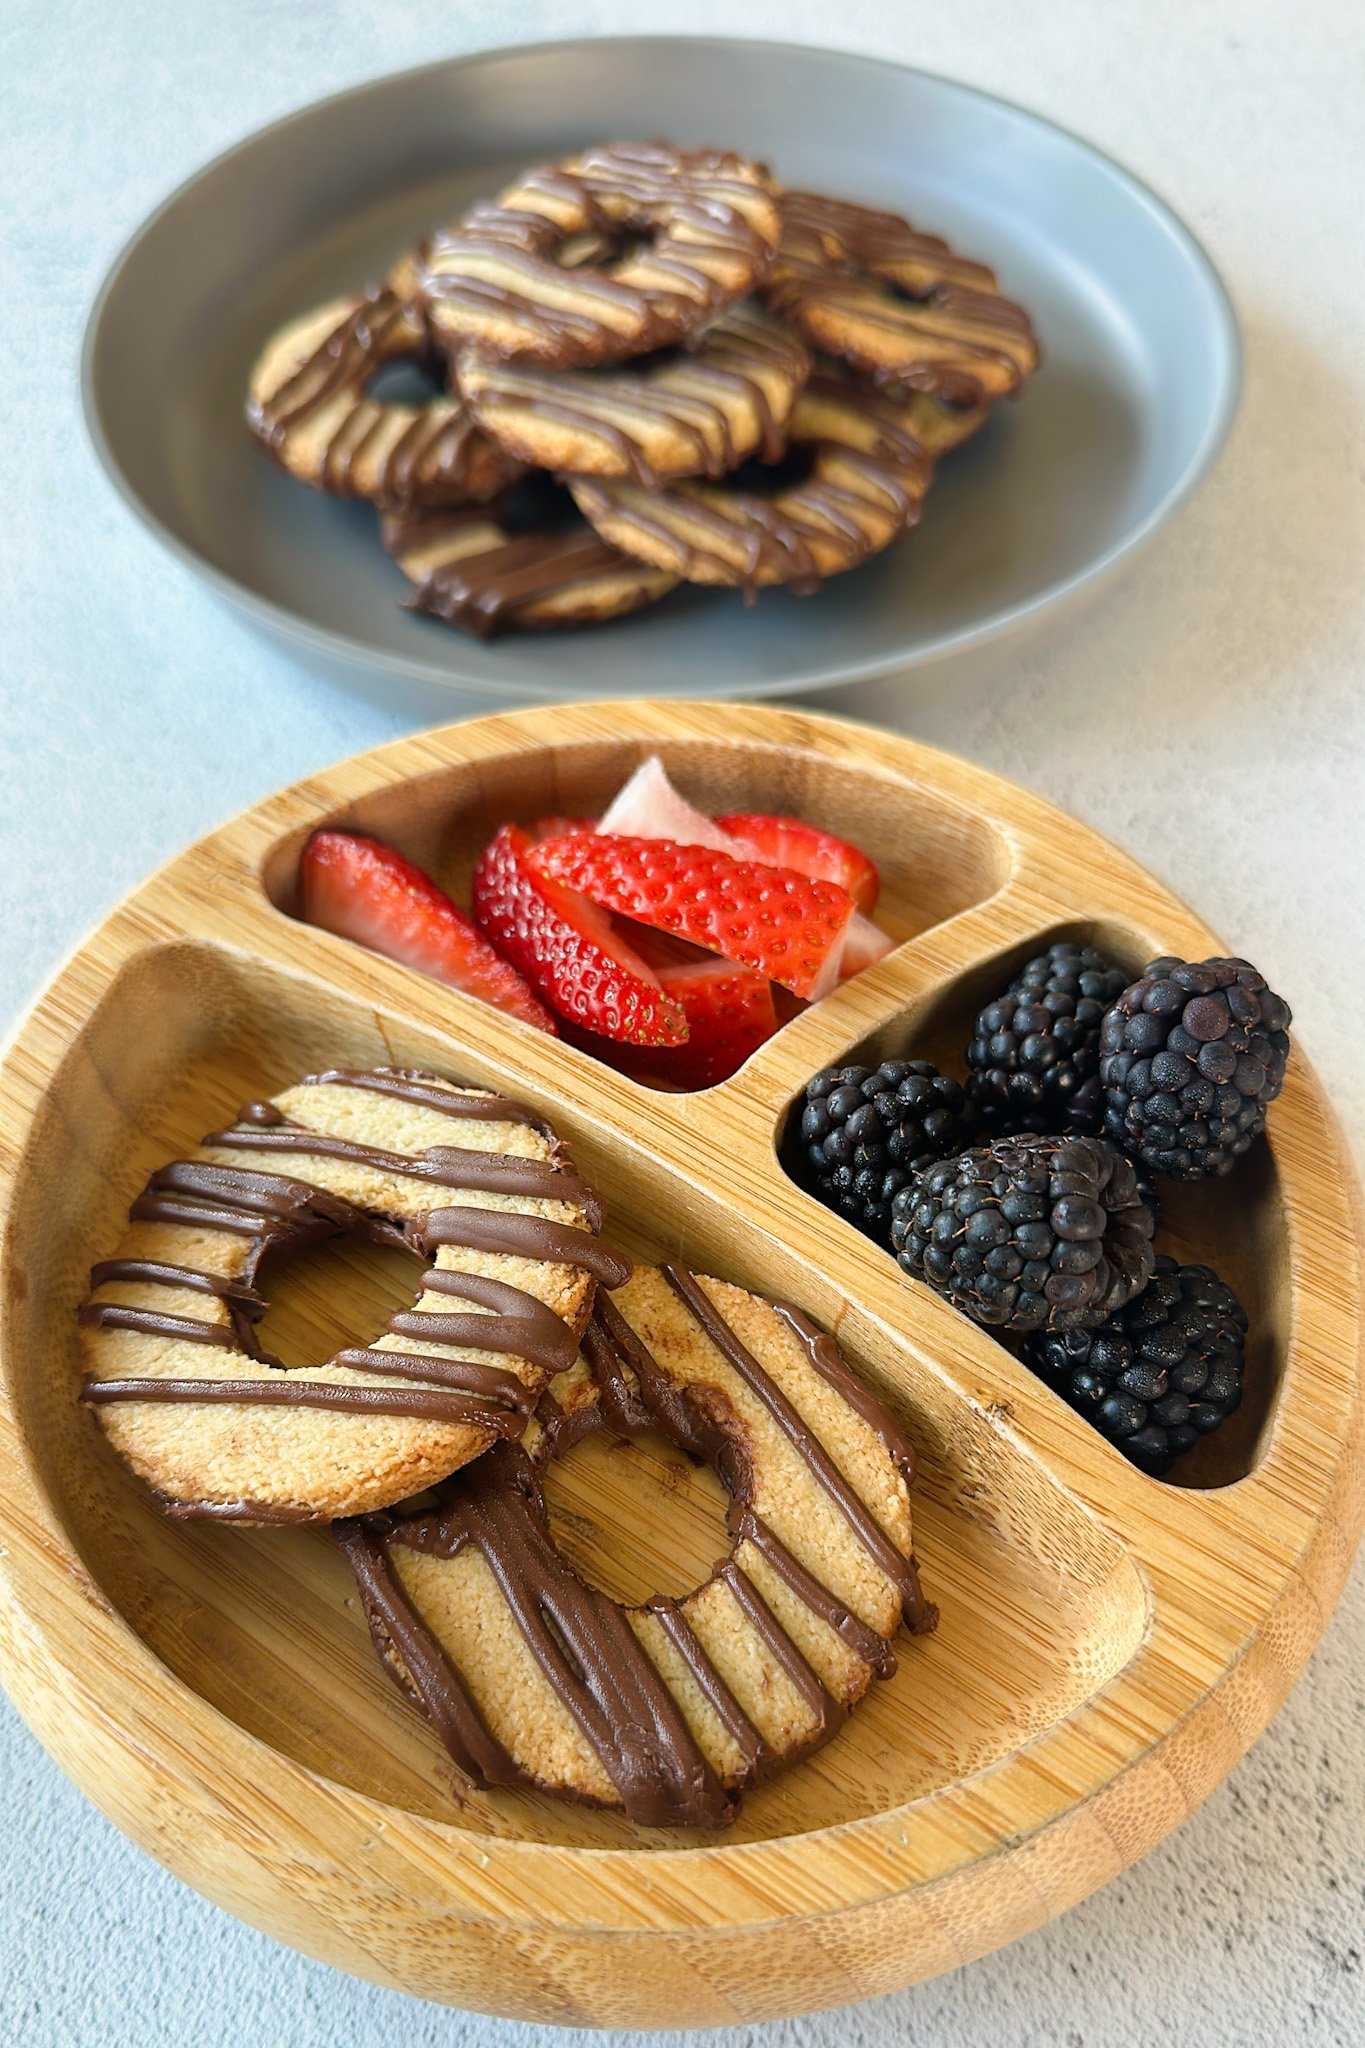
STEP 9: Place the remaining chocolate into a piping bag or ziplock bag with the corner tip cut off and drizzle the top of each cookie to form stripes (Image 10). Place the cookies in the freezer for 5 minutes for the chocolate to set and enjoy!
Storage Instructions
Once cooled, store the cookies in an airtight container in the fridge for up to 5 days. To freeze, store in a freezer-safe Ziploc bag with parchment paper lined between each cookie to prevent sticking for up to 3 months.
Tips For Success
- Make sure not to roll the cookies out too thin or they will burn quickly when cooking. Check on them at the 8-minute mark and remove them from the oven once the edges are golden.
- If you prefer a slightly less sweet cookie, skip the step of dipping the bottoms into chocolate and just drizzle some chocolate on top! You can also skip the chocolate altogether and serve them as plain shortbread cookies!
- Don’t skip the step of chilling the dough, it will make the dough much easier to roll out and work with. Also, make sure to roll it out between two sheets of parchment paper so that it doesn’t stick.
Recipe FAQs
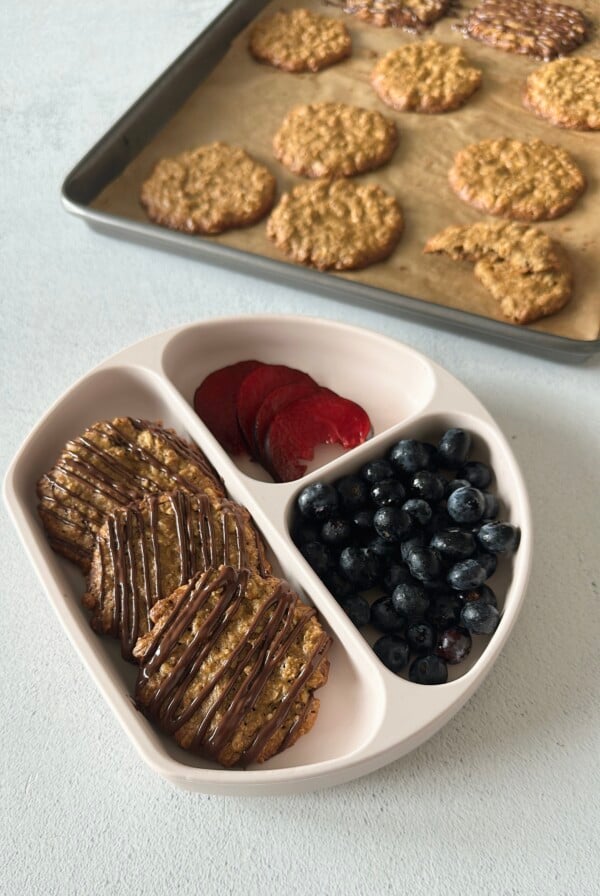
Unfortunately, other types of flour like almond flour or oat flour will not work for these cookies. Another nut-based flour may work, but I have not tested this. If you’re looking for cookies using a different flour, try out these homemade animal crackers or maple oatmeal cookies!
These cookies are crunchy in texture with a smooth chocolatey coating. If you prefer less chocolate, skip dipping the bottoms into melted chocolate and use it as just a drizzle on top!
Depending on the temperature of your environment, they can be stored at room temperature, but the chocolate may begin to melt. I like storing them in the fridge and setting them out right before serving.
Other Cookie Recipes You’ll Love
4 Ingredient Peanut Butter Cookies

Animal Crackers Recipe (Egg Free)
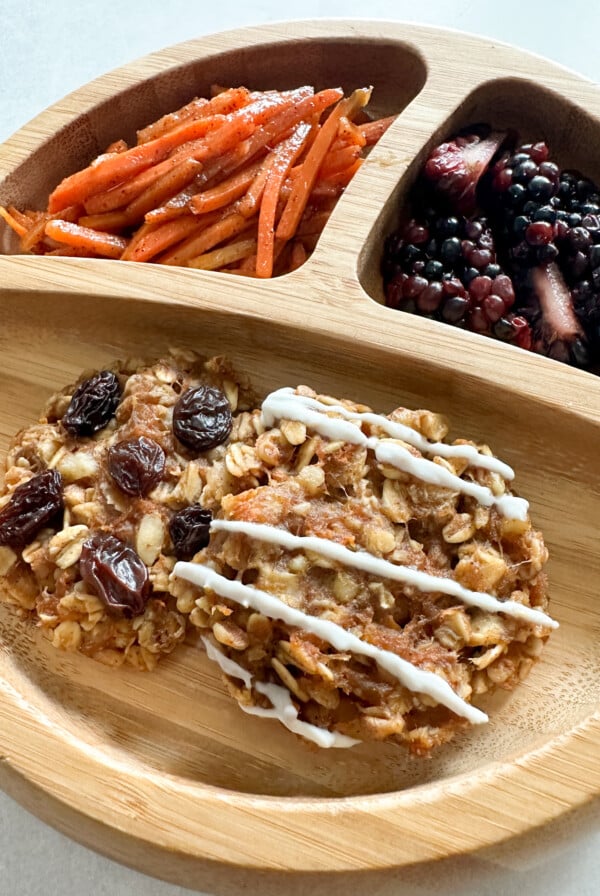
Carrot Oatmeal Cookies
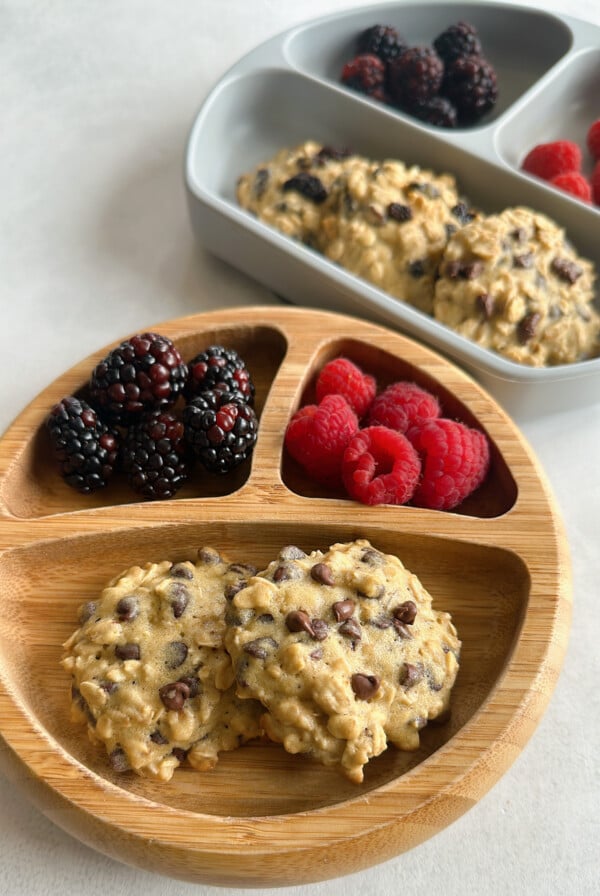
Maple Oatmeal Cookies
If you tried this Homemade Fudge Stripe Cookies Recipe please leave a ⭐ star rating and let me know how it went in the comments below! I love hearing from you!

Fudge Stripe Cookies Recipe
Ingredients
For Cookie Base
- 1 ¼ cups almond flour
- 2 tbsp maple syrup
- 2 tbsp coconut oil, or cooled, melted butter
- ½ tsp vanilla extract
For Dipping Chocolate
- ½ cup chocolate chips, use dairy-free if needed to keep these cookies dairy-free
- 1 tsp coconut oil
Instructions
- Add the almond flour, coconut oil, maple syrup, and vanilla extract to a bowl and mix with a fork until it starts to become crumbly. Continue mixing (use your hands to press the mixture together) until the dough comes together into a ball.
- Shape the dough ball into a thin disk and wrap it in plastic wrap. Place the dough in the freezer for 20 minutes (or in the fridge for 1 hour). Preheat the oven to 350 degrees F (180 degrees C) and line a baking sheet with parchment paper.
- Roll the chilled dough out between two sheets of parchment paper to be about 1/4 inch thick
- Use a 2.5-inch circular cutter (or similar-sized circular object) to cut out circles from the dough. Gently transfer these circles to a parchment paper-lined baking sheet
- Gather all of the scraps and reroll out the dough. Cut out more circles until all of the dough is used. You should be able to get 12 or 13 cookies from this dough.
- Use a small circular cutter (or small circular object) to cut out the center of each cookie to form a ring shape. Don't throw out those scraps – gather and reroll them to form another cookie or two!
- Bake the cookies for 8 minutes, or until lightly golden around the edges. Be sure to check on the cookies right at the 8-minute mark as almond flour can burn quickly. Let the cookies cool as you prepare the chocolate.
- Add the chocolate to a microwave-safe bowl with 1 teaspoon of coconut oil and heat for 30 seconds. Stir the chocolate and reheat for an additional 10 seconds. Stir again and repeat in 10-second increments as needed until the chocolate is fully melted. Dip the bottom of each cookie into the chocolate, place it back on the baking sheet, and freeze for 5 minutes until the chocolate is set. Once chilled, flip over all of the cookies.
- Place the remaining chocolate into a piping bag or ziplock bag with the corner tip cut off and drizzle the top of each cookie to form stripes. Place the cookies in the freezer for 5 minutes for the chocolate to set and enjoy!
Notes
- Make sure not to roll the cookies out too thin or they will burn quickly when cooking. Check on them at the 8-minute mark and remove them from the oven once the edges are golden.
- If you prefer a slightly less sweet cookie, skip the step of dipping the bottoms into chocolate and just drizzle some chocolate on top! You can also skip the chocolate altogether and serve them as plain shortbread cookies!
- Don’t skip the step of chilling the dough, it will make the dough much easier to roll out and work with. Also, make sure to roll it out between two sheets of parchment paper so that it doesn’t stick.


excellent, crunchy cookie on the first try. will definitely be added to our rotation. I used dark chocolate instead of semi sweet and its just a bit too bitter, I’ll do the semi sweet next time.
kid and husband approved even with the dark chocolate.
I kept that last few middles circles and baked them as mini cookies.
I’ve literally never left a rating on a recipe but these are INCREDIBLE. Thank you for these!!!!!
I’m so glad that you liked them Katie! Thank you for sharing your feedback and review!😊