
Homemade Cookie Crisp Cereal
on Mar 20, 2024
This post may contain affiliate links. Please read our disclosure policy.
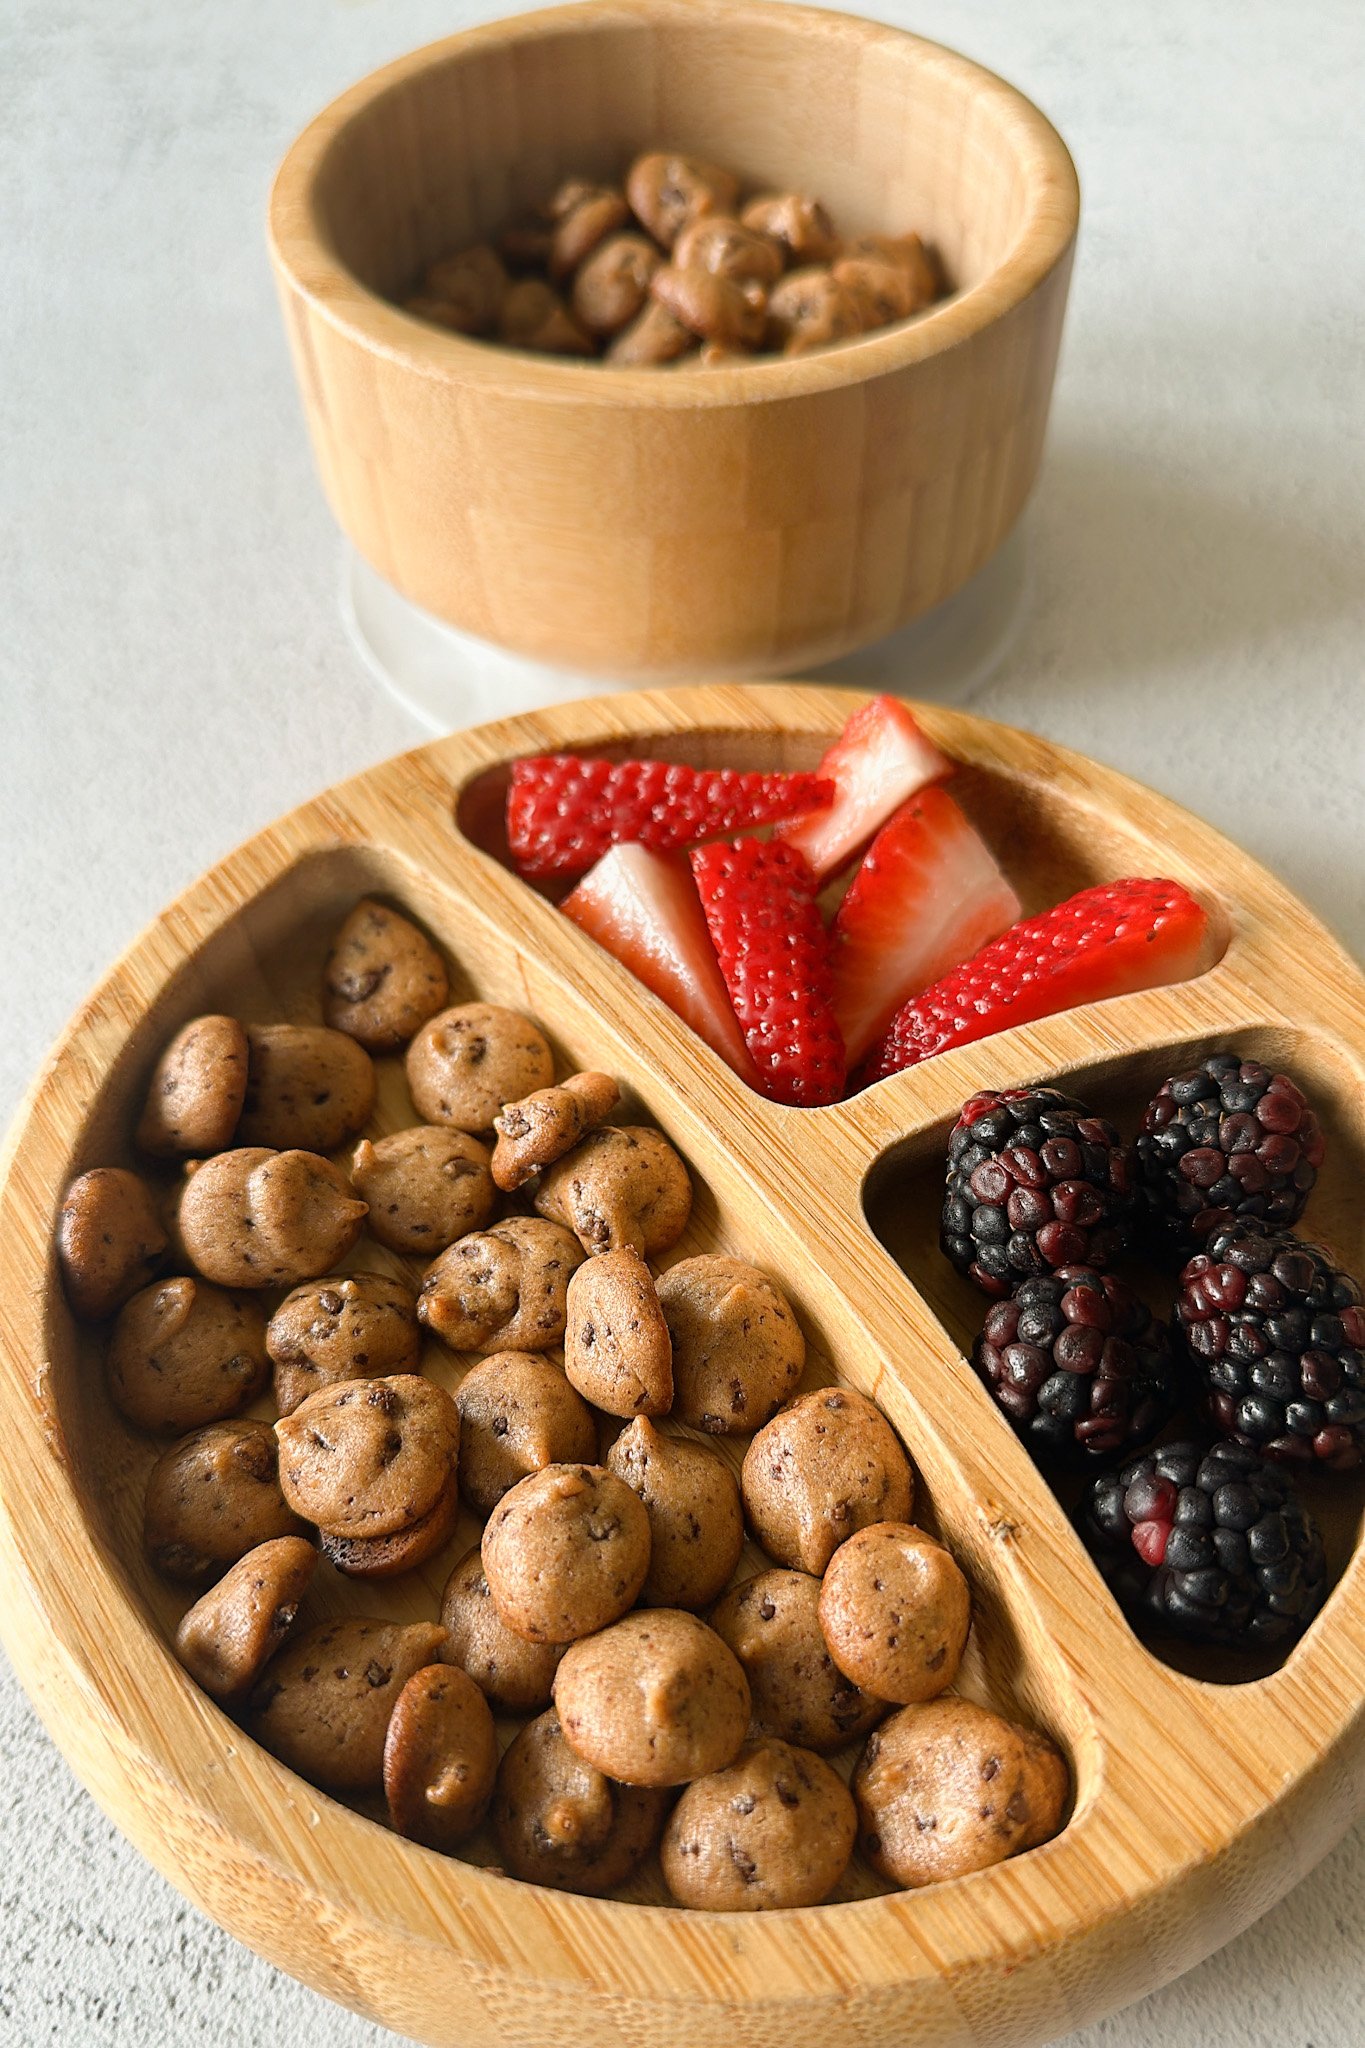
This cookie cereal recipe is made with 6 simple ingredients you likely have on hand. It’s egg-free and can be enjoyed with milk or as is for a sweet snack your little ones won’t be able to resist!
Cookies for breakfast? Yes, please! I remember walking through the cereal aisle as a kid and seeing boxes of Cookie Crisps on the shelf. My face always lit up at the idea of a big bowl of cookies with milk and the apple doesn’t fall far from the tree because my boys are cookie lovers just like their Mama. I wanted to create a simple homemade version for my boys and came up with this 6-ingredient homemade cookie cereal. Get your little ones involved in piping out the mixture for the mini cookie shapes and it’ll be a fun snacktivity they’ll be sure to love.
If you love this cookie cereal recipe, be sure to try out some of my other homemade cereal recipes like these homemade cocoa puffs and this homemade cinnamon toast crunch.
Table of Contents
What You’ll Need
Here is what you’ll need for this easy cookie cereal recipe:
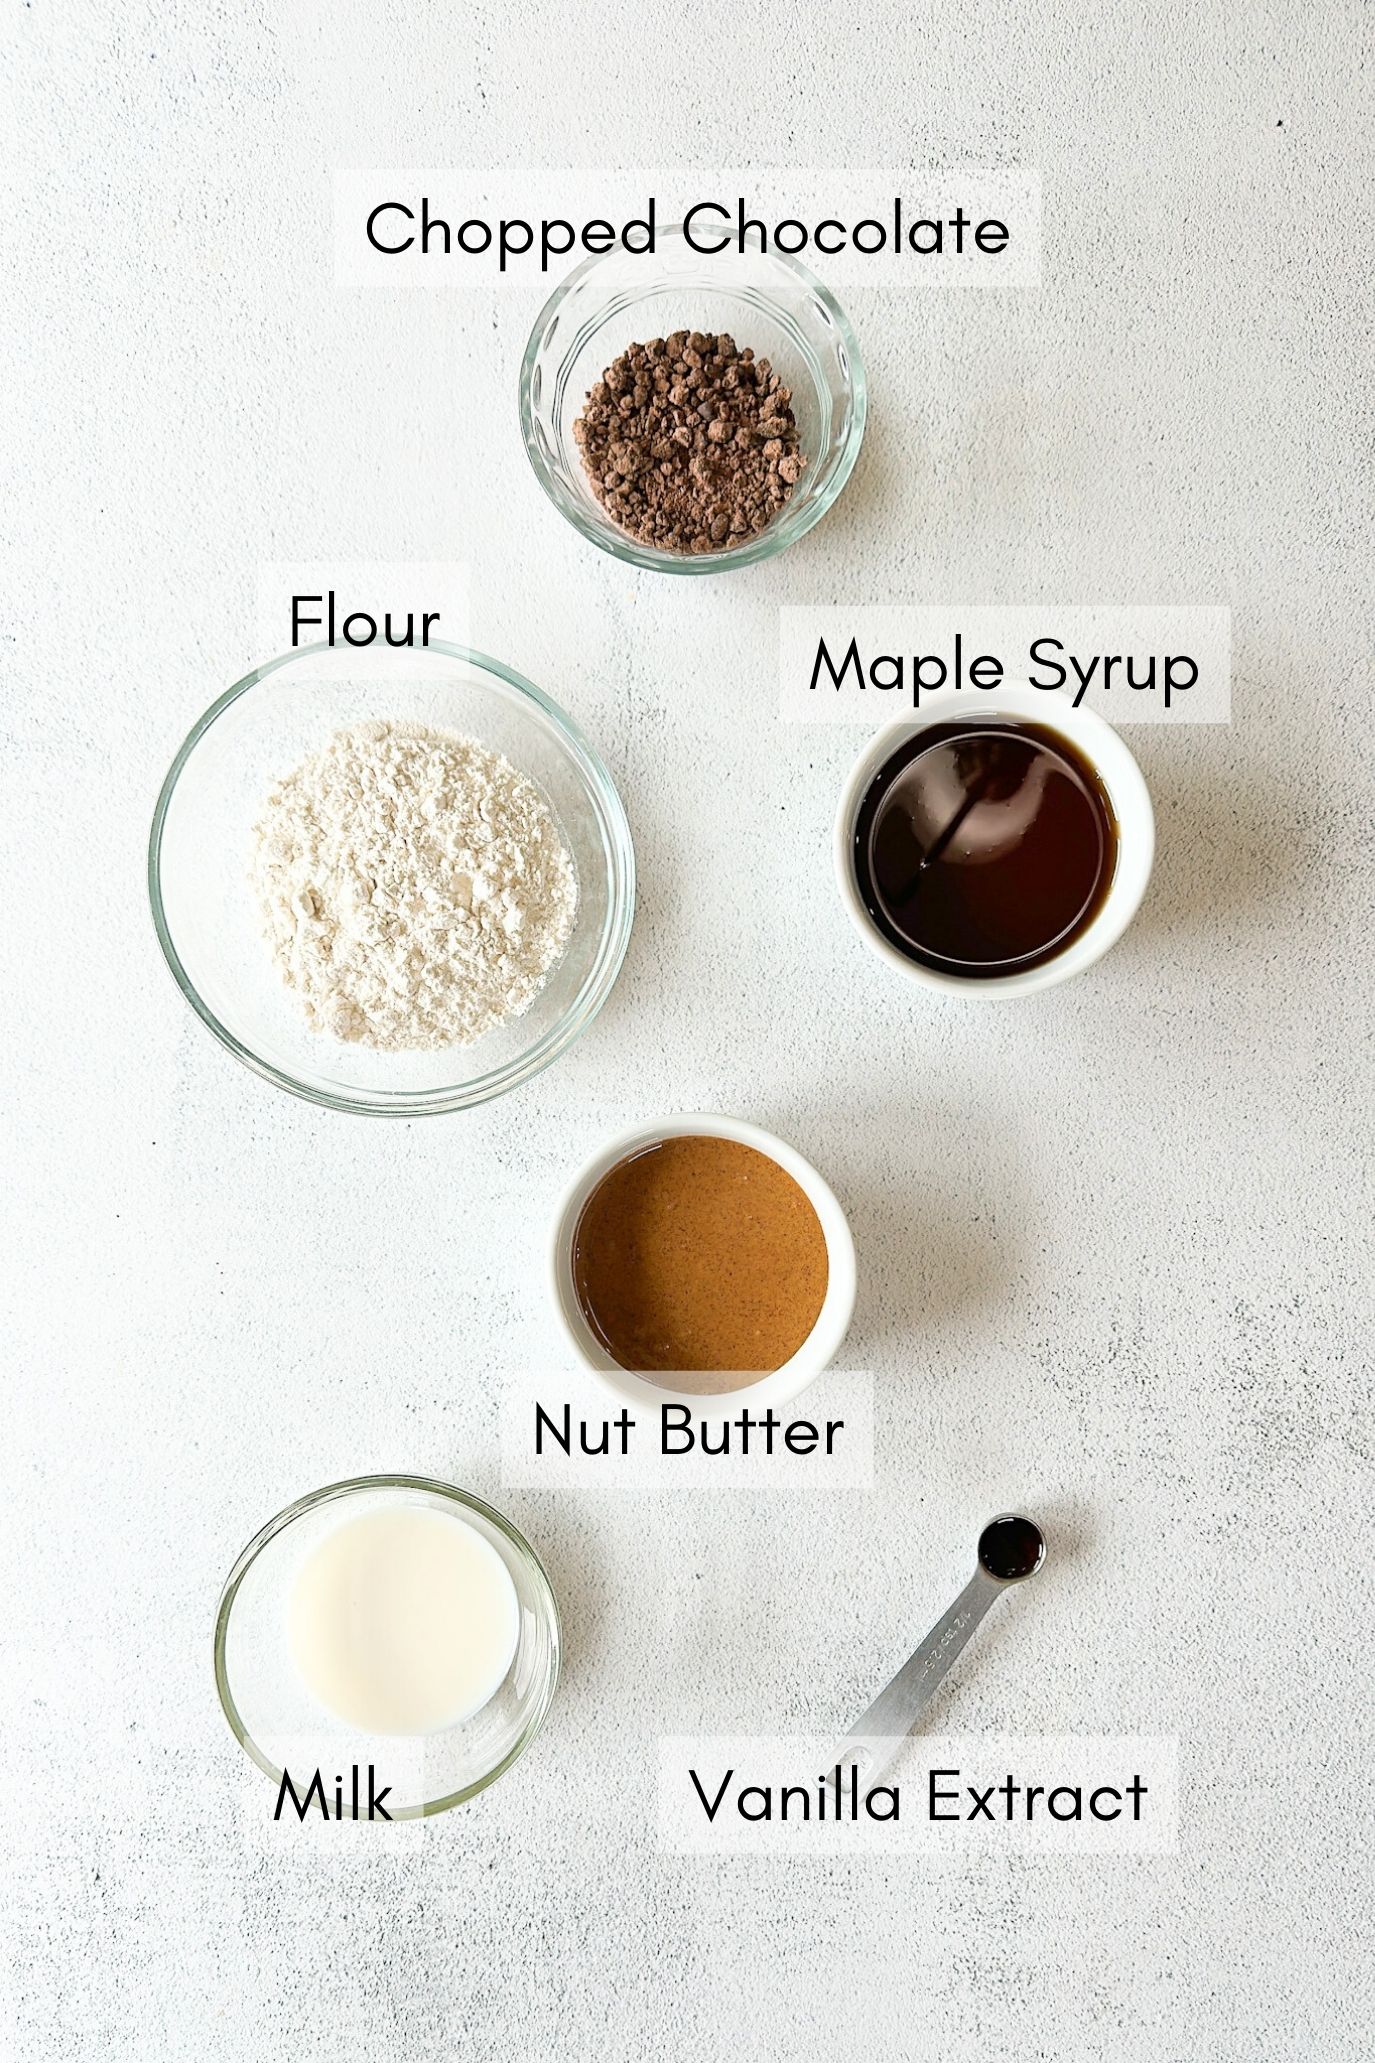
- All-Purpose Flour: Great for a lighter texture and smoother dough.
- Maple Syrup: The main source of sweetness for this cereal. I like to use the Kirkland brand organic maple syrup from Costco or this pure Vermont maple syrup.
- Almond Butter: Adds flavor and moisture to the dough. Make sure to use natural almond butter with only almonds (or almonds and salt) as the ingredients.
- Vanilla Extract: For added flavor and subtle sweetness to the cookies.
- Milk: For added moisture in the dough. Feel free to use any type of milk.
- Chopped Chocolate: I like to use chopped chocolate so that it mixes well into the dough mixture. Mini chocolate chips will also work but avoid using full-sized chocolate chips since they will be too big for the mini cookie bites.
See the recipe card below for full information on ingredients and quantities.
Ingredient Substitutions & Additions
- Almond butter: The almond butter may be replaced with another natural nut butter like peanut butter. I find that almond butter is less pronounced than peanut butter. For a nut-free version, swap it with a seed-based butter like sunflower butter or granola butter.
- All-Purpose Flour: This may be replaced with a different type of flour like white whole wheat flour or a gluten-free flour blend. If using white whole wheat, start with a smaller amount as white whole wheat flour absorbs moisture differently than all-purpose.
- Milk: The milk may be replaced with dairy-free milk or water to make this cereal dairy-free.
Step By Step Instructions
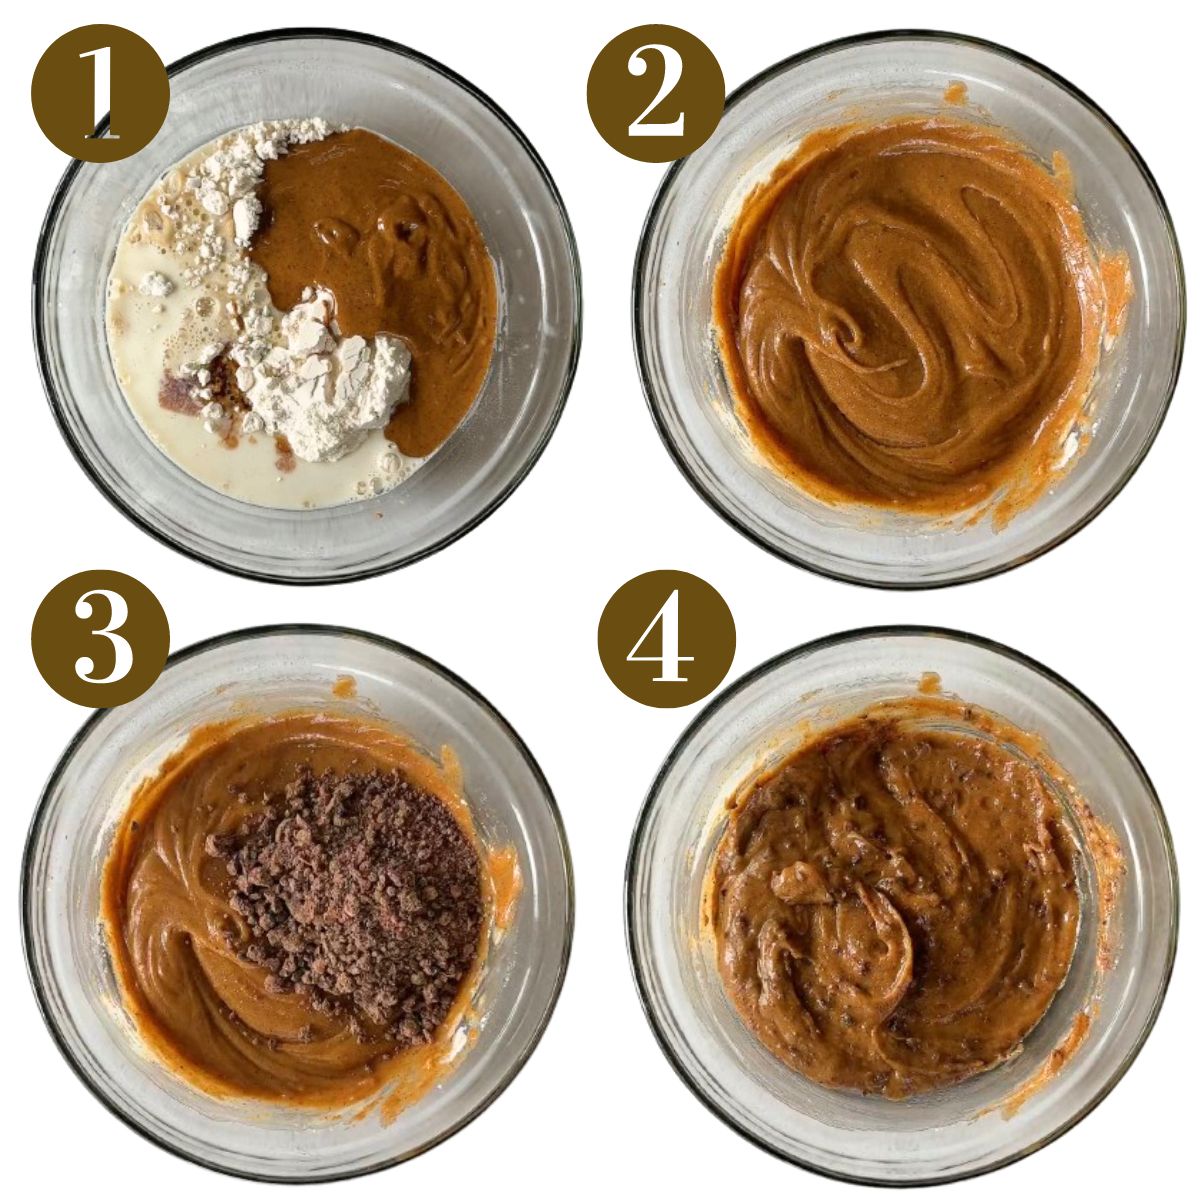
STEP 1: Add the flour, almond butter, maple syrup, milk, and vanilla extract to a bowl and mix until well combined into a thick, sticky mixture (Images 1 & 2). If the mixture seems too thick, add in a tiny bit more milk.
STEP 2: Add the chopped chocolate to the bowl and mix until combined (Images 3 & 4).
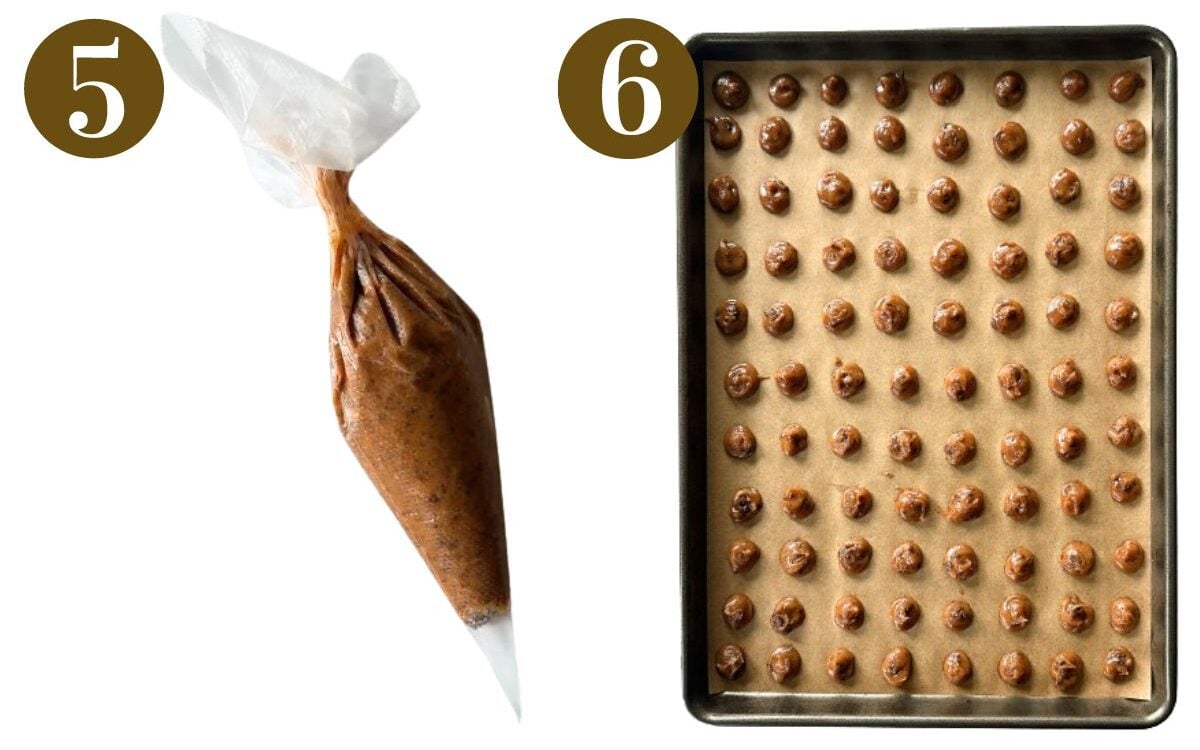
STEP 3: Pour the mixture into a piping bag or ziploc bag with the corner tip cut off (Image 5).
STEP 4: Pipe small dime-sized circles onto a parchment paper-lined pan. You should be able to fill two pans with this mixture (Image 6).
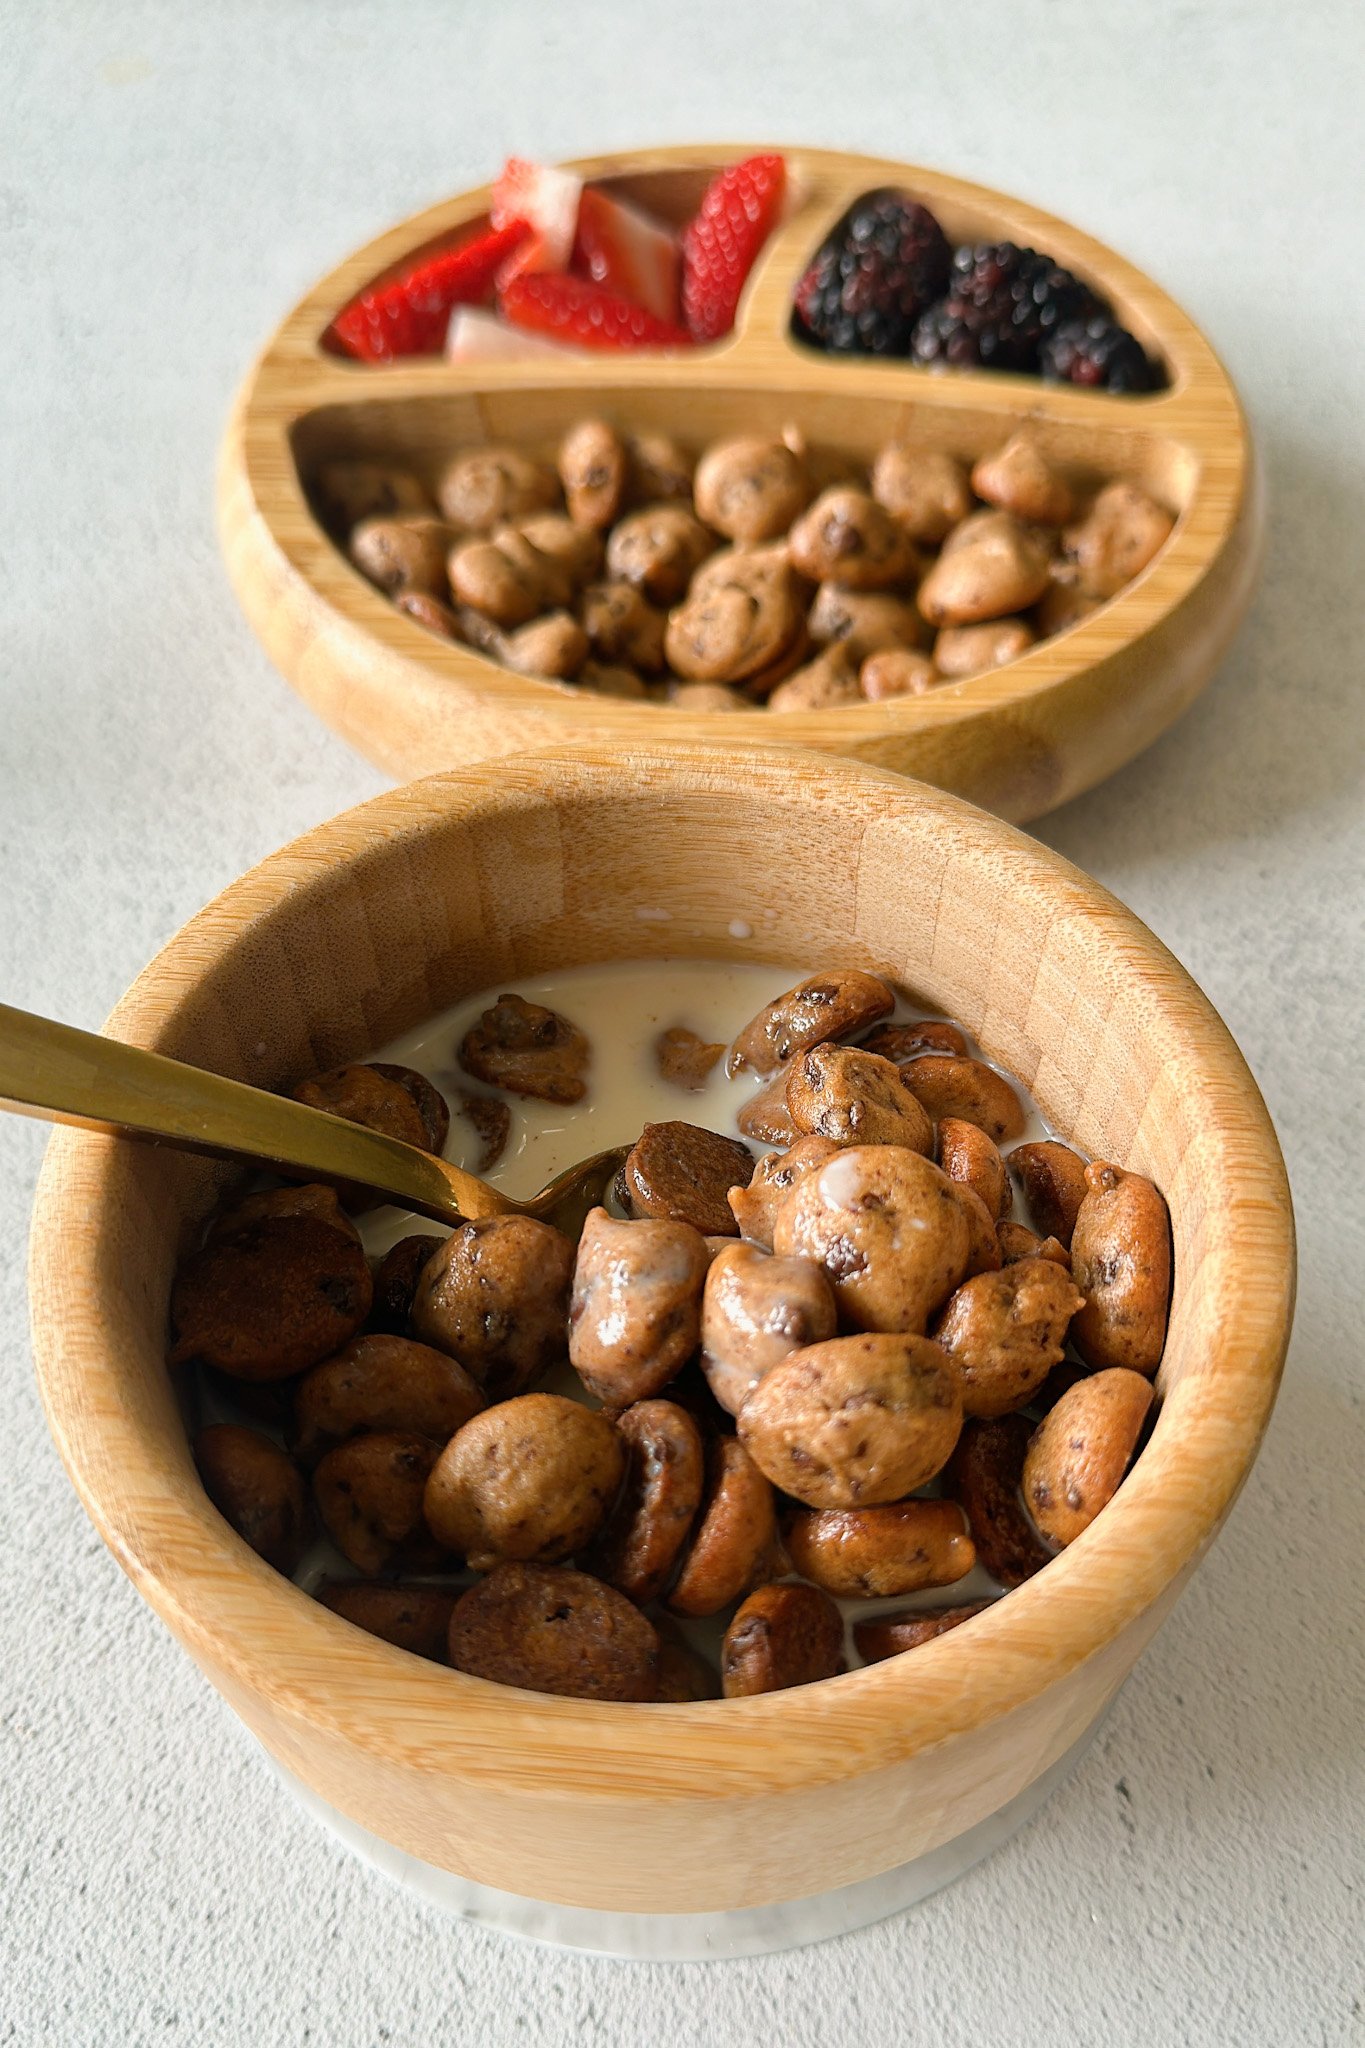
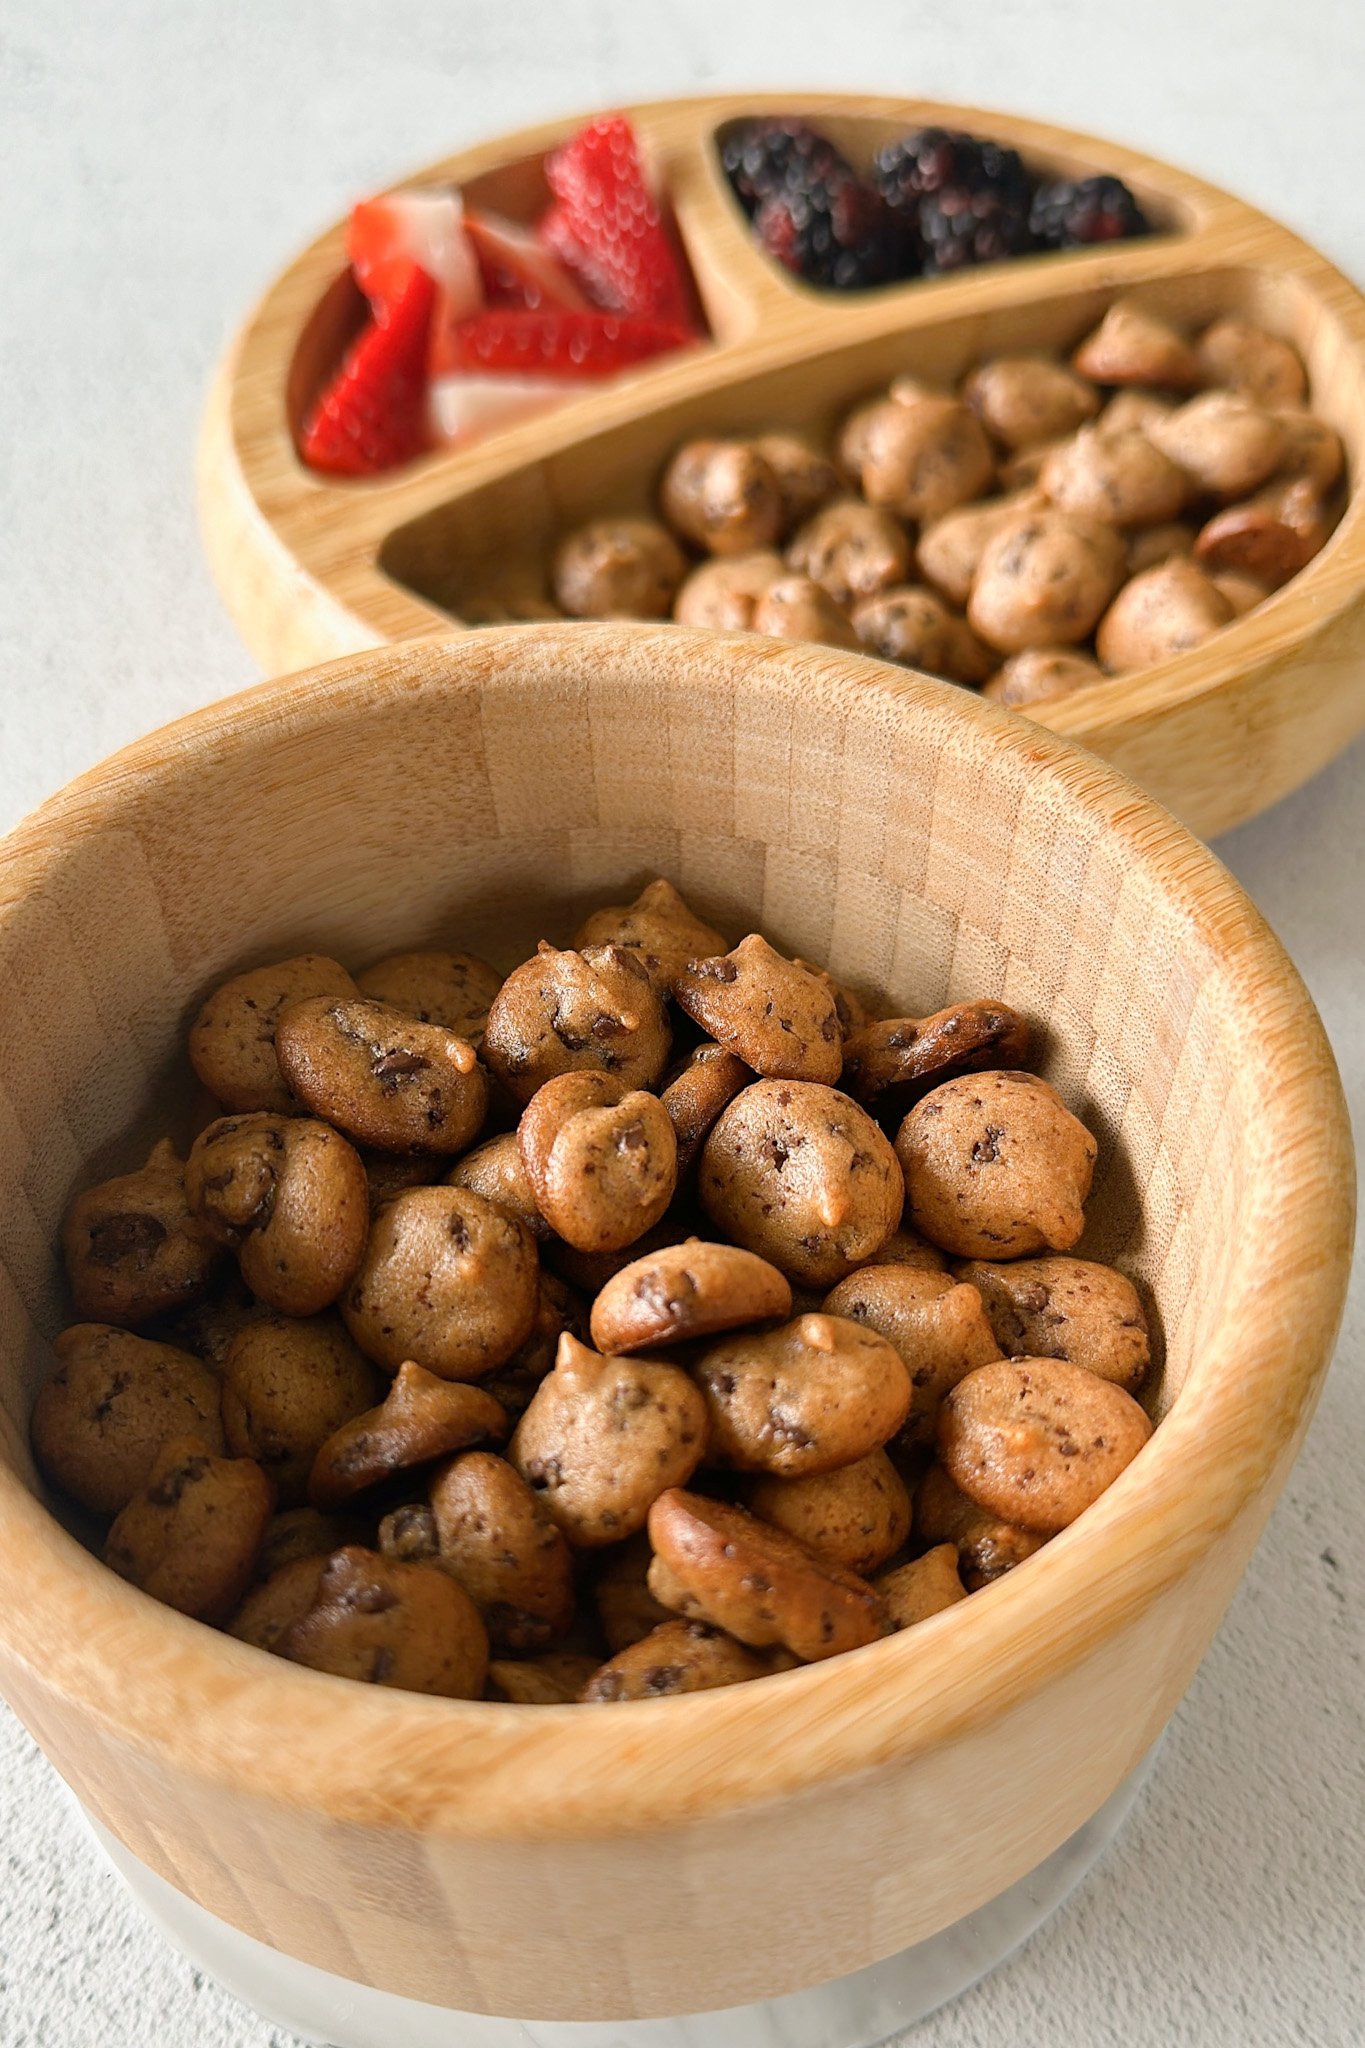
STEP 5: Bake the mini cookies for 13 to 15 minutes, or until the edges are lightly browned. Let them cool completely before serving. They will be soft at first right out of the oven but will firm up as they cool. Serve with milk or enjoy as is!
Storage Instructions
Once cooled, store the homemade cookie crisps in an airtight container at room temperature for up to 5 days. They will be crunchy at first but will get softer in texture once stored.
Tips For Success
- Be sure to check on the cereal at the 13-minute mark and remove them from the oven once the edges are lightly brown so that they do not burn. Carefully flip one of the mini cookies over to check the color. They will be soft at first but will firm up as they cool.
- If the dough seems too dry, add a very small amount of milk, but be careful not to add too much so that the mixture becomes too moist.
- Natural almond butter or peanut butter works best for this recipe since it contains natural oils from the nuts which help add moisture to the dough. You want the nut butter to be drippy in texture.
- Make sure to use finely chopped chocolate chips so that large chunks don’t get stuck in the piping bag, making it difficult to pipe out the small circles.
Recipe FAQs
Yes! You can pipe out larger circles if you’d like but if making larger cookies, you will need to increase the total bake time to ensure they cook through.
Mini chocolate chips may work but pieces may occasionally get stuck in the piping bag when trying to pipe out small holes. You can give chocolate chips a quick chop before mixing them into the batter to make the circles easier to pipe.
Other Breakfast Treats You’ll Love
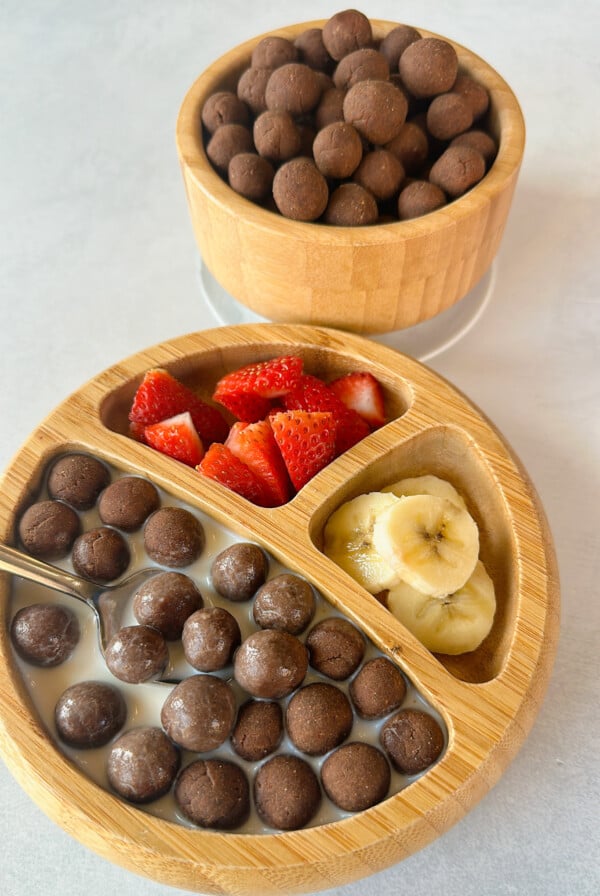
Easy Cocoa Puffs Recipe
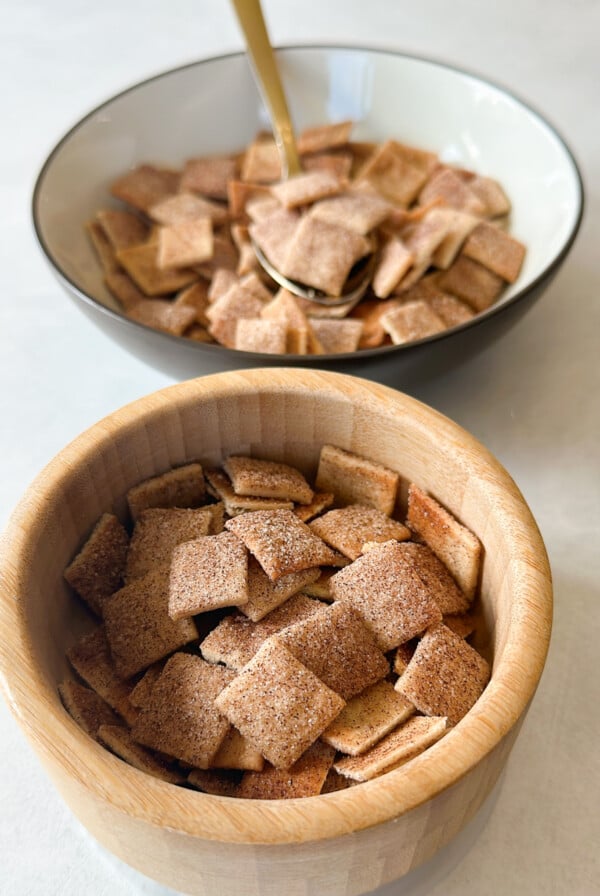
Homemade Cinnamon Toast Crunch
Air Fryer Donut Holes

Chocolate Chip Oat Muffins
If you tried this Cookie Cereal Recipe please leave a ⭐ star rating and let me know how it went in the comments below! I love hearing from you!

Cookie Cereal Recipe
Ingredients
- ½ cup all purpose flour
- ¼ cup natural almond butter or peanut butter, make sure to use the drippy kind
- ¼ cup pure maple syrup
- 2 tbsp milk
- ½ tsp vanilla extract
- 3 tbsp finely chopped chocolate
Instructions
- Preheat the oven to 325 degrees F (163 degrees C).
- Add the flour, almond butter, maple syrup, milk, and vanilla extract to a bowl and mix until well combined into a thick, sticky mixture. If the mixture seems too thick, add in a tiny bit more milk.
- Add the chopped chocolate to the bowl and mix until combined.
- Pour the mixture into a piping bag or ziploc bag with the corner tip cut off.
- Pipe small dime-sized circles onto a parchment paper-lined pan. You should be able to fill two pans with this mixture.
- Bake the mini cookies for 13 to 15 minutes, or until the edges are lightly browned. Let them cool completely before serving. They will be soft at first right out of the oven but will firm up as they cool. Serve with milk or enjoy as is!
Notes
- Be sure to check on the cereal at the 13-minute mark and remove them from the oven once the edges are lightly brown so that they do not burn. Carefully flip one of the mini cookies over to check the color. They will be soft at first but will firm up as they cool.
- If the dough seems too dry, add a very small amount of milk, but be careful not to add too much so that the mixture becomes too moist.
- Natural almond butter or peanut butter works best for this recipe since it contains natural oils from the nuts which help add moisture to the dough. You want the nut butter to be drippy in texture.
- Make sure to use finely chopped chocolate chips so that large chunks don’t get stuck in the piping bag, making it difficult to pipe out the small circles.


These are dangerous!! The ones I almost accidentally burned are nice and crunchy so if that’s what you are looking for a longer bake will get you there. They were brown when I pulled them out and still tasted great. Also a note regarding piping, mine didn’t spread or really take on a different shape. Something to keep in mind for spacing on the pan and overall look. Great recipe will be making these again and trying not to eat them all in the same day!
I make this almost every week it’s so good and easy thanks for the recipe
I’m so glad you enjoy them, Ally!😊
Is there a substitute for the nut butter?
Hi Rese! Nut butter can be replaced with sunflower butter or another seed based spread😊
is it suitable for 1 year old baby
Hi Sherin! This recipe is reccomended for little ones ages 2 and up.
I saw one of your replies say this recipe is recommended for age 2 and up. Was wondering why? Is it because of the sugar content? Or is it a choking hazard for 1 year old baby?
I have an 18M and a 2.5yo, and she always try to eat whatever her older brother eats haha
Hi Hien! I usually recommend these for age 2 and up because they’re small in size an a little on the crispier side, but if you feel comfortable offering them to your little one depending on their chewing abilities, you can! You can also pipe them into large strips to bake😊
We love these! Is it possible to batch cook and then feeeze?
I’m so glad you enjoyed them! I haven’t tried freezing because I’m not sure how it would affect the texture, but they can be frozen in an airtight container if you don’t mind a slight texture change😊
We made these today – they were an absolute hit! However, wondering what the serving size is for nutrition?
Thanks!
Hi Mer, I’m so glad that you enjoyed it!😊 One serving calculated from the nutrition facts is 1/4 of a batch of the cereal. I hope that helps!
I made these today and they are delicious, but mine did not get crispy after cooling. Any idea why?
Hey Amanda! If they’re not crispy after cooling, I’d suggest piping the circles smaller. You want them to be about the size of a dime. You can also try baking for a couple of minutes longer as oven temperatures can vary. I hope that helps!
All I can say is… WOW. I made these for my toddler but I ended up eating a decent amount before she got any. These are delicious for all ages and such a great quick recipe. I substituted the all purpose flour with sprouted wheat flour so it’s a little bit more grainy but still delicious. Definitely a recipe I will be making again and again.
Hi Amy! I’m so glad to hear that you enjoyed this recipe! Thank you for taking the time to share your feedback!😊
im from malaysia. thank you for share the recipe. especially with EGG free, as my 2yo daughter alergic to white egg & have eczema. love you.thank you.
I’m so glad you find the egg free recipes helpful Zizie!😊
This looks amazing! How long can you save this in an air tight container?
Hi Azzah! These can be stored at room temperature in an airtight container for up to 5 days. I hope you like them if you give them a try!😊