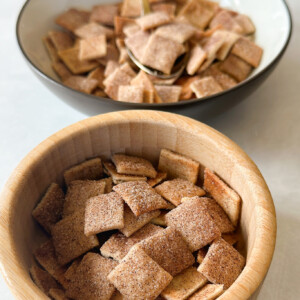
Homemade Cinnamon Toast Crunch
on Feb 07, 2024, Updated Mar 17, 2024
This post may contain affiliate links. Please read our disclosure policy.
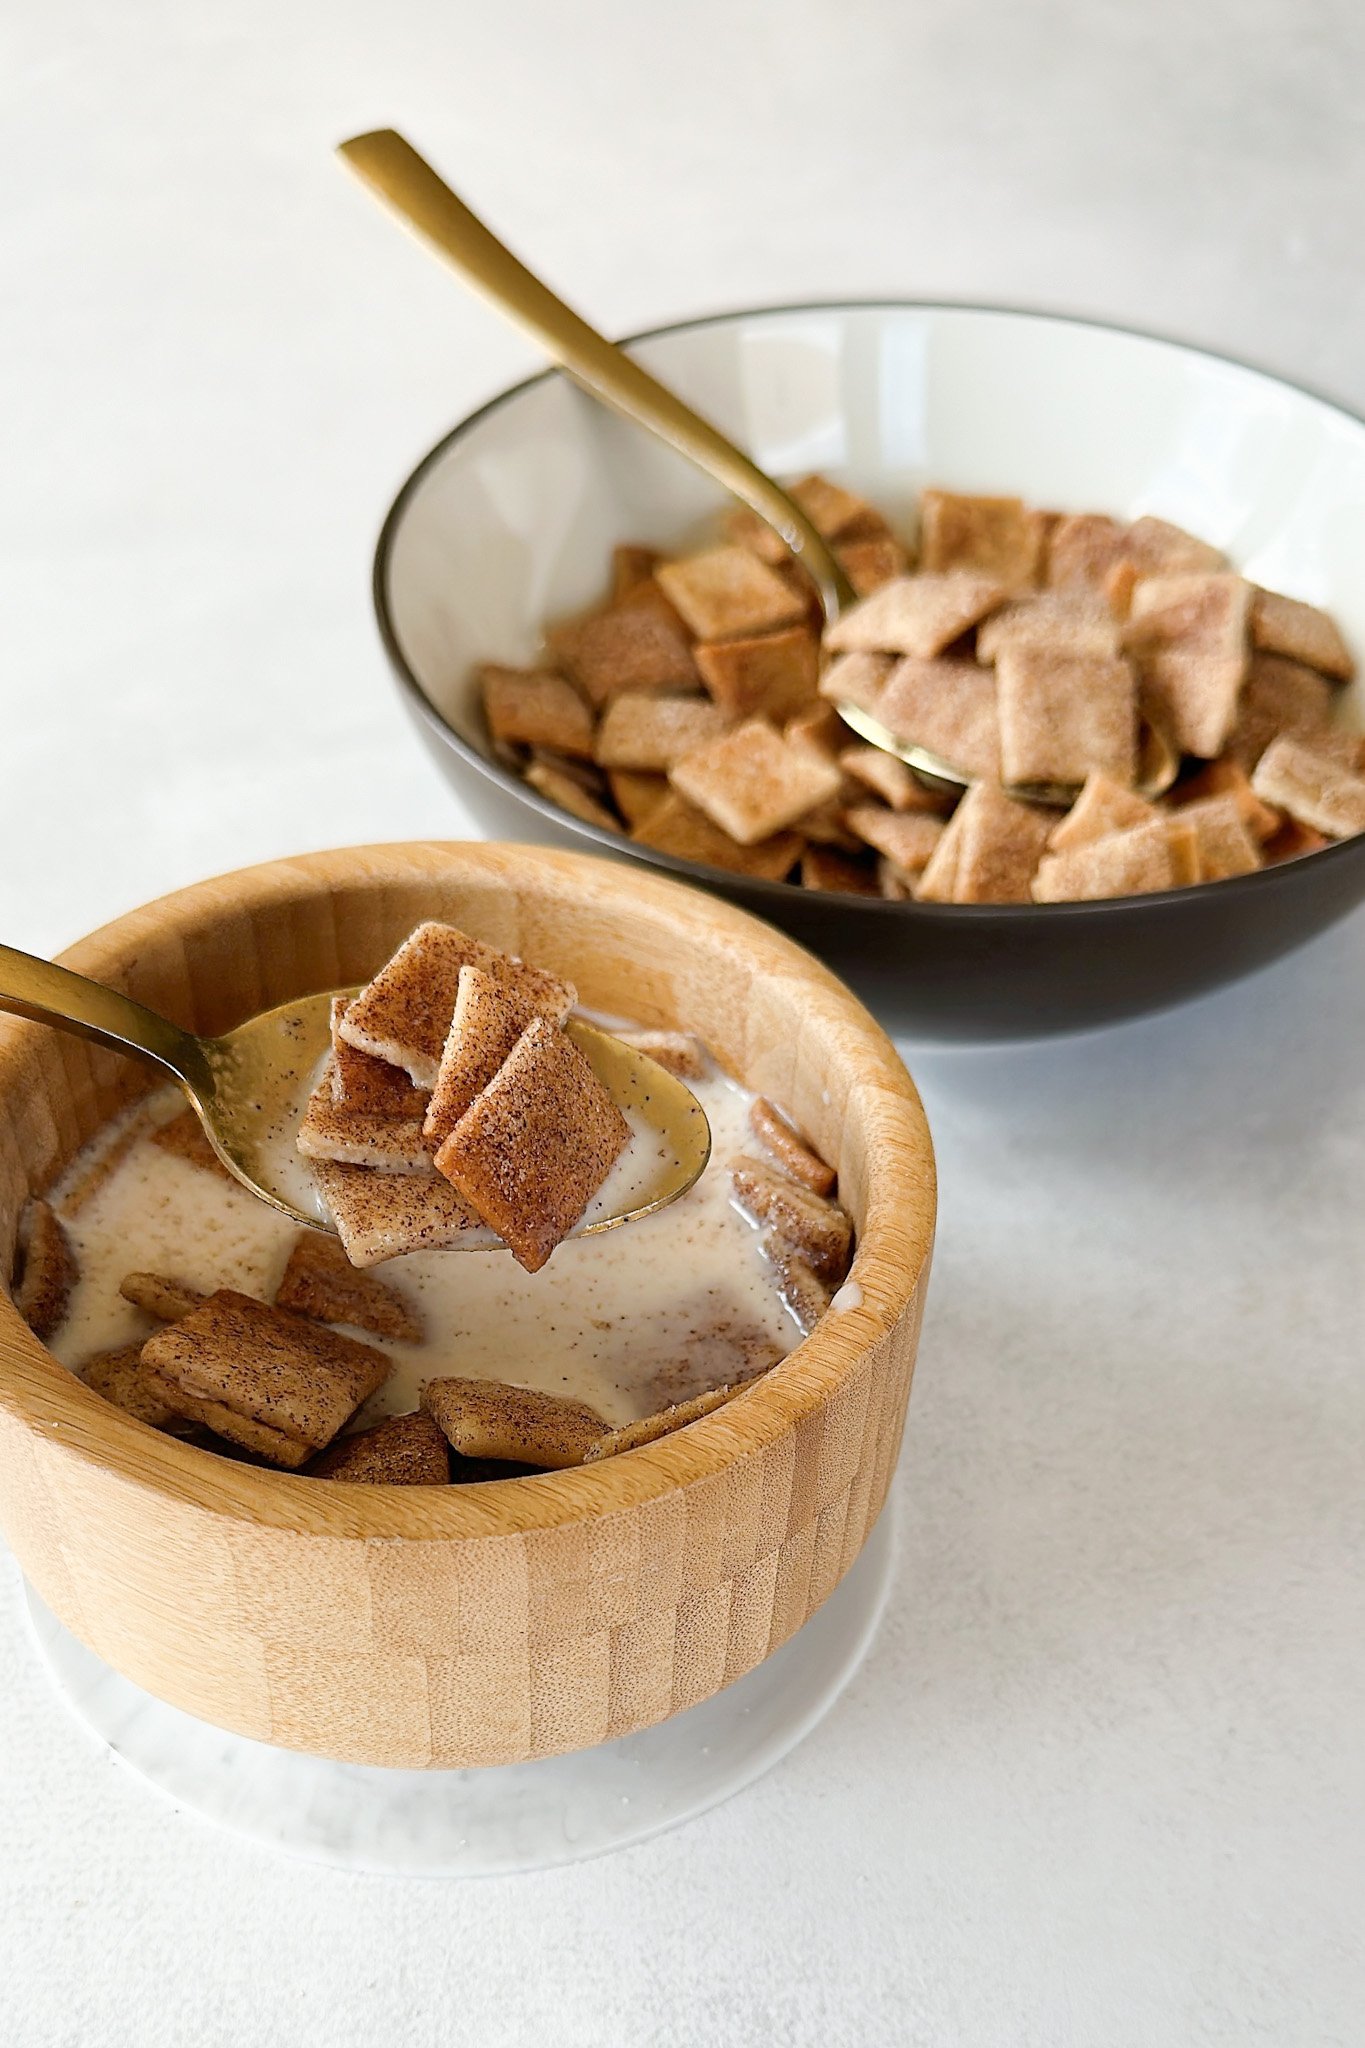
Homemade cinnamon toast crunch is the perfect nostalgic treat. It’s a sweet blend of crispy, cinnamon-coated squares made with simple ingredients you likely have on hand! They’re egg-free, and nut-free and can be enjoyed with milk or as a sweet crunchy snack!
After making a version of homemade cocoa puffs, I was inspired to try to replicate some other known cereal varieties. Cinnamon toast crunch cereal was the first thing that came to mind because of its famous cinnamon sugar coating and crunch. It’s a classic and it’s so easy to make your own version at home! You can customize it with as much or as little cinnamon sugar coating as you’d like and you’ll still get that sweet cinnamon-flavored milk that you’ll want to gulp down once you’re done with a bowl!
If you love this recipe and are in the mood for more cinnamon-sugar treats, you’ll also love these light and fluffy cinnamon muffins, flaky cinnamon apple croissants, and 2-ingredient cinnamon sugar pretzel dough bites!
Table of Contents
What You’ll Need
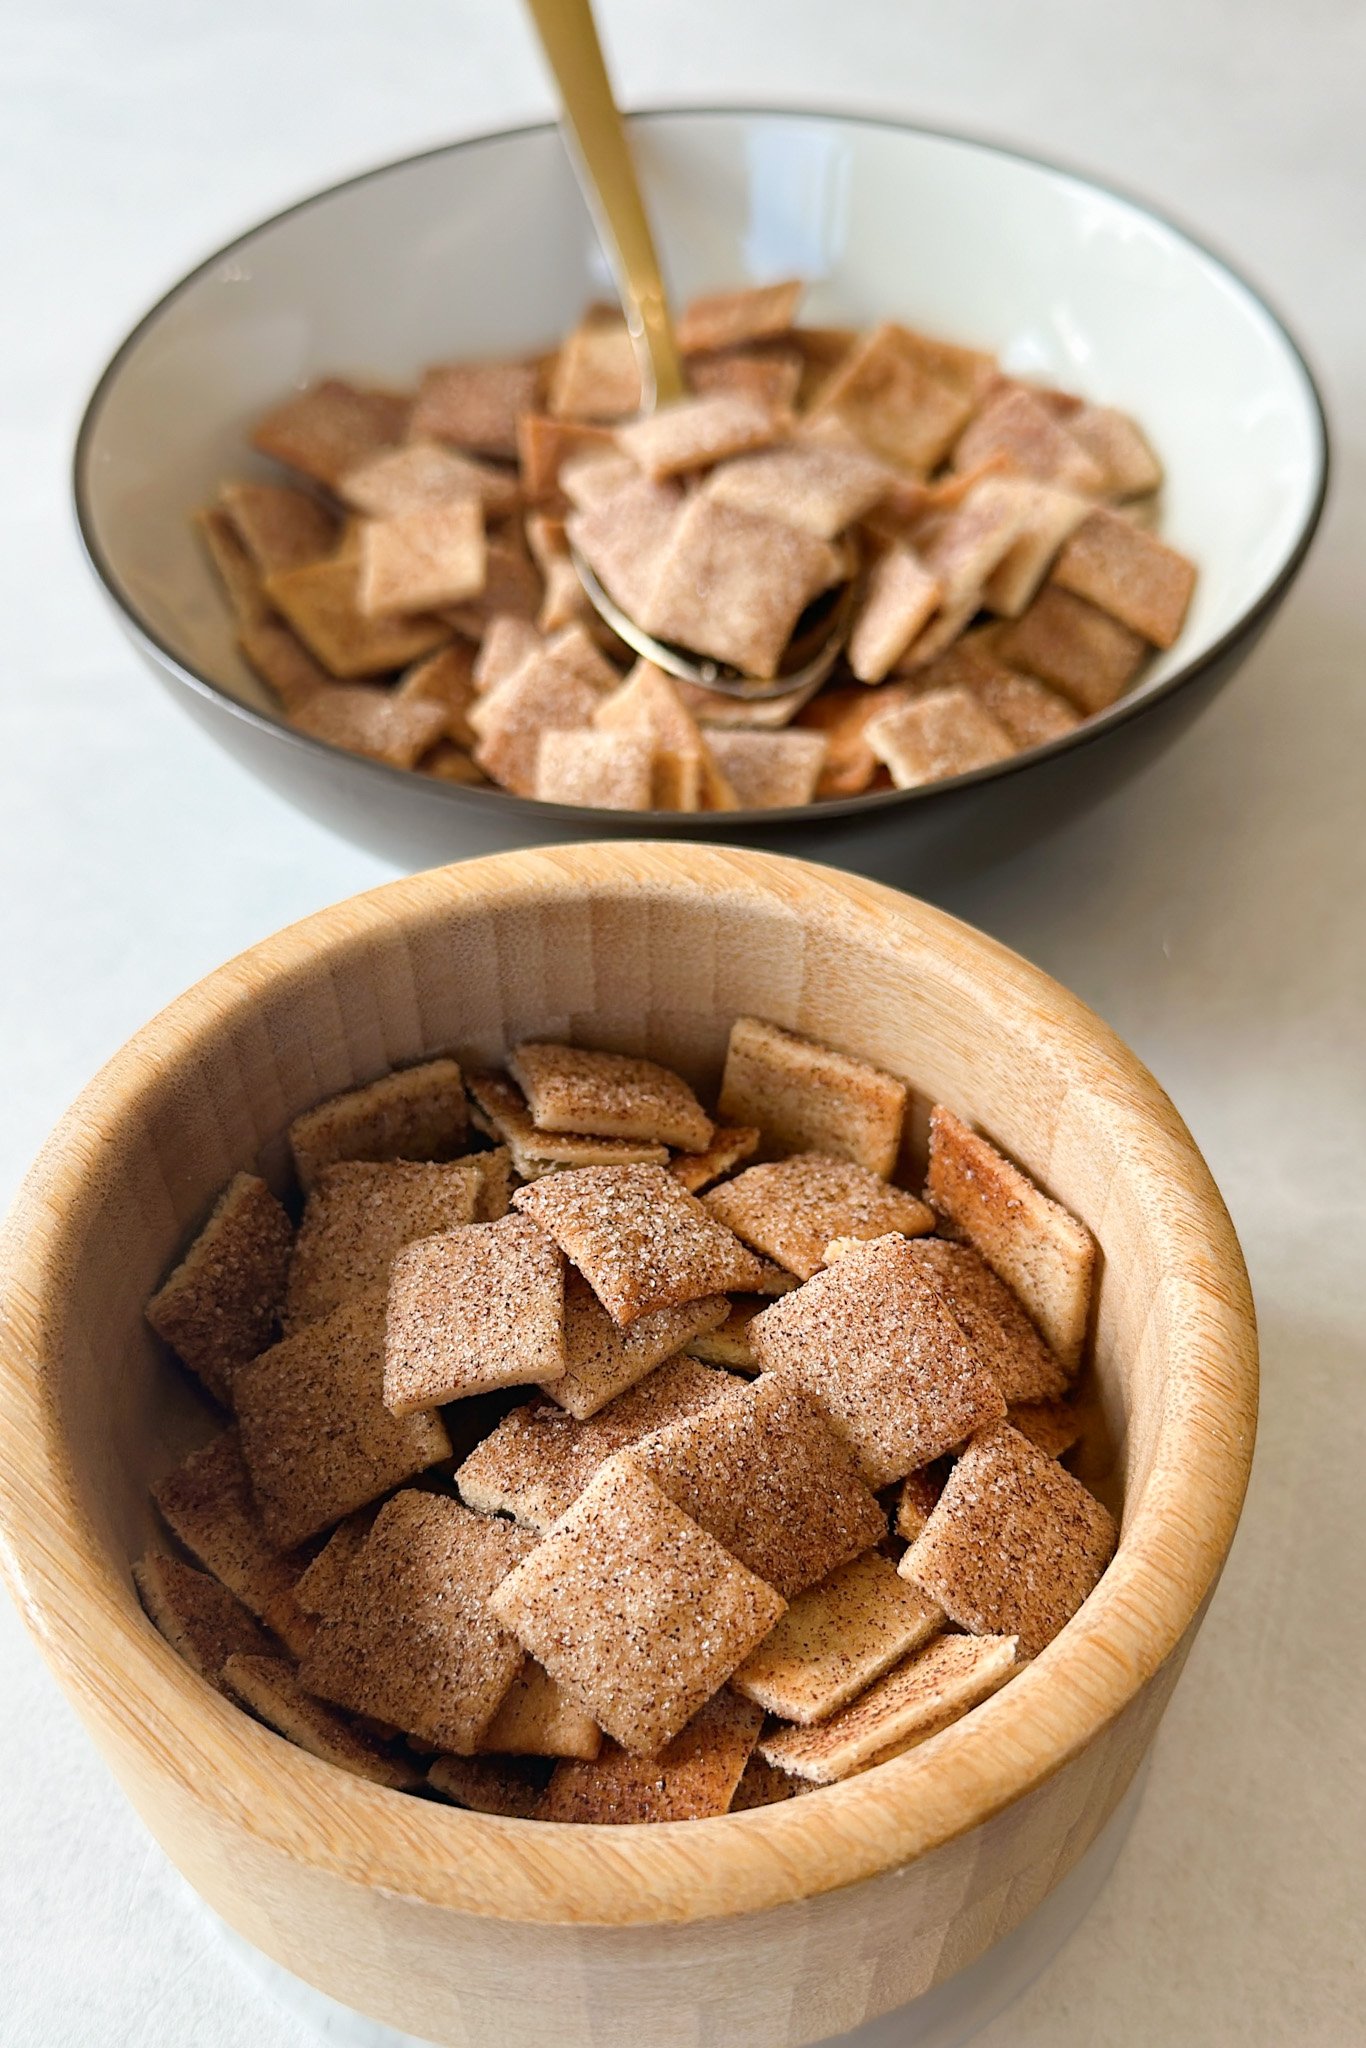
Here is what you’ll need to make this homemade cinnamon toast crunch:
- All-Purpose Flour: Make sure to measure your flour correctly by scooping flour into the measuring cup in increments (not putting the entire measuring cup into the flour) and leveling it off with a knife.
- Butter: Adds light flakiness and flavor to the dough. I used unsalted butter, but if you are using salted butter, just omit the added salt in the recipe.
- Cinnamon: Use both in the dough and in the classic cinnamon sugar coating.
- Salt: To balance the buttery sweetness in the dough.
- Maple Syrup: Adds light sweetness to the cereal base. I like to use the Kirkland brand organic maple syrup from Costco.
- Water: Adds slight moisture to bring the dough together.
- Melted Butter: Brushed onto dough so that the cinnamon sugar has something to stick to.
- Cinnamon Sugar: You can use store-bought cinnamon sugar or make a simple homemade one.
See the recipe card below for full information on ingredients and quantities.
Ingredient Substitutions & Additions
- All-Purpose Flour: This may be replaced with a different type of flour like white whole wheat flour or a gluten-free flour blend. If using white whole wheat, start with a smaller amount as white whole wheat flour absorbs moisture differently than all-purpose.
- Butter: For a dairy-free option, swap the butter with dairy-free butter like these olive oil plant-based butter sticks.
- Maple Syrup: You may replace the maple syrup with equal parts honey. Note – Honey should not be offered to babies under the age of 1 as per CDC guidelines.
Step By Step Instructions
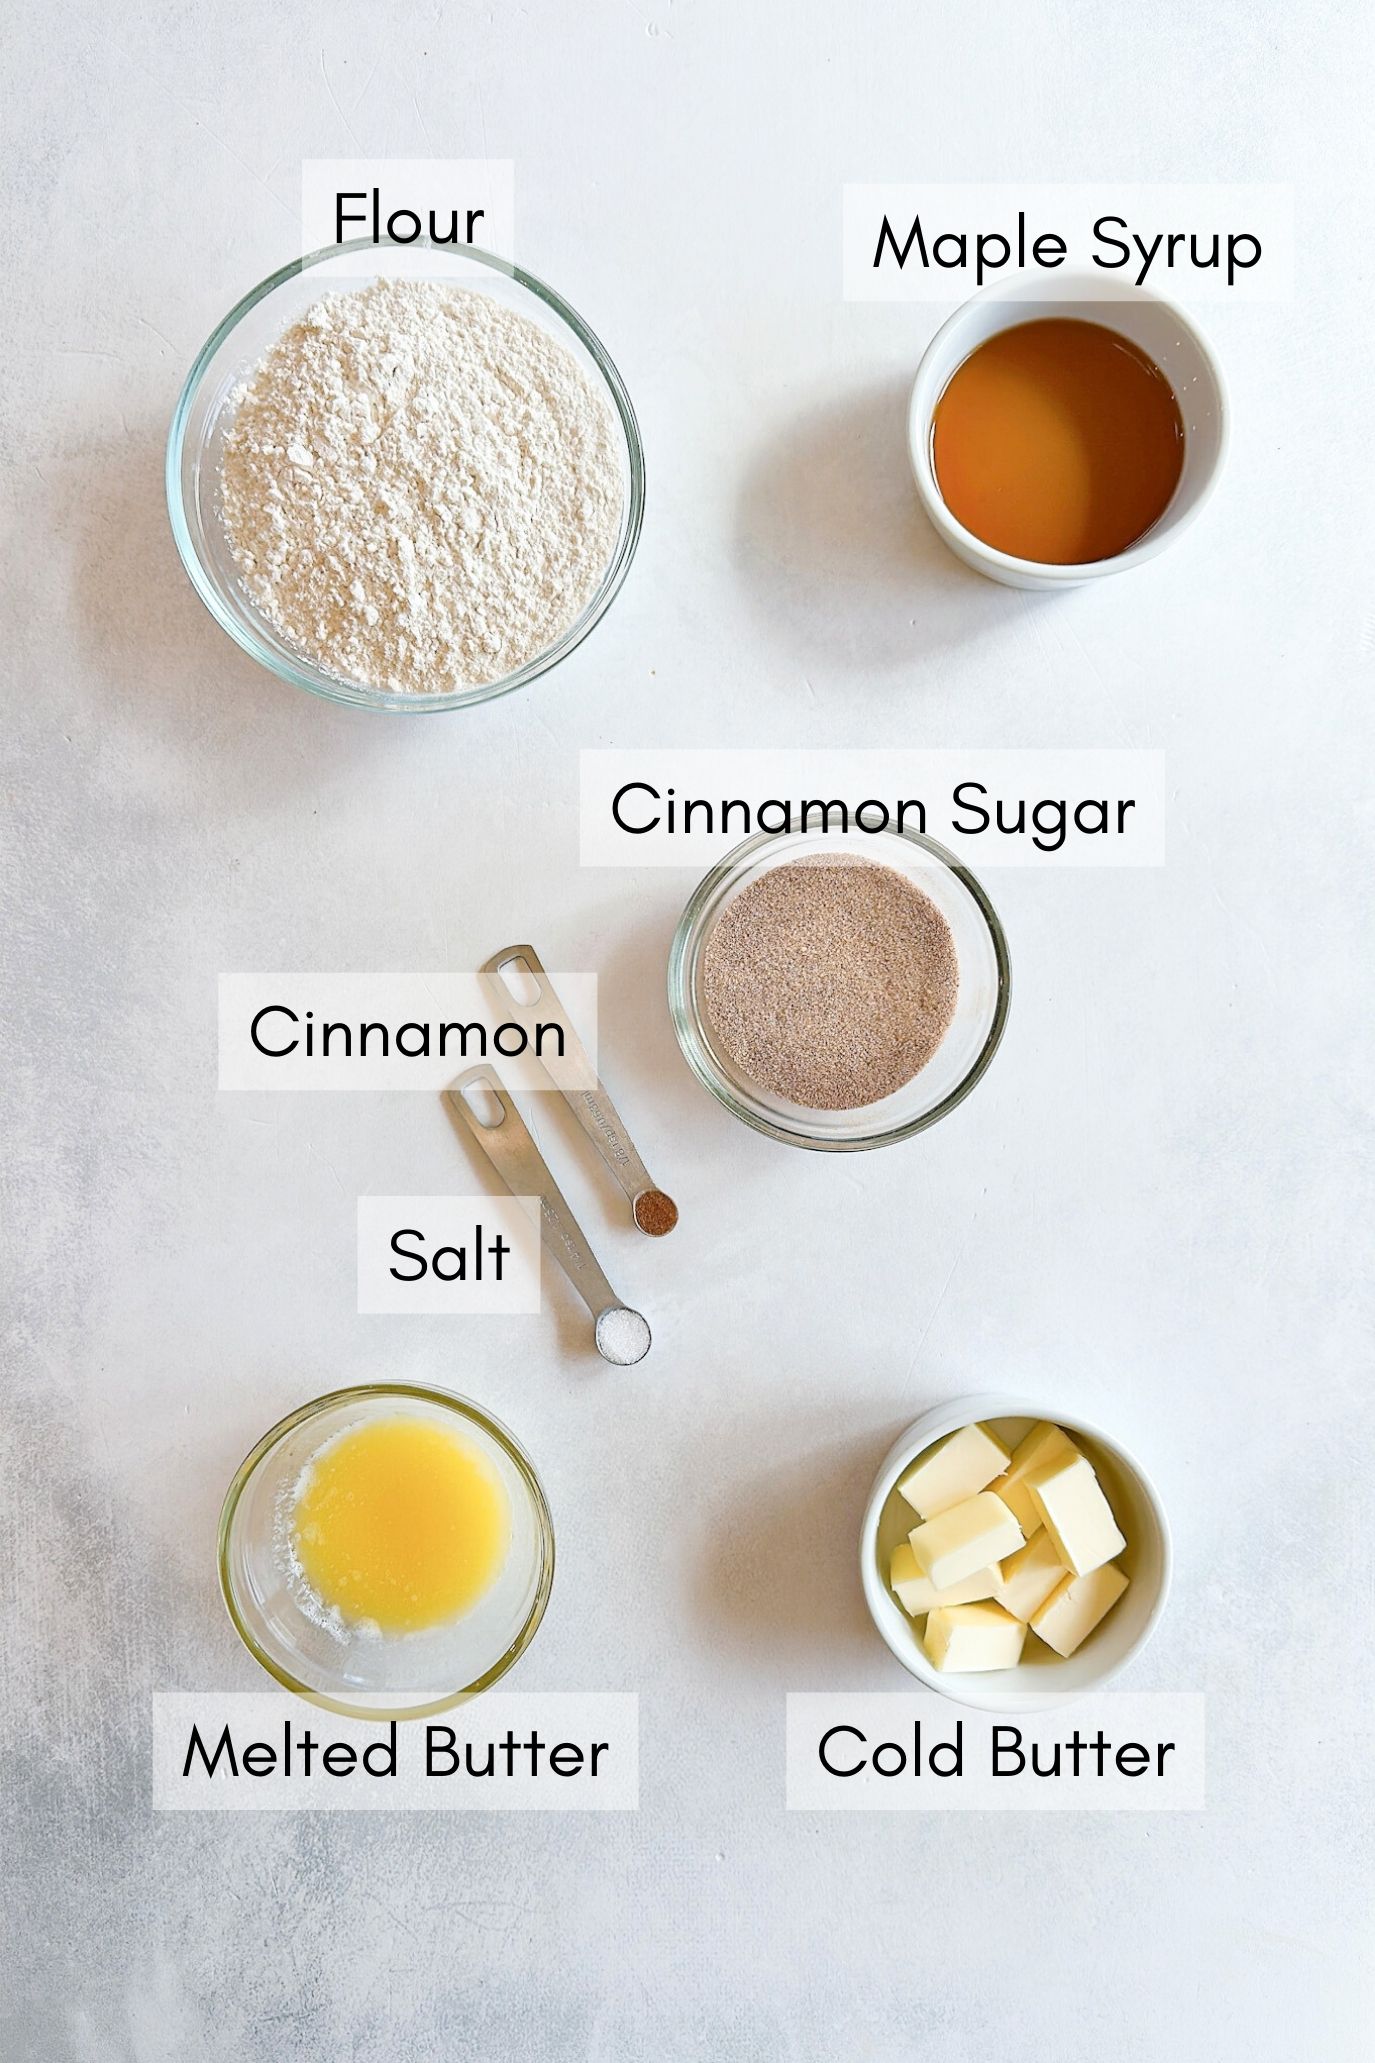
STEP 1: Add the flour, butter, salt, and ground cinnamon to a food processor and pulse until it is combined and grainy in texture (Images 1 & 2).
STEP 2: Add in the maple syrup and water and pulse until it comes together to form a dough. It will seem dry and crumbly at first, but as you continue to pulse, it will come together into a dough (Images 3 & 4). If your dough is extremely dry, add an extra tablespoon of water, but be careful not to add too much so that the dough is not sticky.
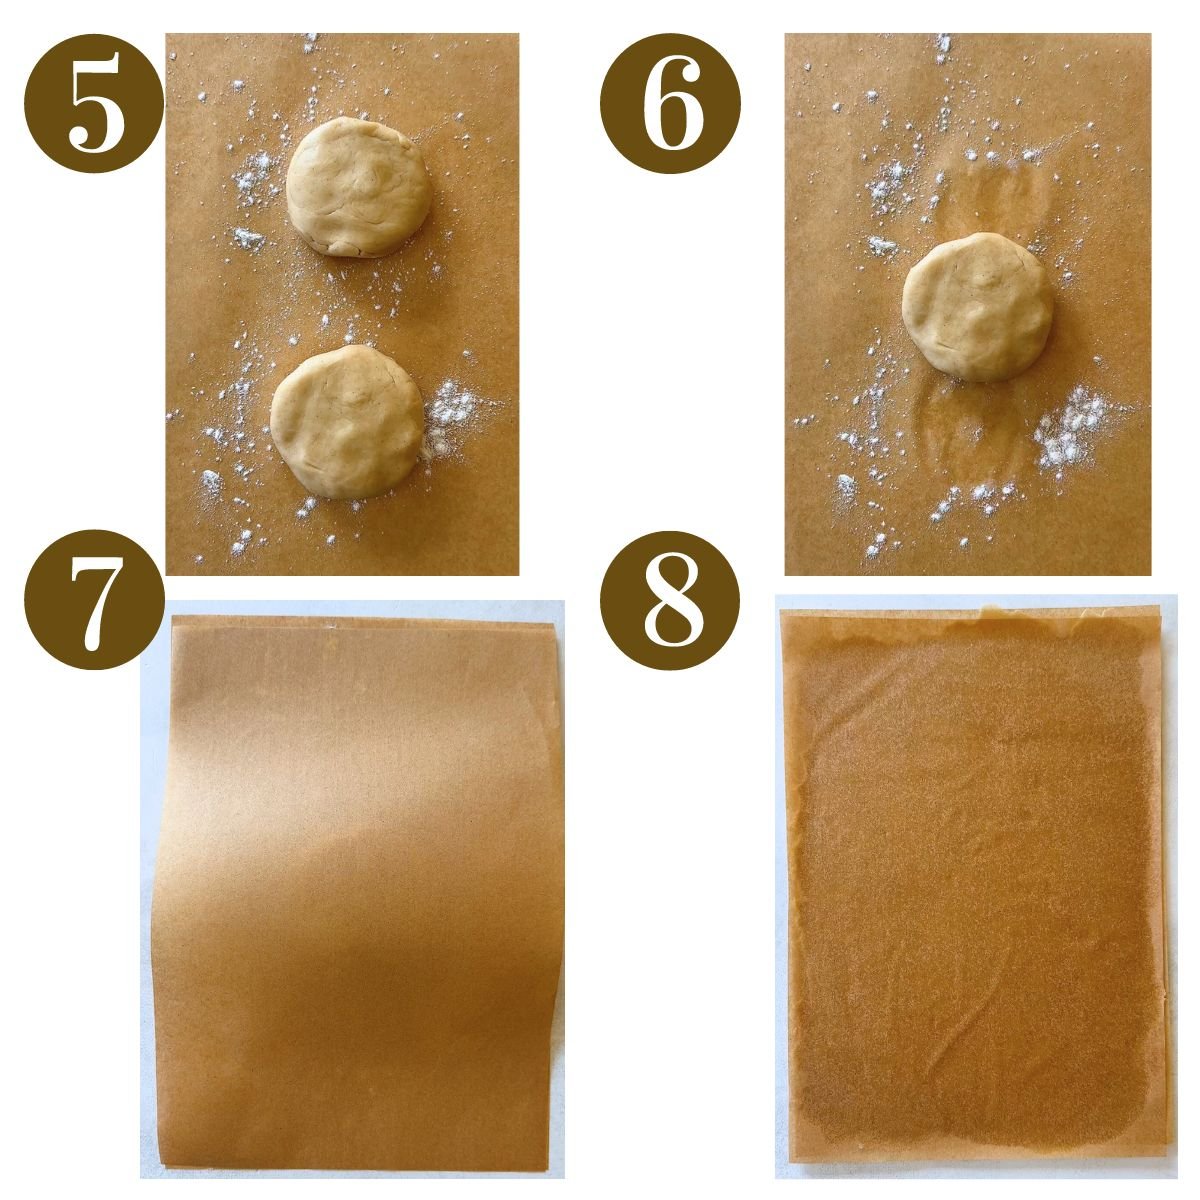
STEP 3: Split the dough in half (Image 5) and set one half aside. Place the first half on a lightly floured sheet of parchment paper (Image 6) and place another sheet of parchment paper on top of it (Image 7).
STEP 4: Use a rolling pin to roll out the dough between the two sheets of parchment paper to get it to be as thin as possible (Image 8). The key to getting crunchy cereal pieces is to roll the dough out thin. The dough will slightly puff up while making, so roll it out as thin as you can. Slowly peel away and check to make sure that the dough is an even, thickness. I usually like to use a pizza slicer to shape the rolled dough into a rectangle to make it easier to get uniform pieces, but this is optional.
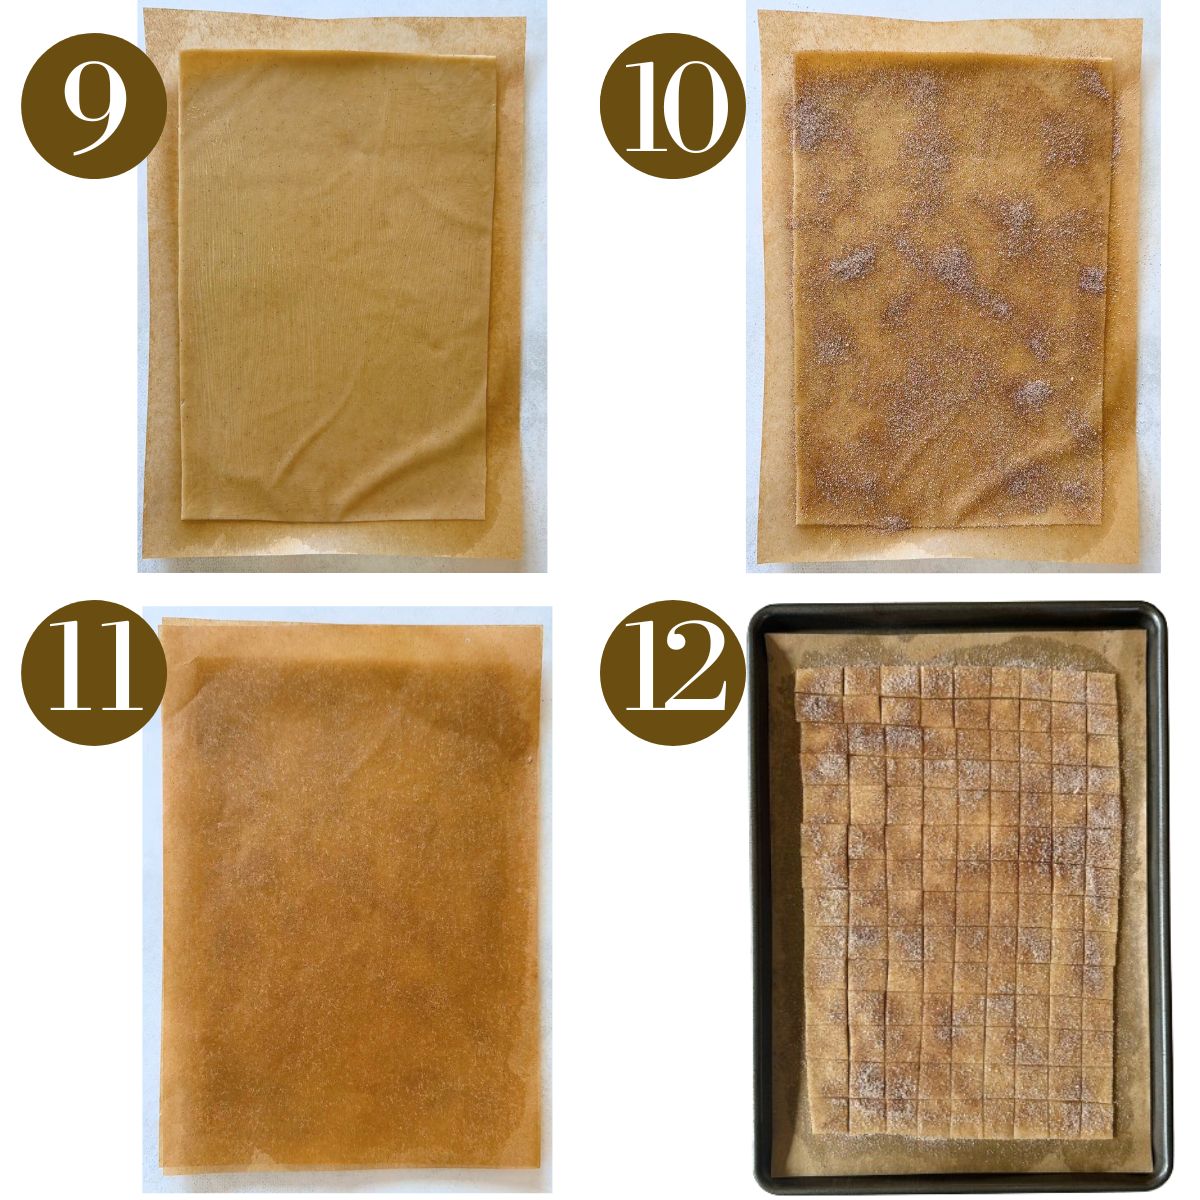
STEP 5: Brush a light layer of melted butter on top of the dough (Note: make sure the layer is light so that the cereal is not greasy when baked. You want a layer that is just enough so that the cinnamon sugar will stick) (Image 9).
STEP 6: Sprinkle a generous amount of cinnamon sugar all over the dough and lightly smooth it into the dough (Image 10).
STEP 7: Place the 2nd sheet of parchment paper back on top of the dough sheet and carefully flip it over (Image 11). Gently peel back the parchment paper from that flipped side and repeat steps 5 and 6 with the melted butter and cinnamon sugar.
STEP 8: Use a pizza slicer or knife to slice the dough into squares that are 1/4 inch to 1/2 inch in length. Transfer this sheet directly to a baking sheet (no need to separate the squares as they’ll separate once they bake) (Image 12). Repeat steps for the remaining half of the dough and bake for 10 minutes, or until the edges are golden. They will be soft at first right out of the oven but will firm up as they cool.
Storage Instructions
Once cooled, store the homemade cinnamon toast crunch cereal in an airtight container for up to 1 week.
Tips For Success
- The key to getting crunchy cereal bits is to roll the dough out to be as thin as possible! If it is not rolled thinly enough, the cereal squares will be more biscuit-like in texture. Think a little thicker than paper thin when it comes to rolling out the dough.
- Be sure to check on the cereal at the 10-minute mark and remove it from the oven once the edges are golden. They will be soft at first but will firm up as they cool.
- If you prefer less of a sugar coating, sprinkle the cinnamon sugar on only one side of the dough instead of on both.
Recipe FAQs
They have a very similar taste, but the texture of this version is slightly different from the store-bought variety. The thinner you roll out the dough, the crunchier the cereal will be, and the closer it will taste to the store-bought version.
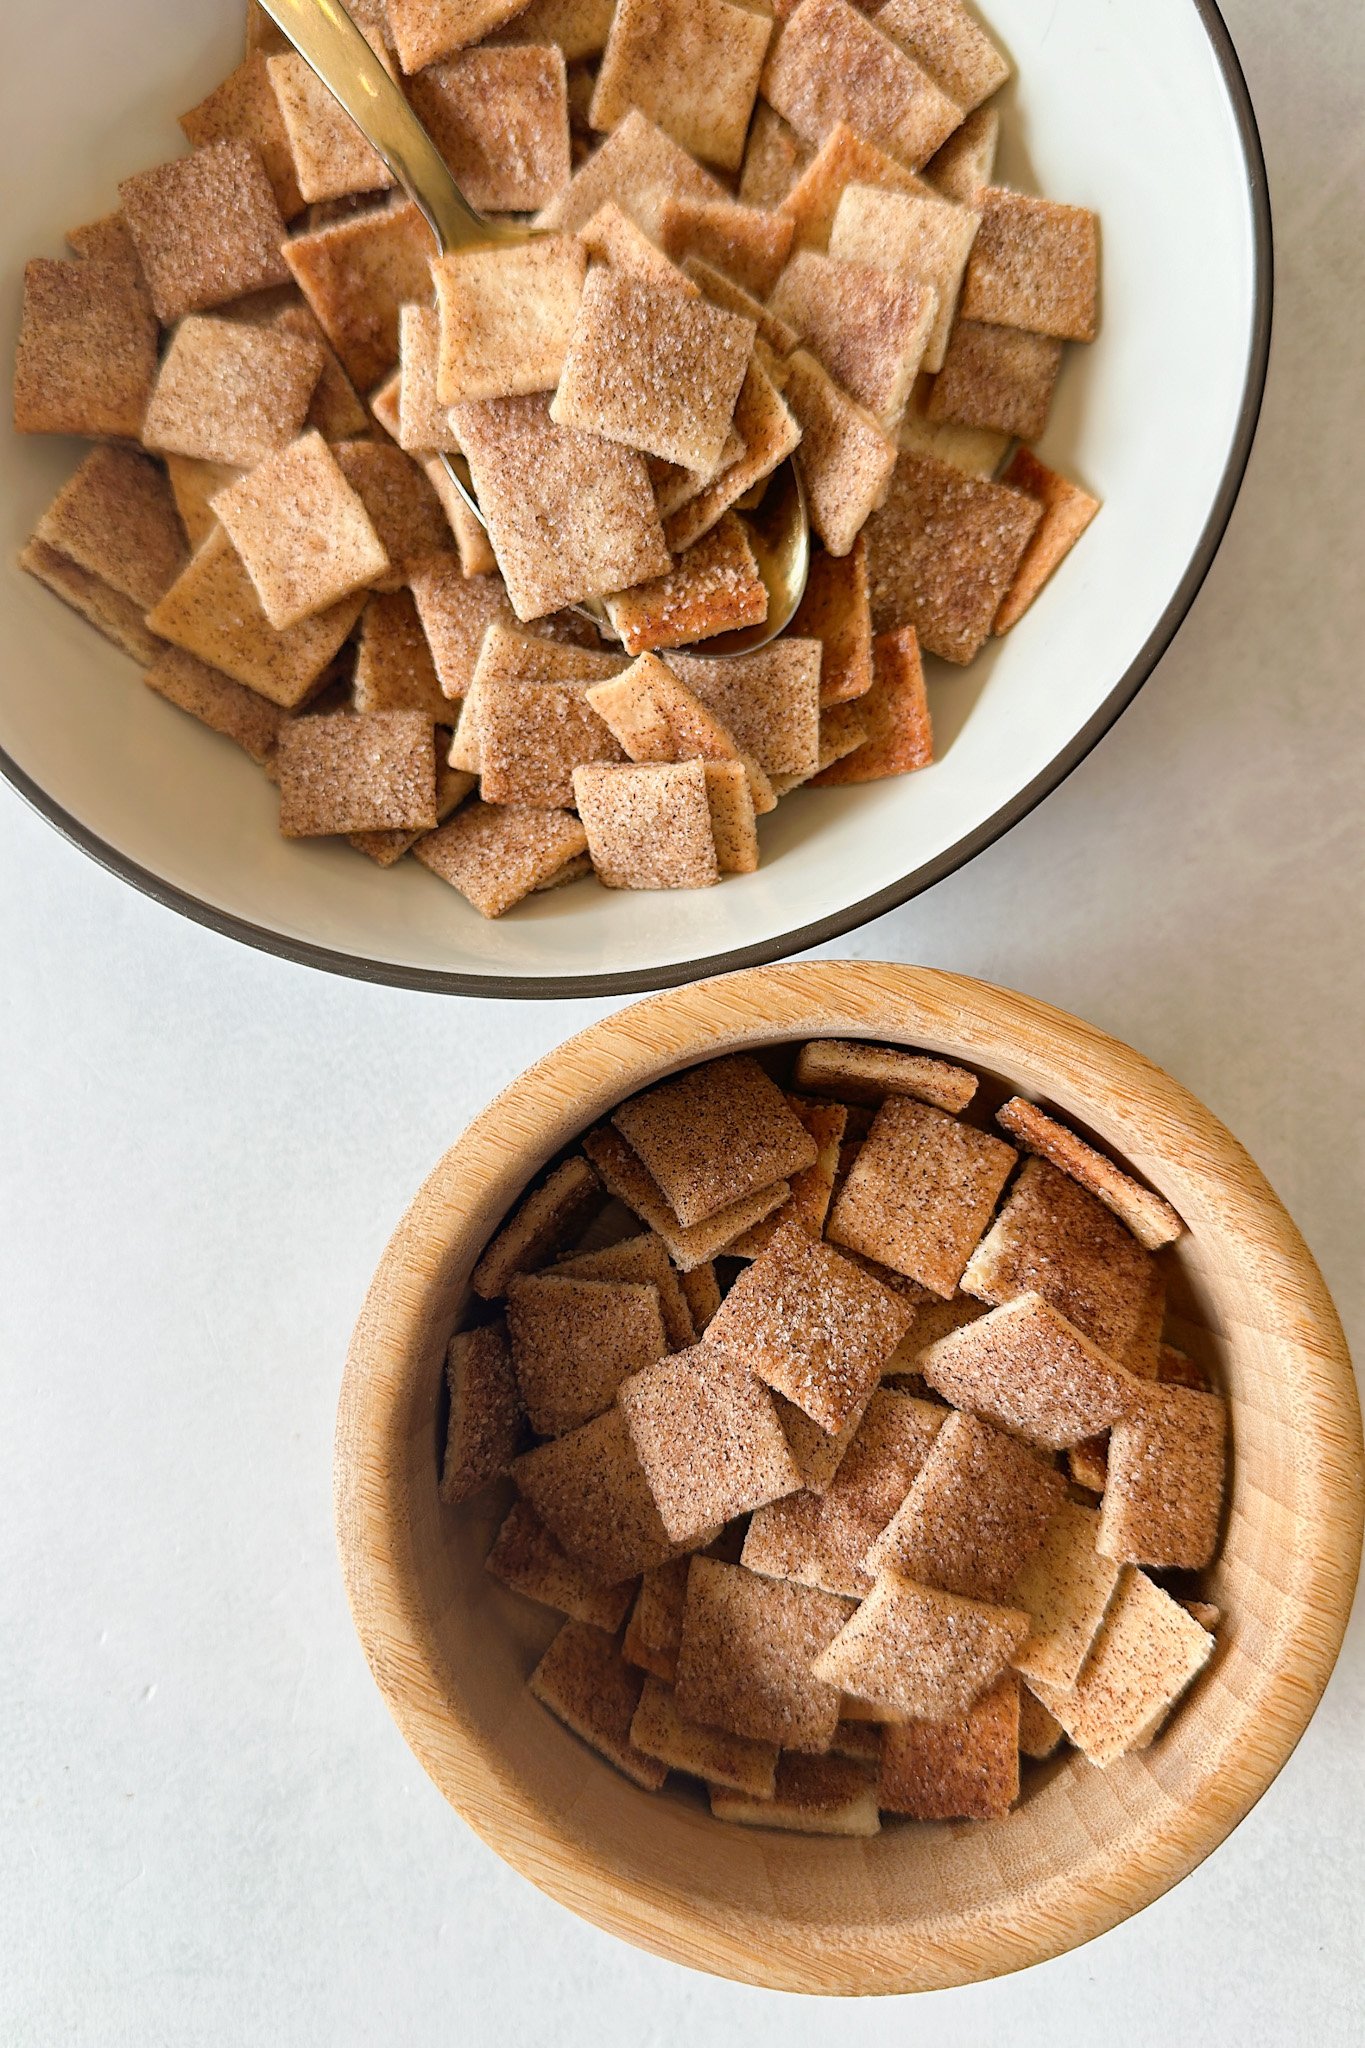
Yes! The great thing about this recipe is that you can add as much or as little cinnamon sugar coating as you’d like. I coated both sides of the dough with cinnamon sugar to try to replicate the boxed cereal as much as possible, but you can sprinkle it on just one side, or even serve the pieces as is!
It will be a little more difficult to form a dough, but you can make this recipe without a food processor. Use your hands or a pastry cutter to cut the butter into the dry ingredients and then add in the maple syrup and water to form the dough.
Other Breakfast Recipes You’ll Love

Stovetop Apple Crisp
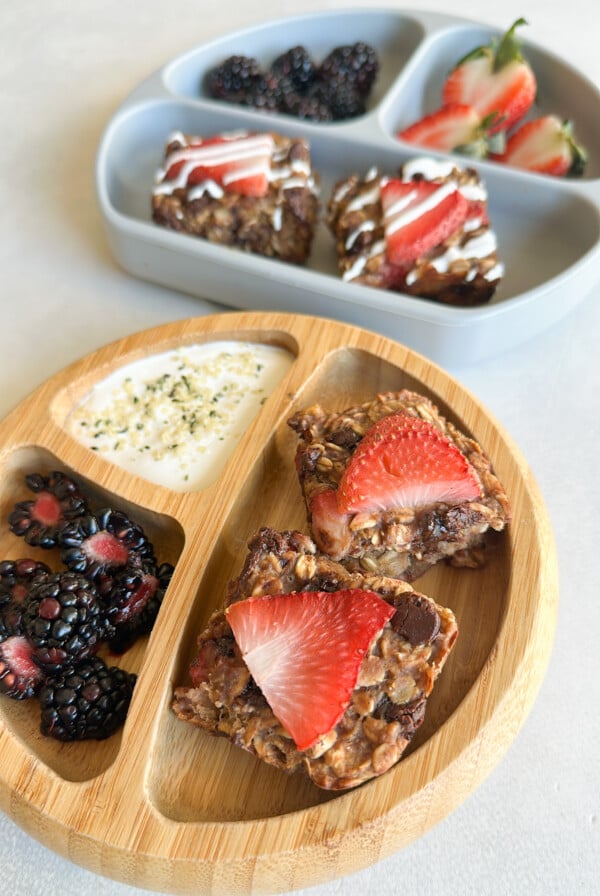
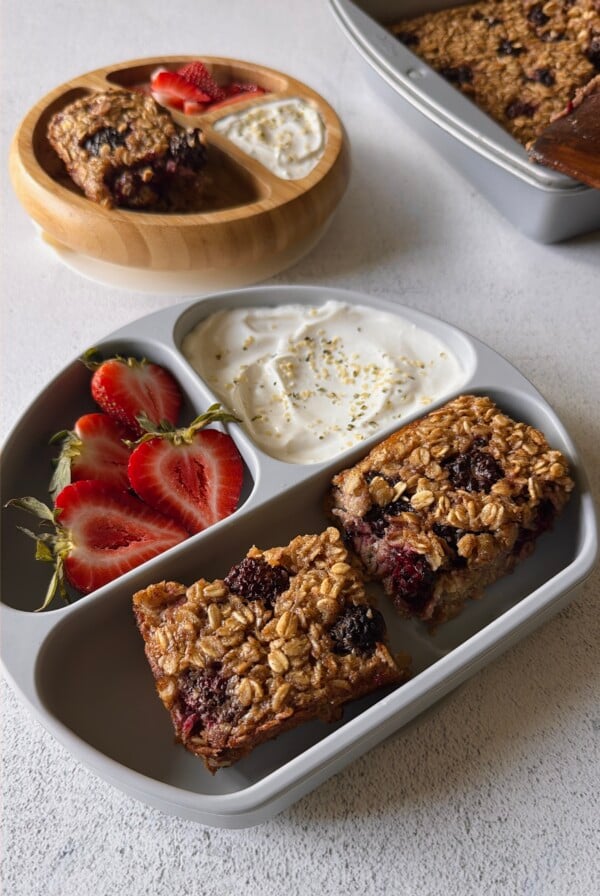
Strawberry Banana Oat Bars

Broccoli Egg Bites
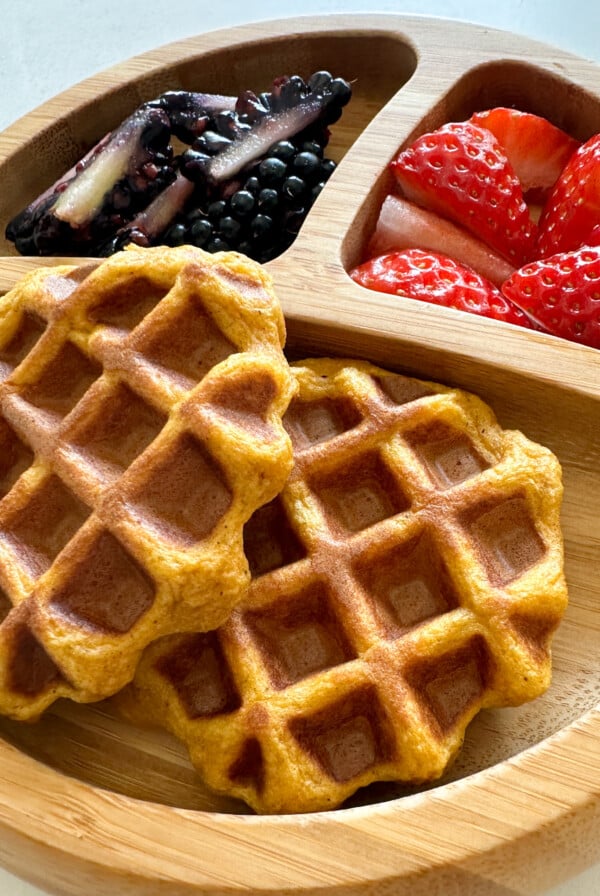
Healthy Sweet Potato Waffles
If you tried this Homemade Cinnamon Toast Crunch please leave a ⭐ star rating and let me know how it went in the comments below! I love hearing from you!
Homemade Cinnamon Toast Crunch
Ingredients
Cereal Base
- 1 ¼ cups all purpose flour
- 4 tbsp unsalted butter, cold, straight from fridge
- ¼ tsp salt
- ⅛ tsp ground cinnamon
- 2 tbsp maple syrup
- 2 tbsp cold water
Cinnamon Sugar Coating
- 2 tbsp melted butter, cooled
- 3 tbsp granulated sugar
- 1 ½ tsp ground cinnamon
Instructions
- Preheat the oven to 350 degrees F (180 degrees C).
- Add the flour, butter, salt, and ground cinnamon to a food processor and pulse until it is combined and grainy in texture
- Add in the maple syrup and water and pulse until it comes together to form a dough. It will seem dry and crumbly at first, but as you continue to pulse, it will come together into a dough. If your dough is extremely dry, add an extra tablespoon of water, but be careful not to add too much so that the dough is not sticky.
- Split the dough in half and set one half aside. Place the first half on a lightly floured sheet of parchment paper and place another sheet of parchment paper on top of it
- Use a rolling pin to roll out the dough between the two sheets of parchment paper to get it to be as thin as possible. The key to getting crunchy cereal pieces is to roll the dough out thin. The dough will slightly puff up while making, so roll it out as thin as you can. Slowly peel away and check to make sure that the dough is an even, thickness. I usually like to use a pizza slicer to shape the rolled dough into a rectangle to make it easier to get uniform pieces, but this is optional.
- Brush a light layer of melted butter on top of the dough (Note: make sure the layer is light so that the cereal is not greasy when baked. You want a layer that is just enough so that the cinnamon sugar will stick)
- Sprinkle a generous amount of cinnamon sugar all over the dough and lightly smooth it into the dough
- Place the 2nd sheet of parchment paper back on top of the dough sheet and carefully flip it over. Gently peel back the parchment paper from that flipped side and repeat steps 5 and 6 with the melted butter and cinnamon sugar.
- Use a pizza slicer or knife to slice the dough into squares that are 1/4 inch to 1/2 inch in length. Transfer this sheet directly to a baking sheet (no need to separate the squares as they'll separate once they bake). Repeat steps for the remaining half of the dough and bake for 10 minutes, or until the edges are golden. They will be soft at first right out of the oven but will firm up as they cool.
Notes
- The key to getting crunchy cereal bits is to roll the dough out to be as thin as possible! If it is not rolled thinly enough, the cereal squares will be more biscuit-like in texture. Think a little thicker than paper thin when it comes to rolling out the dough.
- Be sure to check on the cereal at the 10-minute mark and remove it from the oven once the edges are golden. They will be soft at first but will firm up as they cool.
- If you prefer less of a sugar coating, sprinkle the cinnamon sugar on only one side of the dough instead of on both.


I think I need to roll out thinner. It made delicious biscuits though. I also did not follow the directions very well and mixed my sugar cinnamon with the butter and spread it on that way. I don’t think it was nearly as flavorful but did save some steps. Thank you! Any tips for rolling out paper thin?
Hi Courtney! Did you roll the dough between two sheets of parchment paper? I find that rolling it out between two sheets if parchment paper is best to ensure that the dough is as thin as possible and crisps up well in the oven. I recommend keeping the cinnamon sugar and butter separate for the coating so it bakes up more into a dry coating similar to the store bought version😊
Thank you! I did use two sheets of parchment paper. I will keep the C&S separate from butter this time. My kids ate it for breakfast anyways and they loved it! Thank you!
Amazing!! I wish a would have rolled mine a little thinner because the thinner they are the more crispy the are. Definitely a recipe to keep!
Super simple and quick! My daughter loves them and I know everyone in the house will snack on them! ☺️
can I use gluten free flour instead
Yes, as long as it is all purpose gluten-free flour😊
Can I blend in a blender or a stand mixer? I don’t have a food P
Hi Alexis! Yes that would work, a stand mixture might be a little easier to work with😊
Loved making this with my 5 year old!! Quick, easy and tasty! Thank you 💕
I’m so glad to hear that you enjoyed it, Ciara!😊
You are a life saver.I’m going to make these recipes for my daughter because I ran out of options for lunch box ideas.
Thanx Lily…keep on posting and thank you for your hard work.
May God bless you!
Theodorah Gewers(South Africa)
I ABSOLUTELY LOVE this recipe! I made a double batch as I was feeding four teens. They said it tastes like how you dream Cinnamon Toast Crunch cereal would taste and it made the best cereal milk too! I loved the clear instructions too! Thanks for sharing your recipe 🩷