
Easy Cocoa Puffs Recipe
on Jan 04, 2024, Updated Mar 17, 2024
This post may contain affiliate links. Please read our disclosure policy.
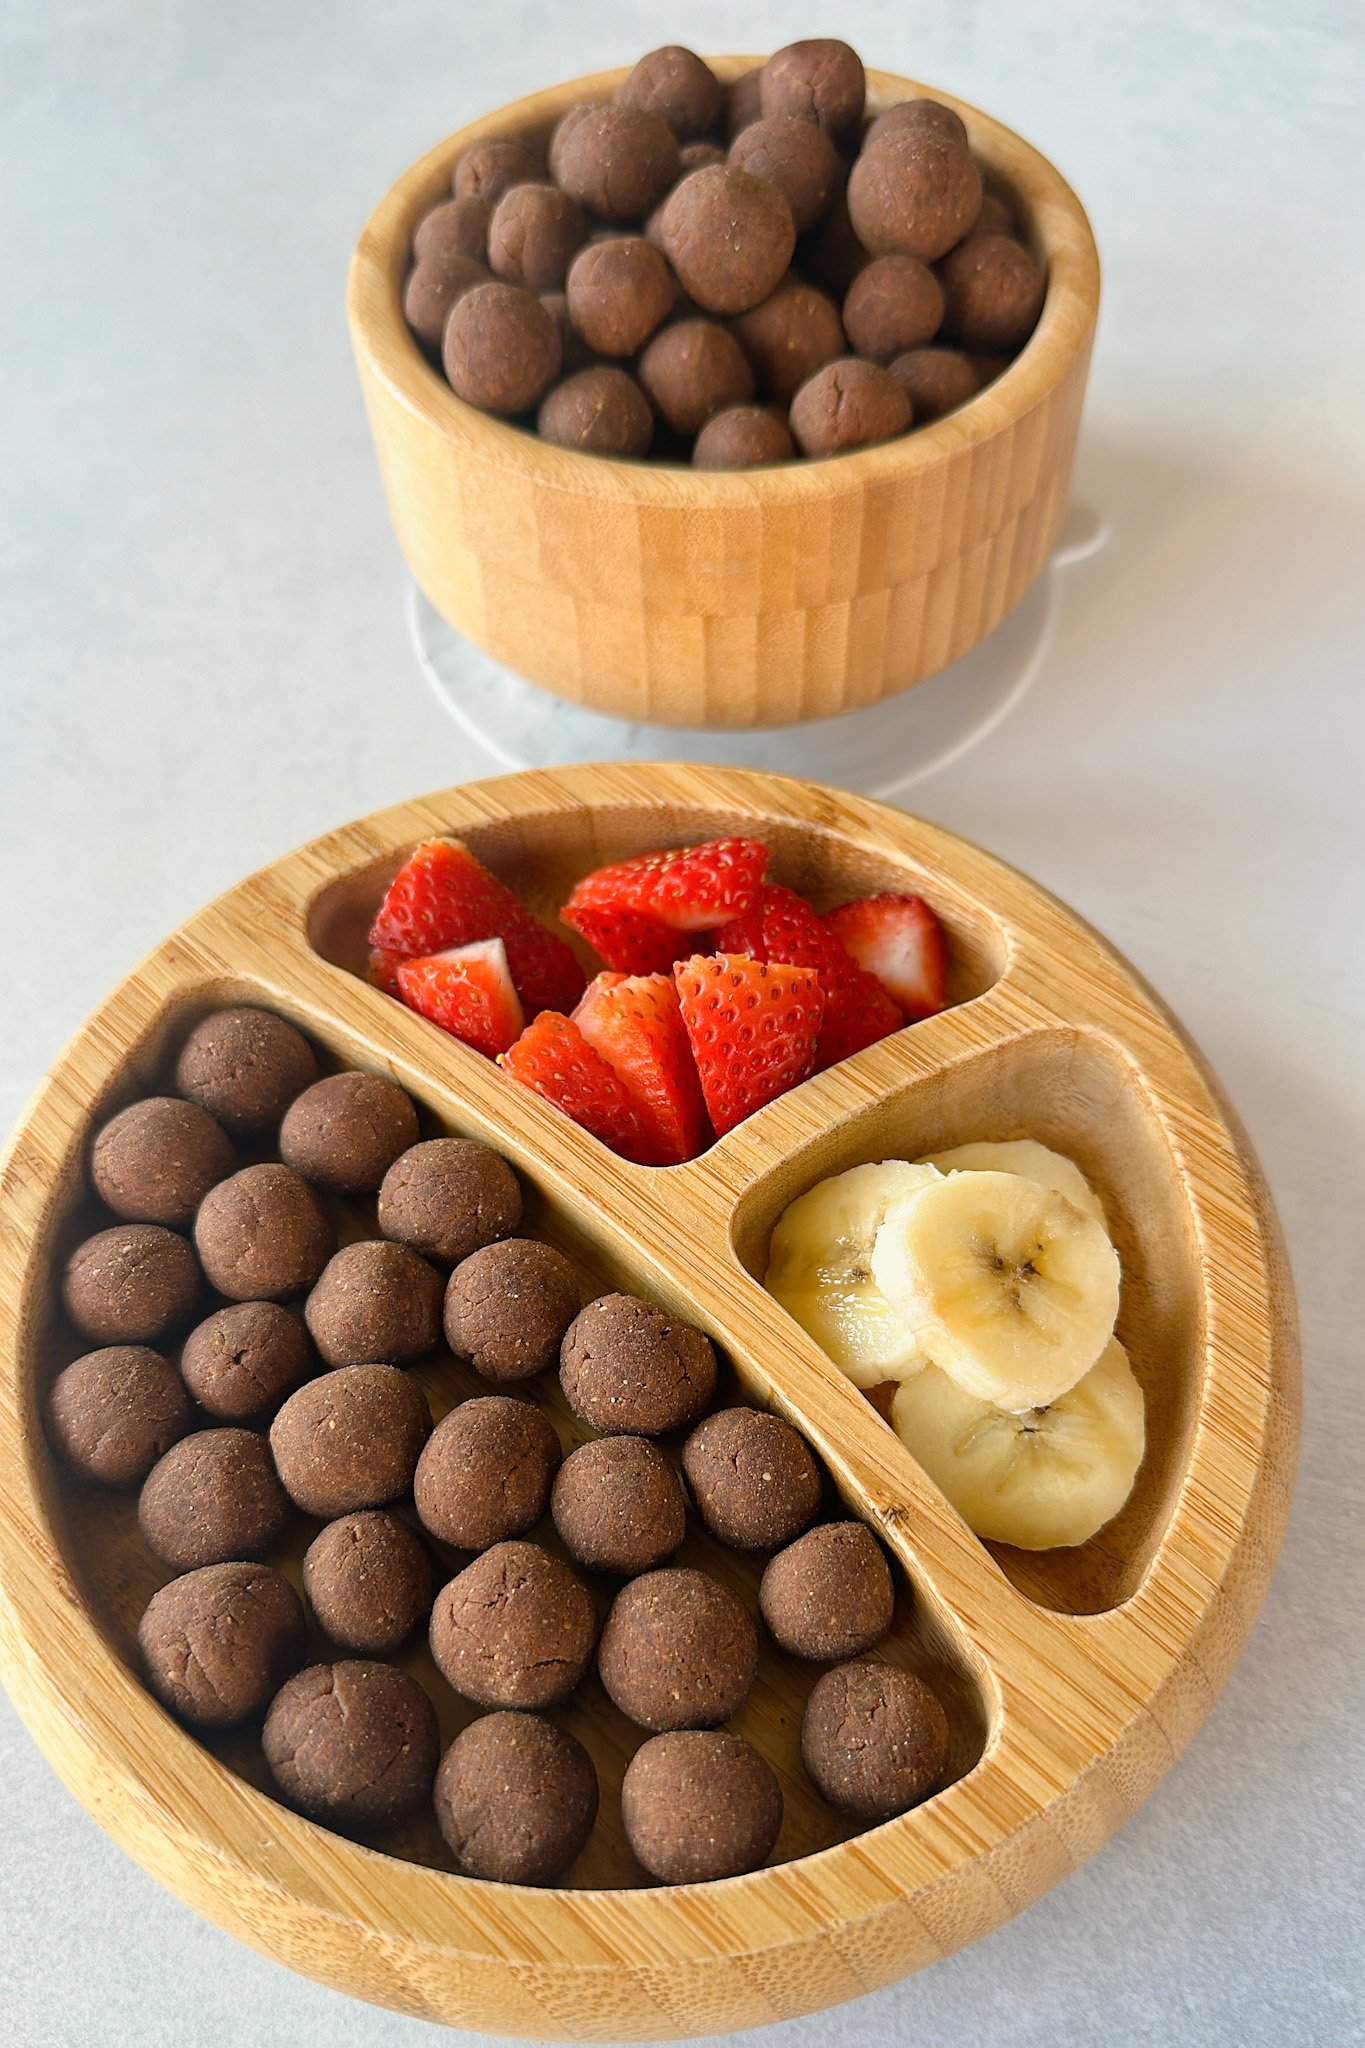
This homemade cocoa puffs recipe is made with only 4 simple ingredients that come together in one bowl. They’re egg-free, and dairy-free and can be enjoyed with milk or as is for a chocolatey, sweet snack!
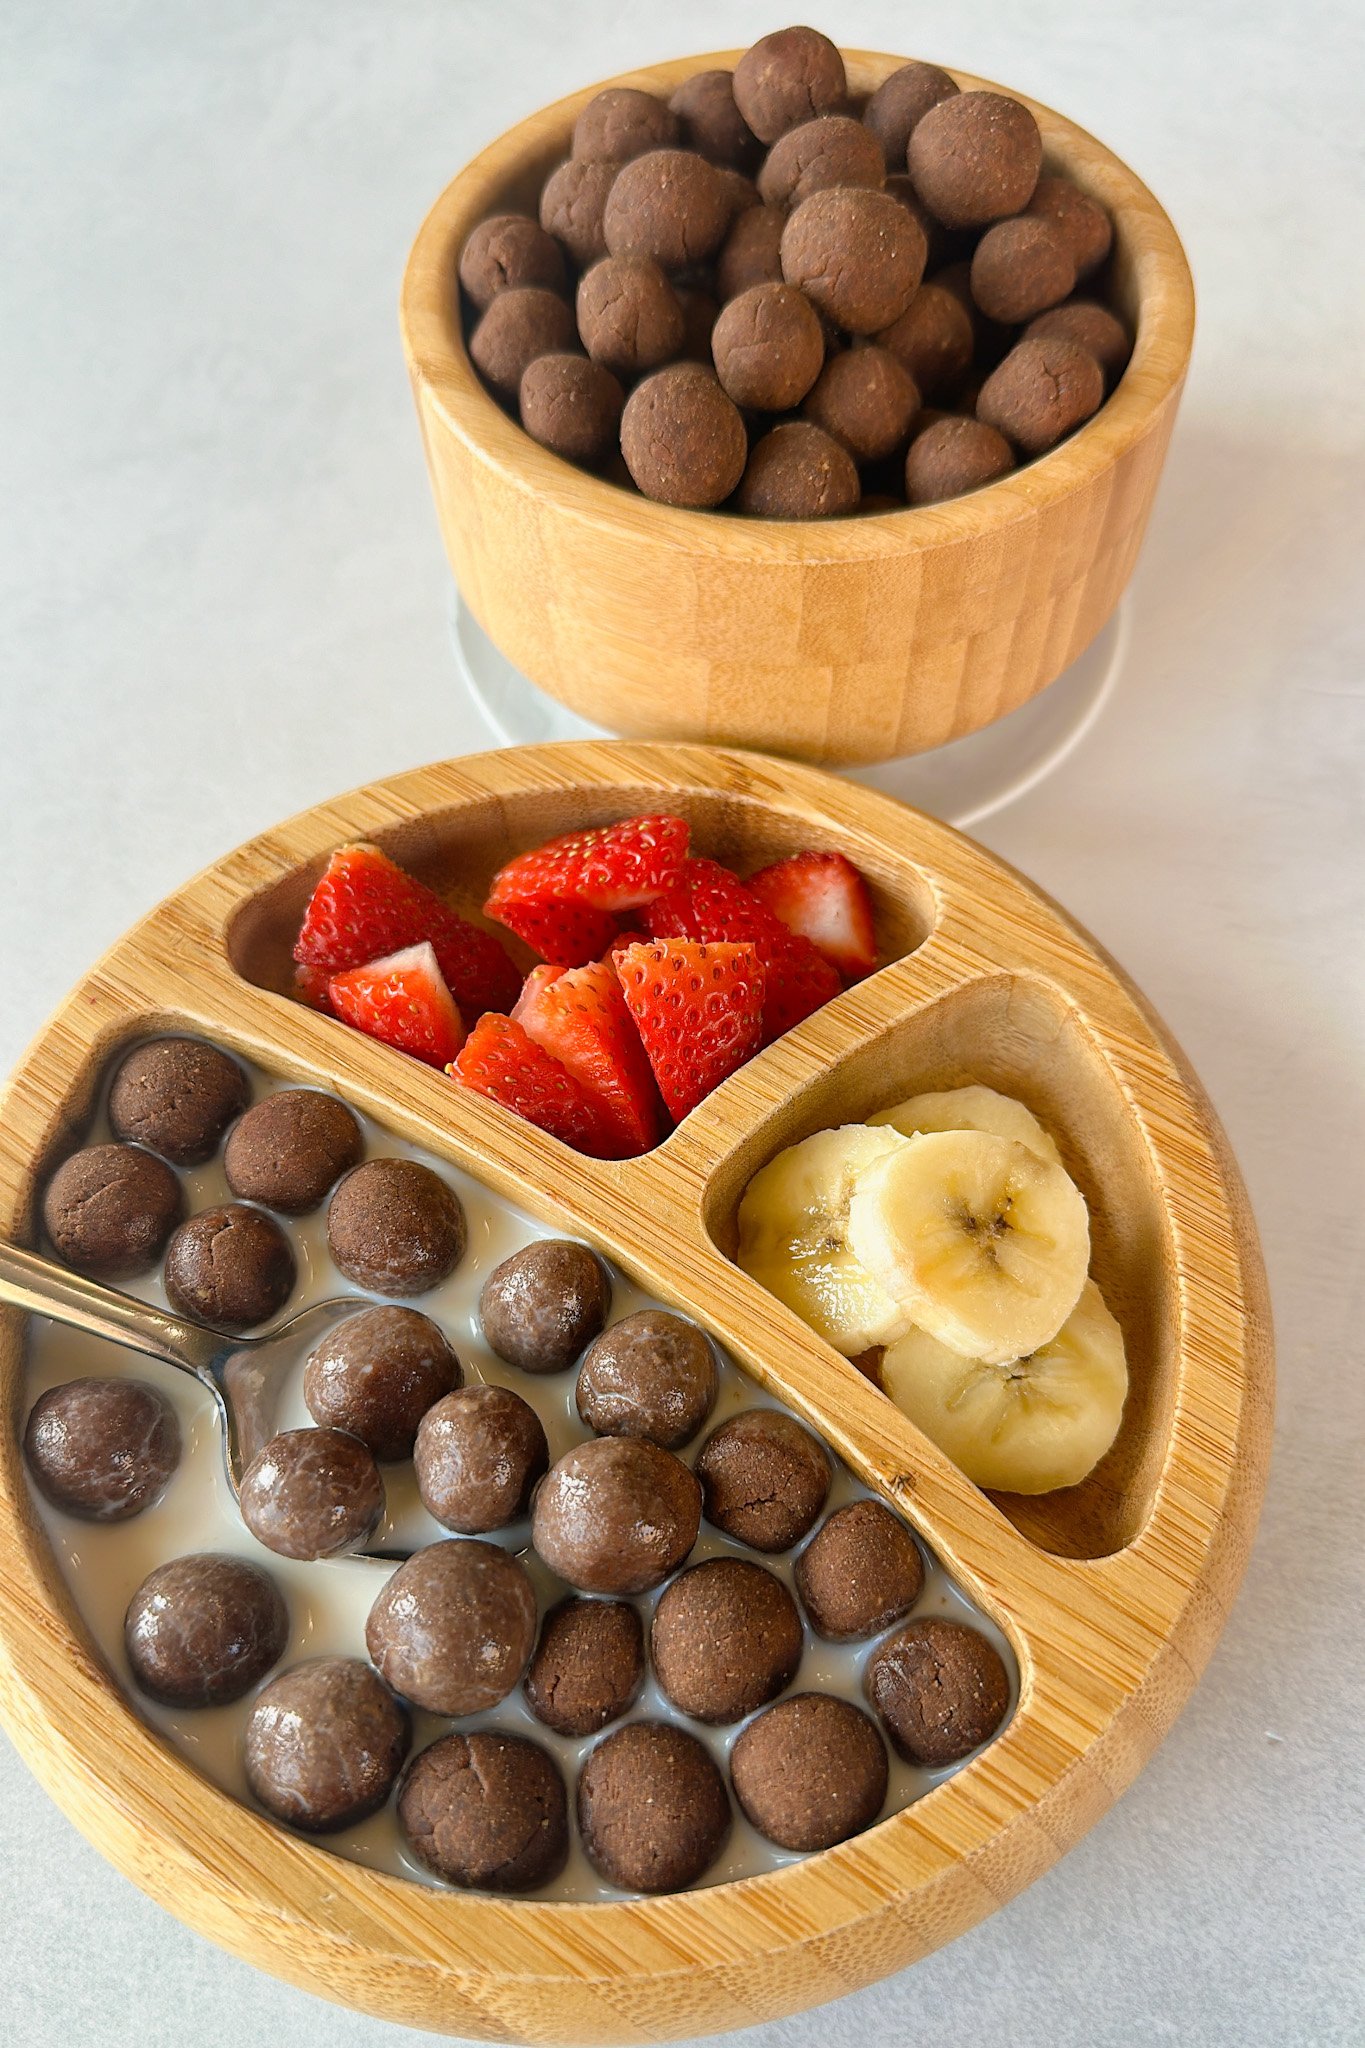
If you’ve been looking for a simple homemade cereal to make for your little ones, you’ll love these homemade cocoa puffs! They’re sweetened with pure maple syrup and are perfect for a sweet morning treat or a fun snack. The most tedious part of this recipe is rolling the dough into small balls, but that’s where you can get the kids involved! I let my boys go at it by rolling out the dough and shaping them into tiny bites and they had a BLAST. I was able to entertain them with a fun sensory activity while also ending up with a fun snack – and in my book, that’s a win-win!
If you love this chocolate cereal, you’ll also love these mini chocolate banana brownie bites and oatmeal chocolate pudding recipes as well!
Table of Contents
What You’ll Need
Here is what you’ll need to make this cocoa puffs recipe:
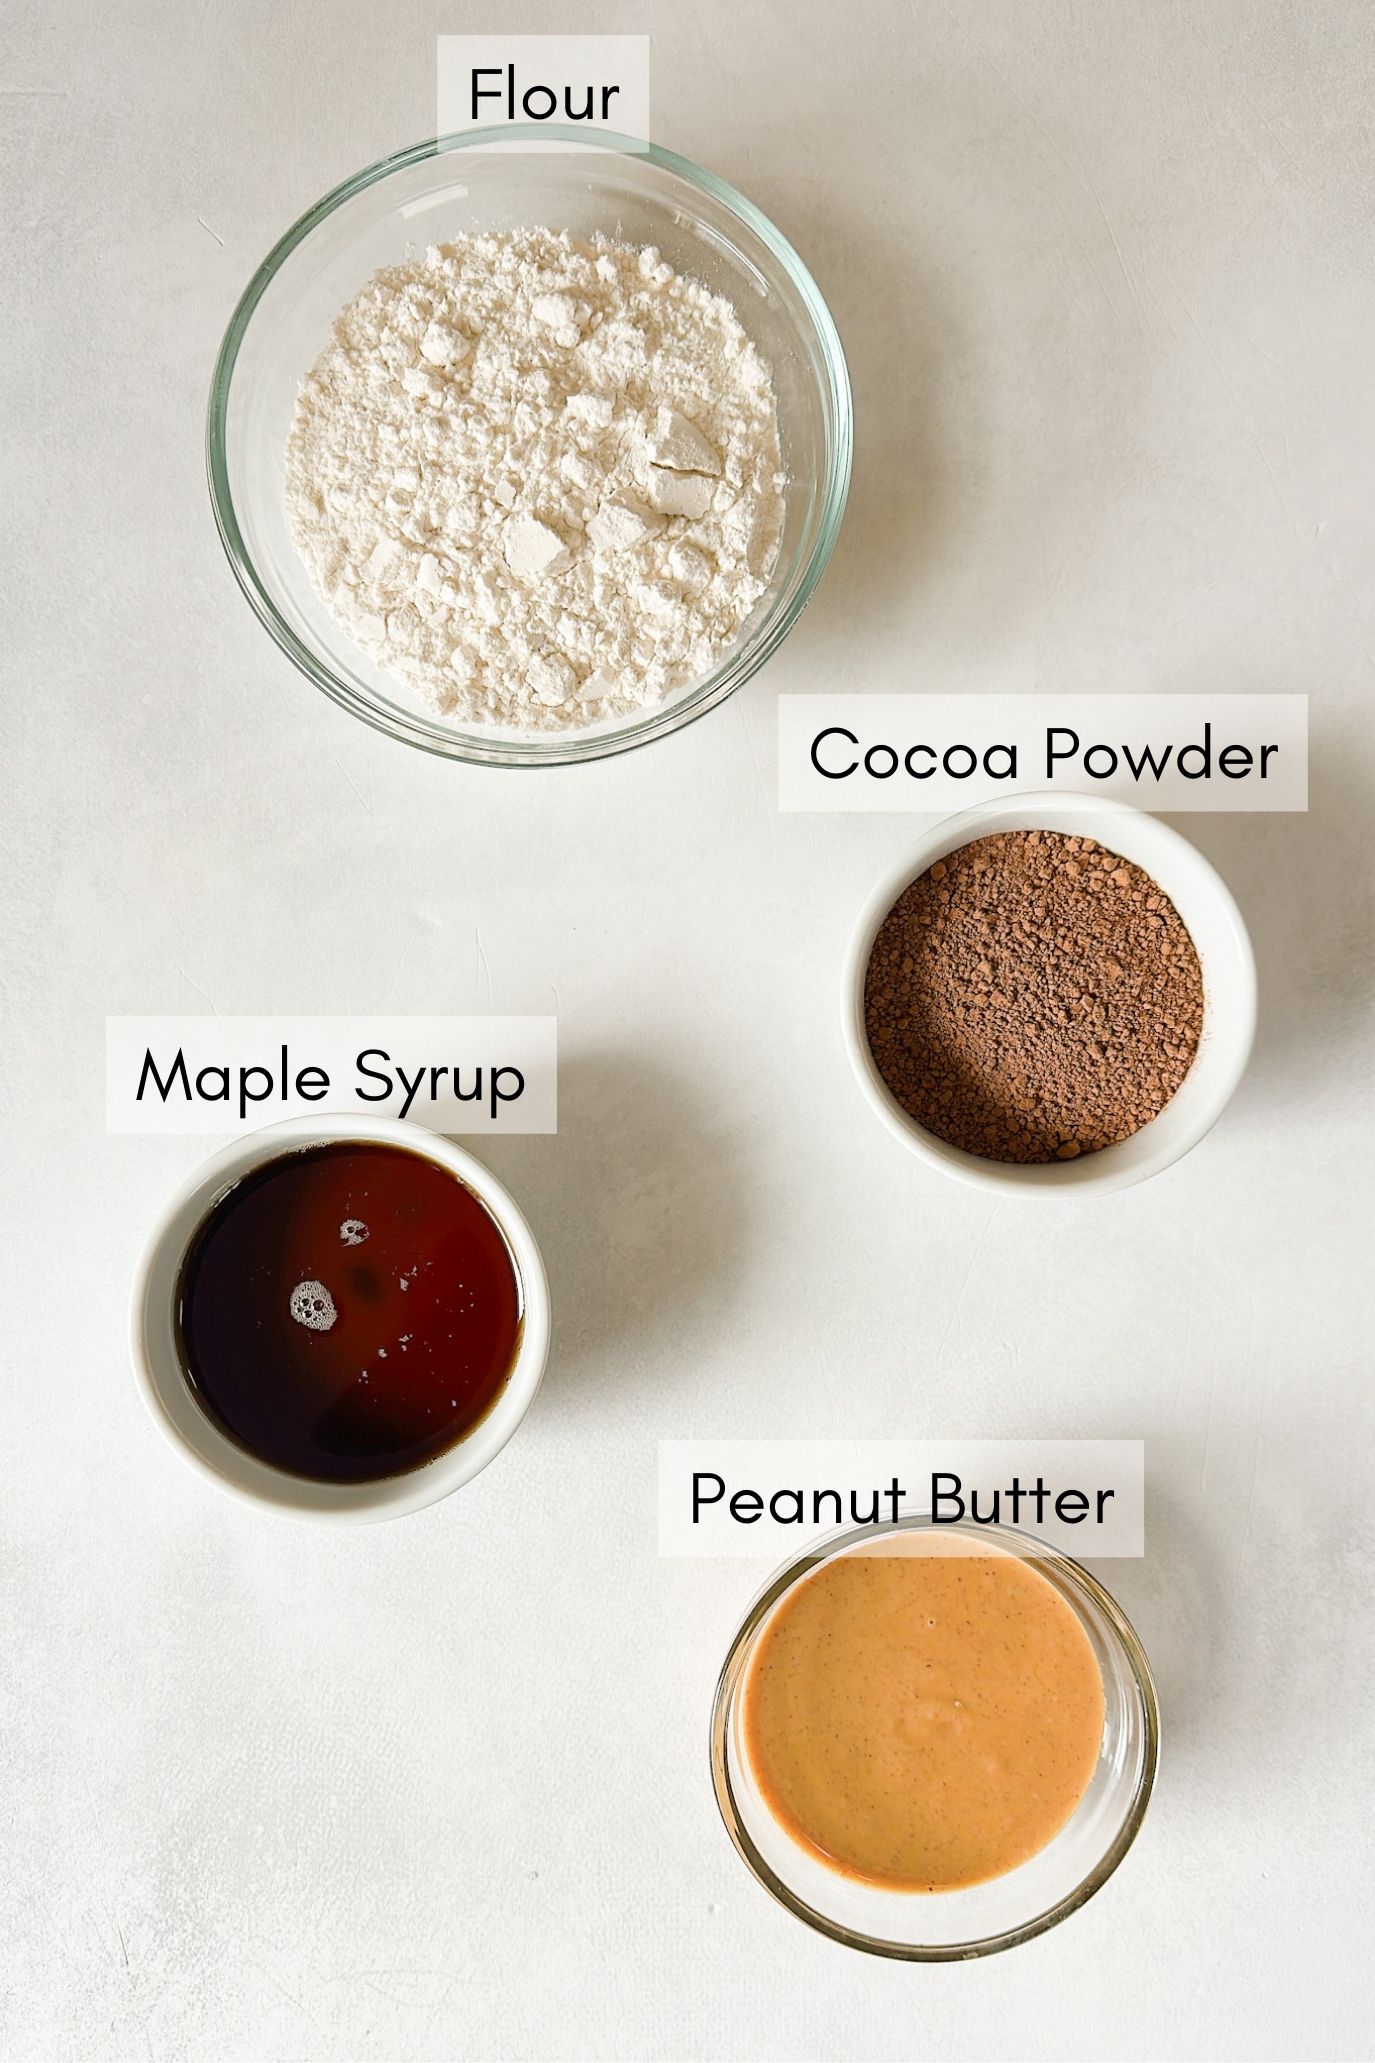
- Maple Syrup: The main source of sweetness for this cereal. I like to use the Kirkland brand organic maple syrup from Costco.
- Peanut Butter: Adds flavor and moisture to the dough. Make sure to use natural peanut butter with only peanuts (or peanuts and salt) as the ingredients.
- Cocoa Powder: For that signature chocolatey flavor. Make sure to use an unsweetened variety.
- All-Purpose Flour: Great for a lighter texture and smoother dough.
See the recipe card below for full information on ingredients and quantities.
Ingredient Substitutions & Additions
- Peanut Butter: The peanut butter may be replaced with another natural nut butter like almond butter. For a nut-free version, swap it with a seed-based butter like sunflower butter or granola butter.
- All-Purpose Flour: This may be replaced with a different type of flour like white whole wheat flour or a gluten-free flour blend. If using white whole wheat, start with a smaller amount as white whole wheat flour absorbs moisture differently than all-purpose.
Step By Step Instructions
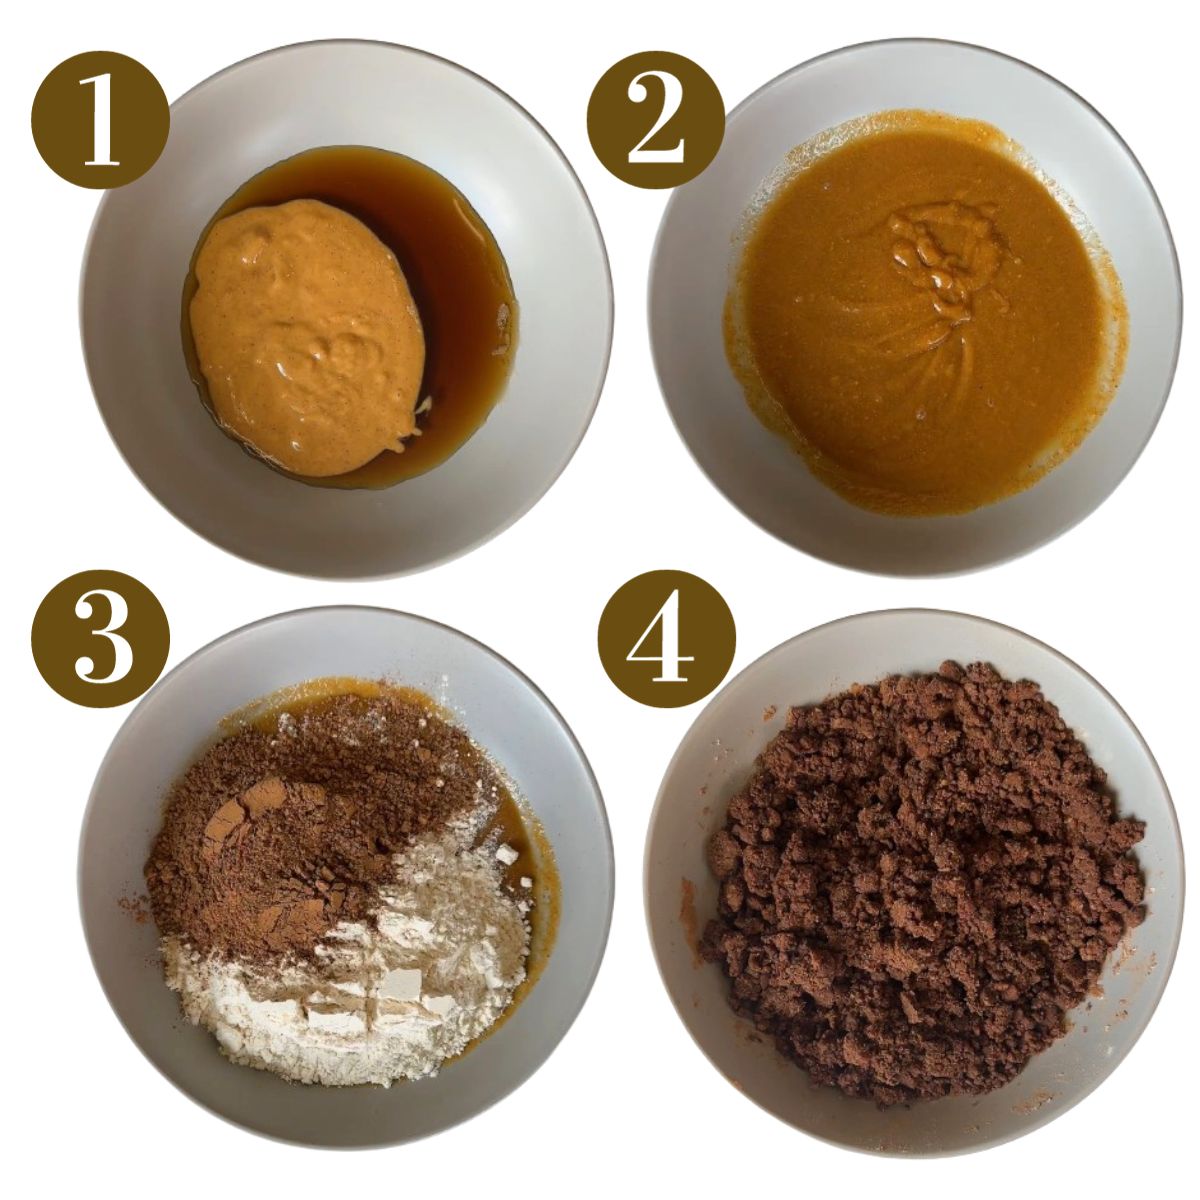
STEP 1: Add the maple syrup and peanut butter to a bowl and mix until it is combined (Images 1 & 2).
STEP 2: Add in the flour and cocoa powder and mix until it starts to combine and becomes crumbly in texture (Images 3 & 4).
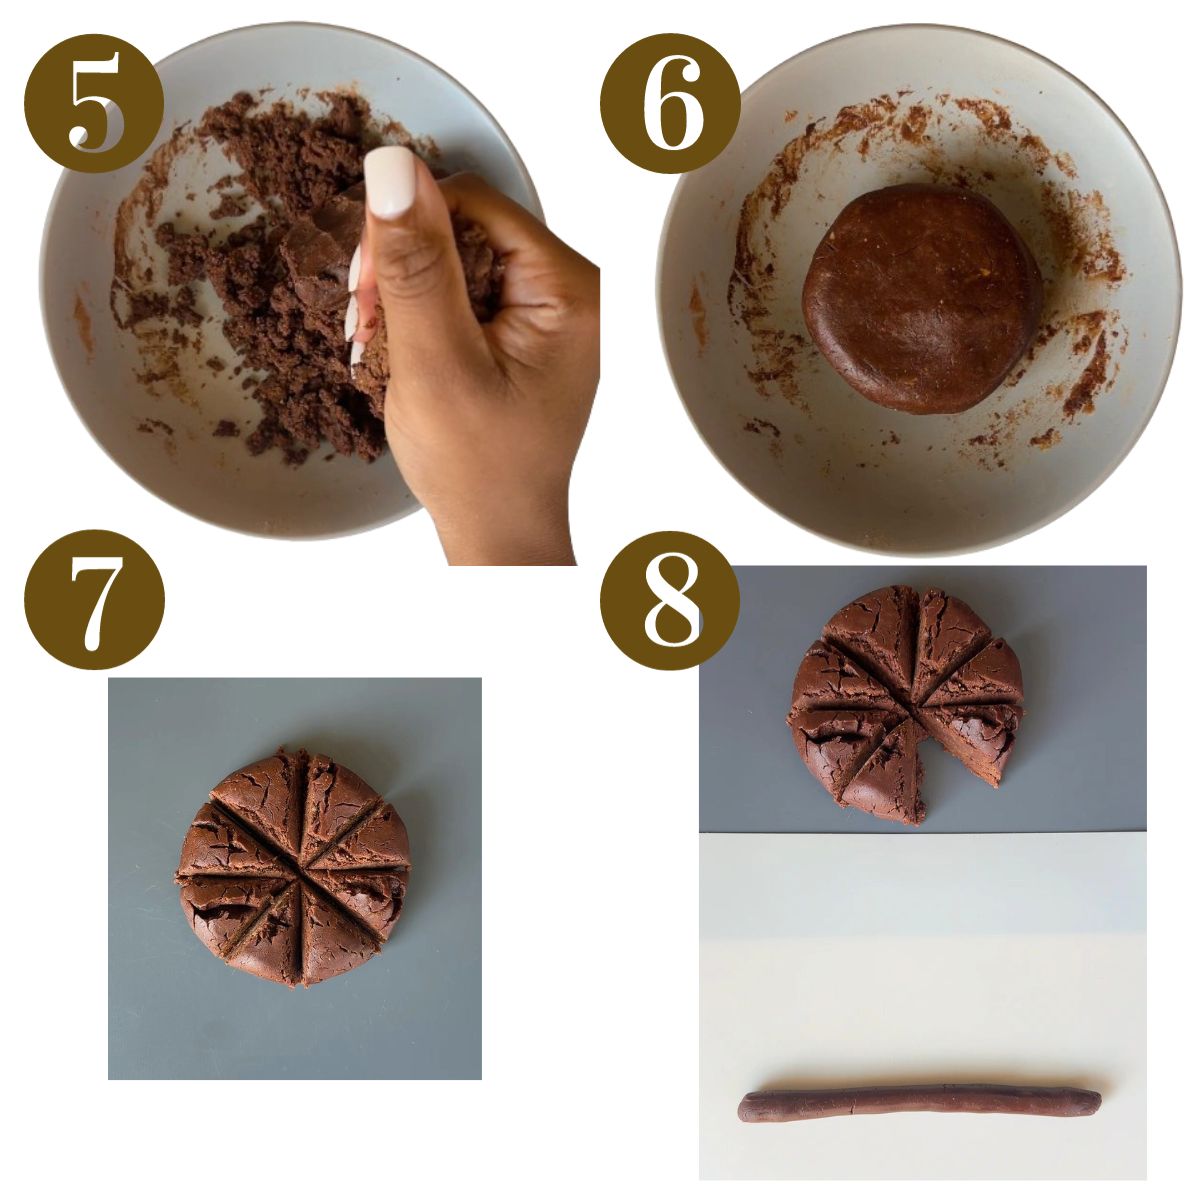
STEP 3: Use your hands to gather the dough together to form it into a dough (Images 5 & 6). Press the pieces together in your hands until they come together. If you notice that the dough is dry and hard to come together, add in a tiny bit of water, but be careful not to add too much so that the mixture isn’t too sticky.
STEP 4: Slice the dough into 8 equal pieces and roll each piece into a thin log (Images 7 & 8). Alternatively, you can pinch off small pieces from the dough to roll into balls.
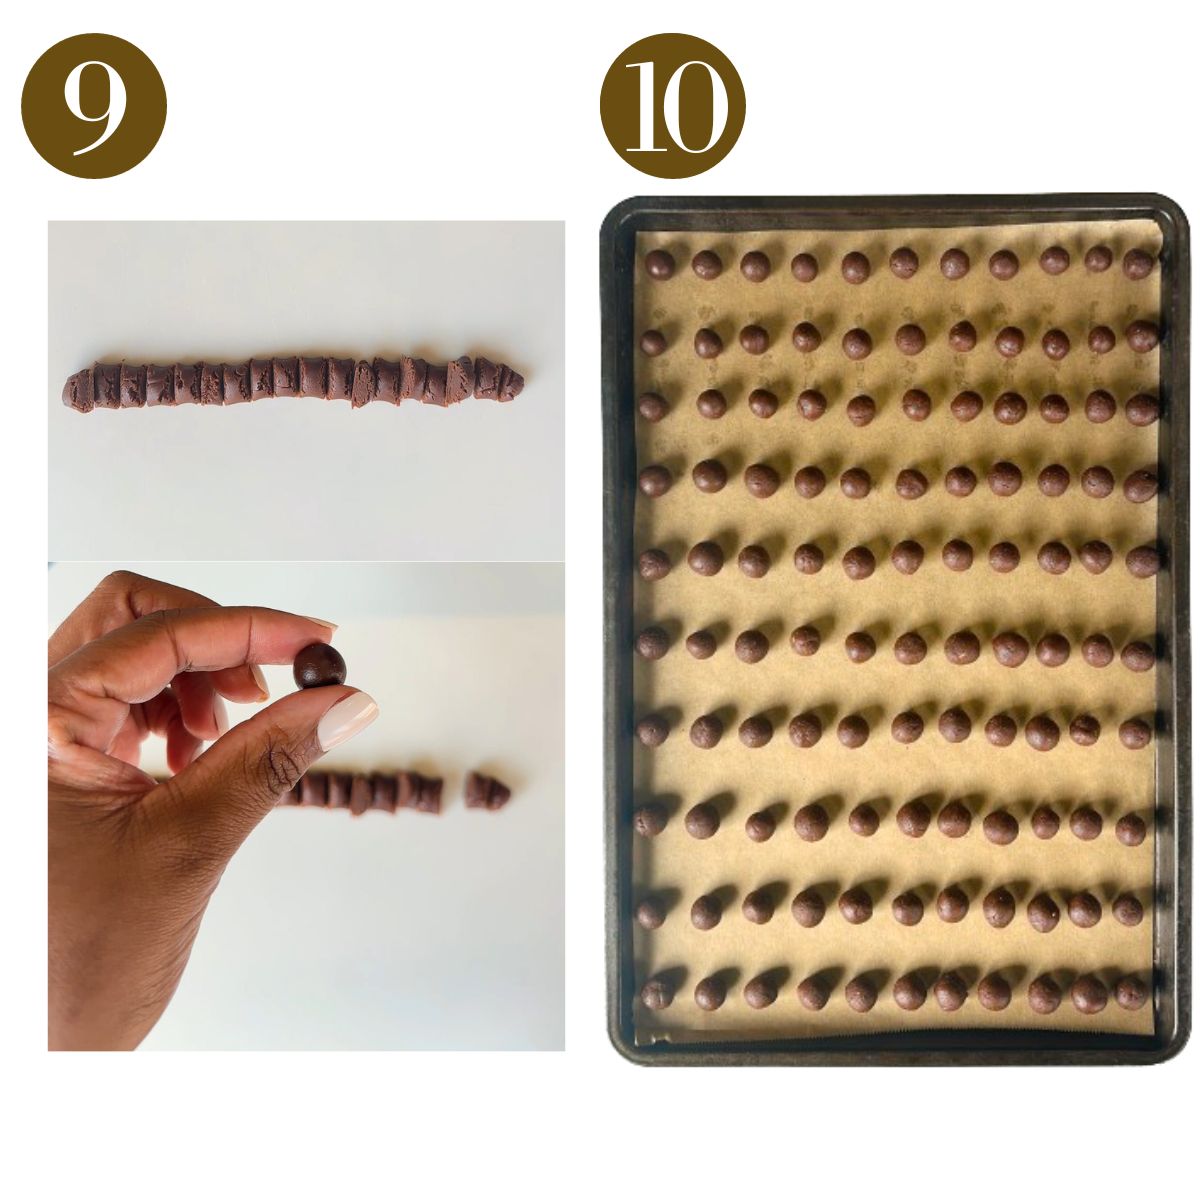
STEP 5: Slice each log into small pieces and roll each piece into a small, marble-sized ball (Image 9). You may need to use your fingers to press the dough pieces together. Repeat for the remaining dough.
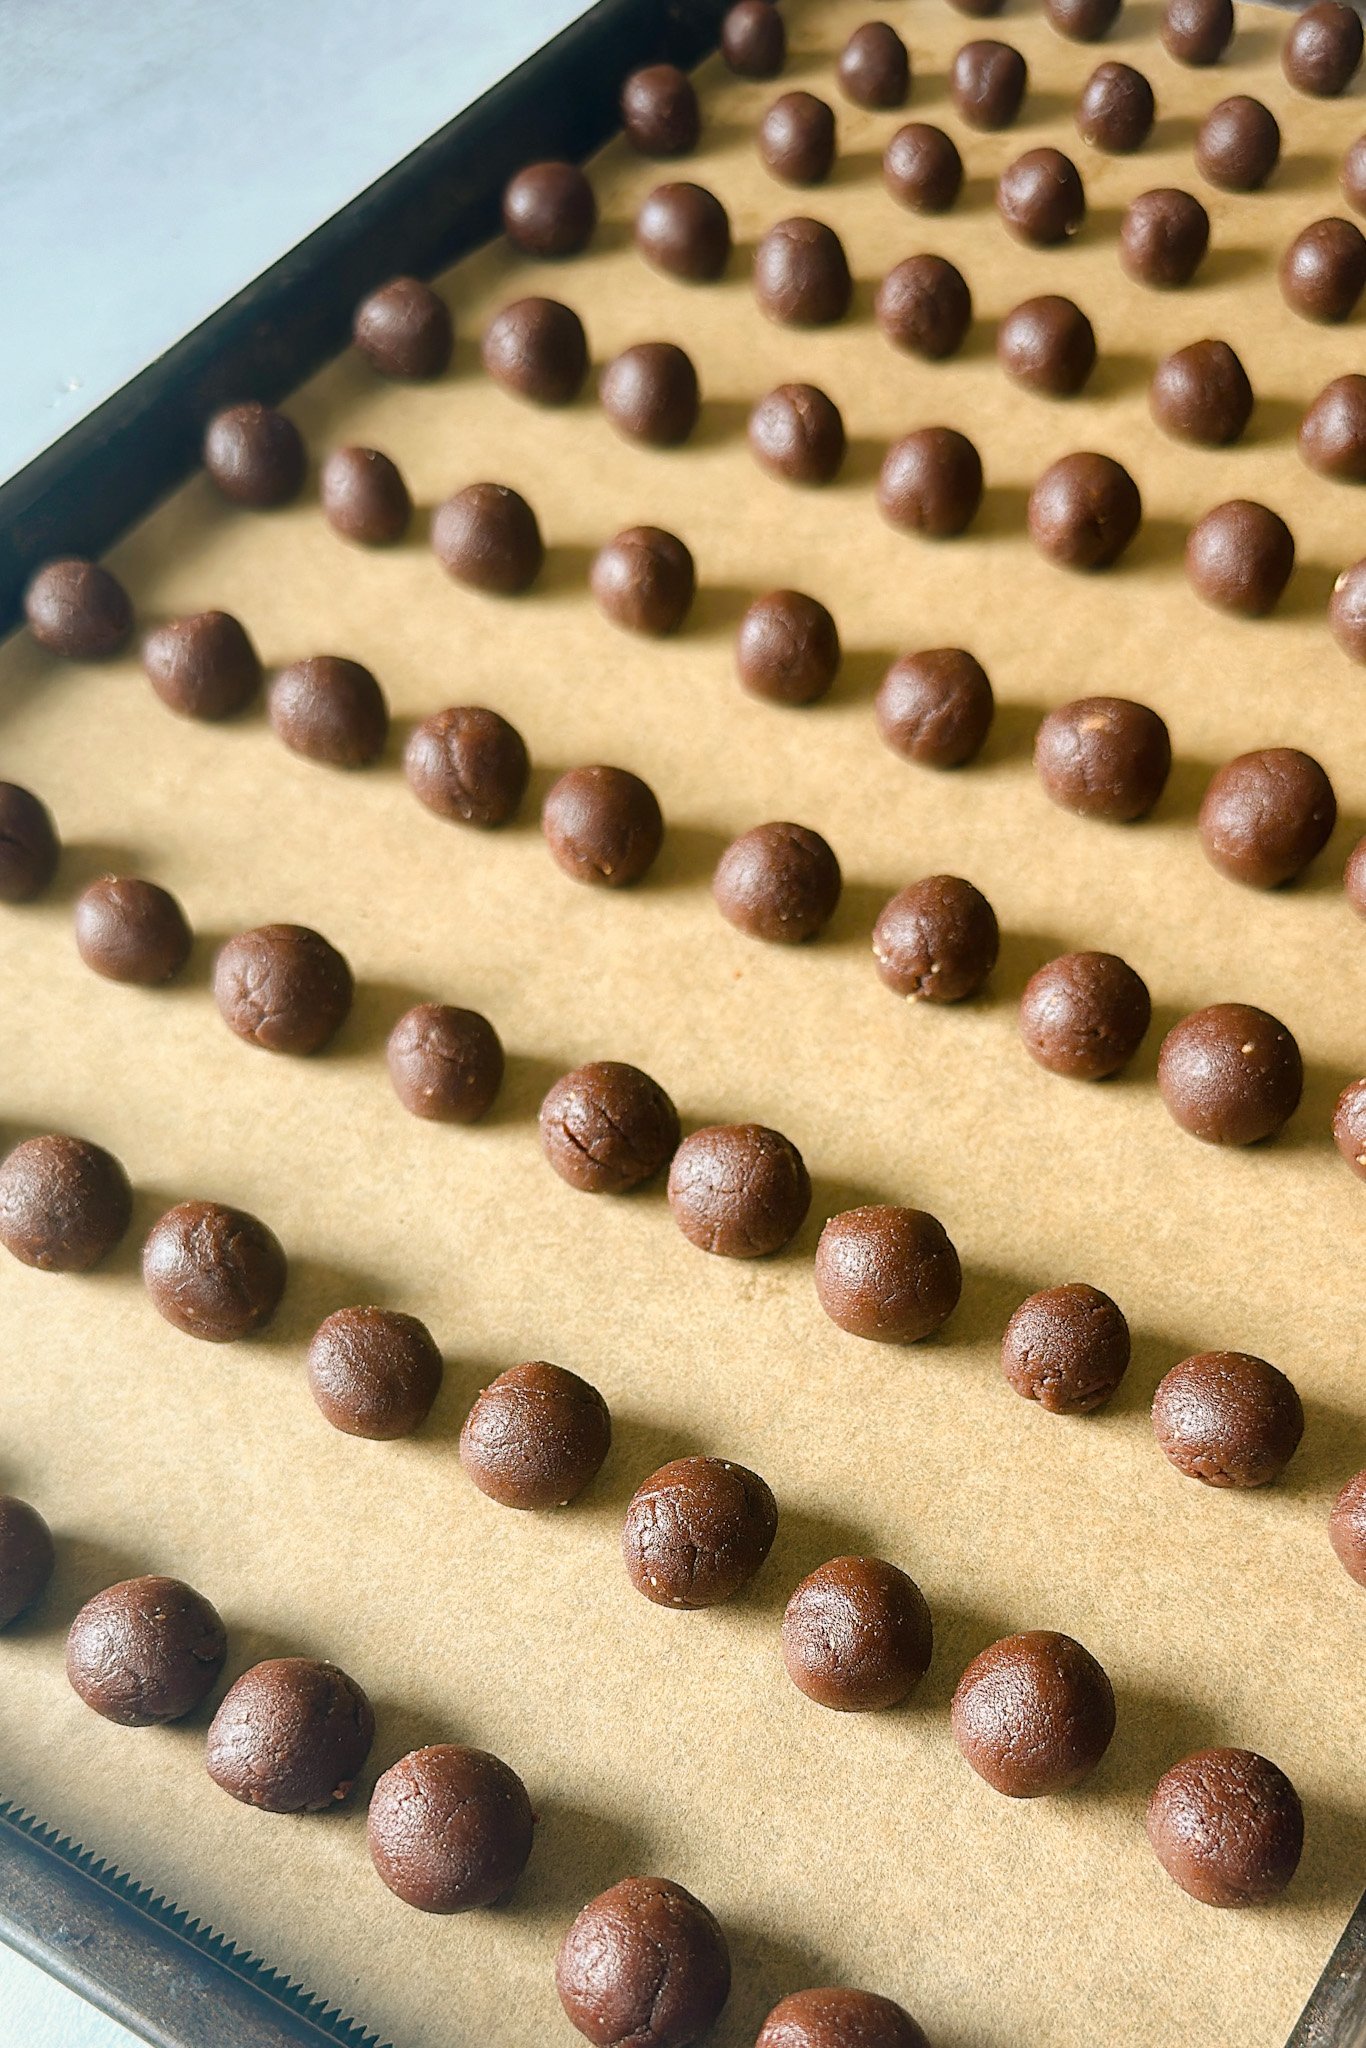
STEP 6: Place the balls on a parchment paper lined pan and bake for 10 minutes, or until the balls are dry to touch (Image 10). Let them cool completely before serving. They will be soft at first right out of the oven, but will firm up as they cool.
Storage Instructions
Once cooled, store the homemade cocoa puffs in an airtight container for up to 5 days. They will be slightly crunchy at first but will get softer in texture once stored.
Tips For Success
- Get your little ones involved in rolling the mini balls! It’ll be a fun activity for them with a treat in return and everyone loves a fun snacktivity! These kid-friendly knives are great for keeping things safe!
- Be sure to check on the cereal at the 10-minute mark and remove them from the oven once they are dry to the touch so that they do not burn. They will be soft at first but will firm up as they cool.
- If the dough seems too dry, add in a very small amount of peanut butter or maple syrup, but try to use your hands to bring the dough together.
- Natural peanut butter works best for this recipe since it contains natural oils from the nuts which help add moisture to the dough.
Recipe FAQs
They have a similar taste, but this version is not as crunchy in texture as the store-bought variety. It is firm on the outside and slightly chewy on the inside. They’re like having a bowl of mini firm brownie bites with clean ingredients and you may end up preferring these over the store version!
Because of the added cocoa powder and round shape, I would recommend serving this cereal to children over age 2. The puffs are not as hard and crunchy as the store-bought ones and soften when mixed with milk.
It is not recommended to consume raw all-purpose flour, so make sure to bake the cereal puffs before tasting.
Other Breakfast Recipes You’ll Love
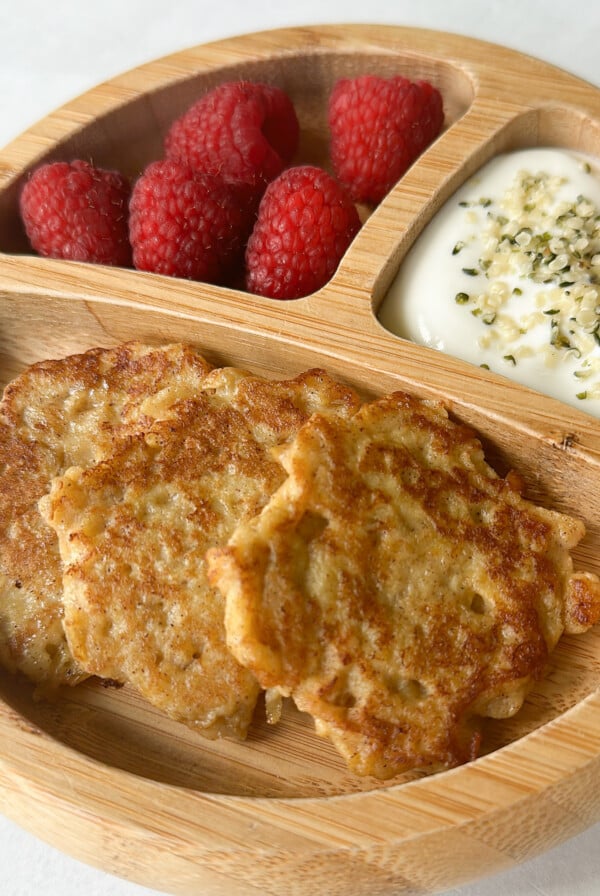
Apple Fritters (Fritters For Babies)

Stovetop Apple Crisp

Broccoli Egg Bites
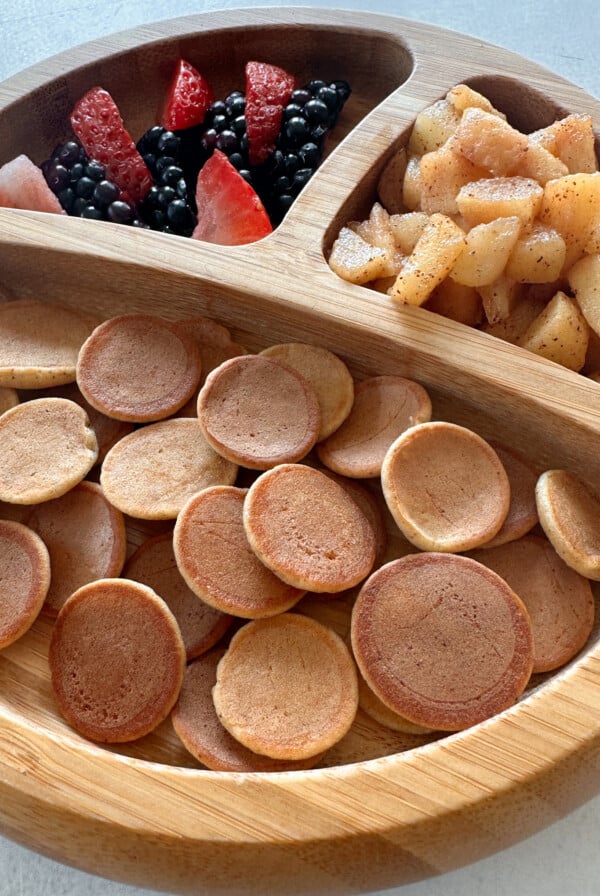
Pancake Cereal (Mini Apple Pancakes)
If you tried this Cocoa Puffs Recipe please leave a ⭐ star rating and let me know how it went in the comments below! I love hearing from you!

Easy Cocoa Puffs Recipe
Ingredients
- ⅓ cup pure maple syrup
- ½ cup natural peanut butter
- 1 cup all purpose flour
- ¼ cup unsweetened cocoa powder
Instructions
- Preheat the oven to 325 degrees F (163 degrees C).
- Add the maple syrup and peanut butter to a bowl and mix until it is combined.
- Add in the flour and cocoa powder and mix until it starts to combine and becomes crumbly in texture.
- Use your hands to gather the dough crumbles together to form it into a dough. Press the pieces together in your hands until they come together. If you notice that the dough is dry and hard to come together, add in a tiny bit of water, but be careful not to add too much so that the mixture isn't too sticky.
- Slice the dough into 8 equal pieces and roll each piece into a thin log. Alternatively, you can pinch off tiny pieces from the dough.
- Slice each log into small pieces and roll each piece into a small, marble-sized ball. You may need to use your fingers to press the dough pieces together. Repeat for the remaining dough.
- Place the balls on a parchment paper lined pan and bake for 10 minutes, or until the balls are dry to touch. Let them cool completely before serving. They will be soft at first right out of the oven, but will firm up as they cool.
Notes
-
- Get your little ones involved in rolling the mini balls! It’ll be a fun activity for them with a treat in return and everyone loves a fun snacktivity! These kid-friendly knives are great for keeping things safe!
-
- Be sure to check on the cereal at the 10-minute mark and remove them from the oven once they are dry to the touch so that they do not burn. They will be soft at first but will firm up as they cool.
-
- If the dough seems too dry, add in a very small amount of peanut butter or water until it comes together. Add in a little at a time so that the dough isn’t too moist.
-
- Natural peanut butter works best for this recipe since it contains natural oils from the nuts which help add moisture to the dough.


Can you make these without the maple syrup so there are no added sugar?
Hi! Unfortunately these wouldn’t work without the maple syrup because it also adds moisture to the dough. Sugar-free maple syrup or any liquid sweetener would also work!
What temperature should the oven be set to when baking for 10 minutes? I didn’t see the temperature in the instructions. Thank you.
Hi! The oven temp should be at 325F, the more details measurements and instructions are in the recipe card at the bottom of the post😊
can agave be substituted for maple?
Hi Crystal! I haven’t tested these with agave, but it should still work😊
Can I use almond flour?
Hi Lana! Unfortunately, almond flour wouldn’t work well for these.
Can I use whole wheat flour?