
Animal Crackers Recipe (Egg Free)
on Jan 15, 2024, Updated Mar 17, 2024
This post may contain affiliate links. Please read our disclosure policy.
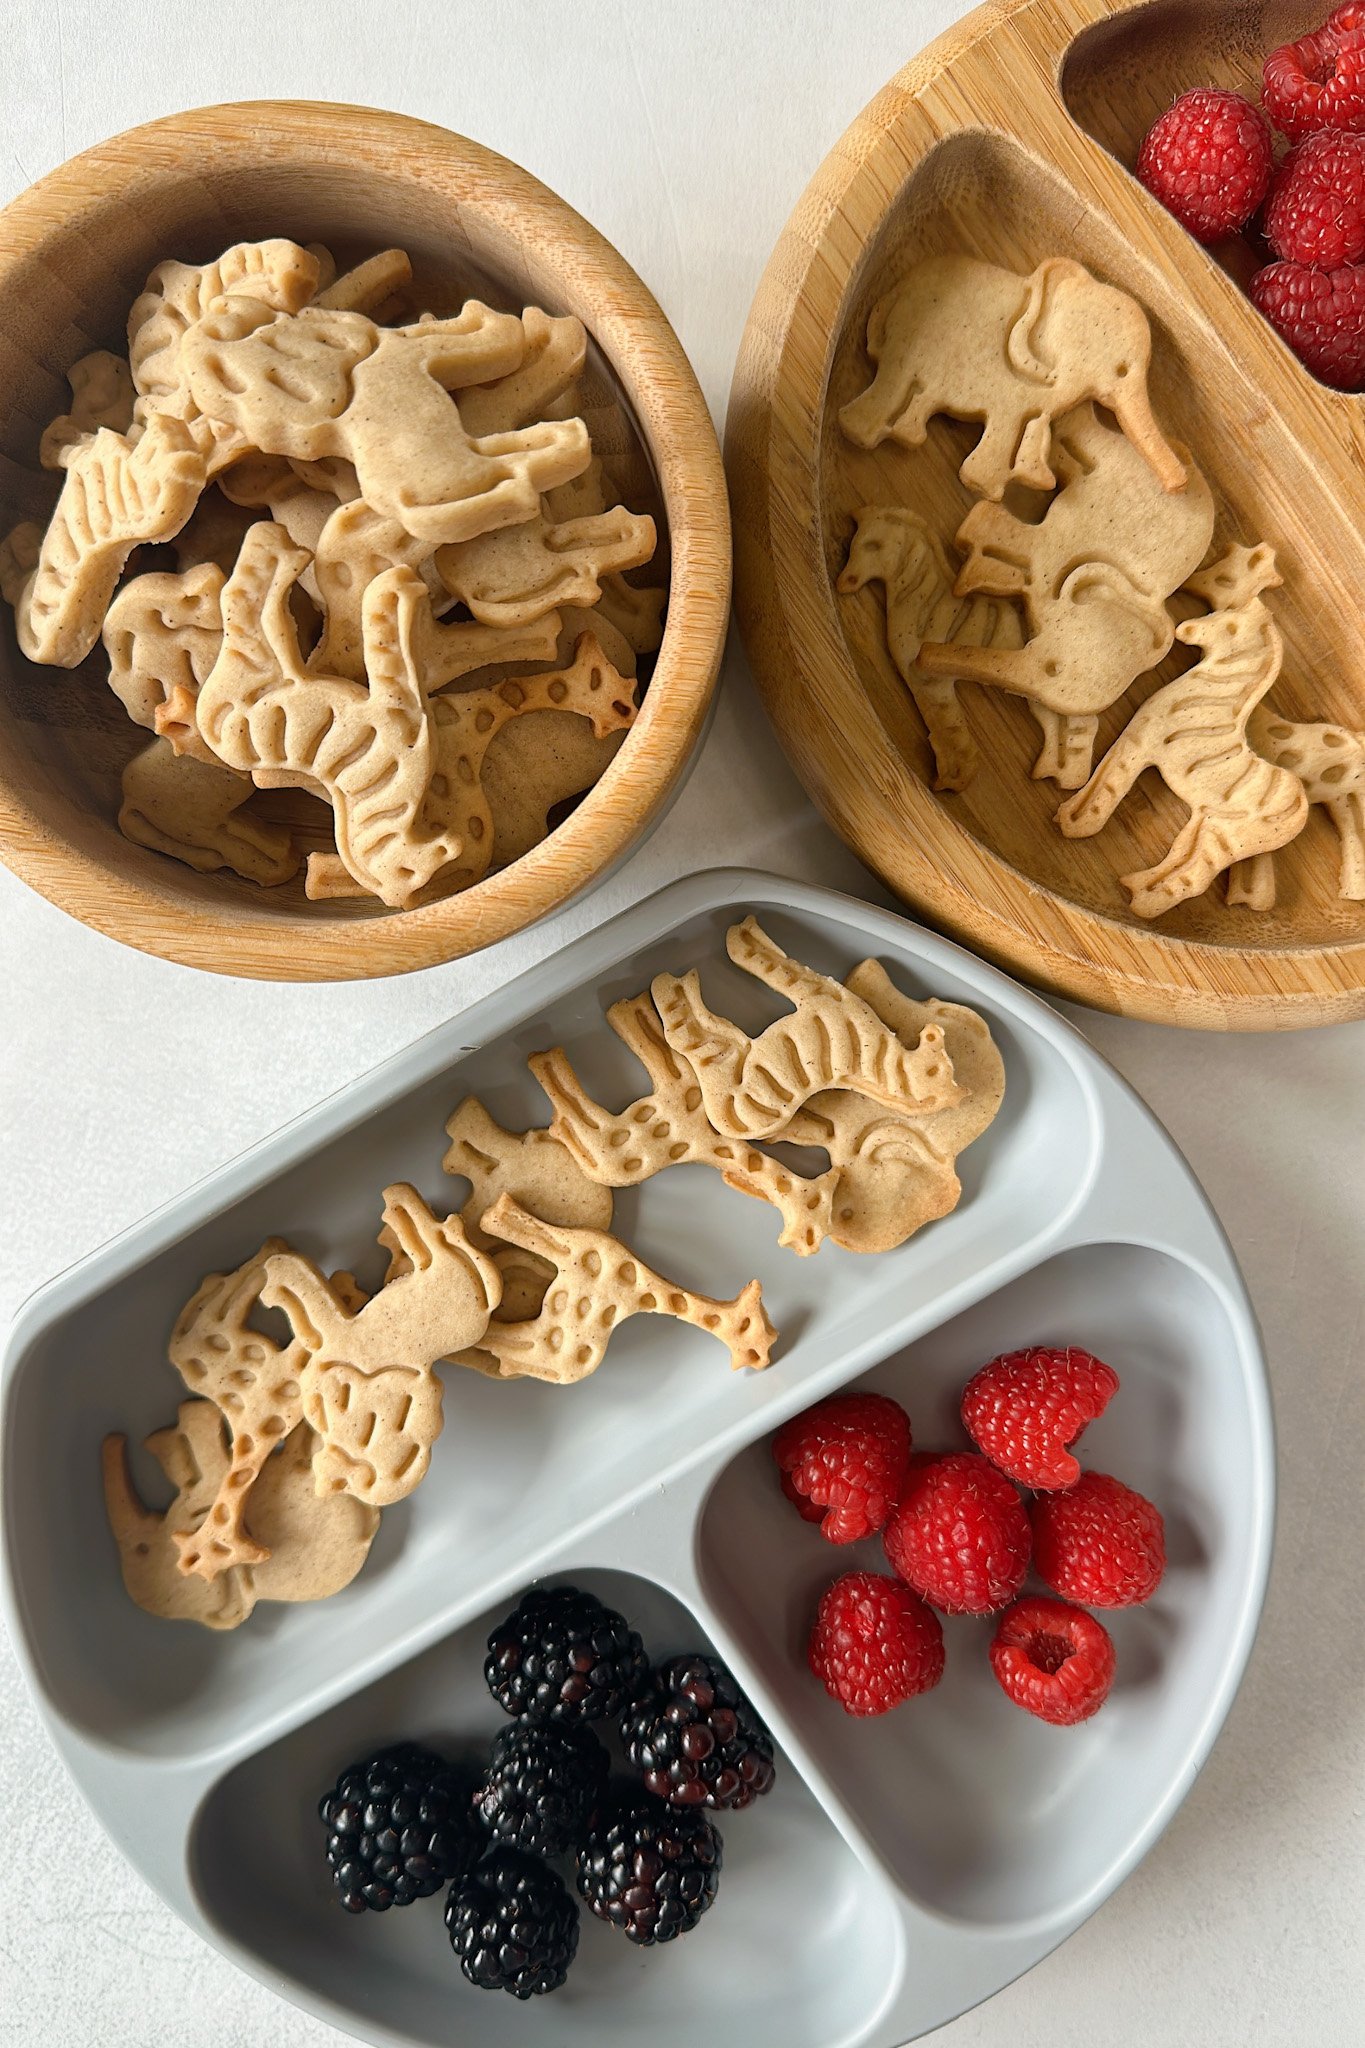
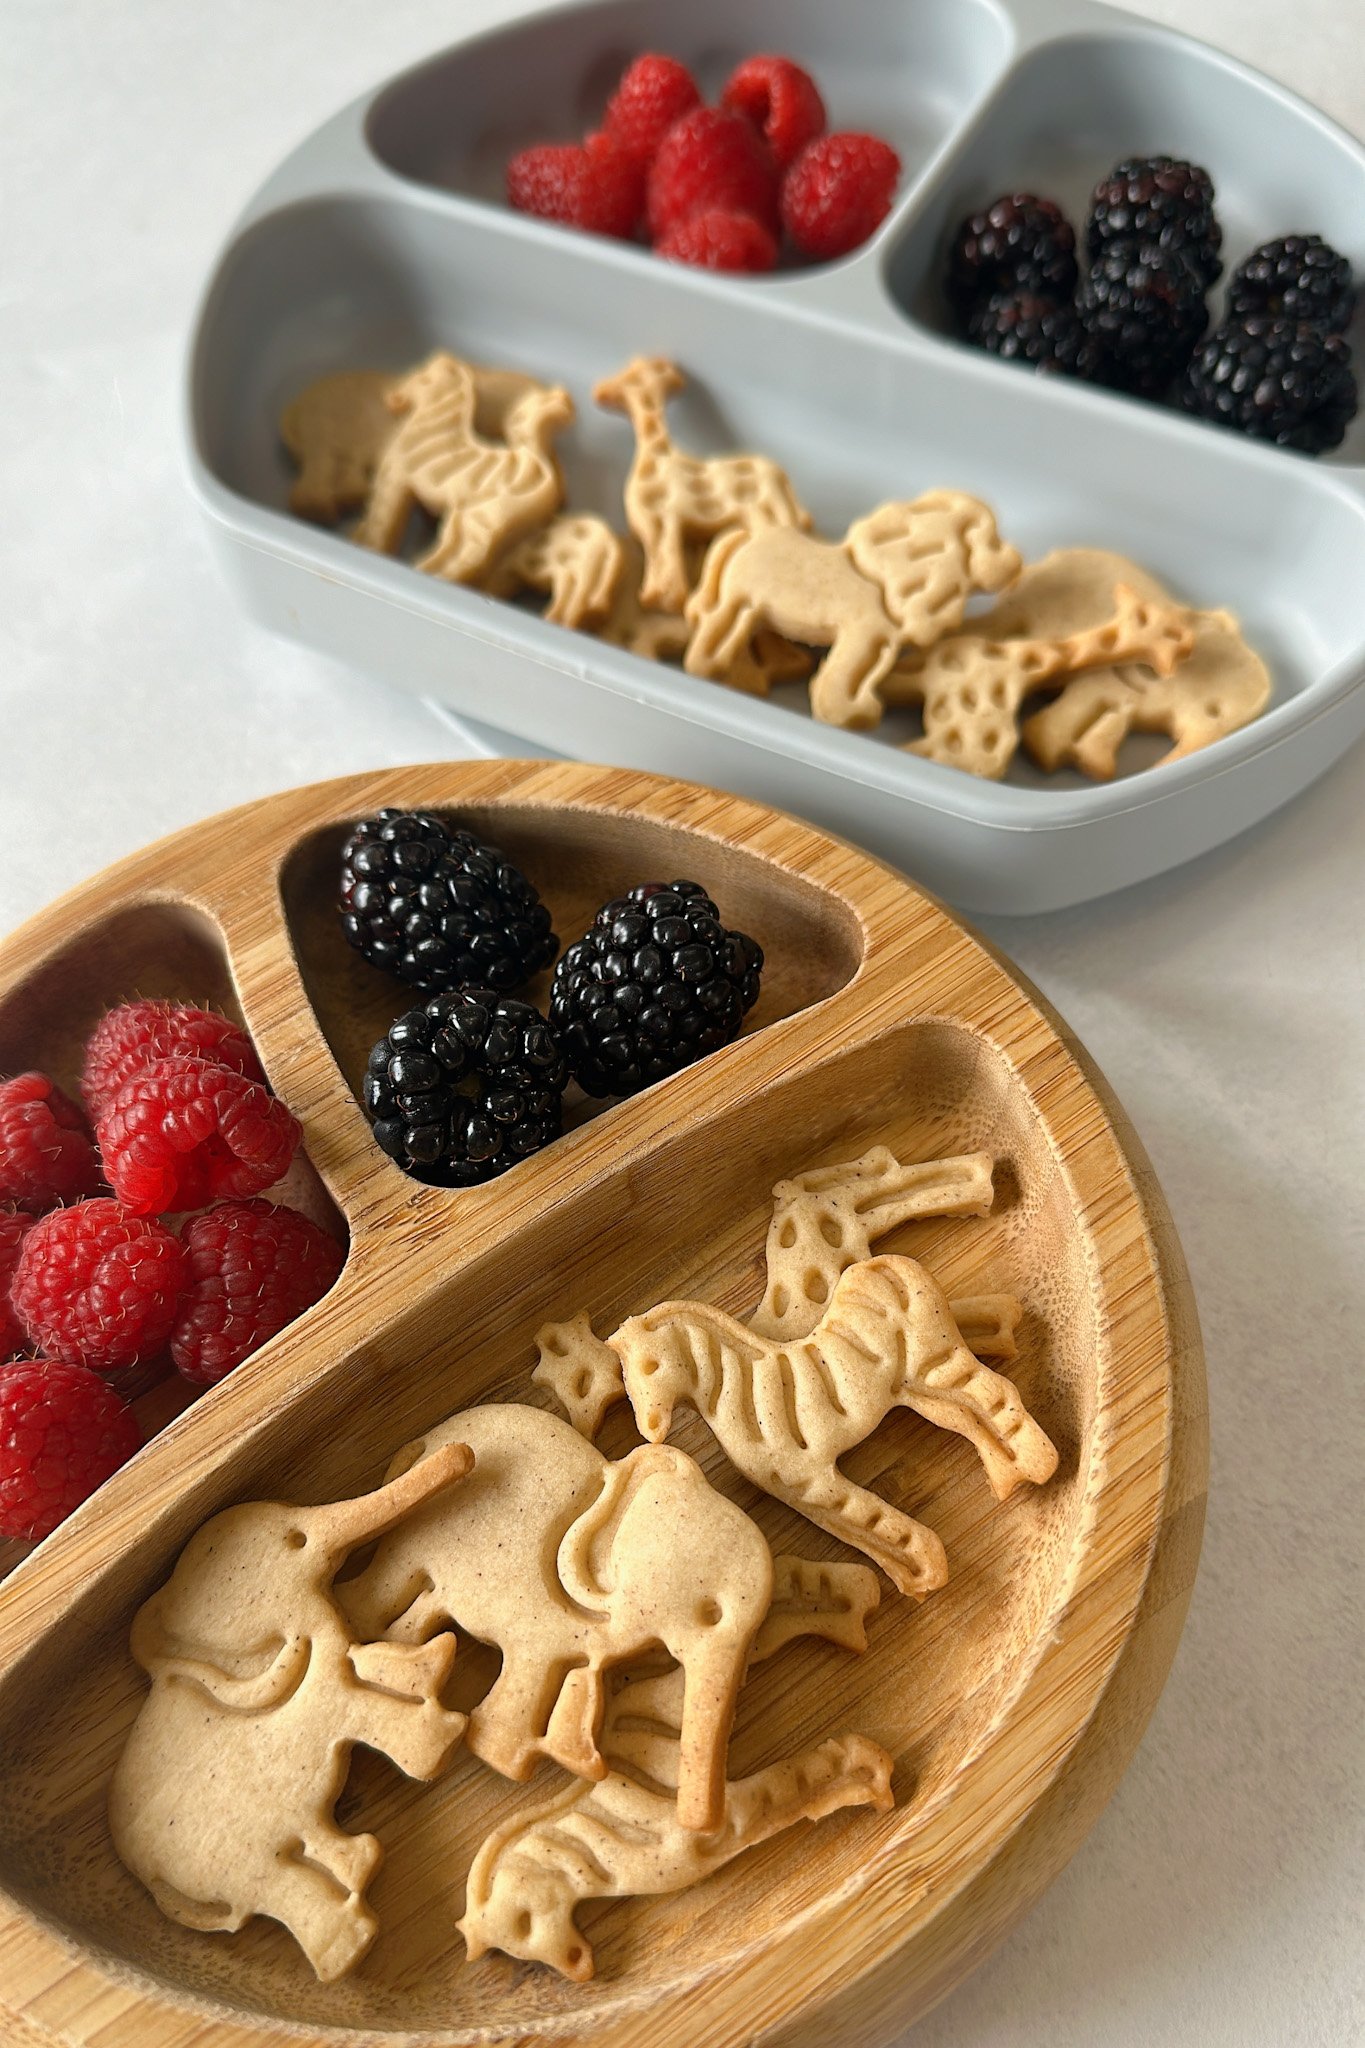
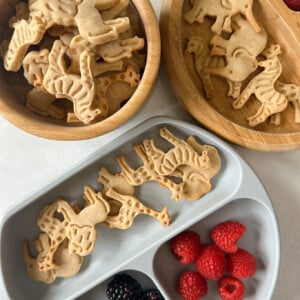
This animal crackers recipe is so simple to make with only 6 ingredients you likely already have on hand! They are egg-free and nut-free and lightly sweetened with maple syrup for a crunchy treat you won’t be able to stop snacking on!
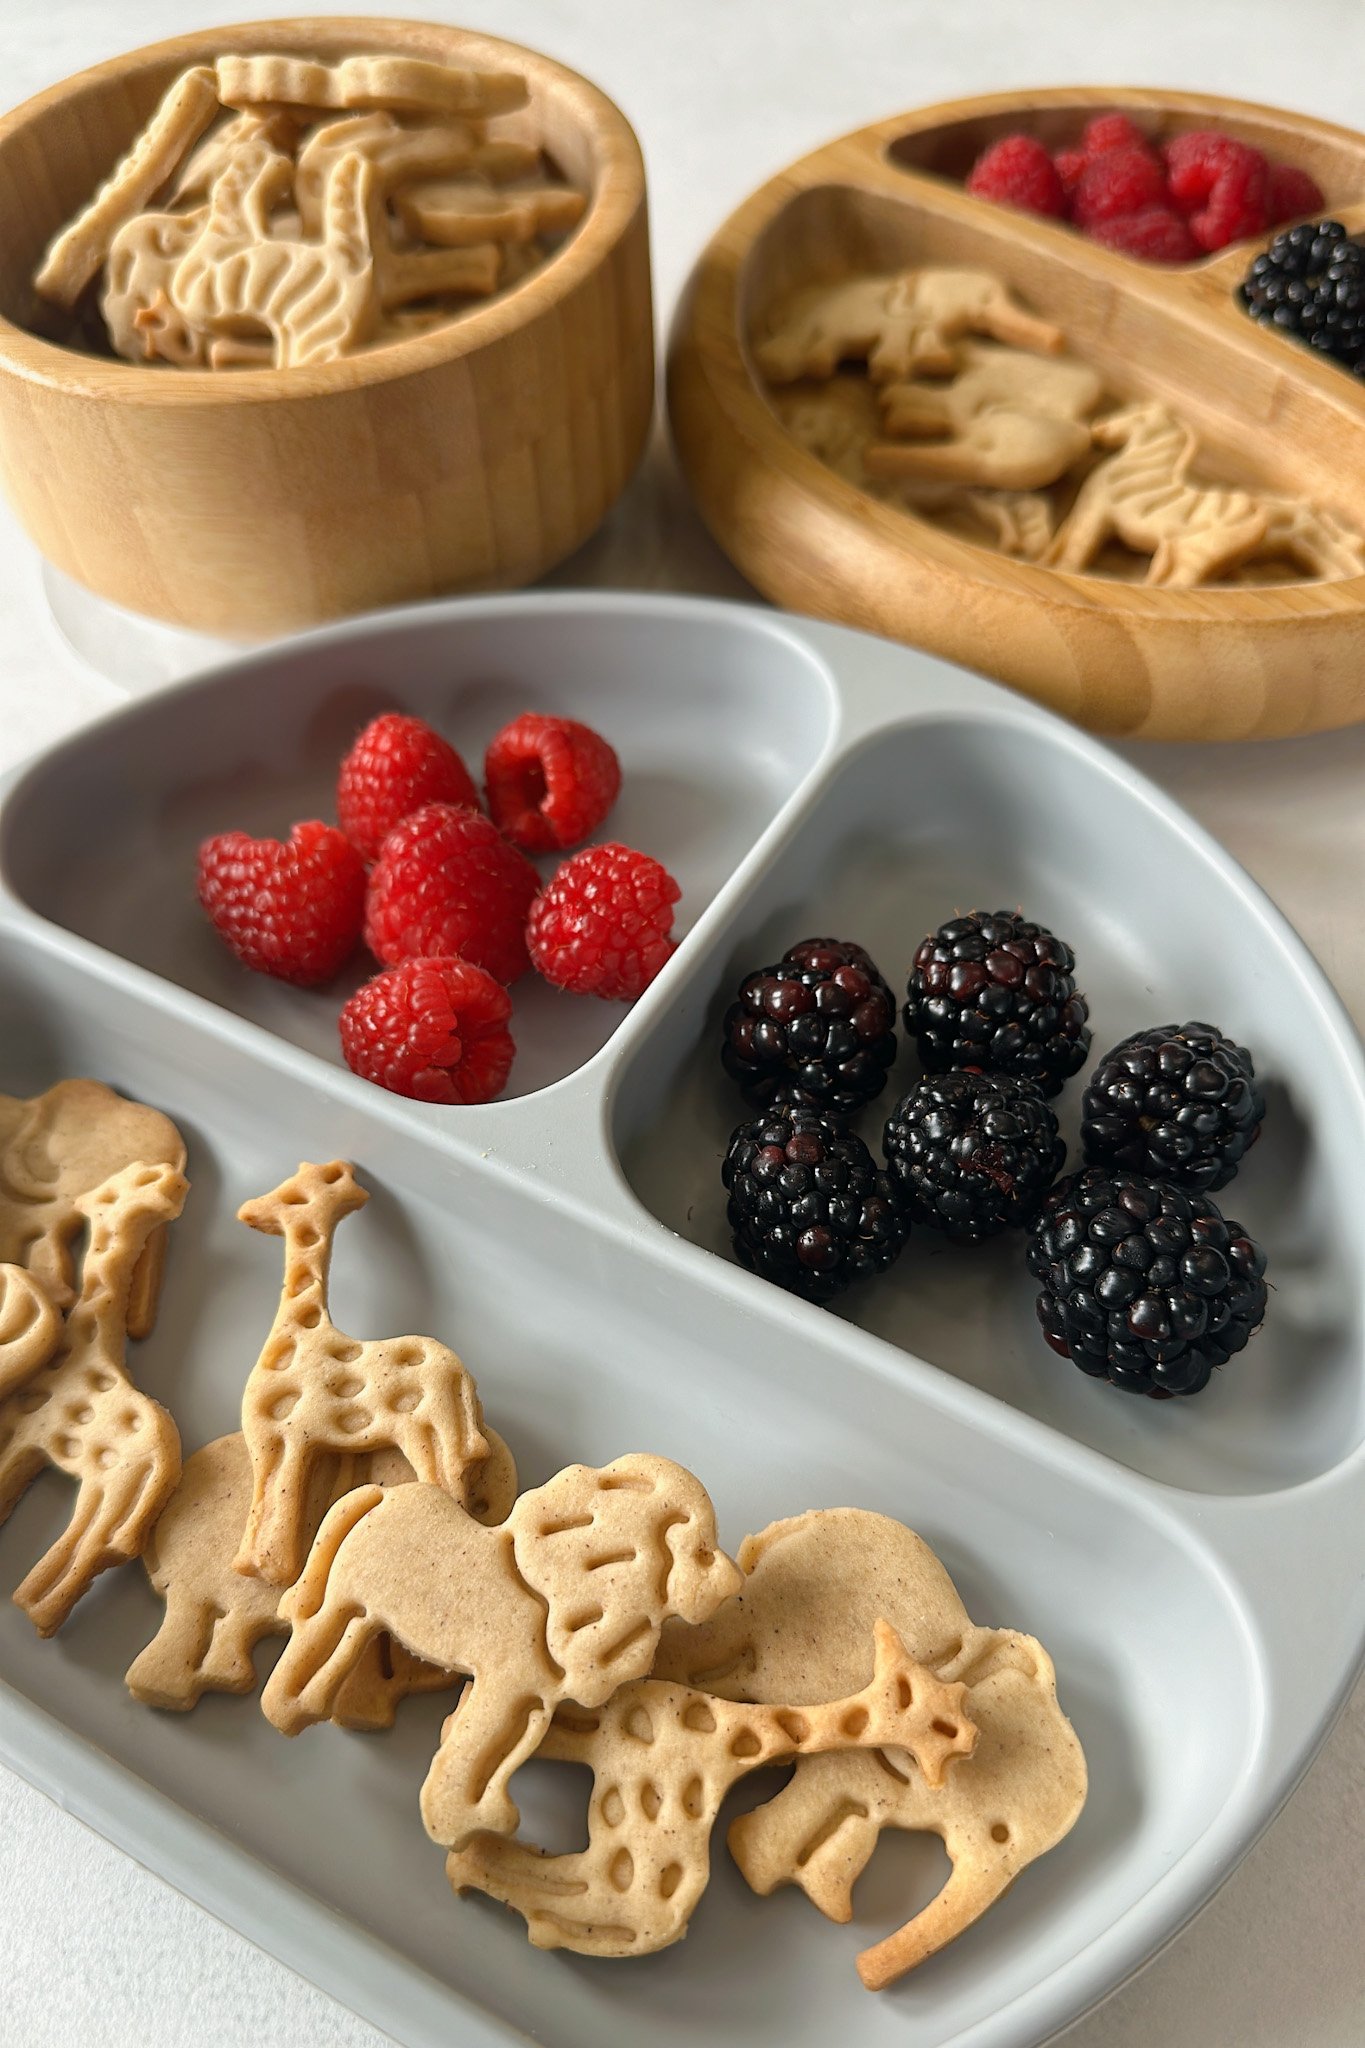
I promise it doesn’t get easier than these 6-ingredient animal crackers! They’re a simple snack you can feel good about giving to your little ones that are refined sugar-free and free of additives. This fun-shaped animal cookie cutter makes them look and feel like the real deal, but you can use any small-shaped cookie cutters you have on hand. Get those little ones involved in making these crackers with you for a hands-on activity and snack in one!
If you love these homemade animal crackers and are looking for some other nostalgic snacks, you’ll love these homemade goldfish crackers, homemade cocoa puffs, and homemade Cheez-it crackers as well!
Table of Contents
What You’ll Need
Here is what you’ll need to make this animal crackers recipe:
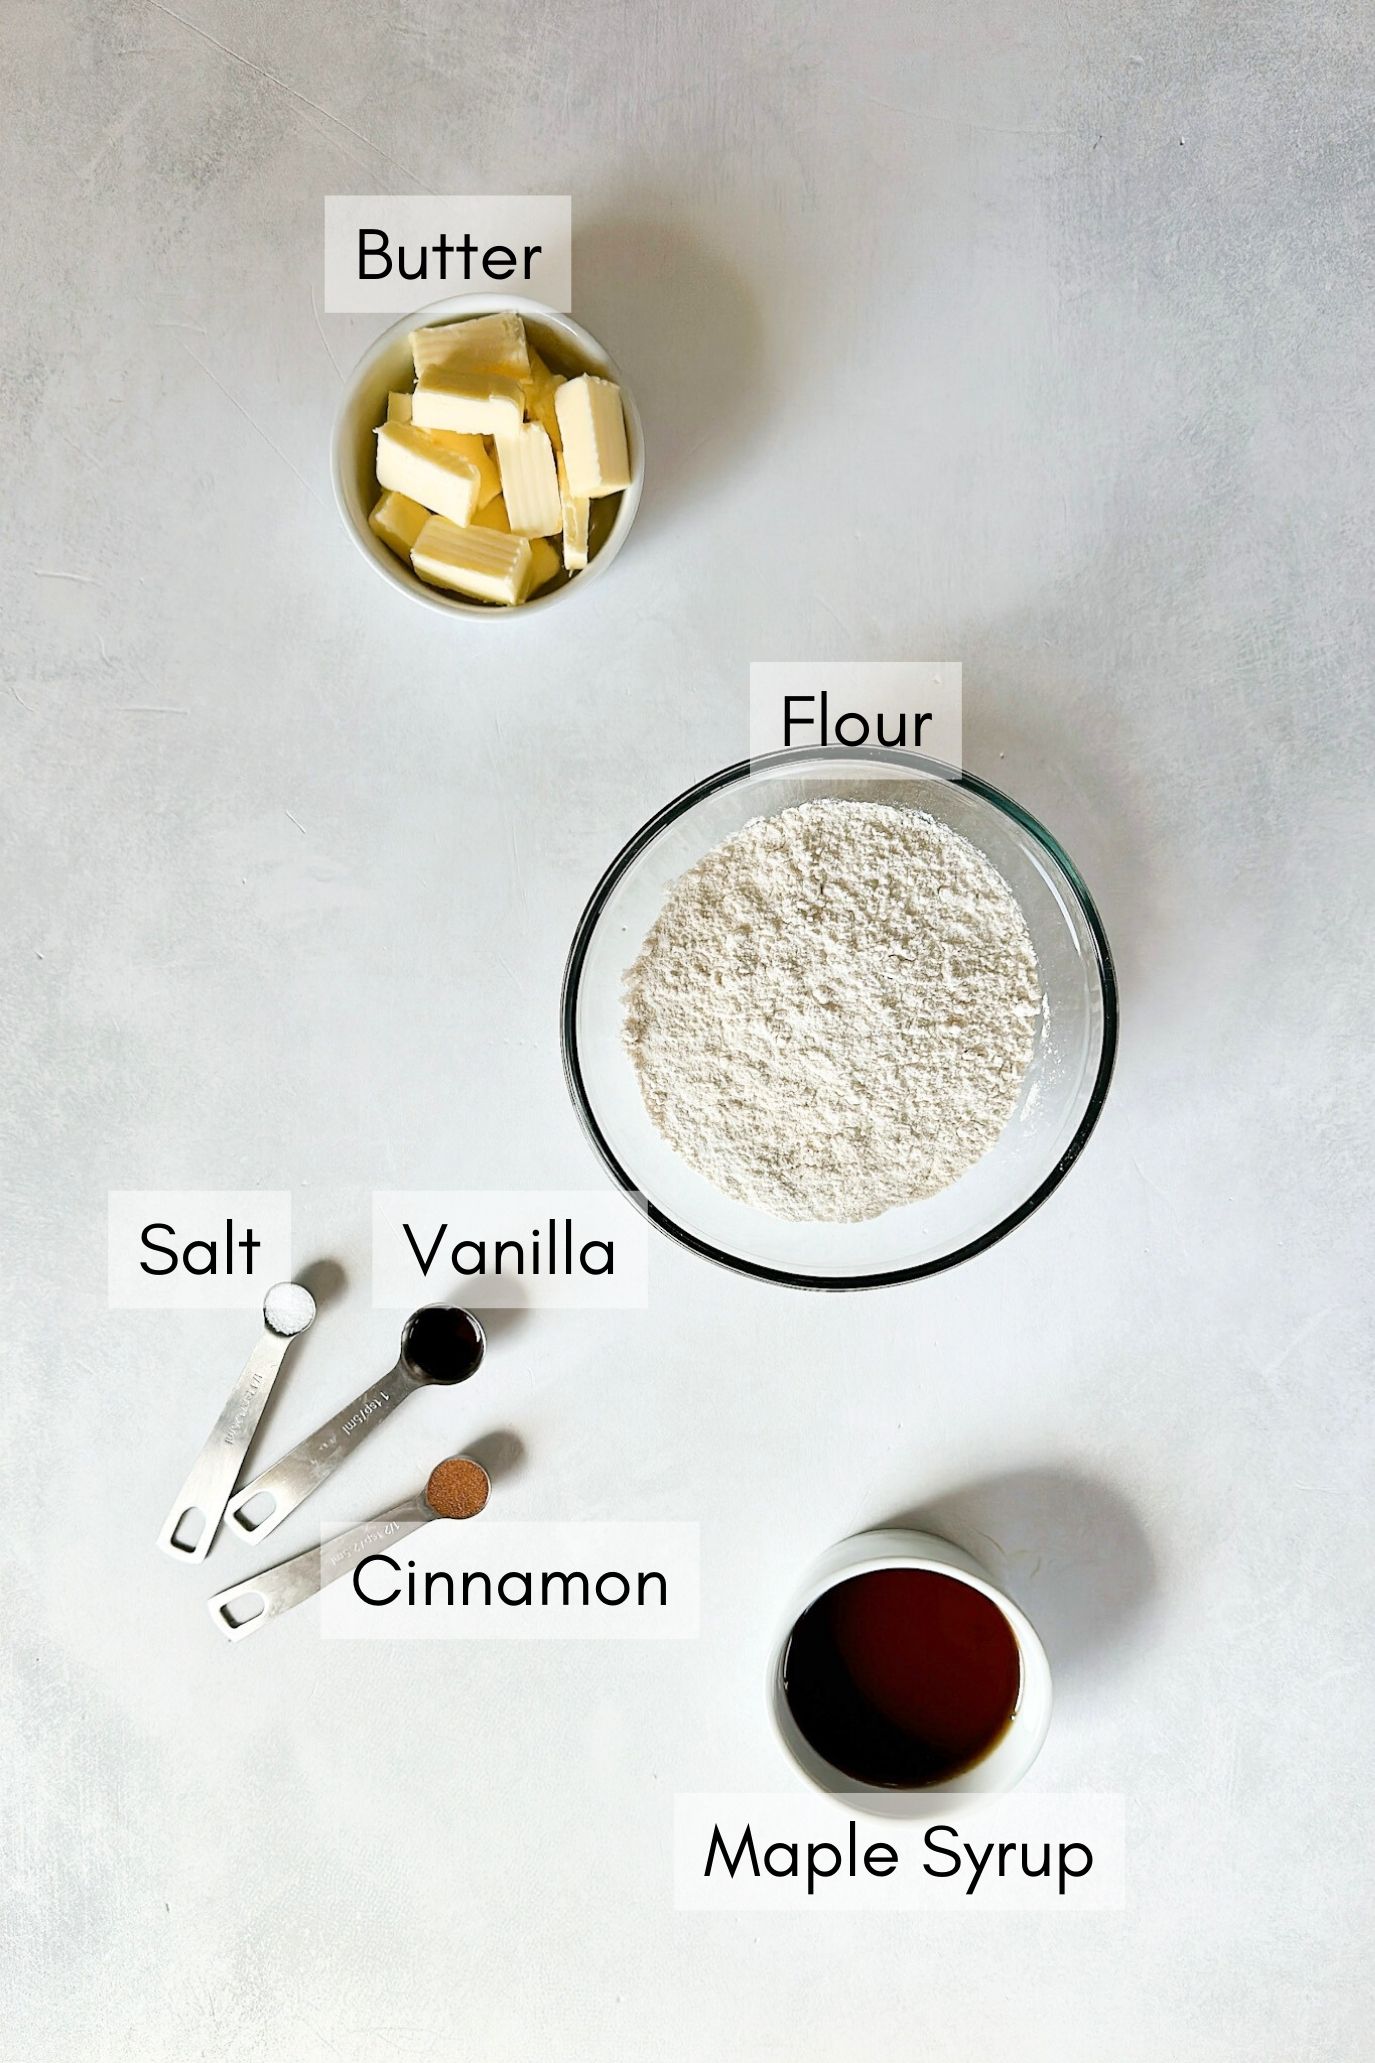
- Butter: I used unsalted butter for these crackers. If you only have salted butter on hand, just omit the salt from the recipe. Make sure that the butter is softened to room temperature beforehand.
- Maple Syrup: The main source of sweetness for these crackers.
- All-Purpose Flour: Make sure to measure your flour correctly. Scoop the flour into the measuring cup and use a knife to level it out.
- Ground Cinnamon: Warm spice for added flavor and taste.
- Vanilla: To enhance the flavor of the crackers.
- Salt: To balance out the flavors of the dough.
See the recipe card below for full information on ingredients and quantities.
Recipe Substitutions & Additions
- Butter: For a dairy-free option, swap the butter with dairy-free butter like these olive oil plant-based butter sticks.
- Maple Syrup: You may replace the maple syrup with equal parts honey. Note – Honey should not be offered to babies under the age of 1 as per CDC guidelines.
- All-Purpose Flour: For a gluten-free option, swap the all-purpose flour with an equal part gluten-free flour blend. You may also use white whole wheat flour, but start with a smaller amount as whole wheat flour absorbs liquids a little differently than all-purpose.
Step By Step Instructions
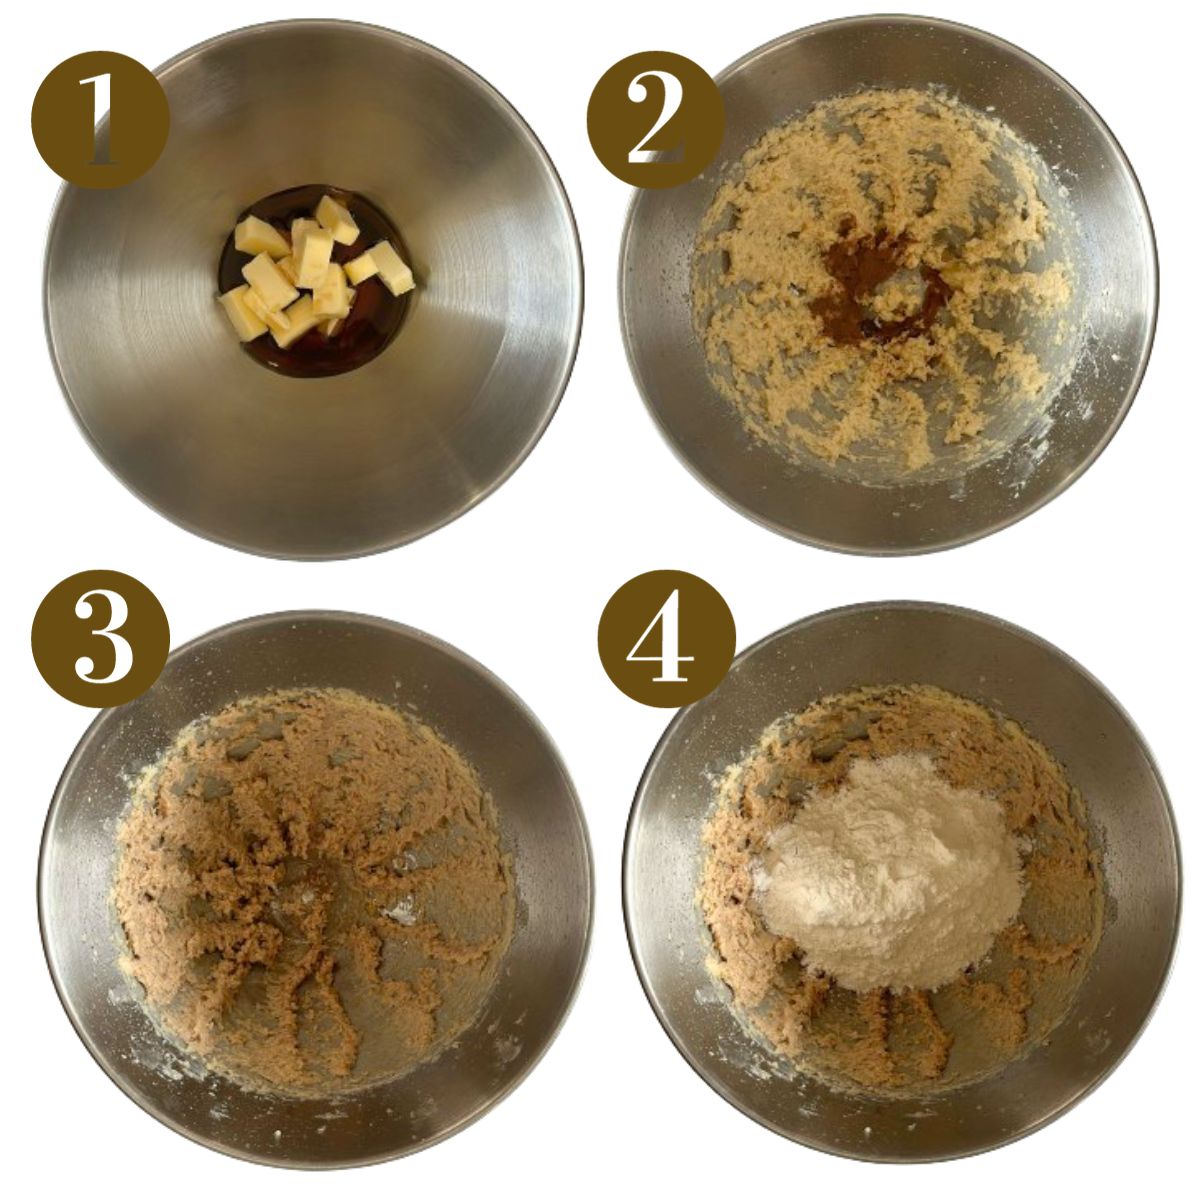
STEP 1: Add the softened butter and maple syrup to a bowl and use an electric hand mixer or stand mixer to cream them together on high speed until smooth, about 1 to 2 minutes (Images 1 & 2).
STEP 2: Add the ground cinnamon, vanilla, and to the bowl and mix on medium speed until incorporated, about 1 minute (Images 2 & 3).
STEP 3: Add in the flour (Image 4) and mix on low speed until it forms a dough. It may seem crumbly at first (Image 5), but it will form into a soft dough (Image 6). Scrape down the sides as needed.

STEP 4: Shape the dough into a disk and wrap it tightly in plastic wrap. Place the dough in the fridge to allow the dough to chill for at least 1 hour or overnight. This step is important and it will allow the flour time to hydrate and make it easier to roll out. *Note: If you’re in a pinch, you can place the dough in the freezer for 15 minutes.
STEP 5: After at least an hour, place the chilled dough on the counter to allow it to slightly soften. Preheat the oven to 350 degrees F.
STEP 6: Sprinkle 1 to 2 tablespoons of flour on a surface or sheet of parchment paper and place the dough on top (Image 7). Flour a rolling pin and roll the dough out until it is about 1/4 to 1/8 of an inch thick. Use animal cracker-shaped cookie cutters (or any mini cookie cutter) to cut out shapes from the dough (Image 8).
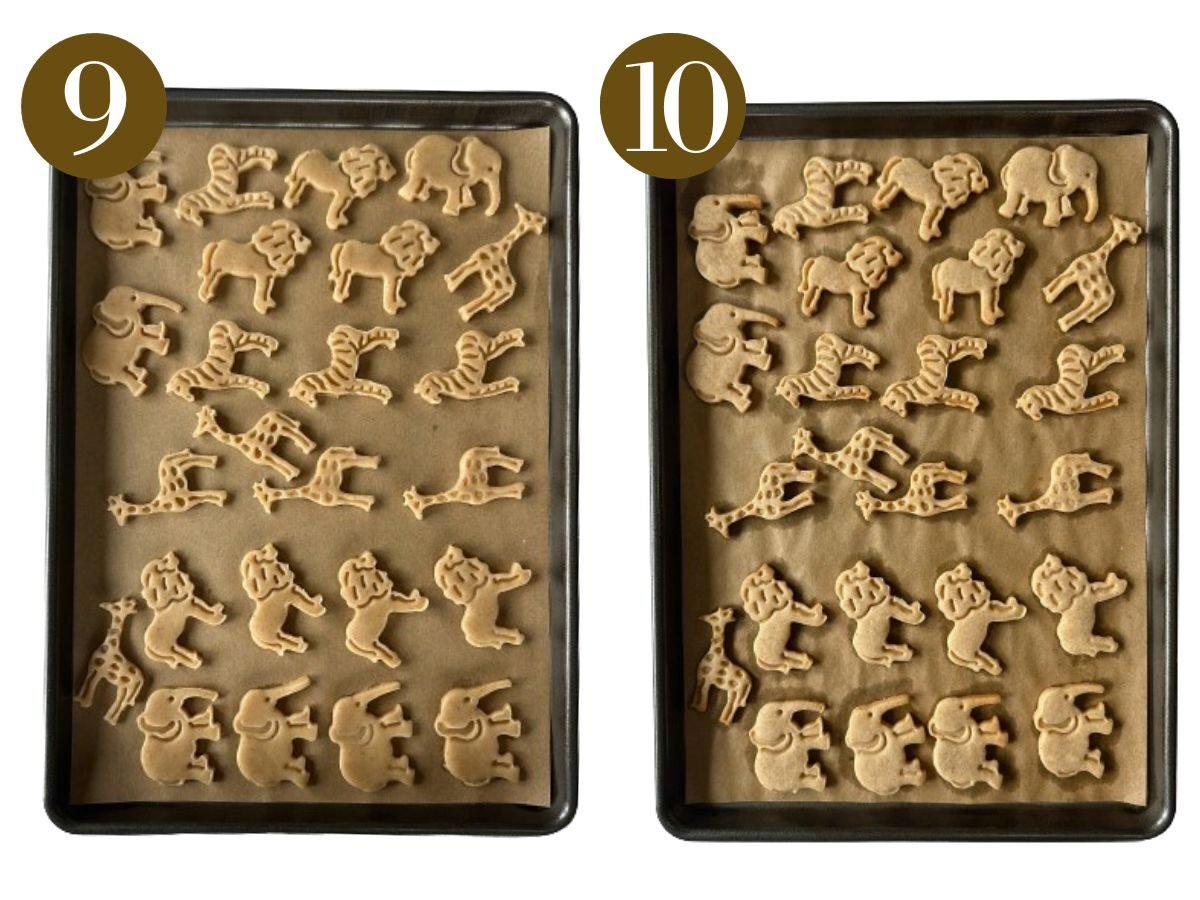
STEP 7: Transfer the shape cutouts to a parchment paper-lined pan (Image 9). Gather the scraps and reroll them out to cut out more shapes from the dough until all of the dough is used. Add additional flour on the surface as needed to prevent the dough from sticking. I was able to make two trays full of mini crackers using this dough.
STEP 8: Bake the crackers for 7 to 10 minutes until the edges are lightly golden brown (Image 10). Keep a very close eye on the crackers as they can burn easily. Allow the crackers to cool completely before removing them from the pan.
Storage Instructions
Once cooled, store the homemade animal crackers in an airtight container at room temperature for 3 to 4 days. They may also be frozen for up to 2 months in an air-tight, freezer-safe container. Thaw the crackers at room temperature.
Tips For Success
- If the dough seems crumbly after adding in the flour and mixing on low speed, add in 1 to 2 tablespoons of cold water and continue mixing on low speed until it moistens and forms into a dough.
- If the dough still seems sticky when you are rolling it out, add a little more flour to the surface/rolling pin to prevent it from sticking, or roll it out between two sheets of parchment paper.
- I like to use these spring button animal cracker cutters because they make it so easy to cut out the cracker shapes! The spring button helps the dough shapes pop right out without distorting their shape.
- Make sure to let the crackers cool completely before serving. They will be soft at first right out of the oven but will firm up as they cool.
- Make sure that your butter is softened to room temperature beforehand. Cutting butter up into cubes will help it come to room temperature quickly. Using cold butter may result in the mixture curdling, so make sure to let it fully soften.
Recipe FAQs
This recipe makes approximately 70 animal crackers using the spring button animal-shaped cutters. Make sure to gather the scraps and reroll the dough to get the most cracker shapes out of your dough.
If the dough is sticky, add some extra flour to the surface and the rolling pin to help prevent it from sticking and make it easier to roll out the dough. If the cracker cutouts are sticking to the dough, try dipping the cutter in some flour before pressing it into the dough.
You can prep this dough 3 to 4 days in advance and store it in an airtight container in the fridge. The dough will need to sit out at room temperature for a few minutes to soften before rolling out.
Other Homemade Snacks You’ll Love
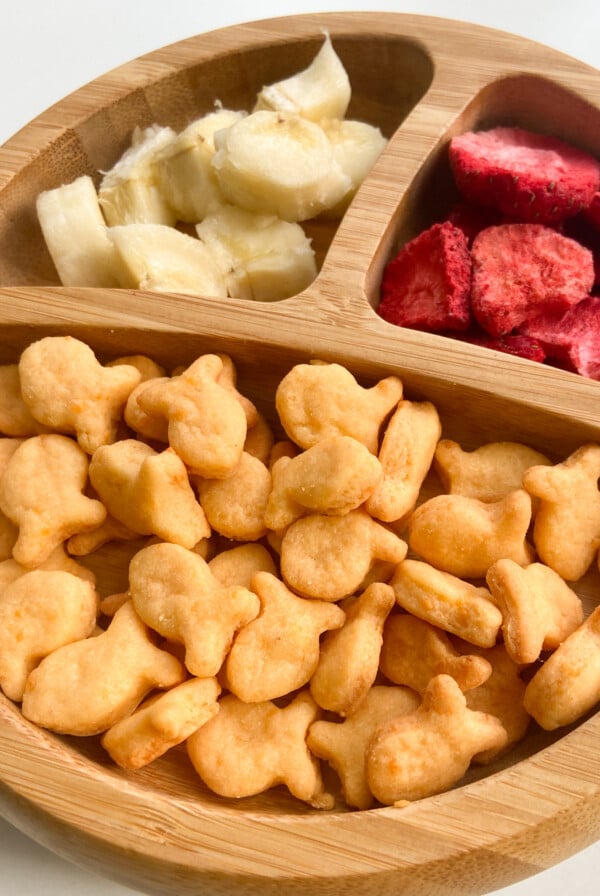
Homemade Healthy Goldfish Crackers
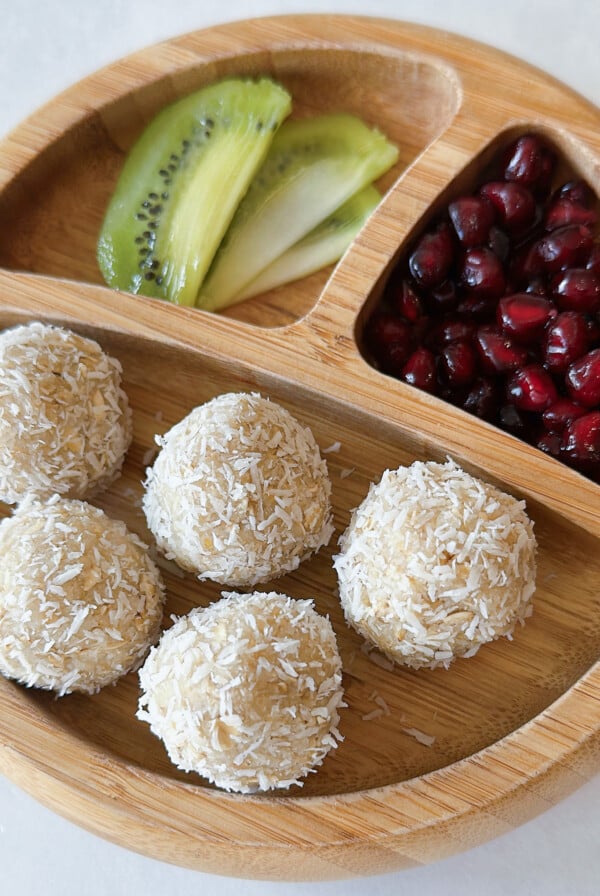
Coconut Balls
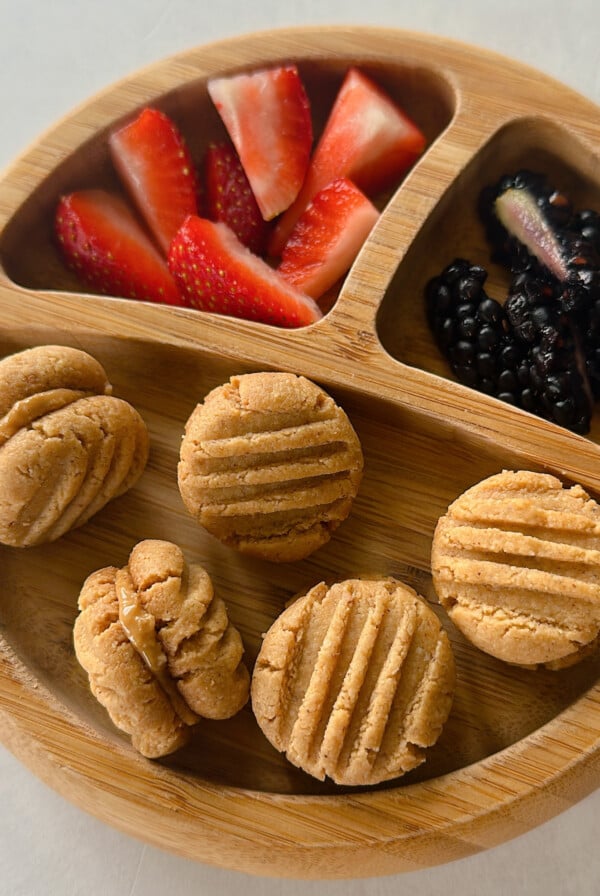
4 Ingredient Peanut Butter Cookies
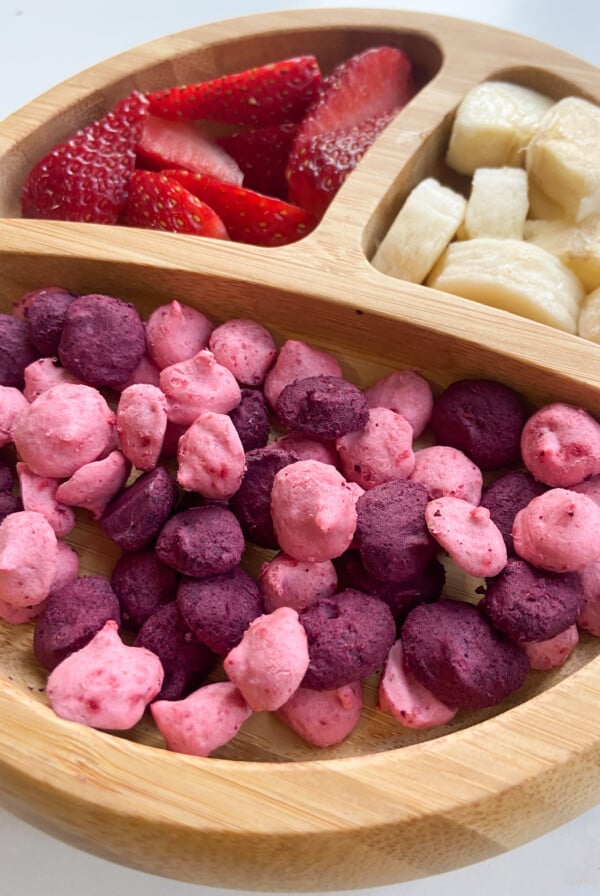
Baby Yogurt Melts (With Freeze-Dried Fruits!)
If you tried this Animal Crackers Recipe please leave a ⭐ star rating and let me know how it went in the comments below! I love hearing from you!
Animal Crackers Recipe (Egg Free)
Ingredients
- 6 tbsp unsalted butter, softened to room temperature
- ¼ cup pure maple syrup
- ½ tsp ground cinnamon
- ½ tsp vanilla extract
- ¼ tsp salt
- 1 ½ cups all purpose flour
Instructions
- Add the softened butter and maple syrup to a bowl and use an electric hand mixer or stand mixer to cream them together on high speed until smooth, about 1 to 2 minutes. Make sure that the butter is fully softened to room temperature and that you can easily put a dent in it if you press your finger into it.
- Add the ground cinnamon, vanilla, and salt to the bowl and mix on medium speed until incorporated, about 1 minute.
- Add in the flour and mix on low speed until it forms a dough. It may seem crumbly at first, but it will form into a soft dough. Scrape down the sides as needed.
- Shape the dough into a disk and wrap it tightly in plastic wrap. Place the dough in the fridge to allow the dough to chill for at least 1 hour or overnight. This step is important and it will allow the flour time to hydrate and make it easier to roll out. *Note: If you're in a pinch, you can place the dough in the freezer for 15 minutes.
- After at least an hour, place the chilled dough on the counter to allow it to slightly soften. Preheat the oven to 350 degrees F.
- Sprinkle 1 to 2 tablespoons of flour on a surface or sheet of parchment paper and place the dough on top. Flour a rolling pin and roll the dough out until it is about 1/4 to 1/8 of an inch thick. Use animal cracker-shaped cookie cutters (or any mini cookie cutter) to cut out shapes from the dough.
- Transfer the shape cutouts to a parchment paper-lined pan. Gather the scraps and reroll them out to cut out more shapes from the dough until all of the dough is used. Add additional flour on the surface as needed to prevent the dough from sticking. I was able to make two trays full of mini crackers using this dough.
- Bake the crackers for 7 to 10 minutes until the edges are lightly golden brown. Keep a very close eye on the crackers as they can burn easily. Allow the crackers to cool completely before removing them from the pan.
Notes
-
- If the dough seems crumbly after adding in the flour and mixing on low speed, add in 1 to 2 tablespoons of cold water and continue mixing on low speed until it moistens and forms into a dough.
- If the dough still seems sticky when you are rolling it out, add a little more flour to the surface/rolling pin to prevent it from sticking, or roll it out between two sheets of parchment paper.
- I like to use these spring button animal cracker cutters because they make it so easy to cut out the cracker shapes! The spring button helps the dough shapes pop right out without distorting their shape.
- Make sure to let the crackers cool completely before serving. They will be soft at first right out of the oven but will firm up as they cool.
- Make sure that your butter is softened to room temperature beforehand. Cutting butter up into cubes will help it come to room temperature quickly. Using cold butter may result in the mixture curdling, so make sure to let it fully soften.


Made these cookies
After letting dough refrigerate and then setting out to warm up
When rolling out it was very flaky and hard to roll out
What was my possible problem?
Hi Linda! I’m so sorry that happened! What the dough smooth when you originally put it in the fridge to chill? Did you use room temperature, fully softened butter? Would love to help troubleshoot!
Butter was soft and dough seemed to be smooth
I did refrig overnight and let it soften
I would recommend letting the dough soften a bit more at room temperature. When it’s refrigerated overnight, it tends to firm up more than it does after a shorter chill time and can take a little extra time to relax. Once it softens up a bit more, it should be much easier to roll out😊
My grand is allergic to wheat and egg whites. Have you ever tried any other flours?
Thanks for sharing! This was an easy recipe that my daughter who is beginning to read was able to understand and follow. My 4 year old son was able to help as well making this a fun family cooking experience. Do you have a YouTube channel? I would love to follow you? Do you have your own cookbook that I could purchase. Both of my children loved these crackers!
Hi Amour! I’m so glad to hear that your little ones enjoyed the crackers! I have a new lunches and snacks cookbook releasing in a little over 2 weeks with this recipe and some other fun copycat snack recipes as well, here is the link for it if you’d like to check it out😊
Hi! I love your recipes! I have noticed that I can never find how to store these and others in the recipe? Am I missing it somewhere ? Thank you!!
Hi Amy! I’m so glad to hear that! There is a section on each post called “storage instructions” usually right under the step by step photos, or if you click on that title from the table of contents it’ll jump down to that section as well😊
I made the Animal crackers and they were so delicious and my grand babies are coming tomorrow so they want to make them again. Thanks for sharing your recipe and I am going to try out some more of your recipes.
My toddler and I absolutely love these crackers! We make them all the time. 🙂
I’m so glad to hear that you both love them, Kara!😊
How long would this dough stay good for in the fridge after making?
Hi Rachel! This dough would be good for 2 days in the fridge when wrapped tightly😊
Could I sweeten thin with apple sauce or banana instead of using maple syrup? Thanks
Hi Courtney! Unfortunately those wouldn’t work well as swap for these cookies, you could maybe try out mashed banana, but the texture would be much different😊
Has anyone tried these with a GF flour?
Could this be made with GF flour?
Hi Leslie! Yes, you can use gluten-free all purpose flour like the King Arthur brand😊