

Homemade 2-ingredient Cheez-it Crackers

on Nov 13, 2021, Updated Sep 18, 2026
This post may contain affiliate links. Please read our disclosure policy.
Add as Google preferred sourceThese 2-ingredient cheese crackers are crispy, cheesy, and so easy to make! All you need is shredded cheese and almond flour to make a batch of homemade crackers that are perfect for snacking and lunchboxes.
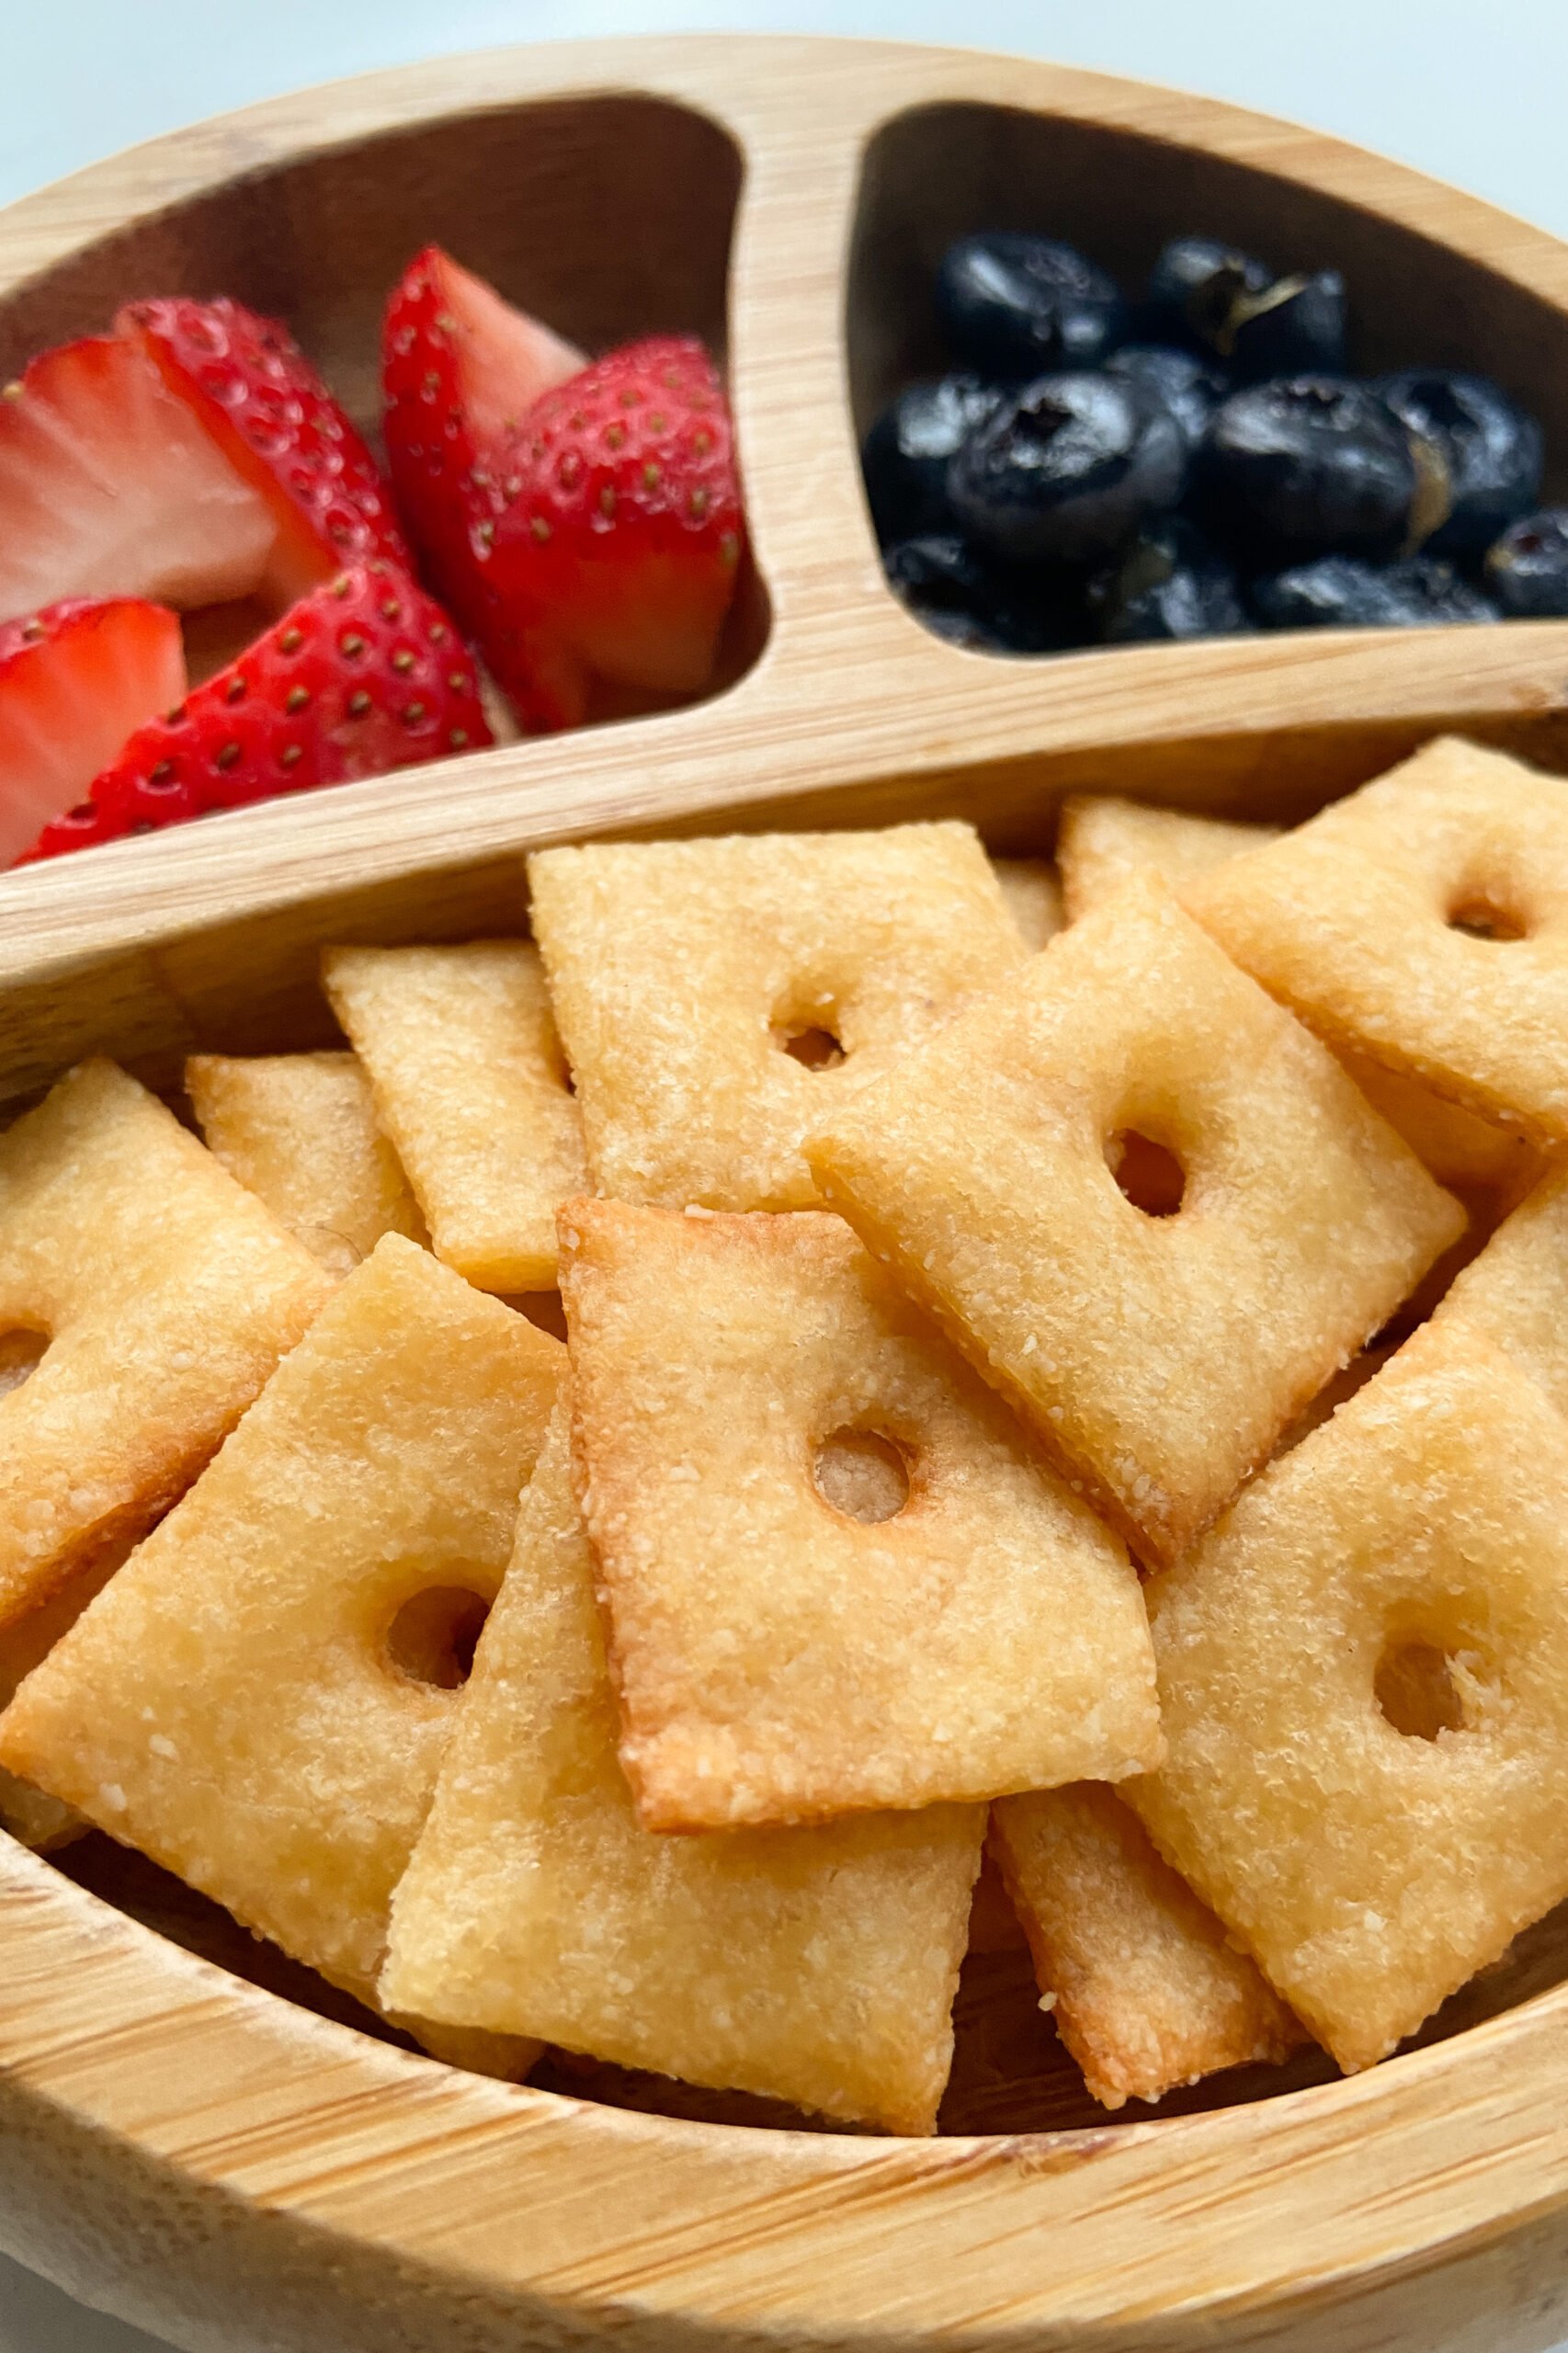
I love a homemade snack that doesn’t require a long list of ingredients, and these couldn’t be much simpler. Melt the cheese, mix in the almond flour, roll out the dough, cut, and bake! The hardest part is waiting for them to cool because that’s when they really crisp up. Serve them as is, pair them with fruit or veggies, or add them to a snack plate or lunchbox for an easy cheesy snack!
Looking for more classic copycat snack recipes to try? You’ll love these homemade nutter butters, homemade animal crackers, and easy homemade oreos as well!
Table of Contents
What You’ll Need
Here is what you’ll need to make these 2-ingredient cheese crackers:
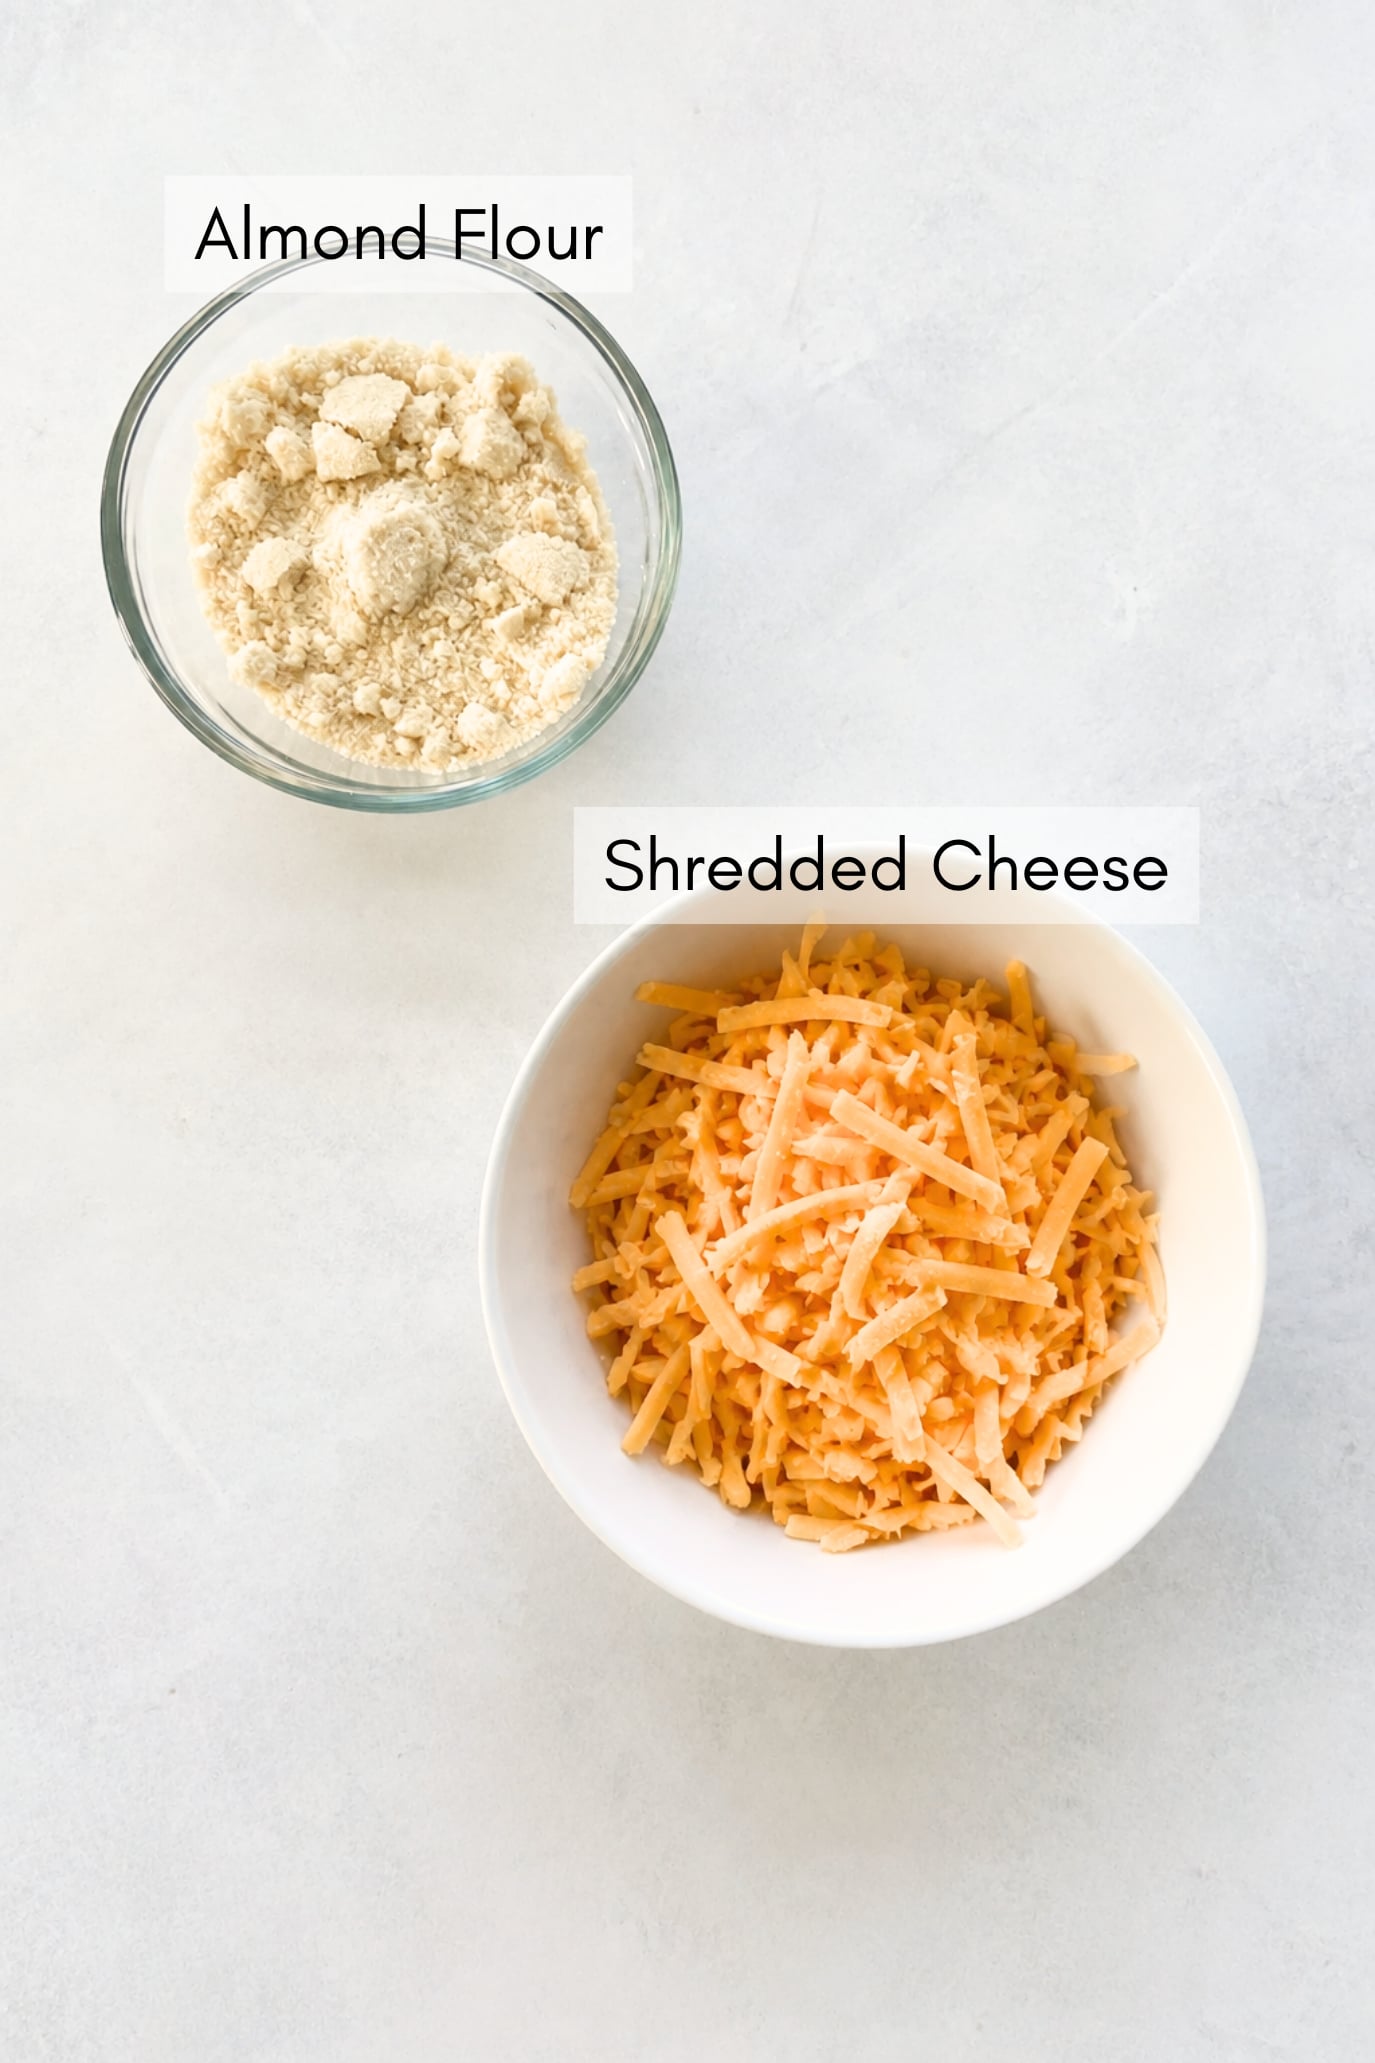
- Shredded Cheese: The base of these crackers and what gives them their cheesy flavor. A cheese that melts well works best. I like using cheddar, but you can experiment with other varieties.
- Almond Flour: Combines with the melted cheese to form the cracker dough. Be sure to use finely ground almond flour rather than almond meal for the best texture. I use the Kirkland brand almond flour from Costco.
See the recipe card below for full information on ingredients and quantities.
Ingredient Substitutions & Additions
- Cheese: Cheddar works great, but you can experiment with other good melting cheeses. The flavor and texture of the finished crackers may vary depending on the cheese you use.
- Almond Flour: I don’t recommend replacing the almond flour with all-purpose flour at a 1:1 ratio since the two flours absorb moisture differently and the recipe was developed specifically with almond flour.
- Seasonings: These crackers have plenty of flavor from the cheese alone, but you can add a little garlic powder, onion powder, paprika, or your favorite seasoning blend for extra flavor.
Step-by-Step Instructions
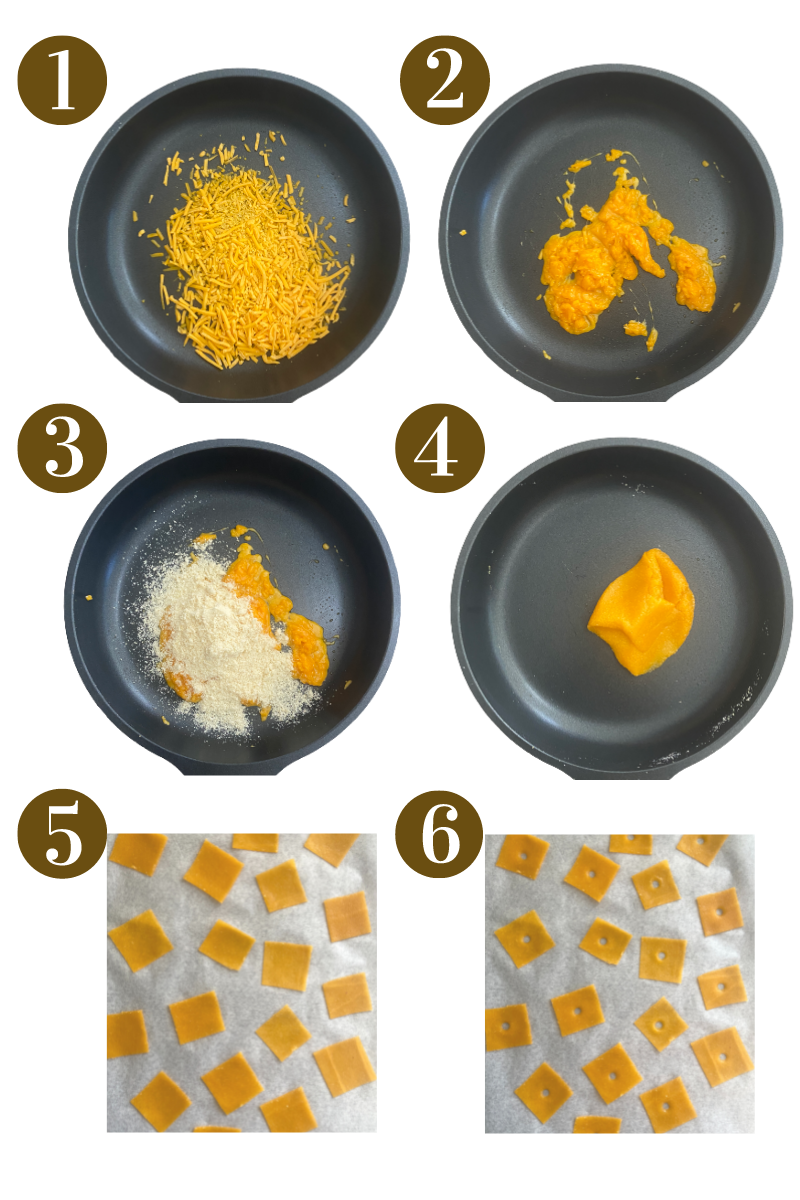
STEP 1: Preheat the oven to 350°F (180°C) and line a baking sheet with parchment paper.
STEP 2: Add the shredded cheese to a pan over low heat. Stir continuously as the cheese begins to melt.
STEP 3: Once the cheese has melted, turn off the heat and immediately add the almond flour. Stir to incorporate the almond flour into the cheese, then knead the mixture together with a silicone spatula or spoon until a dough forms. You’ll want to work fairly quickly during this step since the cheese becomes harder to work with as it cools.
STEP 4: Place the cheese dough between two sheets of parchment paper. Use a rolling pin to roll the dough into a thin, even rectangle, about ⅛-inch thick.
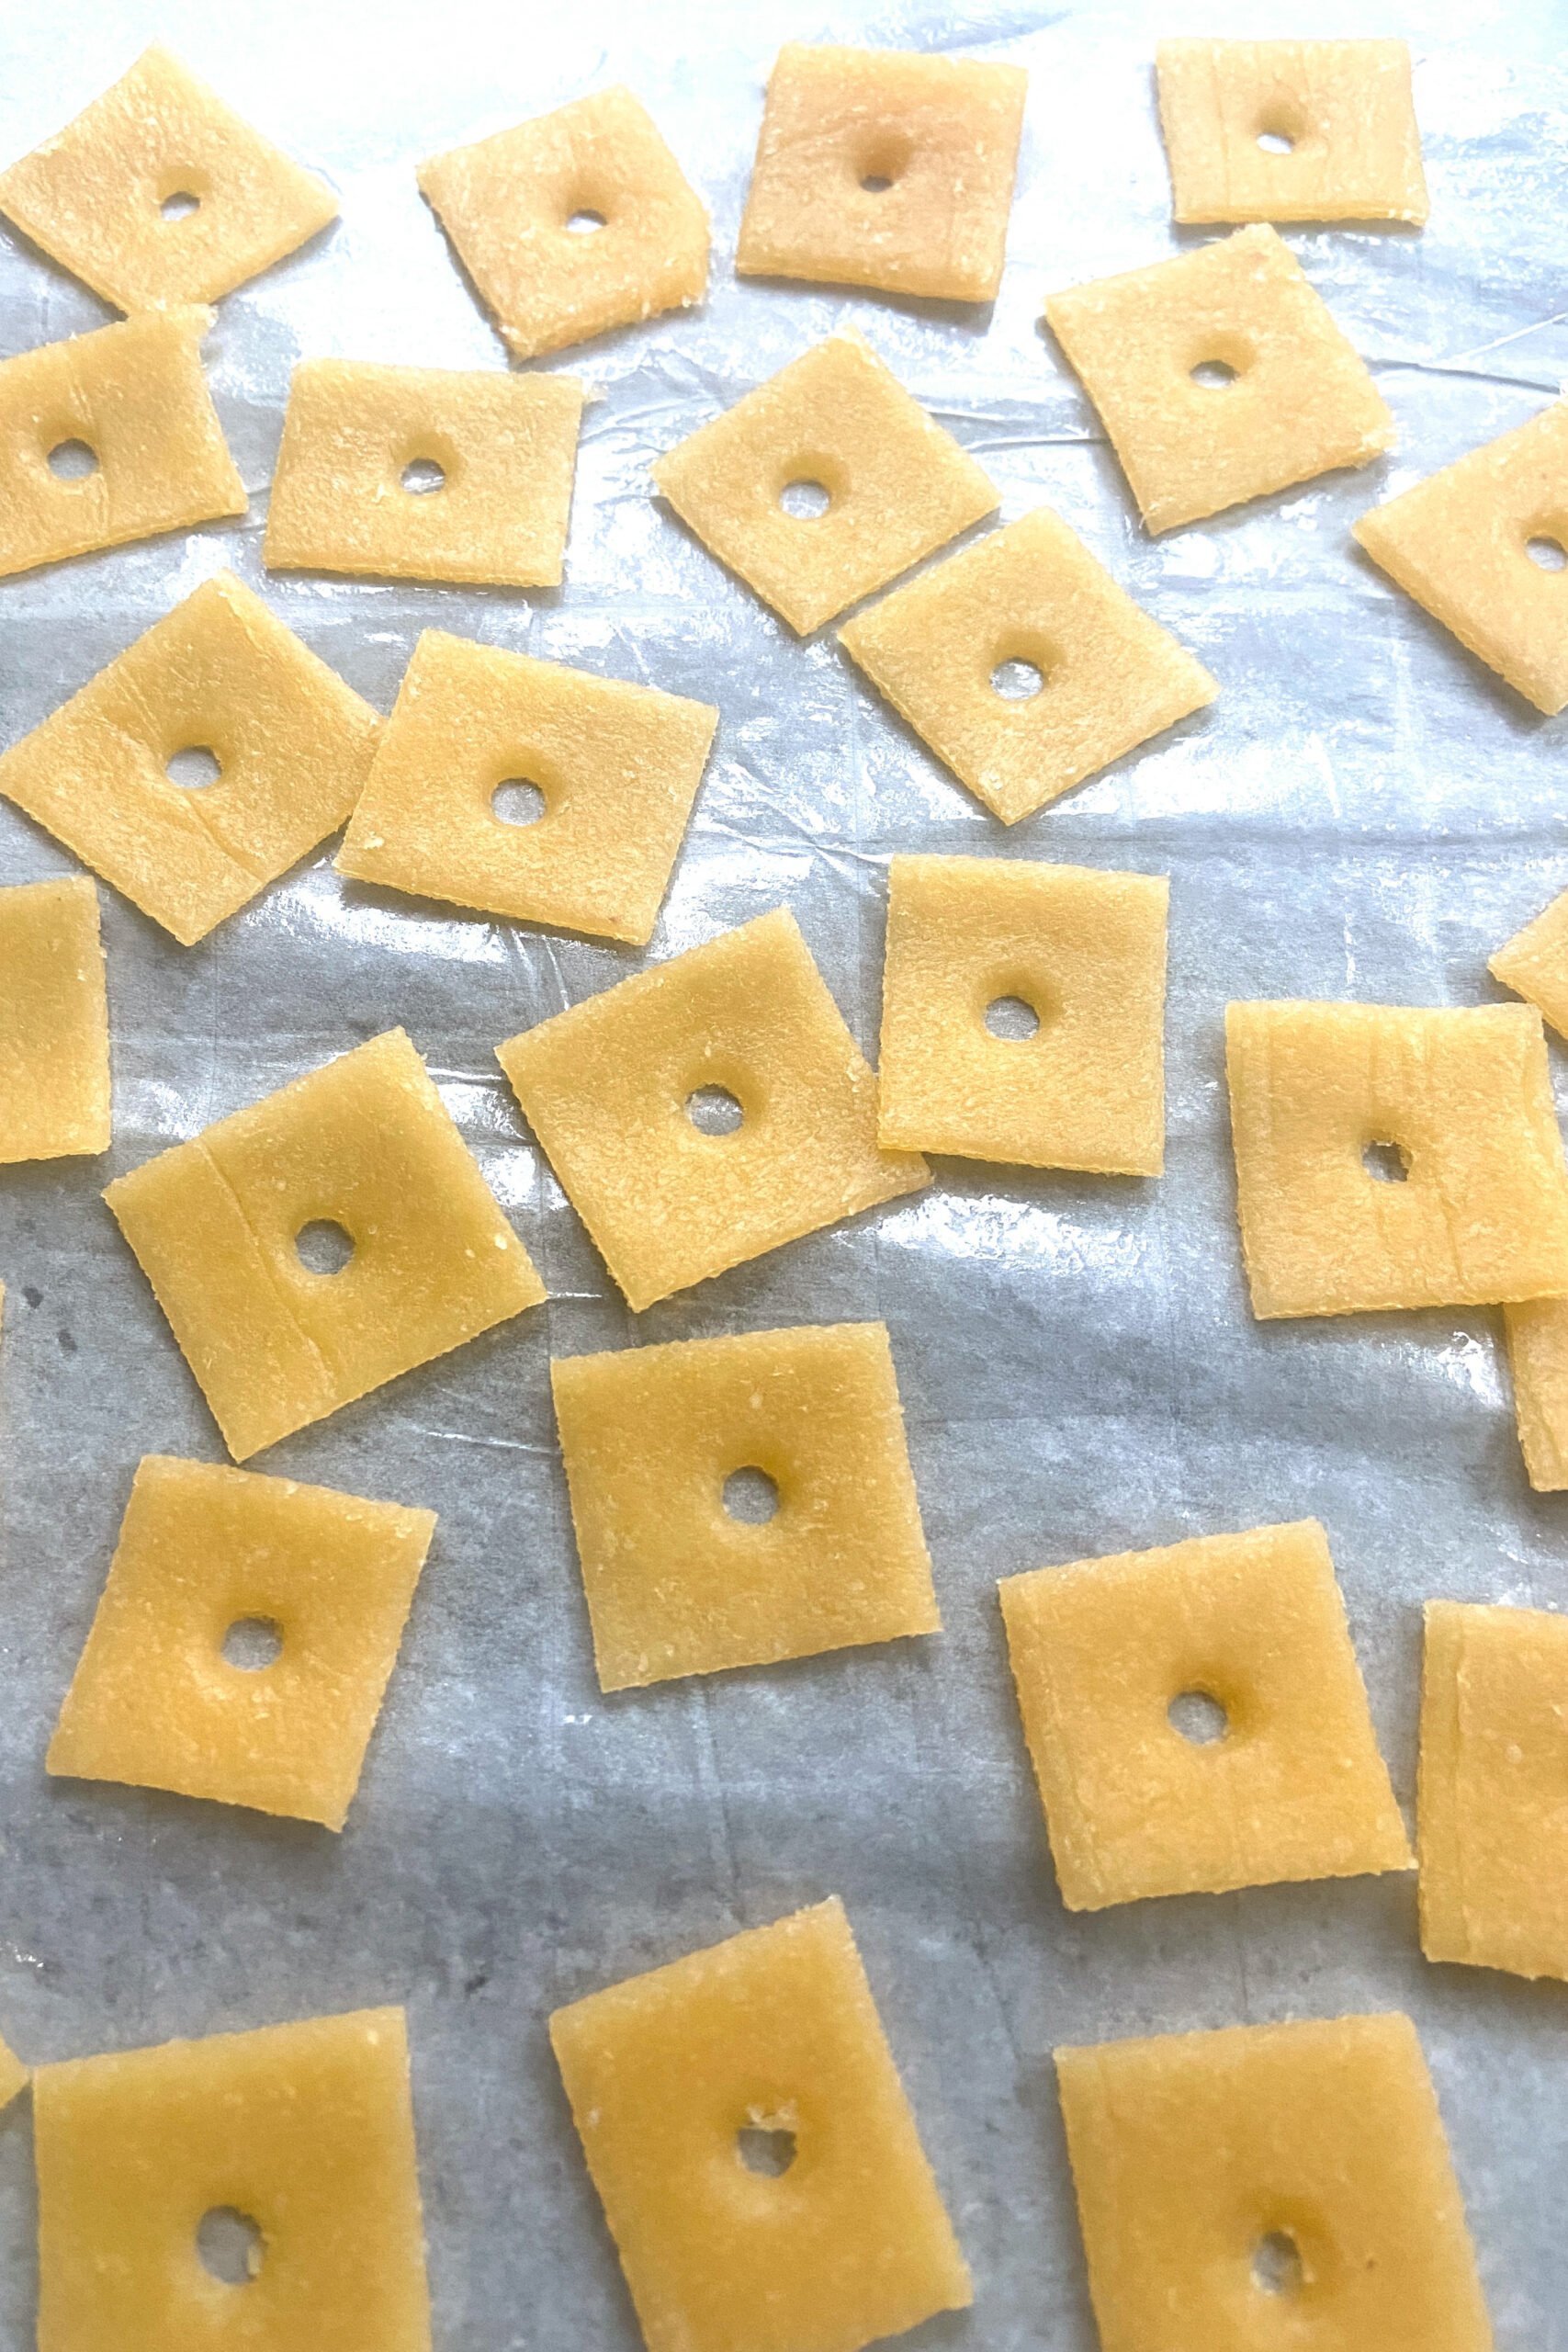
STEP 5: Remove the top sheet of parchment and use a pizza cutter or sharp knife to cut the dough into small squares. Use a toothpick or another small round object to make a hole in the center of each cracker for that classic cheese-cracker look.
STEP 6: Separate the crackers and arrange them on the prepared baking sheet, making sure they aren’t overlapping.
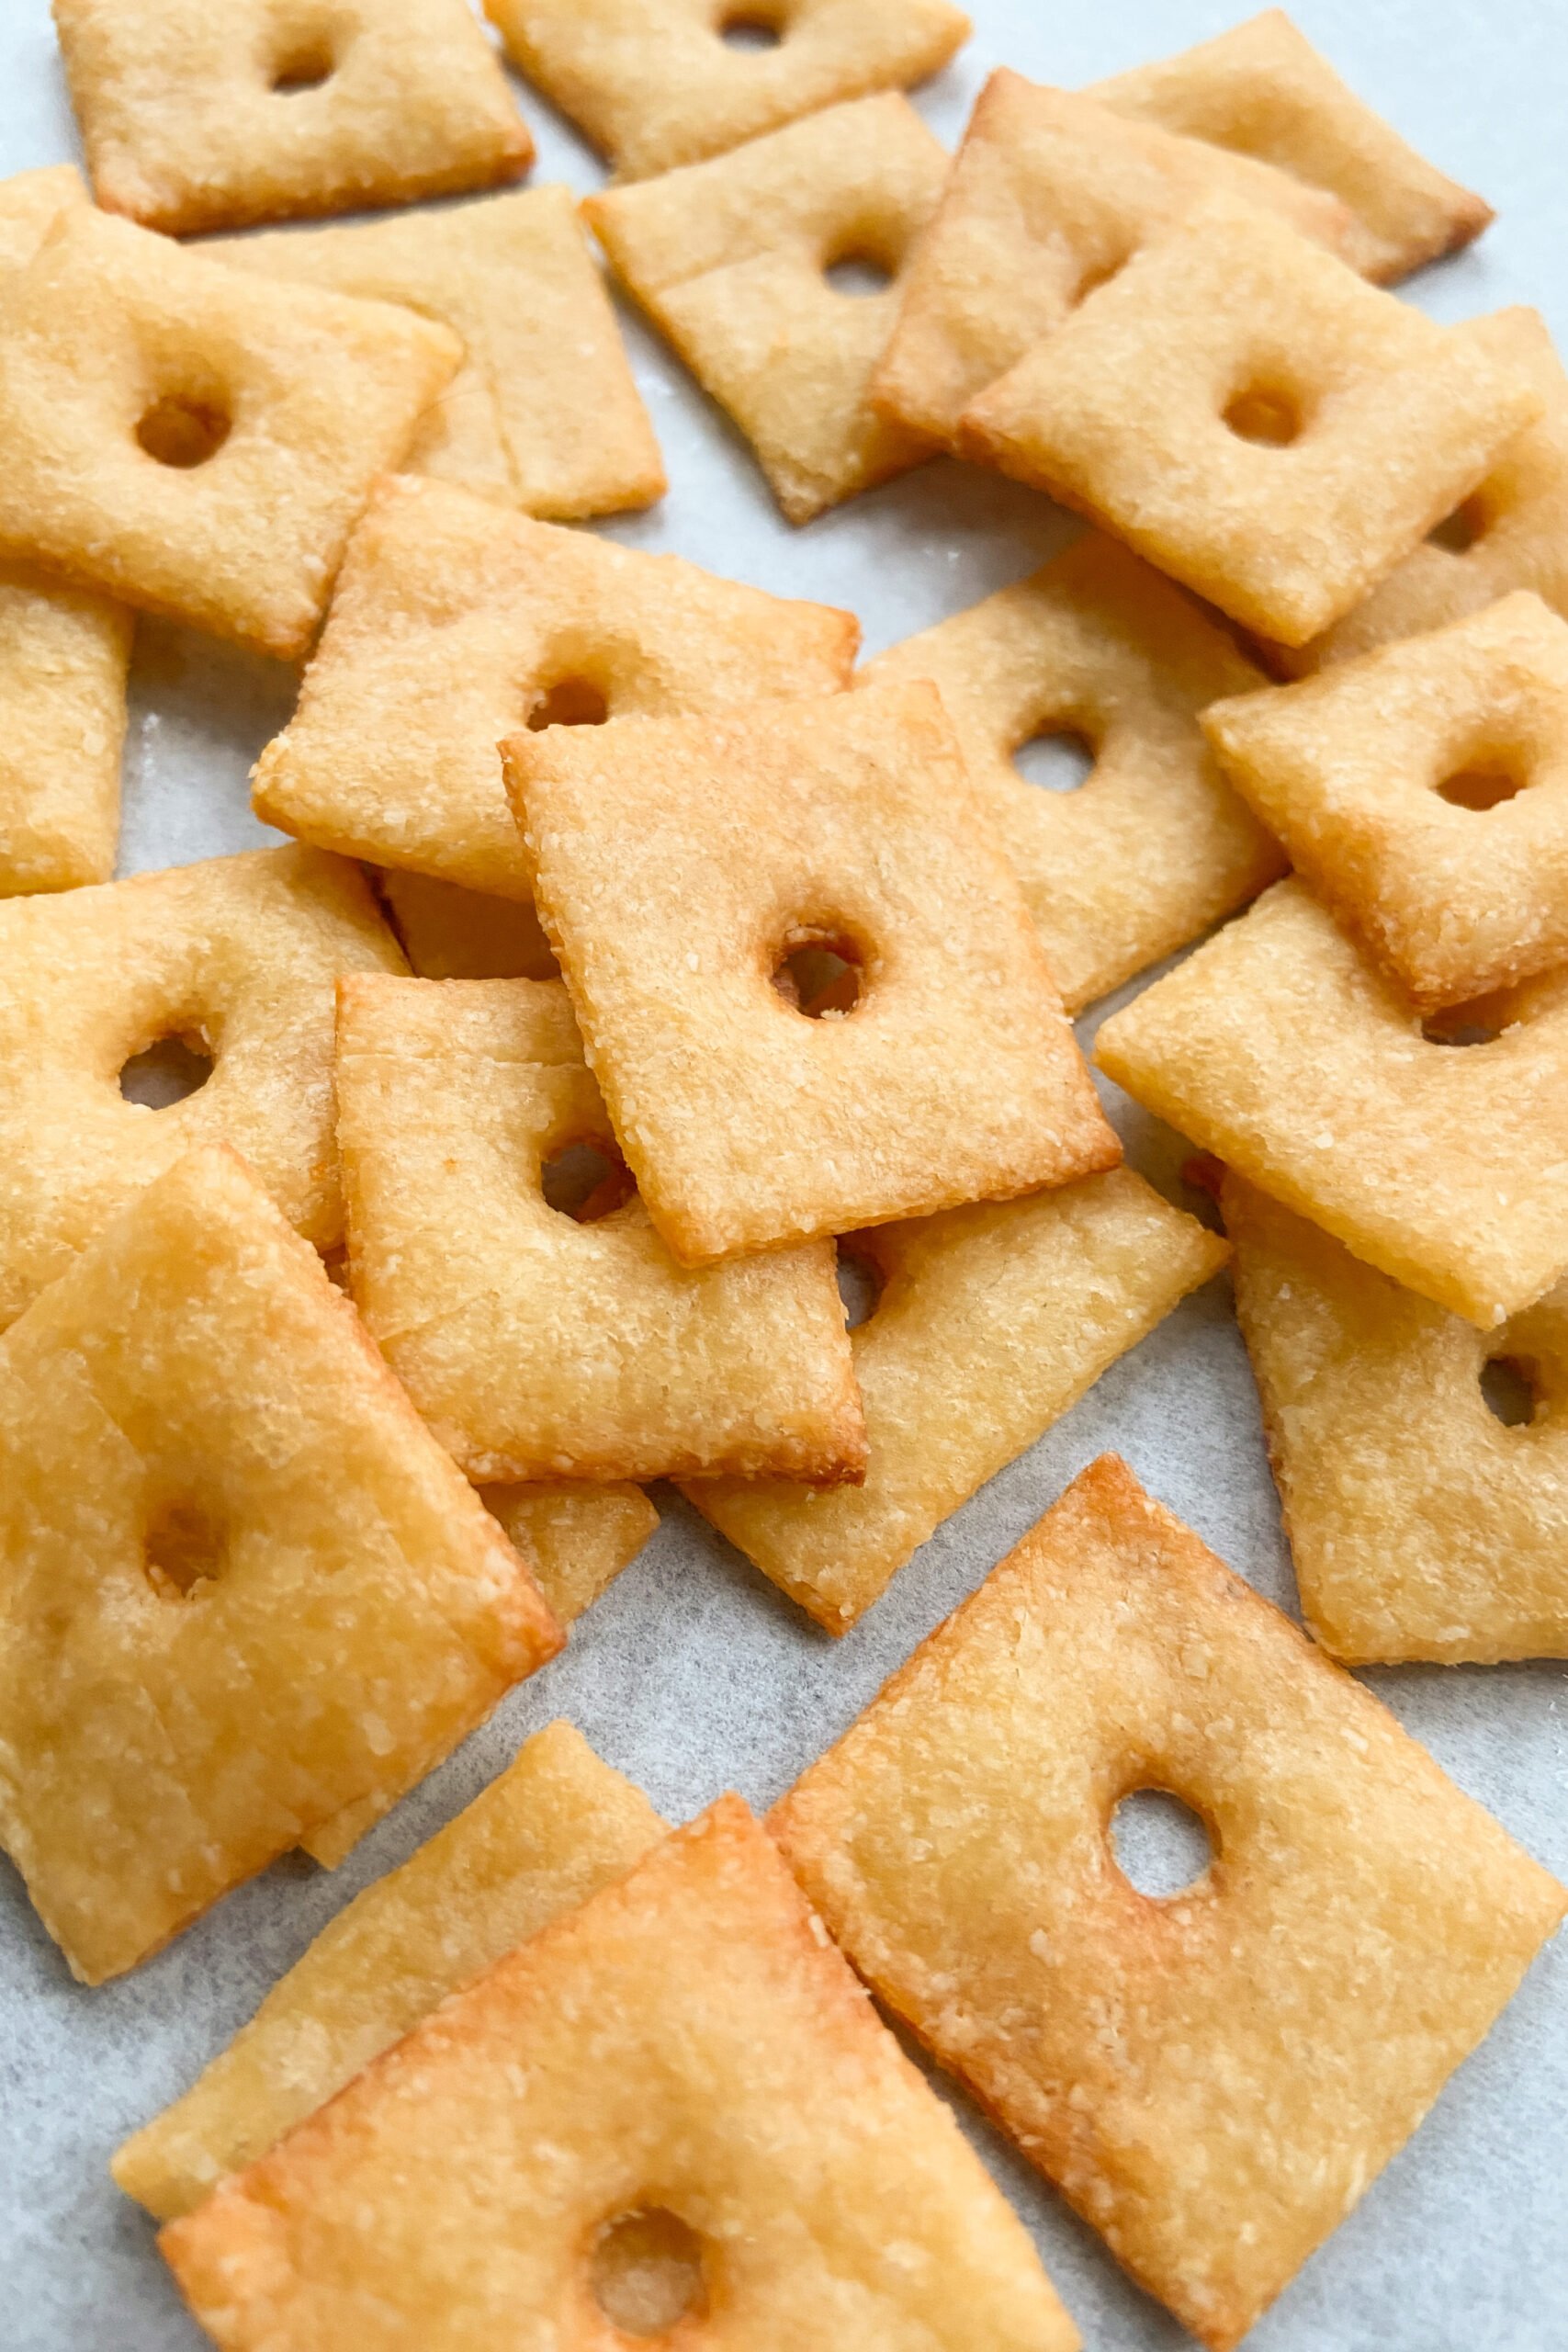
STEP 7: Bake for 6–10 minutes, or until the edges are lightly golden. Keep a very close eye on them toward the end of the baking time because these crackers can go from golden to burnt pretty quickly.
STEP 8: Let the crackers cool completely before serving. They may still feel a little soft when they first come out of the oven but will firm up and become crispier as they cool.
Storage Instructions
Make sure the cheese crackers are completely cool before storing them. Store them in an airtight container at room temperature for up to 3 days. If you notice the crackers beginning to soften, you can pop them back into a 300°F oven for a few minutes to help crisp them back up. Let them cool completely again before storing. For longer storage, you can also keep the crackers in an airtight container in the refrigerator, but they may lose some of their crispness.
Tips For Success
- Use finely ground almond flour. Almond meal is coarser and may result in crackers that are more crumbly rather than smooth and crisp.
- Melt the cheese over low heat. You want the cheese to melt gradually without browning or becoming oily. Shred your own cheese if possible. Freshly shredded cheese generally melts more smoothly than pre-shredded cheese, which often contains anti-caking ingredients.
- Work quickly once you add the almond flour. The dough is easiest to combine, knead, and roll while the cheese is still warm. As the cheese cools, the dough will begin to firm up and become harder to work with.
- Roll the dough evenly. Aim for about ⅛-inch thick throughout. If some crackers are much thinner than others, they’ll brown and possibly burn before the thicker crackers are finished.
- Leaving a little space between the squares helps the edges crisp up rather than baking together as one sheet.
- Watch them closely. The exact baking time will depend on the thickness and size of your crackers. Start checking around the 6-minute mark since the edges can brown quickly.
- Be patient once they come out of the oven! They’ll seem soft at first, but the crackers continue to firm up as they cool. Let them cool completely before deciding whether they’re crispy enough.
Recipe FAQs
Cheddar is my favorite because it melts well and gives the crackers that classic cheesy flavor. Mild, medium, or sharp cheddar can all work depending on how strong you’d like the flavor to be.
Nope! The little hole is mainly for appearance and isn’t necessary for the crackers to bake properly. You can leave them as simple squares or even use small cookie cutters to make fun shapes.
I wouldn’t recommend swapping all-purpose flour for almond flour in this recipe at a 1:1 ratio since the two flours behave differently. If you’re looking for a cheese cracker made with all-purpose flour, try my homemade Goldfish crackers instead! They’re also a great option if you need a nut-free cheese cracker.
Other Cracker Recipes You’ll Love

Homemade Healthy Goldfish Crackers
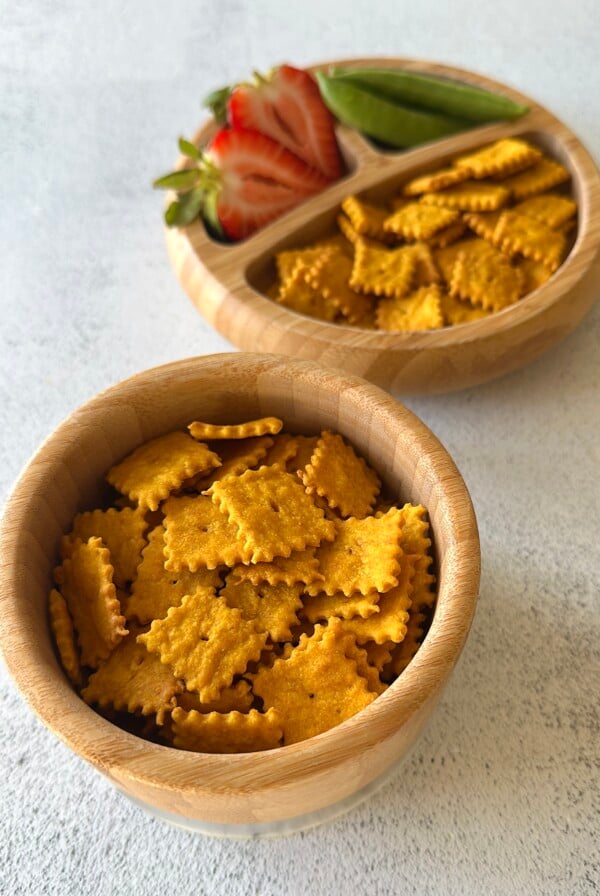
Pumpkin Crackers
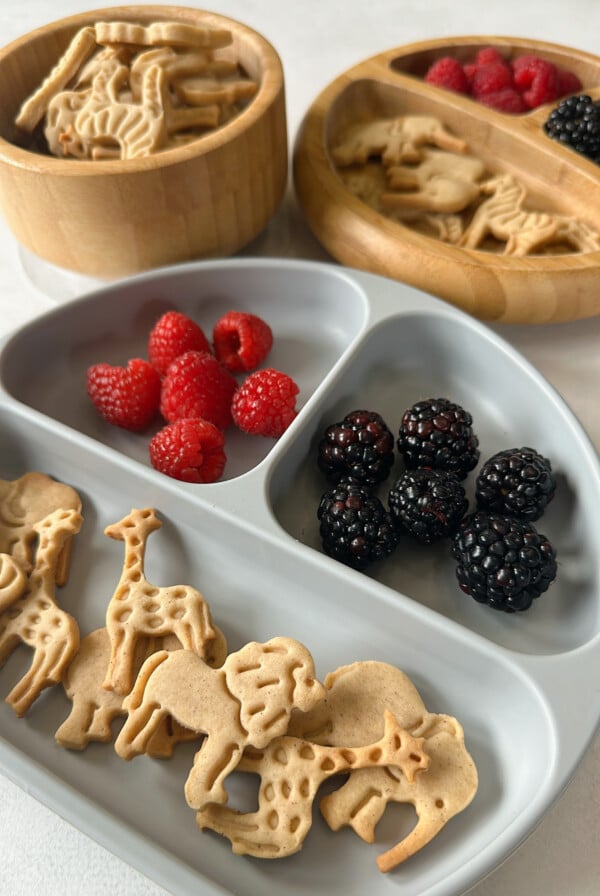
Animal Crackers Recipe (Egg Free)
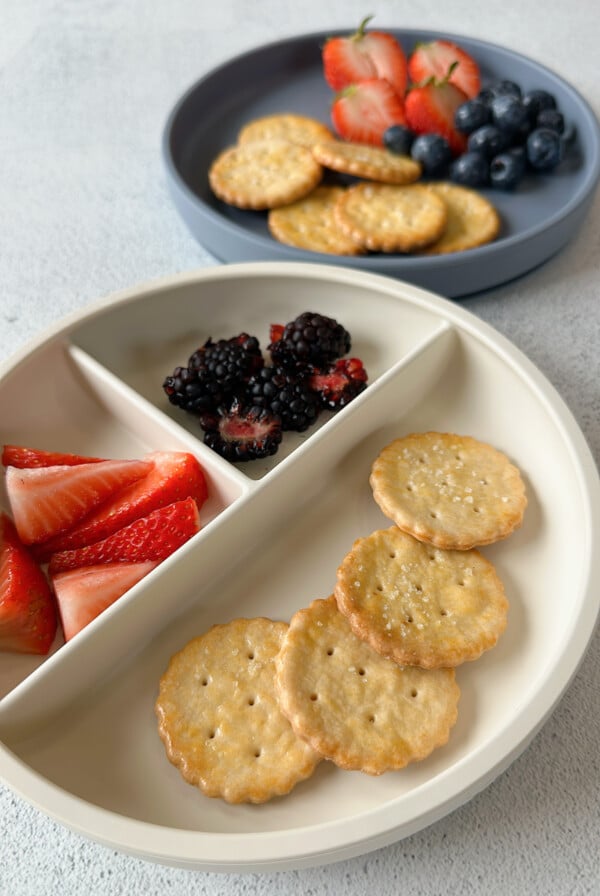
Ritz Crackers Homemade
If you tried these 2-Ingredient Cheese Crackers, please leave a ⭐ star rating and let me know how it went in the comments below! I love hearing from you!

Homemade 2-ingredient Cheez-it Crackers
Instructions
- Preheat the oven to 350°F (180°C) and line a baking sheet with parchment paper.
- Add the shredded cheese to a pan over low heat. Stir continuously as the cheese begins to melt.
- Once the cheese has melted, turn off the heat and immediately add the almond flour. Stir to incorporate the almond flour into the cheese, then knead the mixture together with a silicone spatula or spoon until a dough forms. You'll want to work fairly quickly during this step since the cheese becomes harder to work with as it cools.
- Place the cheese dough between two sheets of parchment paper. Use a rolling pin to roll the dough into a thin, even rectangle, about ⅛-inch thick.
- Remove the top sheet of parchment and use a pizza cutter or sharp knife to cut the dough into small squares. Use a toothpick or another small round object to make a hole in the center of each cracker for that classic cheese-cracker look.
- Separate the crackers and arrange them on the prepared baking sheet, making sure they aren't overlapping.
- Bake for 6–10 minutes, or until the edges are lightly golden. Keep a very close eye on them toward the end of the baking time because these crackers can go from golden to burnt pretty quickly.
- Let the crackers cool completely before serving. They may still feel a little soft when they first come out of the oven but will firm up and become crispier as they cool.
Notes
- Use finely ground almond flour. Almond meal is coarser and may result in crackers that are more crumbly rather than smooth and crisp.
- Melt the cheese over low heat. You want the cheese to melt gradually without browning or becoming oily. Shred your own cheese if possible. Freshly shredded cheese generally melts more smoothly than pre-shredded cheese, which often contains anti-caking ingredients.
- Work quickly once you add the almond flour. The dough is easiest to combine, knead, and roll while the cheese is still warm. As the cheese cools, the dough will begin to firm up and become harder to work with.
- Roll the dough evenly. Aim for about ⅛-inch thick throughout. If some crackers are much thinner than others, they’ll brown and possibly burn before the thicker crackers are finished.
- Leaving a little space between the squares helps the edges crisp up rather than baking together as one sheet.
- Watch them closely. The exact baking time will depend on the thickness and size of your crackers. Start checking around the 6-minute mark since the edges can brown quickly.
- Be patient once they come out of the oven! They’ll seem soft at first, but the crackers continue to firm up as they cool. Let them cool completely before deciding whether they’re crispy enough.









Can I blend the almonds and use that insted of real almond flour?
Hi Daniella! You could try grinding whole almonds, but I’d recommend using almond flour for the best results! Whole almonds can release their oils and start turning into almond butter if blended for too long, and they may not get quite as fine as almond flour😊
So good! My 2 year old loves these, i used all purpose flour and blended some walnuts to make the flour “wet” turned out great!
Thank you for having such bomb recipes ❤️❤️❤️❤️
I’m so glad to hear that you enjoyed them, Katherine!😊
My kids (and I) love these! I’ve been making them for probably 6 months now.
I use Tillamook white cheddar block and I always double the recipe. I oddly don’t own a rolling pin so I just put parchment on a cookie sheet on both sides of dough and use a metal measuring cup to smear it out then use a rocking blade pizza cutter. Easy Peasy!
I’ve had the thought to crumble on my caesar salad instead of croutons but haven’t tried it yet. I always am trying to ration them because my kids inhale them otherwise. I Highly recommend!
I’m so glad to hear that you enjoyed them! Thank you for taking the time to share your feedback, Nicole!😊
Oh. My. Word. Uh-mazing! I sprinkled mine with some Maldon flake salt before baking and they taste just like a Cheezit. Thank you so much for this!
I’m so glad you enjoyed these! Thank you for sharing your feedback, Molly😊
can I just use regular flour?
Hi Domenica! Almond flour is the only flour that can we used here, but if you prefer to use al purpose, you can use this recipe instead for homemade goldfish crackers and slice the dough into thin squares😊
Oh my! These are great, awesome! Thanks so much!
I’m so glad you enjoyed them, Debbie!😊
How would you recommend storing these? Room temp or in the fridge?
Hi Alice! I would store at room temp in an airtight container. The crackers do get softer with each day of storage and aren’t as crunchy as the first day, but the taste will still be the same😊
Love these! They are so yummy. Do you think it’s safe to feed them to an 8 month old?
Hi Lauren! For a younger baby, I’d recommend making them into strips and maybe rolling the dough a little thicker so that they’re softer textured and a little less crunchy😊
can you use a different flour or does it have to be almond?
Hi Shannon! Almond flour is the only flour that can we used here, but if you prefer to use al purpose, you can use this recipe instead for homemade goldfish crackers and slice the dough into thin squares😊