Coconut Balls
on Dec 13, 2023, Updated Mar 17, 2024
This post may contain affiliate links. Please read our disclosure policy.
These coconut balls are made with only 4 simple ingredients for a fun no-bake treat. They’re egg-free, dairy-free, nut-free, and gluten-free making for a great allergy-friendly snack perfect for lunchboxes or home! They contain a hearty serving of oats paired with a sweet, nutty flavor for an easy treat you’ll want to snack on all day long!
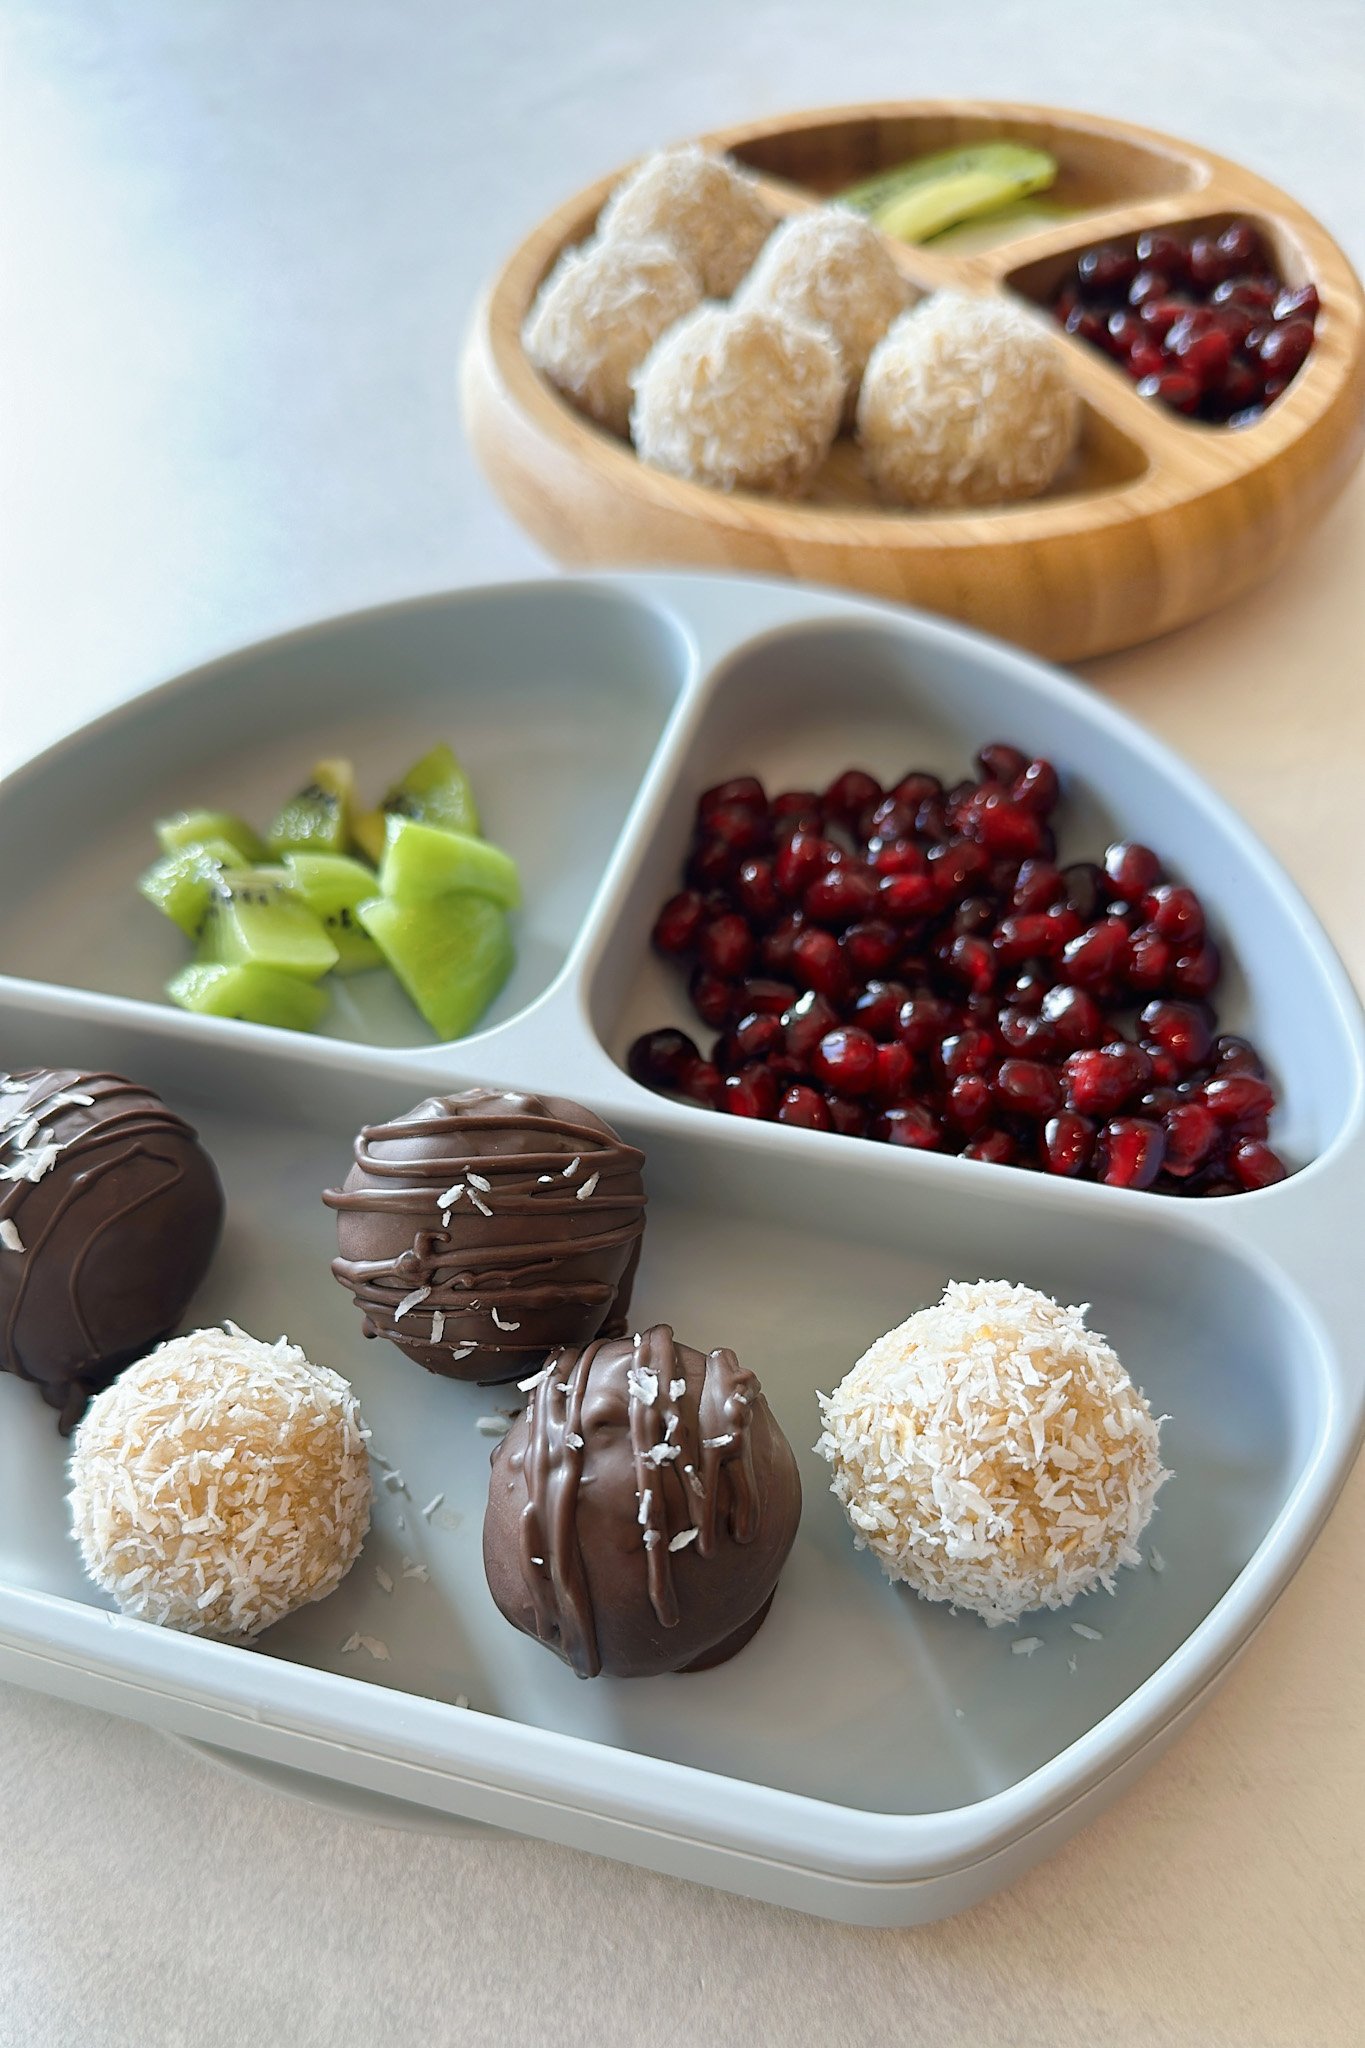
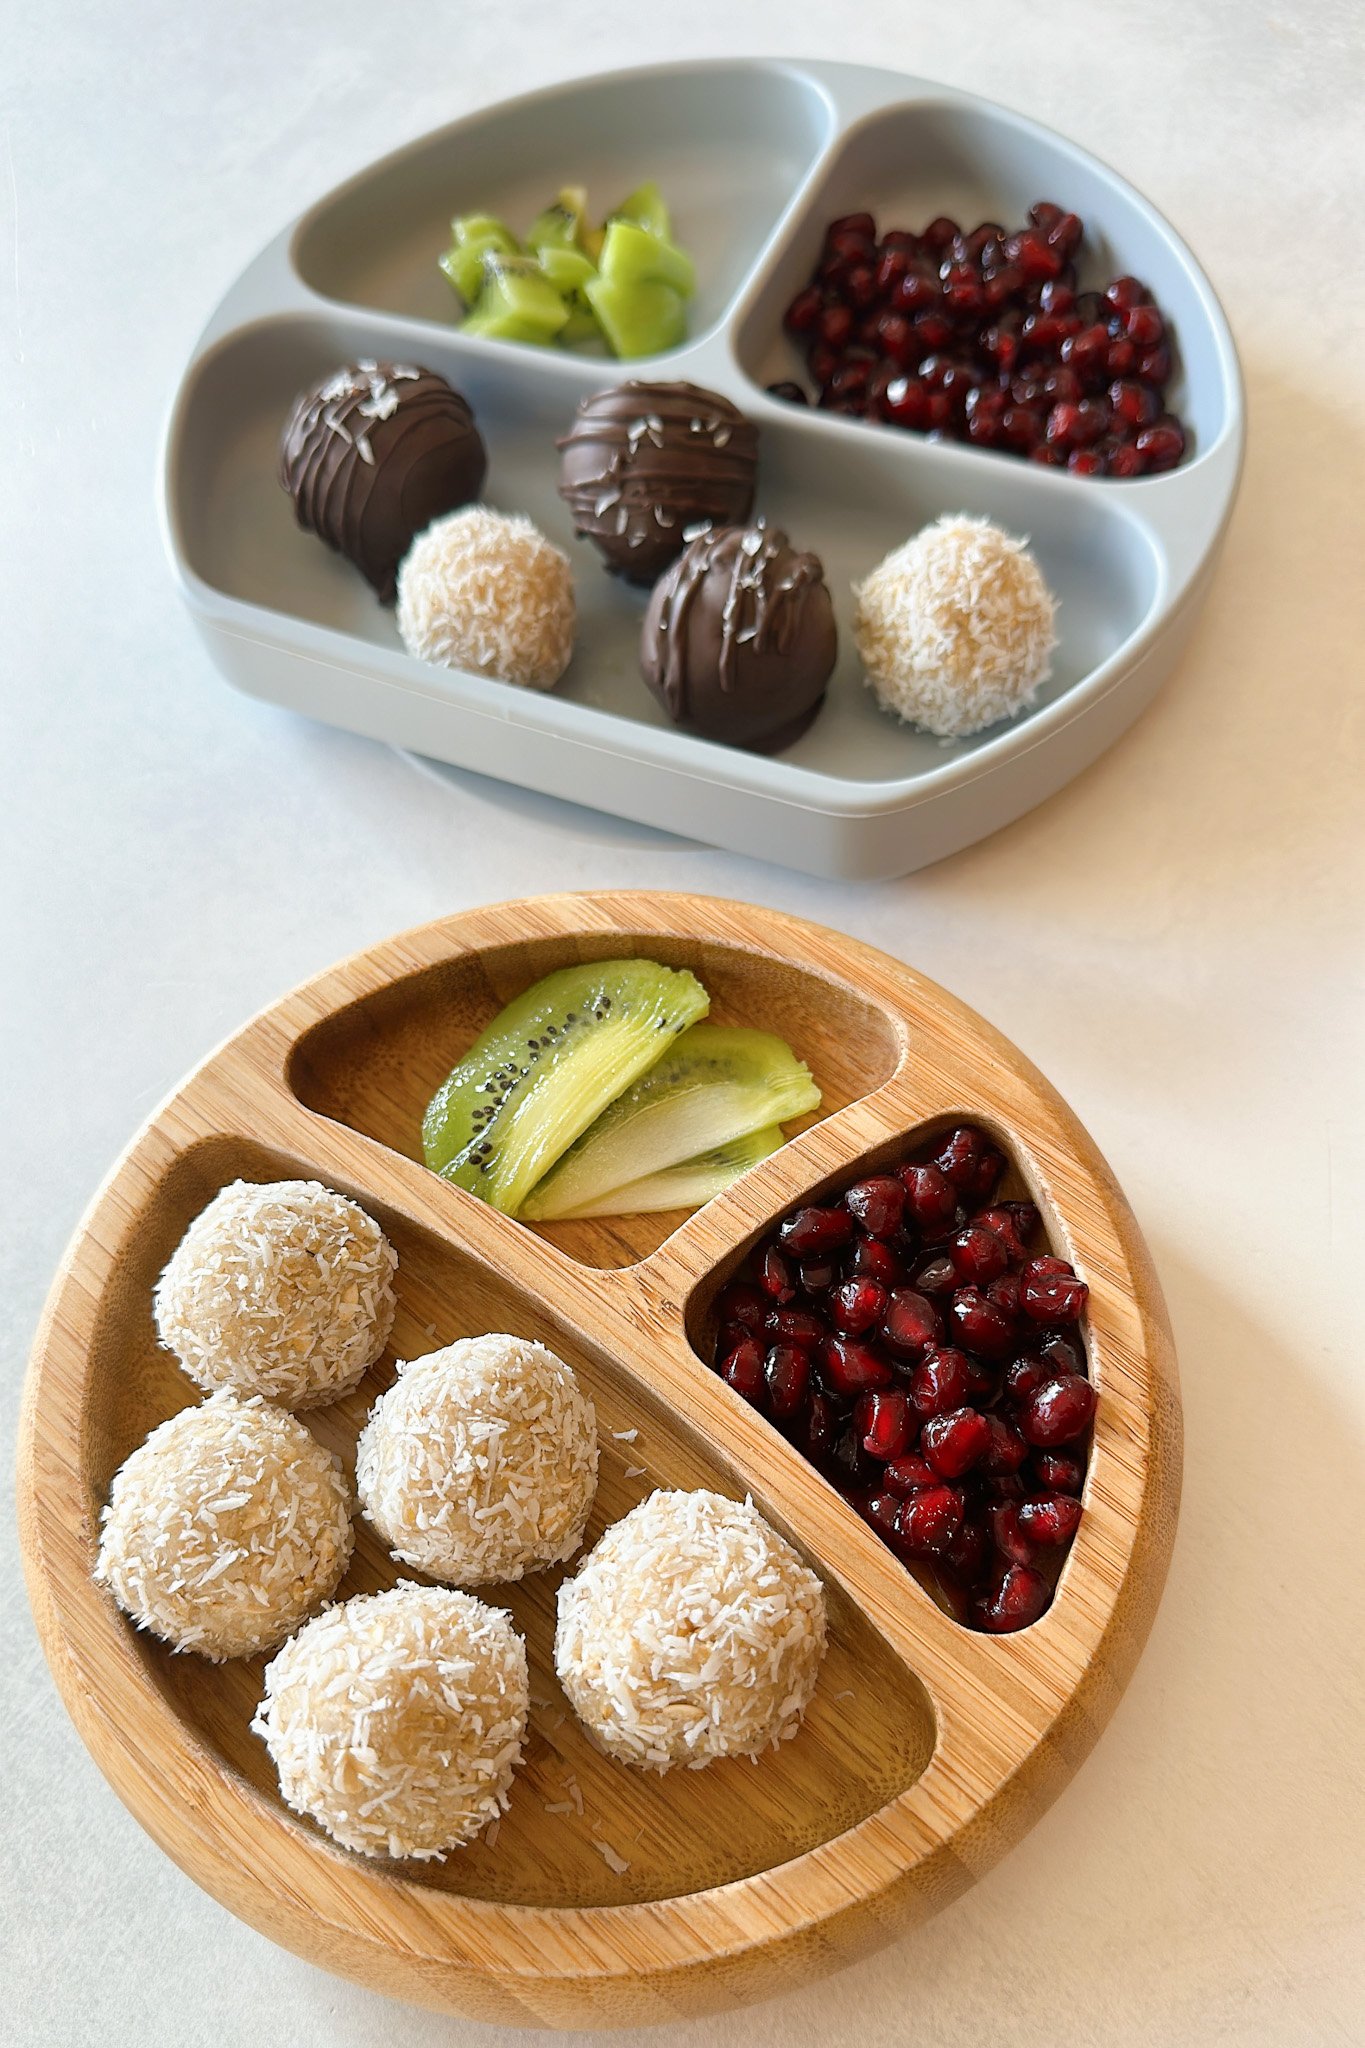
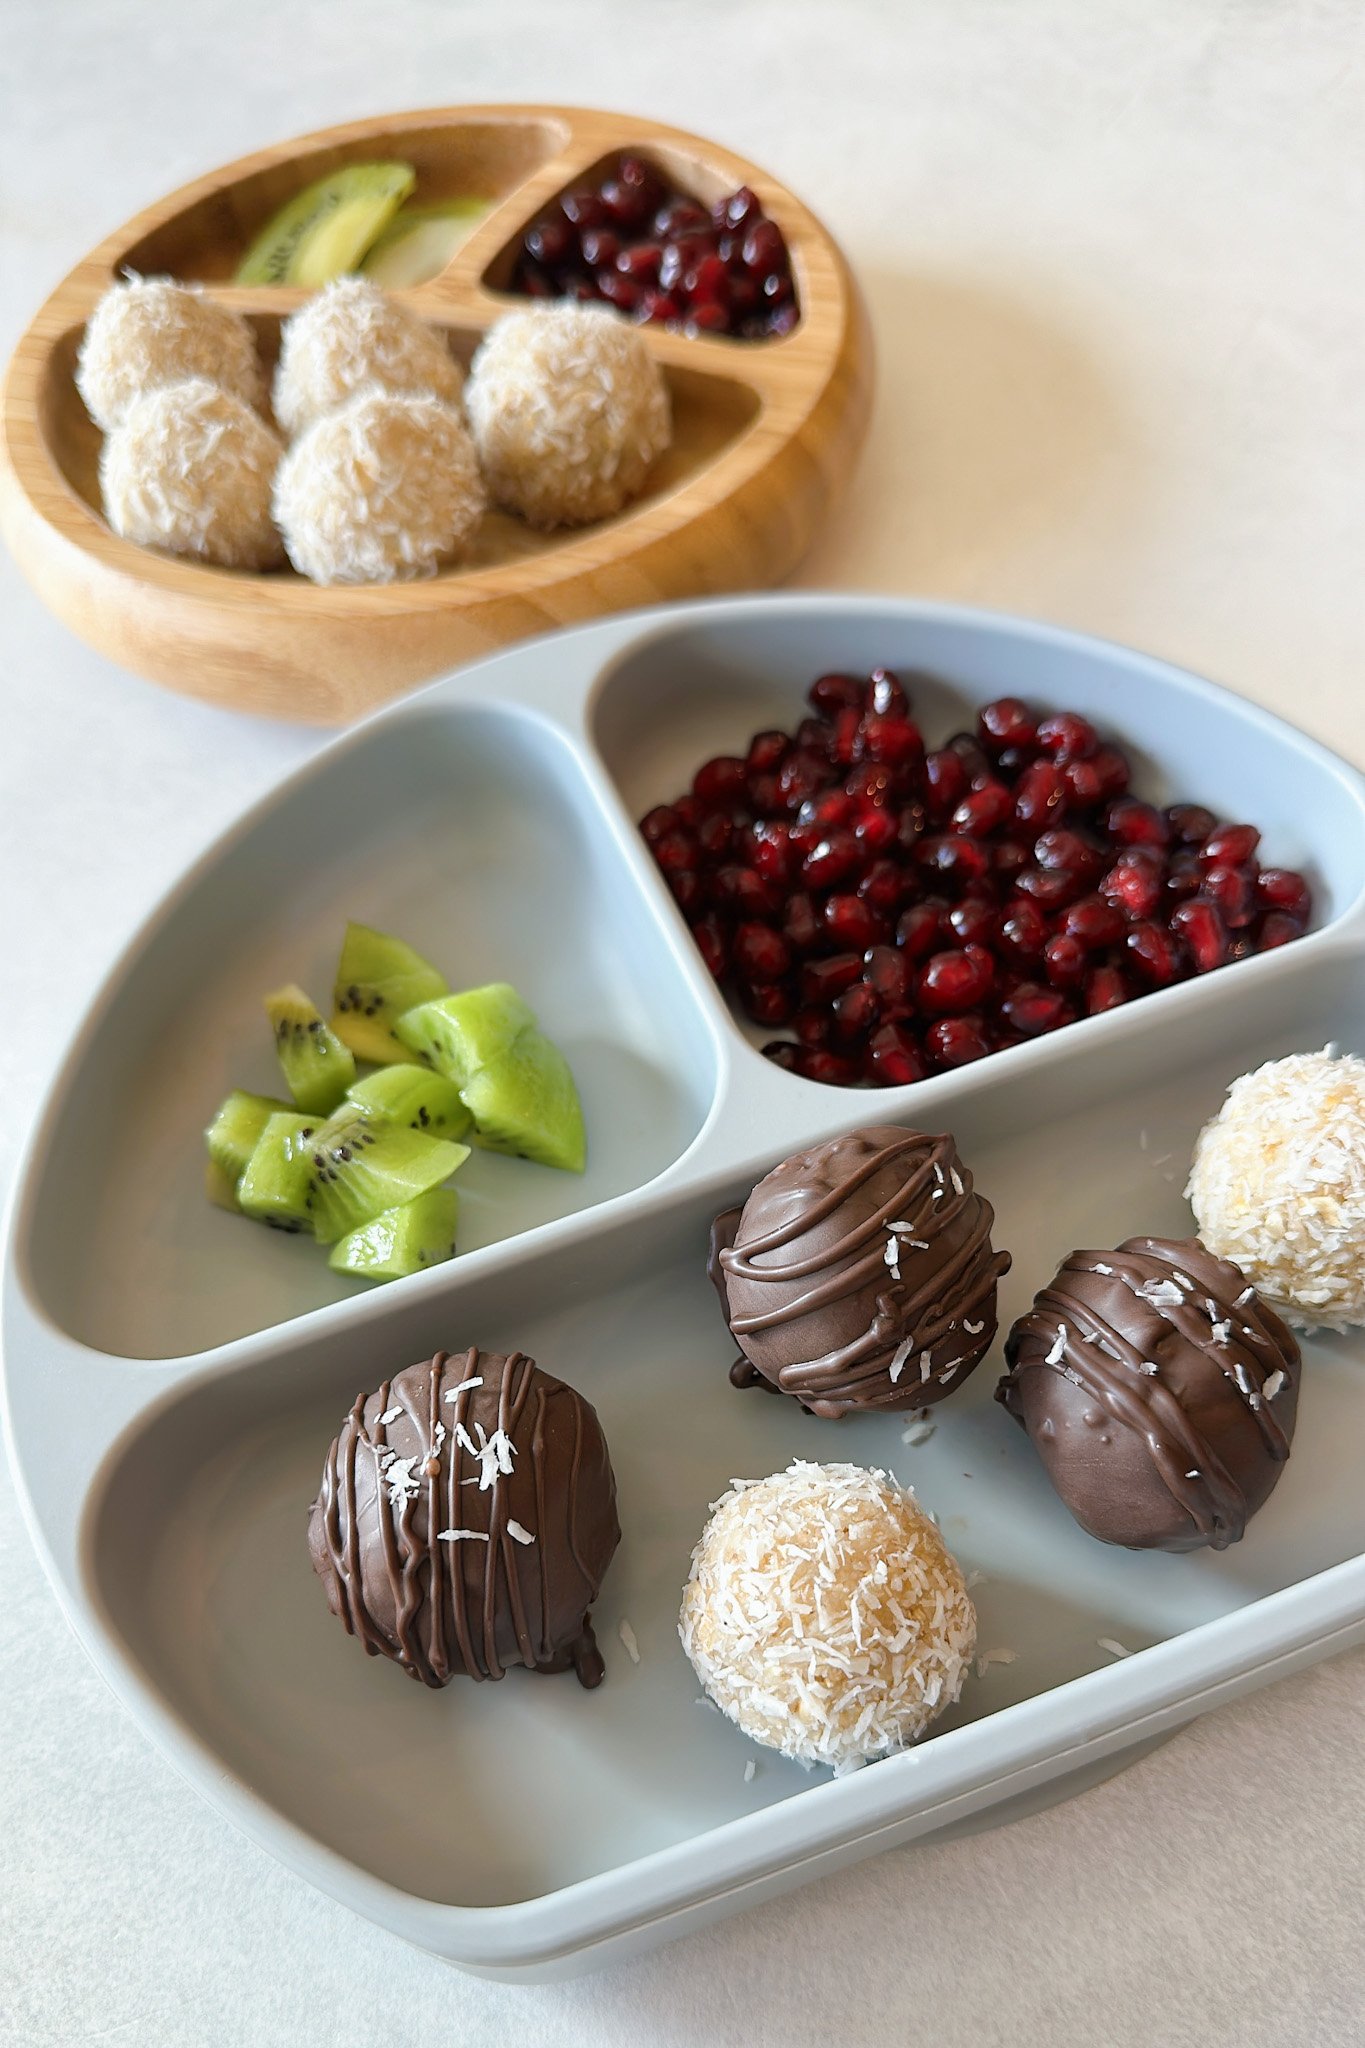
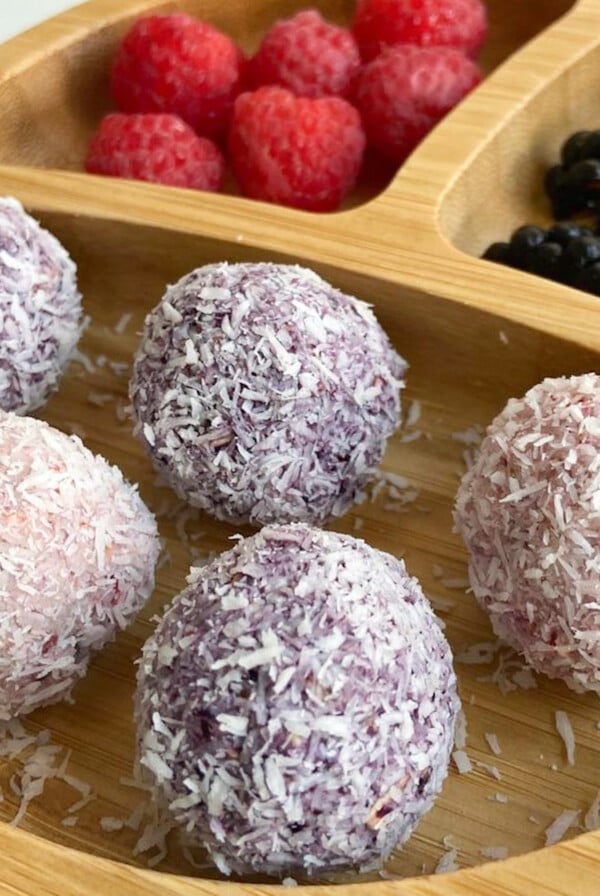
If you’re a fan of bounty bars or almond joy chocolates, you’ll love these little coconut balls. They’re soft and chewy and subtly sweetened with a little maple syrup. I like to dip a few balls into melted chocolate for a sweet treat and coat the remaining balls in shredded coconut to serve for breakfast or a snack!
If you love these coconut balls, you’ll also love these berry bliss balls, apple pie bliss balls, and no-bake cake bites!
Table of Contents
What You’ll Need
Here is what you’ll need to make these coconut balls:
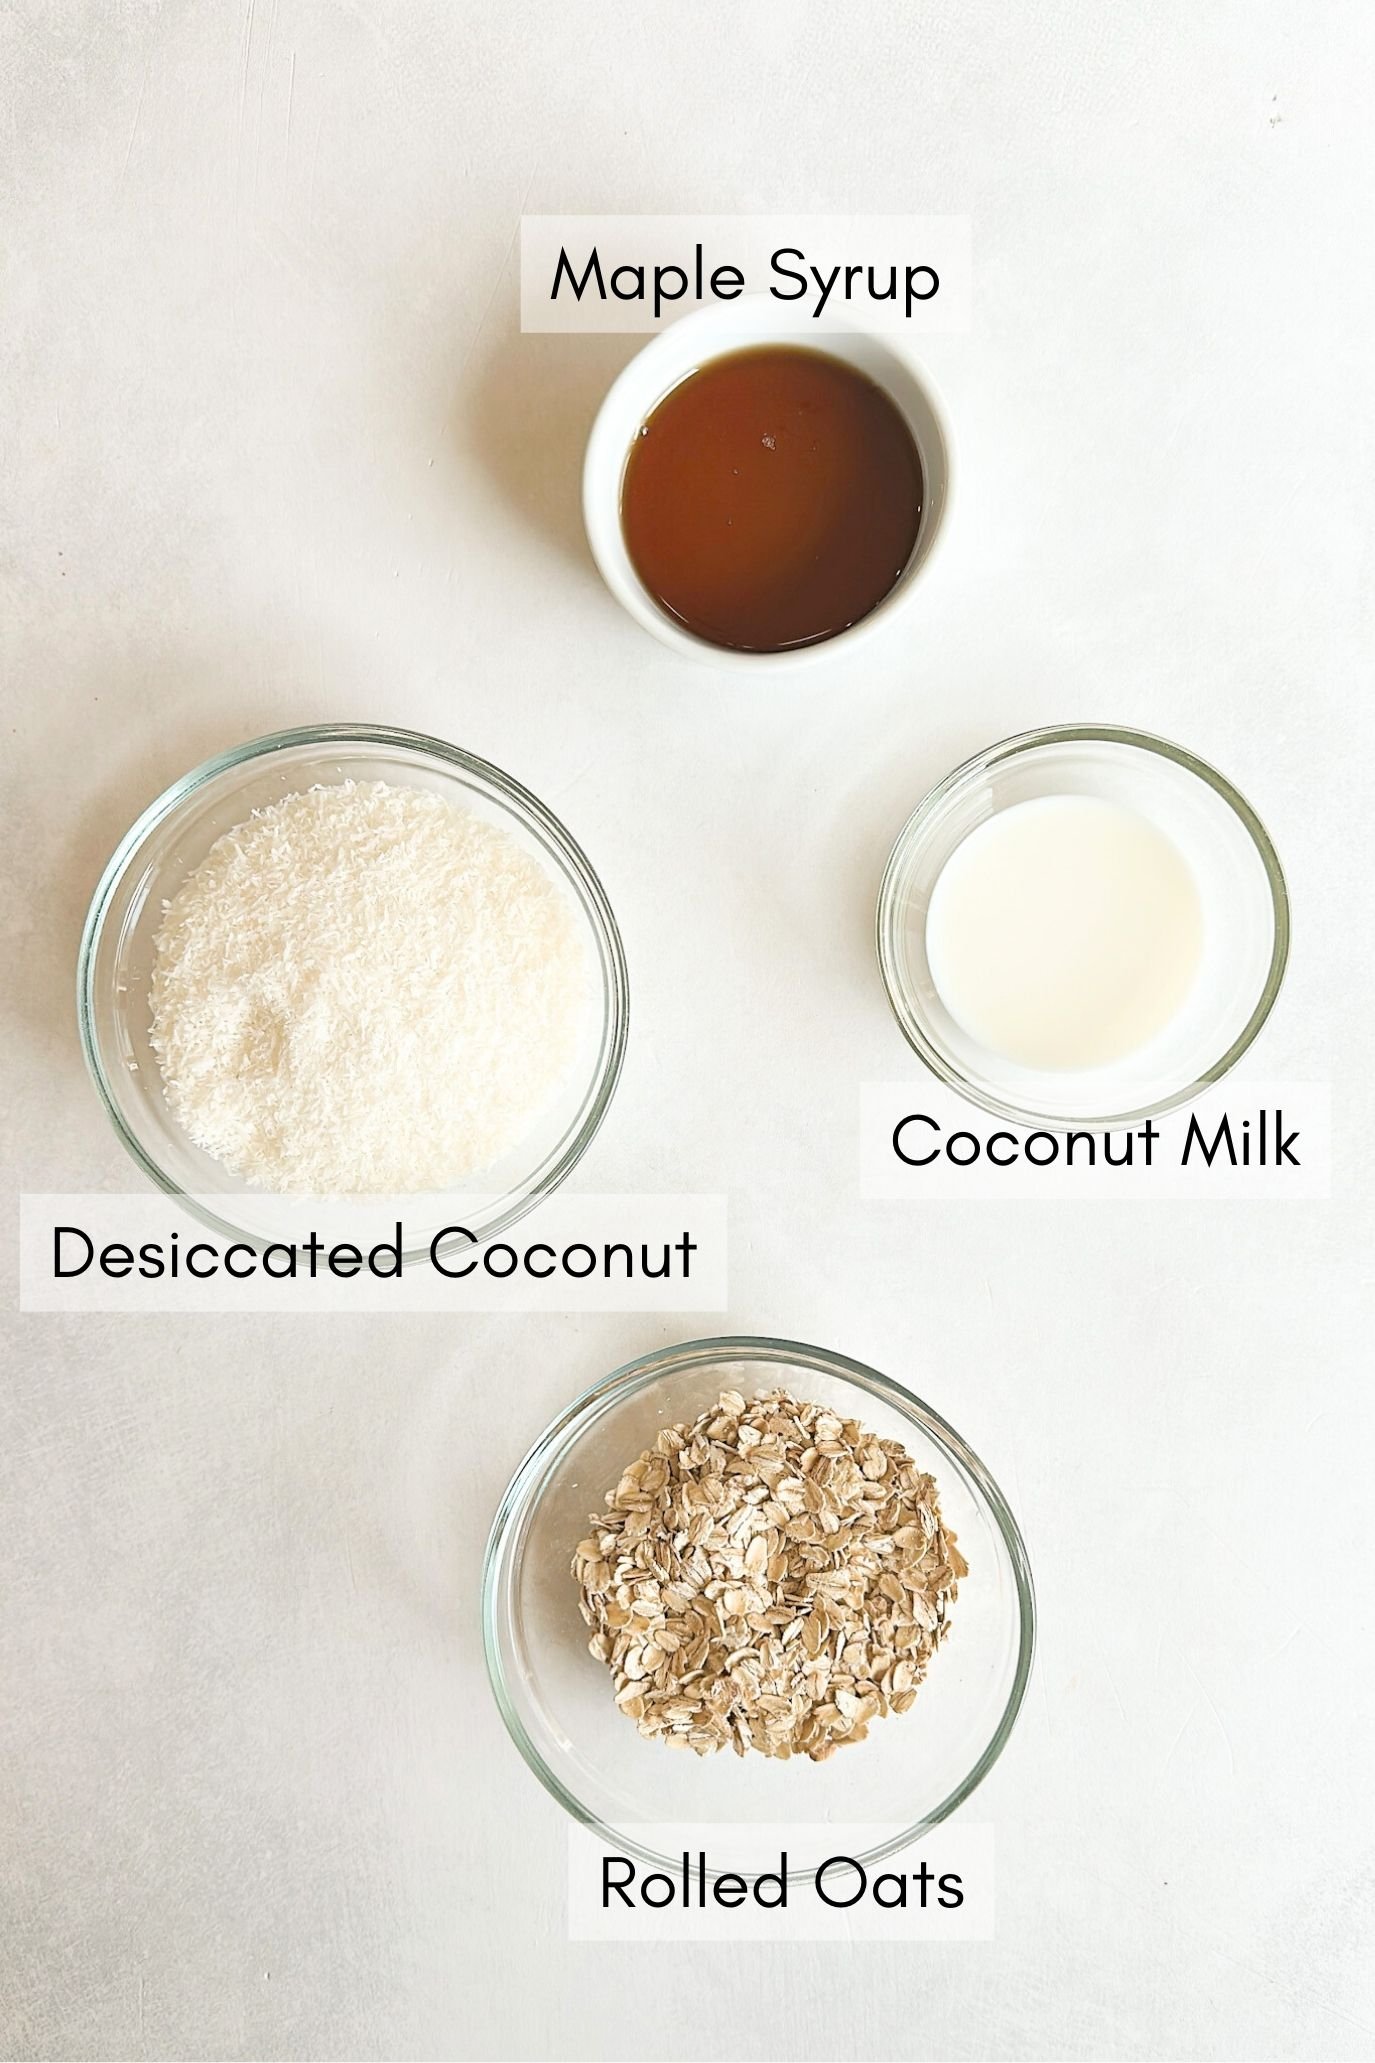
- Desiccated Coconut: The main ingredient for these balls. Make sure to use unsweetened shredded coconut which is dryer in texture compared to sweetened coconut flakes.
- Rolled Oats: Makes the coconut balls a little more filling. Use certified gluten-free rolled oats to keep these balls gluten-free.
- Maple Syrup: The main source of sweetness in these balls.
- Coconut Milk: For added moisture and flavor.
See the recipe card below for full information on ingredients and quantities.
Recipe Substitutions & Additions
- Rolled Oats: The rolled oats may be replaced with almond flour.
- Maple Syrup: The maple syrup may be replaced with honey (for little ones over age 1). If you prefer a fruit-sweetened treat, you may replace the maple syrup with mashed banana. Start with 1/2 of a small banana and add more if needed. You may also like these simple coconut banana cookies!
- Coconut Milk: The coconut milk may be replaced with any type of milk.
- Chocolate Chips: Optional ingredient for a chocolate coating.
Step By Step Instructions
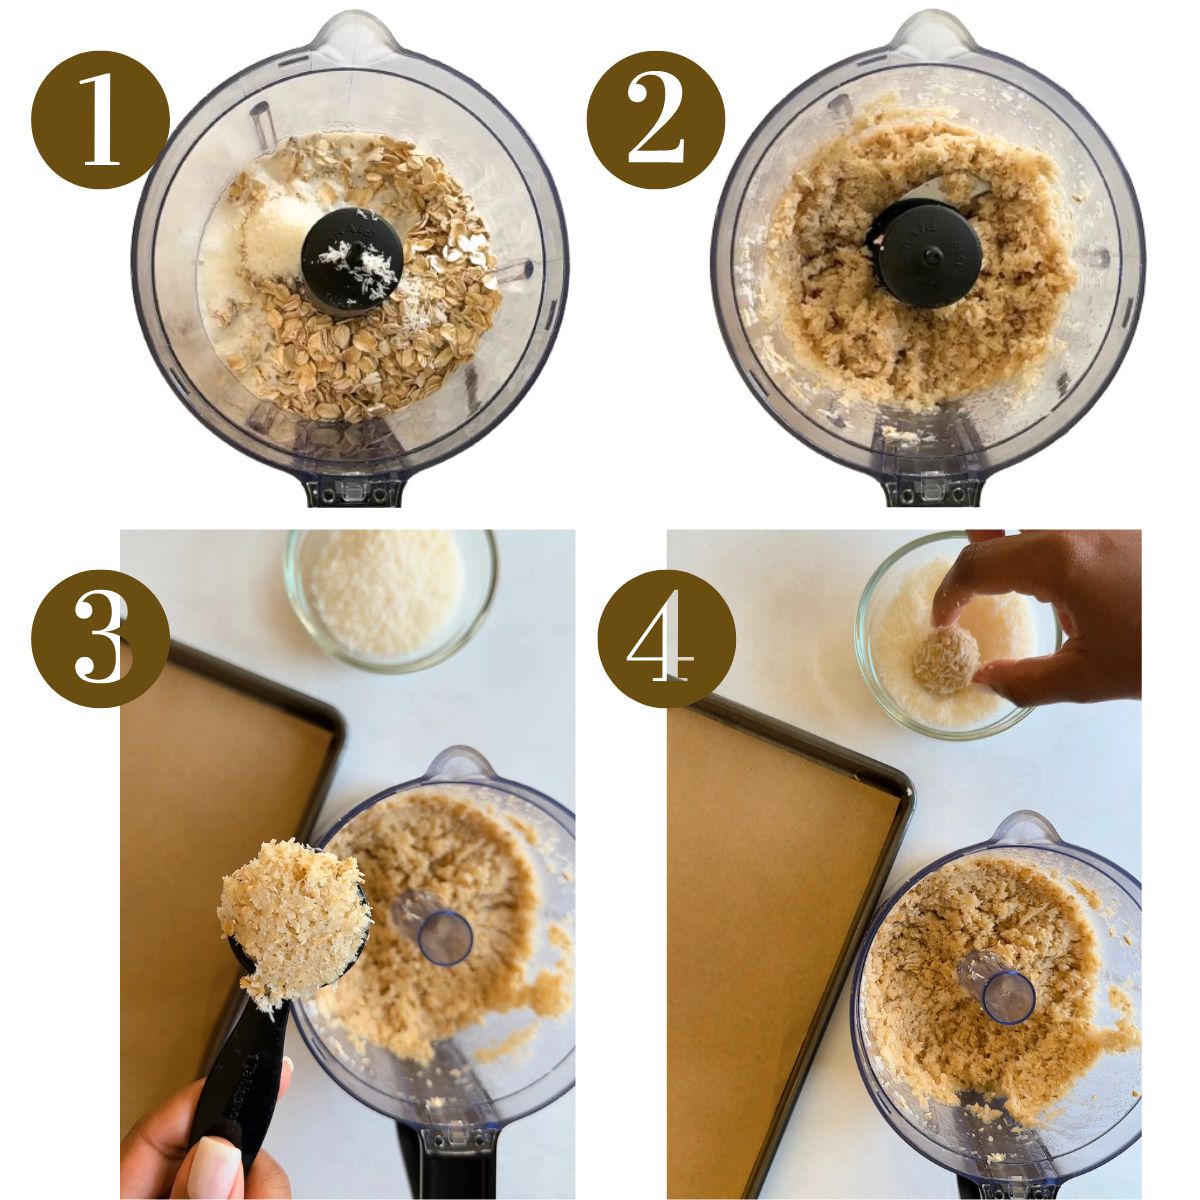
STEP 1: Add the coconut, rolled oats, maple syrup, and milk to a food processor and pulse until it is combined. You may have to scrape down the sides as needed (Images 1 & 2).
STEP 2: Scoop out tablespoon-sized portions of the mixture and shape it into small balls. You may have to squeeze and press the mixture between your hands to form the balls. They may seem soft at first, but they will harden and set once chilled (Image 3).
STEP 3: Roll each ball into extra shredded coconut, making sure that the balls are completely coated. Place the balls on a parchment paper-lined pan. If you prefer a chocolate coating, do not roll the balls in extra coconut (Image 4).
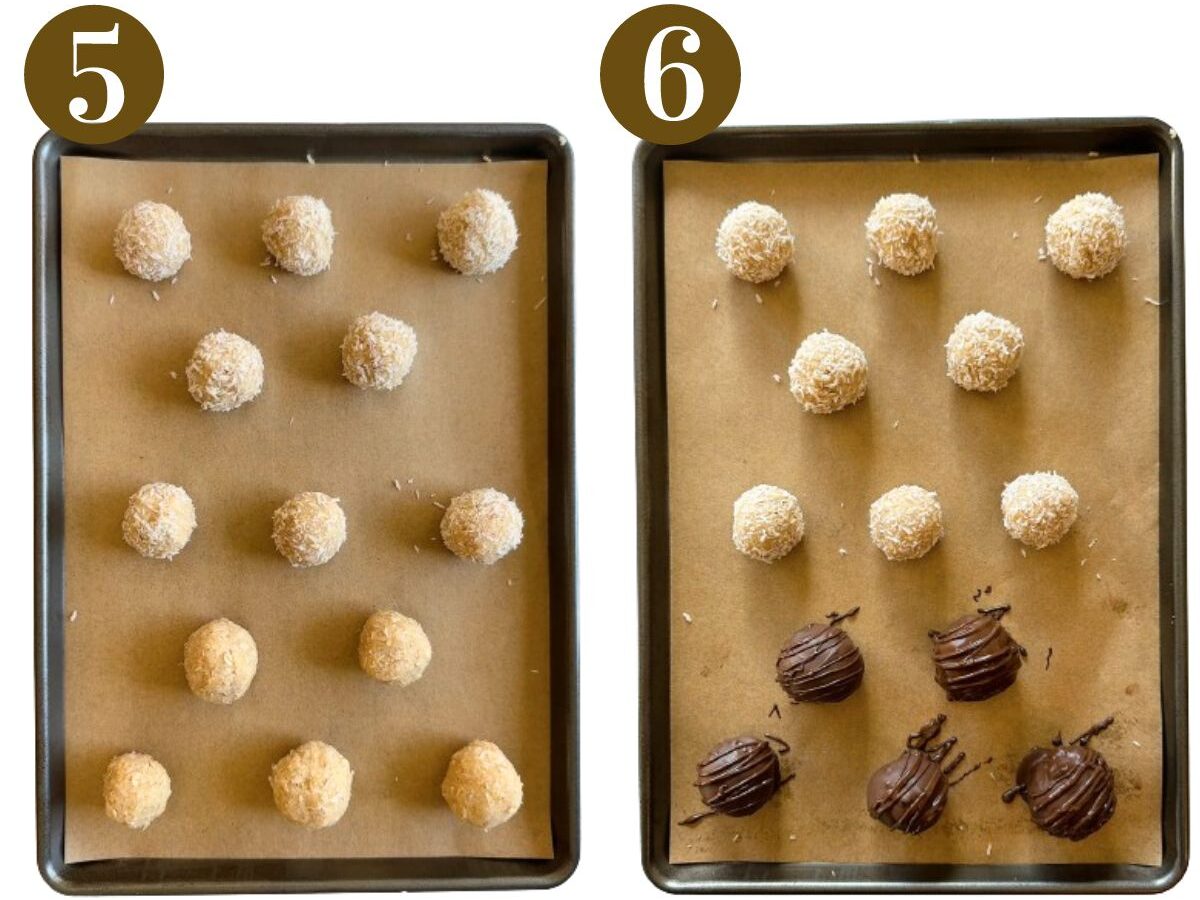
STEP 4: Place the pan in the freezer for 5 to 10 minutes so that the balls harden. For a chocolate coating, dip the balls into melted chocolate and place them back in the freezer for an additional 5 minutes for the chocolate to set (Images 5 & 6).
Storage Instructions
Store the blueberry coconut balls in an airtight container in the refrigerator for up to two days. You may also store them in a freezer-safe Ziploc bag and freeze them for up to one month. Thaw the balls in the refrigerator or on the counter before serving.
Tips For Success
- You may have to wet your hands when shaping the balls if the mixture is sticky. Use your hands to press the mixture together to form the balls. They may seem soft at first, but they will firm up as they cool.
- If you are including a chocolate coating, adding a little coconut oil with the chocolate chips will help it to melt into a smoother texture. Microwave the chocolate for 30 seconds, adding 10-second increments and stirring in between increments until it fully melts.
- I love using this mini kitchen aid food processor to make these bliss balls.
- Desiccated coconut is unsweetened and different from regular shredded coconut. I used the brand let’s do organic desiccated coconut in this recipe.
Recipe FAQs
Yes! If you prefer a fruit-sweetened treat, you may replace the maple syrup with mashed banana. Start with 1/2 of a small banana and add more if needed. If the mixture seems too moist add in a little extra shredded coconut.
Desiccated coconut is unsweetened and different from regular shredded coconut or coconut flour. I used the brand let’s do organic desiccated coconut in this recipe.
Yes! If you use oat flour, you can mix these ingredients together by hand instead of using a food processor.
Other No-Bake Treats You’ll Love
Granola Balls
Berry Bliss Balls
3-Ingredient Peanut Butter Rice Crispy Treats
Christmas Cake Bites
If you tried these Coconut Balls please leave a ⭐ star rating and let me know how it went in the comments below! I love hearing from you!
Coconut Balls
Equipment
Ingredients
- 1 cup desiccated coconut
- 1 cup old fashioned rolled oats
- 3 tbsp maple syrup
- 2 tbsp coconut milk, or any type of mik
- ¼ cup chocolate chips, optional for chocolate coating
Instructions
- Add the coconut, rolled oats, maple syrup, and milk to a food processor and pulse until it is combined. You may have to scrape down the sides as needed.
- Scoop out tablespoon-sized portions of the mixture and shape it into small balls. You may have to squeeze and press the mixture between your hands to form the balls. They may seem soft at first, but they will harden and set once chilled.
- Roll each ball into extra shredded coconut, making sure that the balls are completely coated. Place the balls on a parchment paper-lined pan. If you prefer a chocolate coating, do not roll the balls in extra coconut.
- Place the pan in the freezer for 5 minutes so that the balls harden. For a chocolate coating, dip the balls into melted chocolate and place them back in the freezer for an additional 5 minutes for the chocolate to set.
Notes
- You may have to wet your hands when shaping the balls if the mixture is sticky. Use your hands to press the mixture together to form the balls. They may seem soft at first, but they will firm up as they cool.
- If you are including a chocolate coating, adding a little coconut oil with the chocolate chips will help it to melt into a smoother texture. Microwave the chocolate for 30 seconds, adding 10-second increments and stirring in between increments until it fully melts.
- I love using this mini kitchen aid food processor to make these bliss balls.
- Desiccated coconut is unsweetened and different from regular shredded coconut. I used the brand let’s do organic desiccated coconut in this recipe.





Hi Lily! How do these store? Do we leave them in the freezer? Planning to add these little yummies to my kids lunchbox. Thank you!
Hi Hala! You can store these in an airtight container in the fridge for up to 2 days or in the freezer for up to 1 month! I oftentimes pack them in a lunchbox frozen and they usually thaw by lunchtime😊
Do you have a recommendation on brand (and storage) of coconut flakes? Mine go bad every time much earlier than the date! TY!
Hi! I usually purchase the let’s do organic brand unsweetened flakes and store them in an airtight container in the pantry. I hope that helps!😊