
Homemade Teddy Grahams
on Apr 10, 2024
This post may contain affiliate links. Please read our disclosure policy.
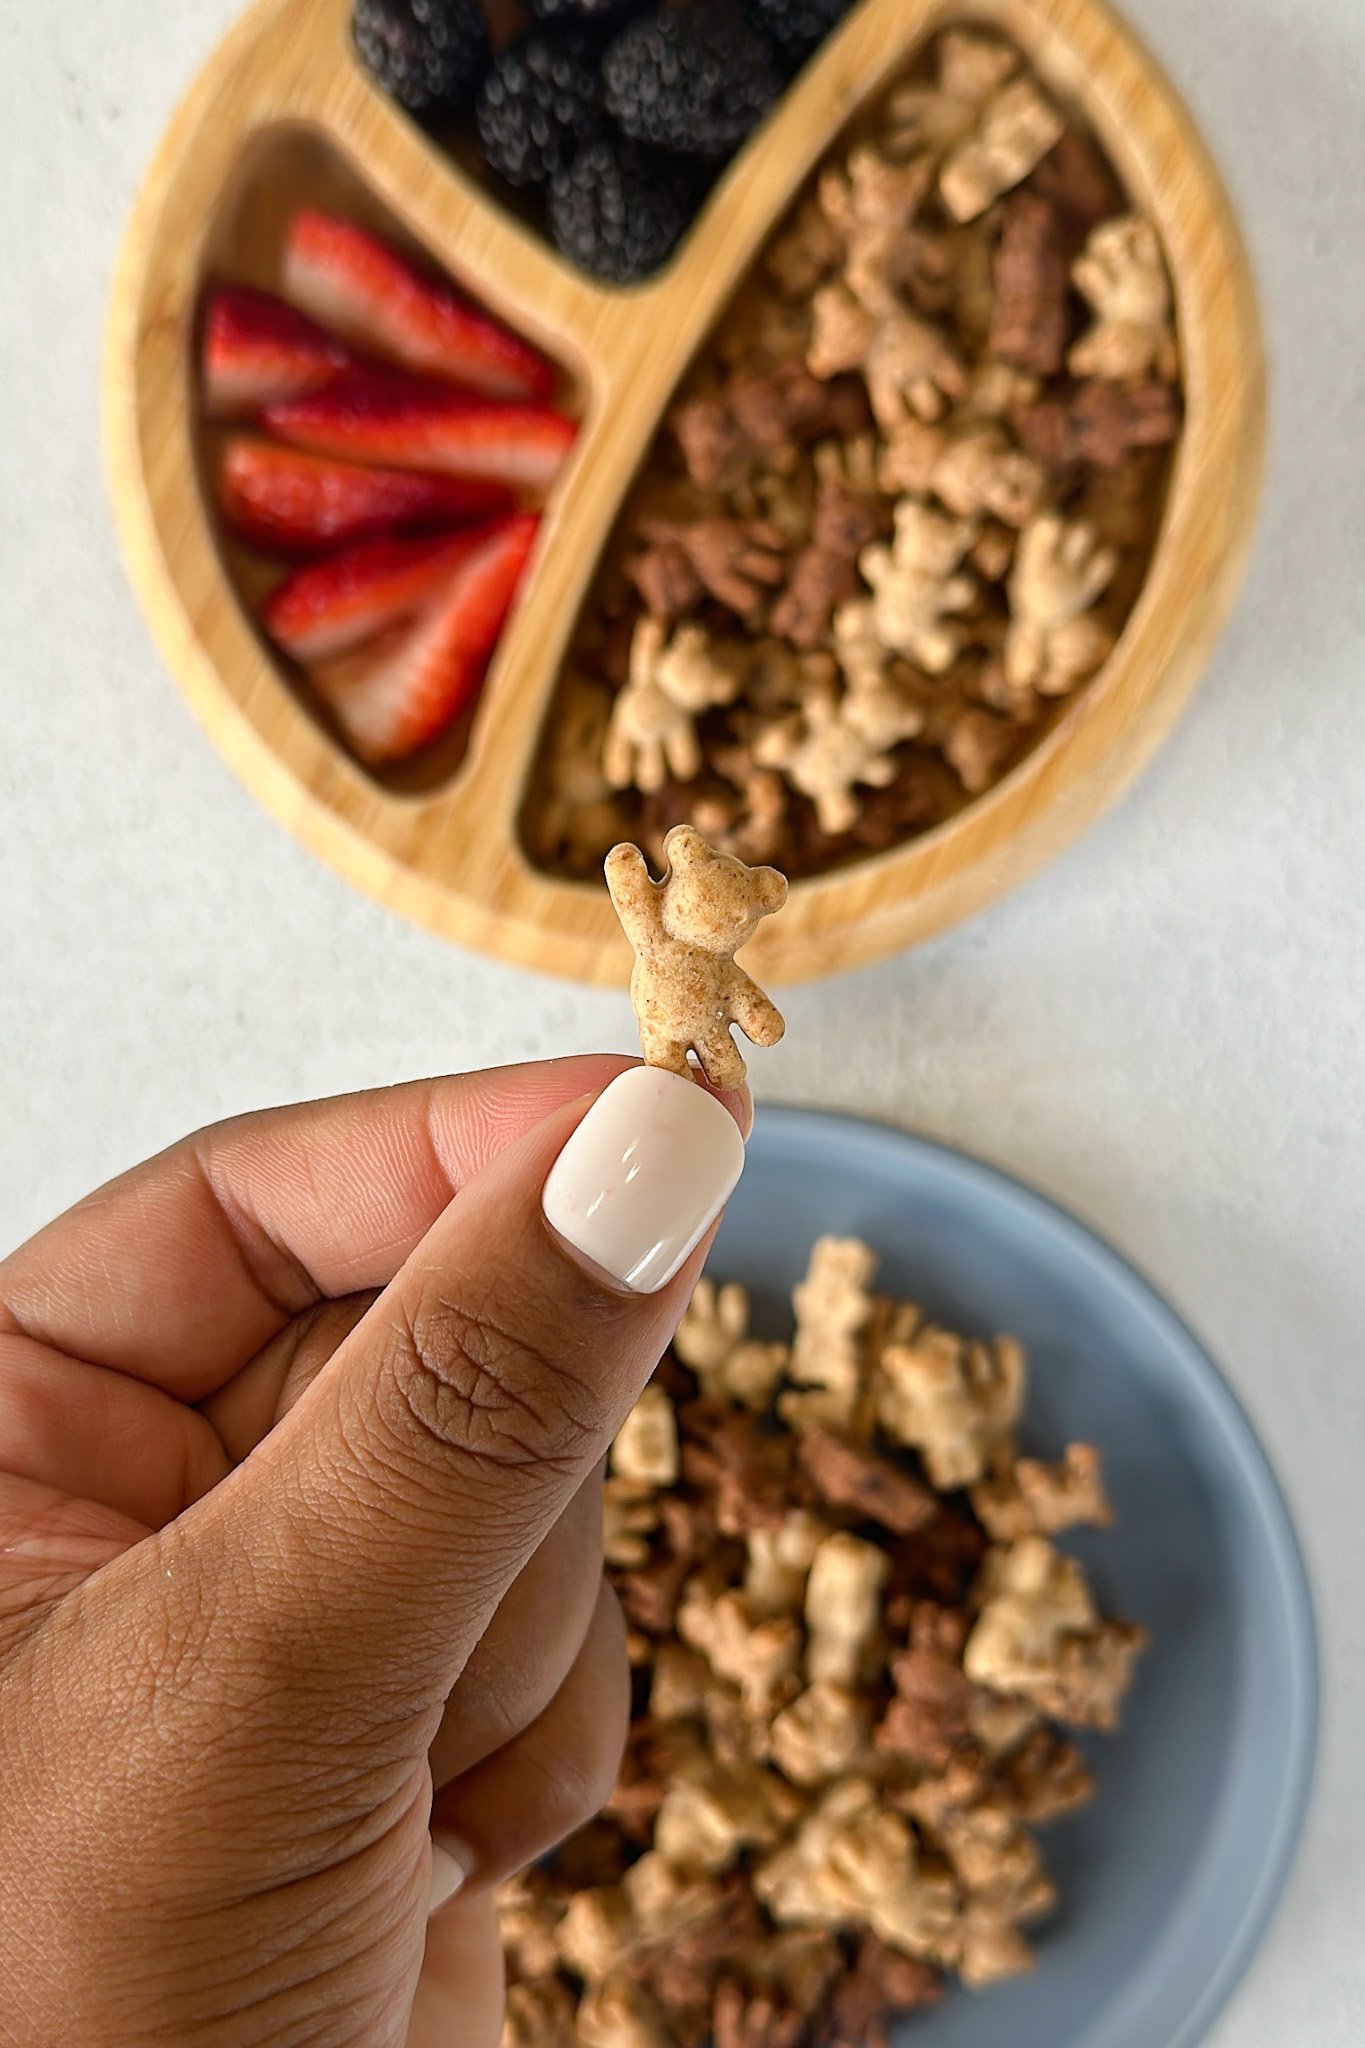
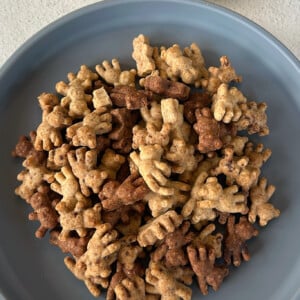
These homemade teddy grahams are a simple-to-make take on the store-bought classic. They are sweetened with maple syrup, can be customized with different flavors, and are made with simple ingredients you likely have on hand!
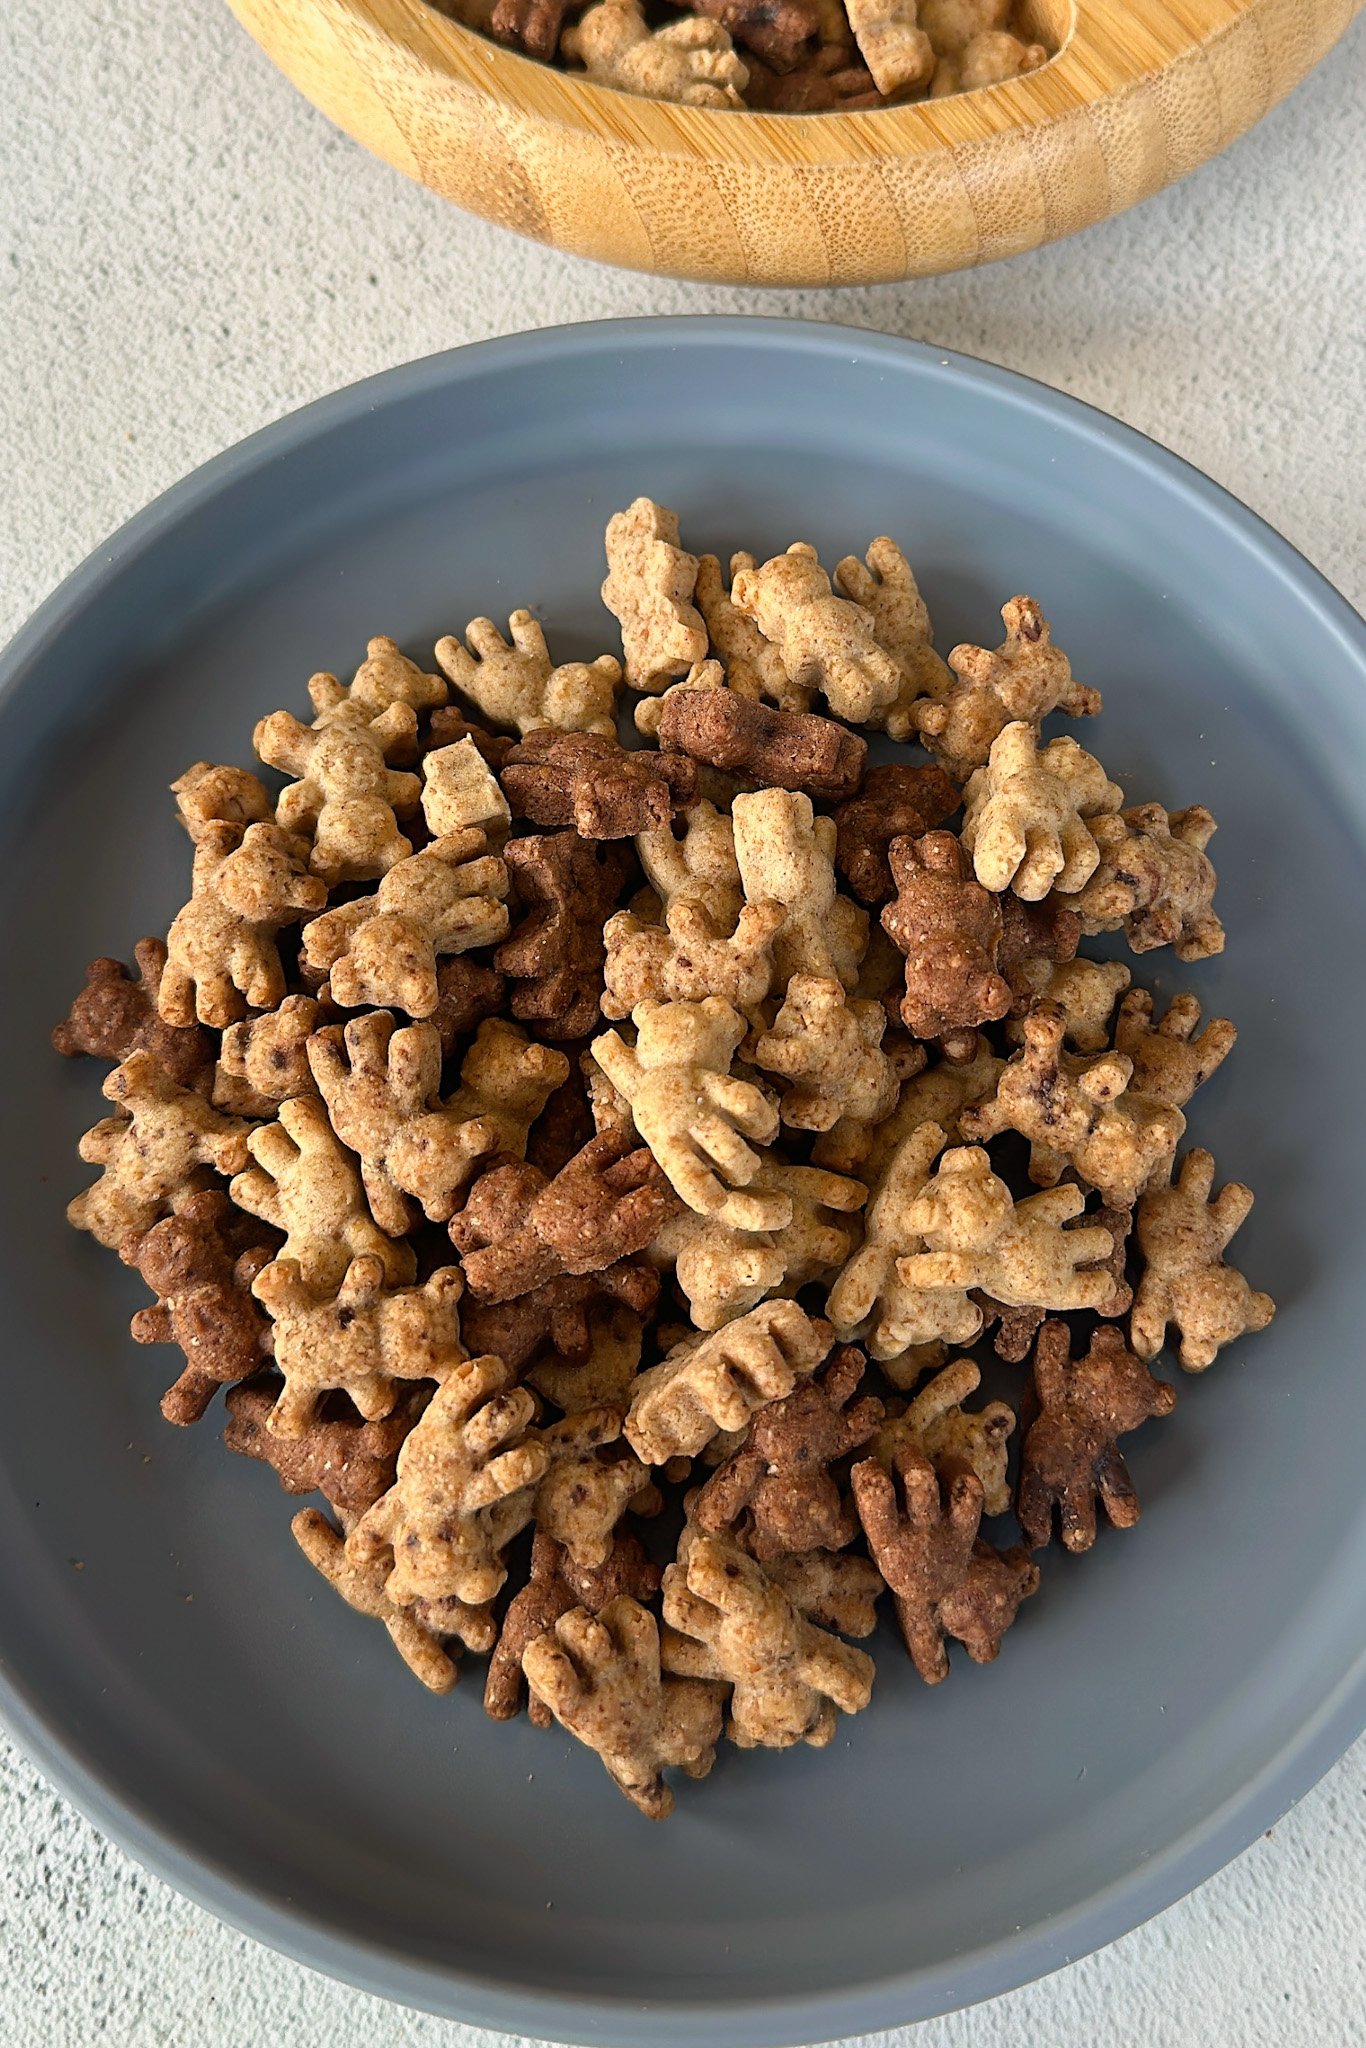
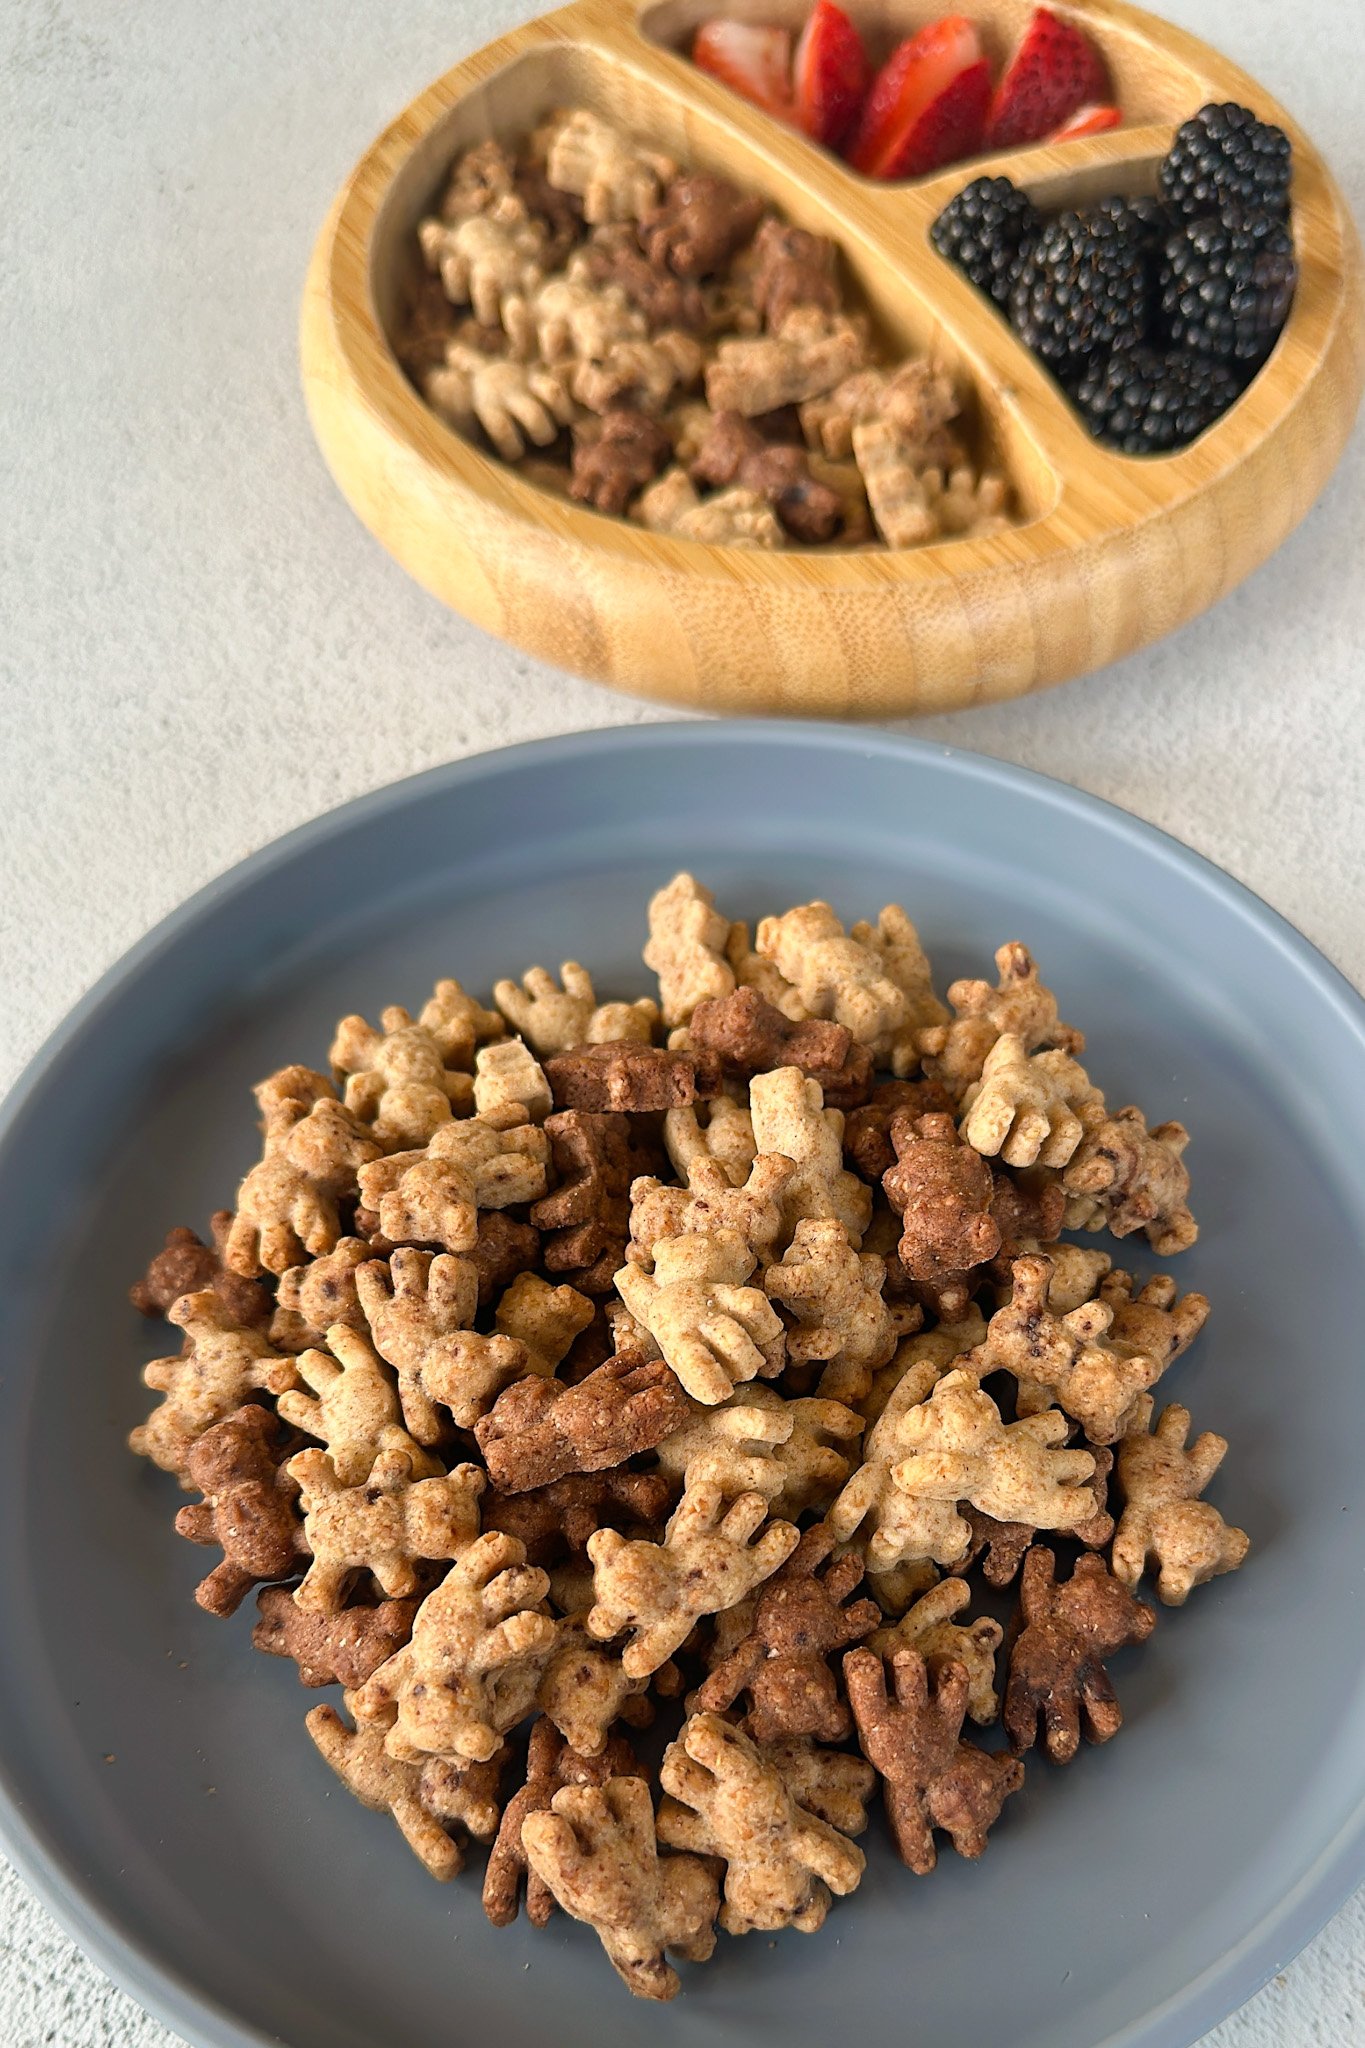
Teddy Grahams are a classic sweet, crunchy snack loved by many – and what’s not to love about those cute little bears?! They’re easy to recreate at home in classic cinnamon, chocolate chip, and chocolate flavors and come together in just 30 minutes! The mixture is pressed into silicone mini bear molds that pop right out when baked. They come out crunchy and sweet for a snack you and your little ones won’t be able to resist!
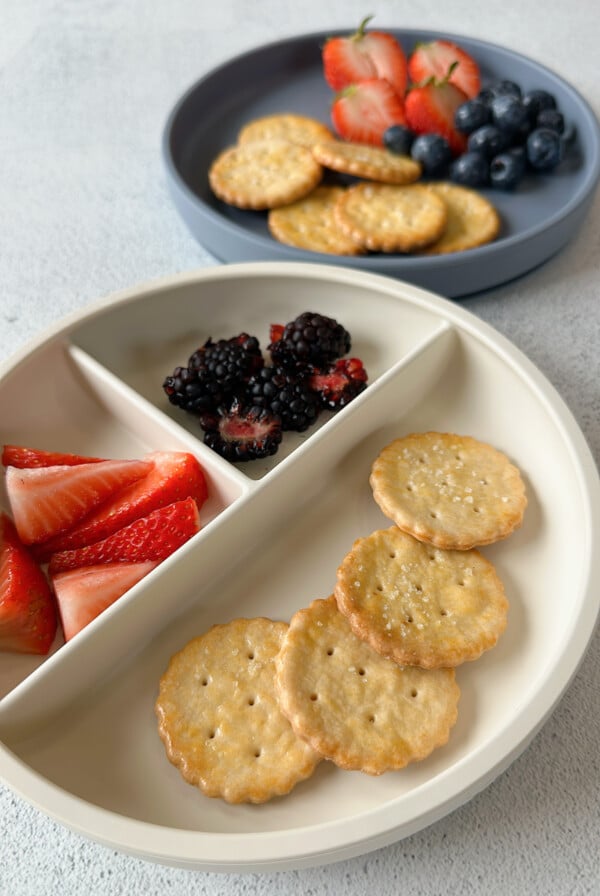
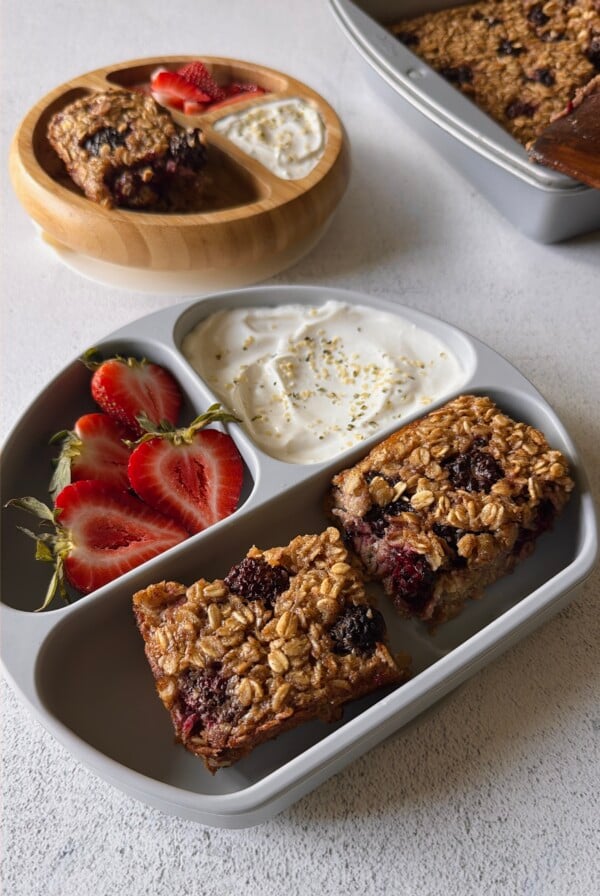
If you love these crackers and are looking for more homemade versions of some classic snacks, be sure to try out these homemade animal crackers and homemade fudge stripe cookies for sweet treats! Prefer a savory snack? You’ll love these homemade goldfish crackers and homemade Ritz crackers as well!
Table of Contents
What You’ll Need
Here is what you’ll need to make these homemade teddy grahams:
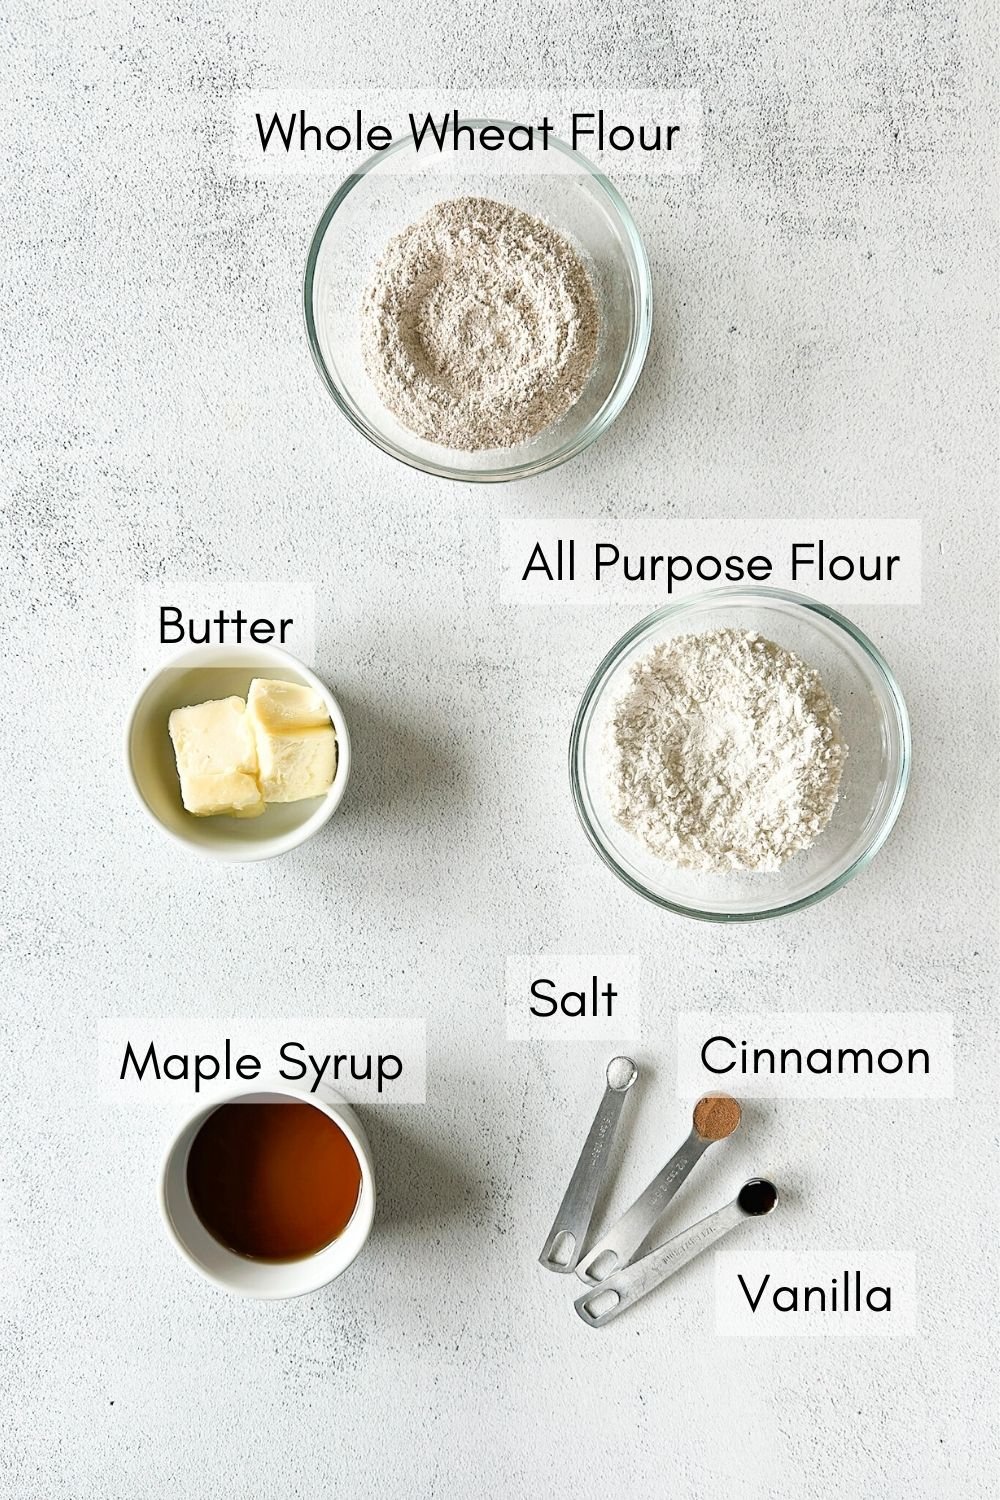
- Butter: I used unsalted butter for these crackers. If you only have salted butter on hand, just omit the salt from the recipe. Make sure that the butter is softened to room temperature beforehand.
- Maple Syrup: The main source of sweetness for these crackers.
- Flour: I used a combination of whole wheat flour and all-purpose flour. The whole wheat flour gives the crackers a toasty flavor that replicates graham crackers and the all-purpose flour adds some lightness to the dough and cracker texture. Make sure to measure your flour correctly. Scoop the flour into the measuring cup and use a knife to level it out.
- Ground Cinnamon: Warm spice for added flavor and taste.
- Vanilla: To enhance the flavor of the crackers.
- Salt: To balance out the flavors of the dough.
See the recipe card below for full information on ingredients and quantities.
Recipe Substitutions & Additions
- Butter: For a dairy-free option, swap the butter with dairy-free butter like these olive oil plant-based butter sticks.
- Maple Syrup: You may replace the maple syrup with equal parts honey. Note – Honey should not be offered to babies under the age of 1 as per CDC guidelines.
- Flour: I like to use a combination of whole wheat and all-purpose flour for a toasty flavor, but if you don’t have whole-wheat flour on hand, you can use all all-purpose flour (note: the dough will be lighter in color). I do not recommend using onlywhole wheat flour because the crackers will come out dense. For a gluten-free option, swap the flours with an equal part gluten-free flour blend.
- Add-Ins: Add in some cocoa powder for a chocolate version or some crushed chocolate for a chocolate chip version!
Step By Step Instructions
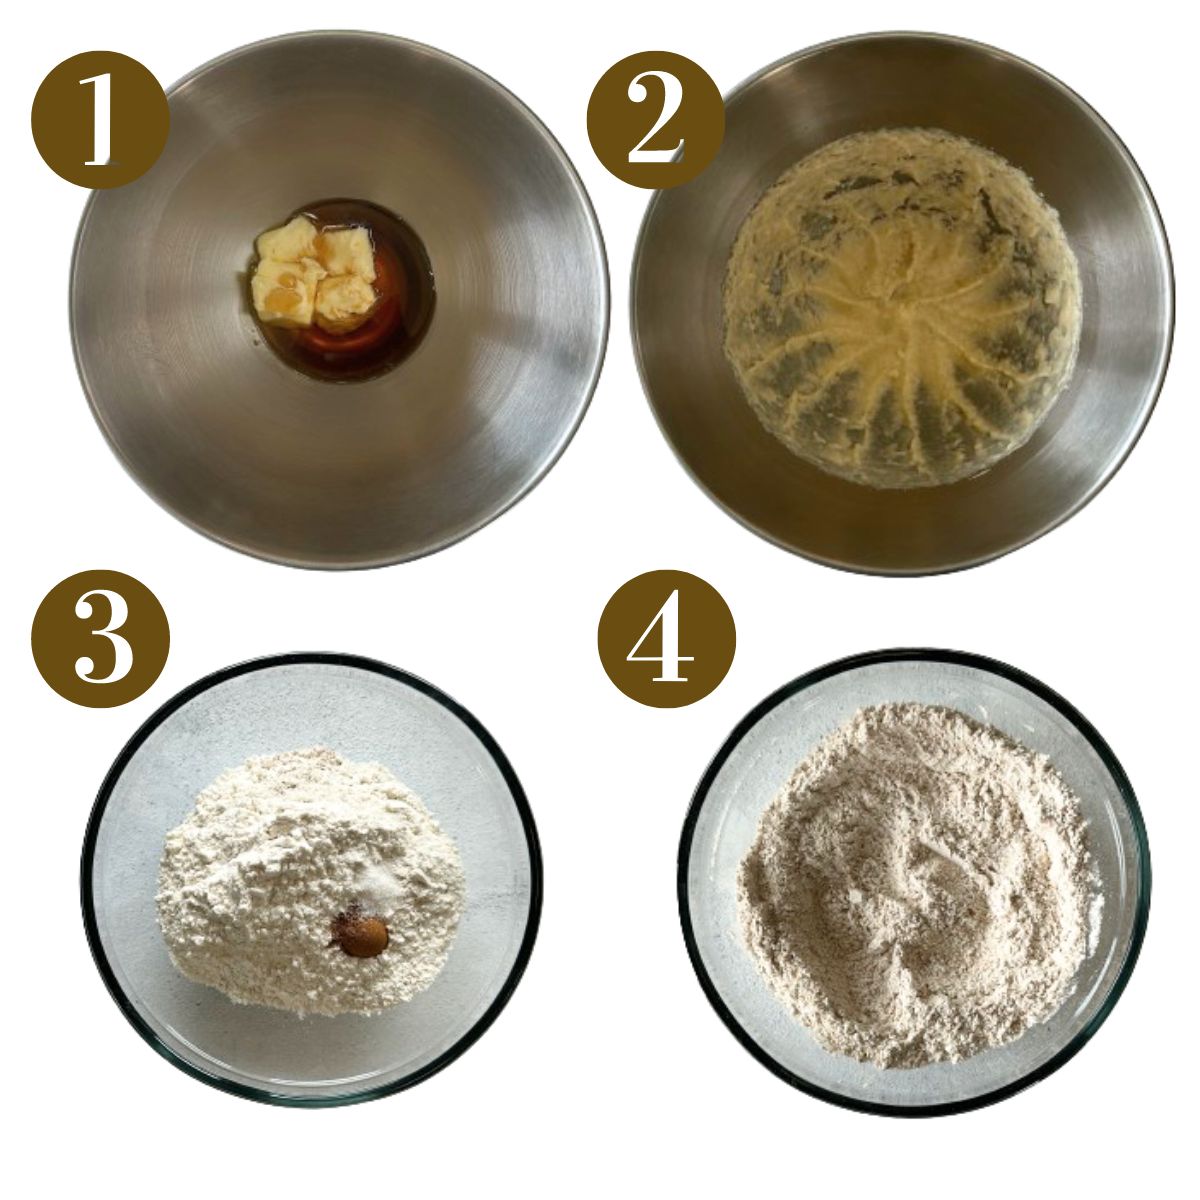
STEP 1: Add the softened butter, maple syrup, and vanilla to a bowl and use an electric hand mixer or stand mixer to cream them together on high speed until fluffy and smooth, about 1 to 2 minutes (Images 1 & 2).
STEP 2: In a separate bowl, mix together the all-purpose flour, whole wheat flour, cinnamon, and salt until combined (Images 3 & 4).
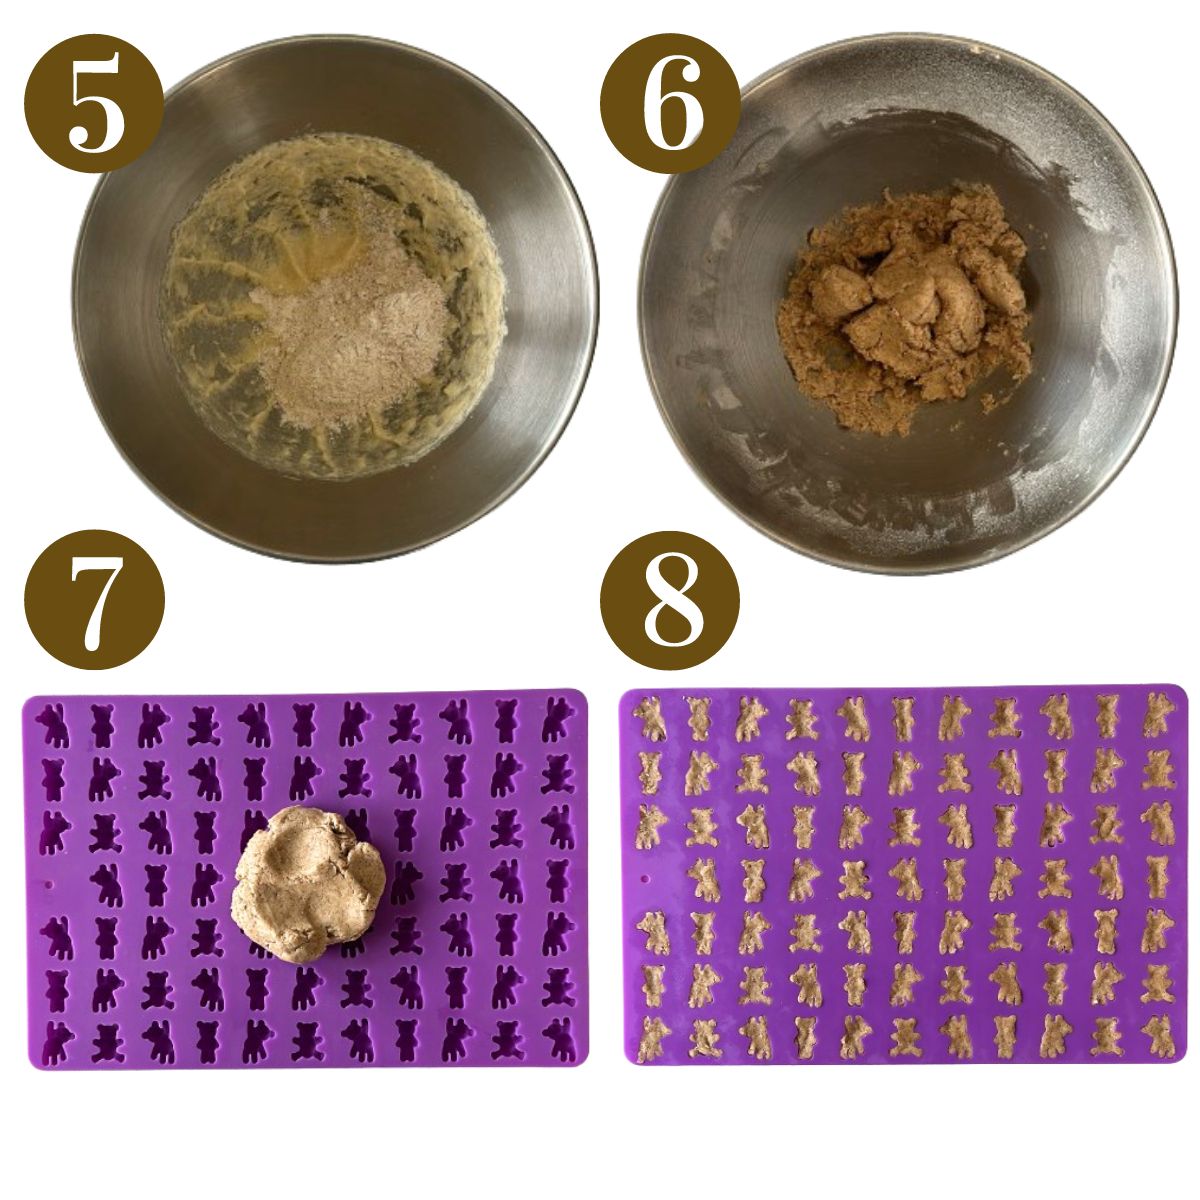
STEP 3: Slowly add in the flour while mixing on low speed until it forms a dough. It may seem crumbly at first, but it will form into a soft dough (Images 5 & 6). Scrape down the sides as needed.
STEP 4: Gather the dough and split it in half. Spread and press each half into two silicone bear molds. Scrape off any extra dough and make sure that the dough is pressed firmly into each mini mold (Images 7 & 8).
STEP 5: Transfer the silicone molds onto a baking sheet and bake the teddy grahams for 15 to 18 minutes (or until dry to the touch). Let the crackers cool fully in the molds. They will be soft at first but will firm up and crisp as they cool.
STEP 6: Once fully cooled, turn over the molds and transfer them to a container (they should pop right out!) Serve and enjoy!
Storage Instructions
Once cooled, store the homemade teddy grahams in an airtight container at room temperature for up to 5 days. They may also be frozen for up to 2 months in an air-tight, freezer-safe container. Thaw the crackers at room temperature.
Tips For Success
- If the dough seems crumbly after adding in the flour and mixing on low speed, add in 1 to 2 tablespoons of cold water and continue mixing on low speed until it moistens and forms into a soft dough.
- Make sure to press the dough firmly into the silicone teddy bear molds so that the shapes fully form once baked.
- Let the crackers cool completely before serving. They will be soft at first right out of the oven but will firm up as they cool.
- Make sure that your butter is softened to room temperature beforehand. Cutting butter up into cubes will help it come to room temperature quickly. Using cold butter may result in the mixture curdling, so make sure to let it fully soften.
Recipe FAQs
This recipe makes approximately 160 to 180 teddy grahams using this silicone teddy bear mold. This amount (along with bake time) may vary if you use a mold that is smaller or larger in size.
Yes! For a chocolate chip flavor add in some finely crushed chocolate and for a chocolate version add in some unsweetened cocoa powder.
Yes! If you don’t have a bear mold, you can roll this dough out between two sheets of parchment paper and use a cookie cutter to cut out small shapes from the dough to bake.
Other Homemade Snacks You’ll Love
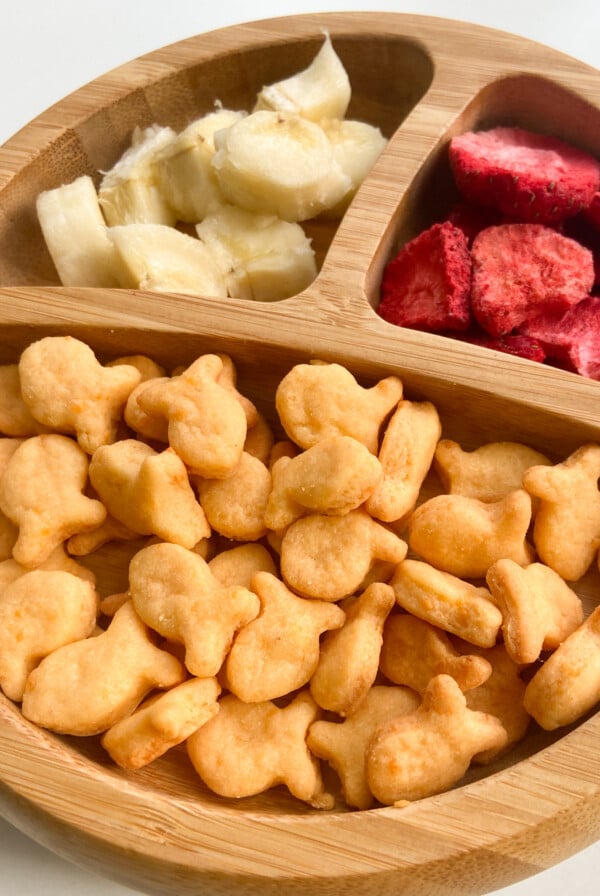
Homemade Healthy Goldfish Crackers
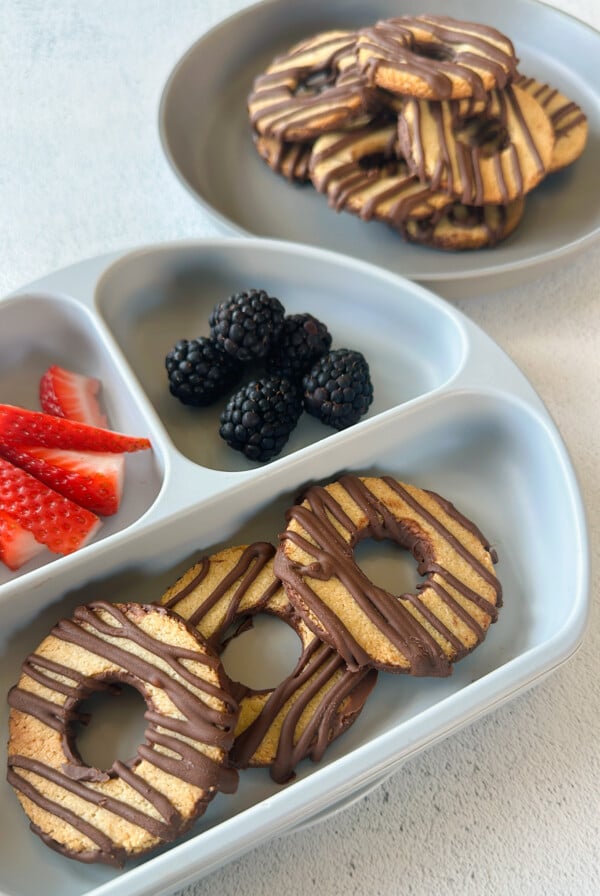
Fudge Stripe Cookies Recipe
Ritz Crackers Homemade

Homemade Gummy Worms
If you tried these Homemade Teddy Grahams please leave a ⭐ star rating and let me know how it went in the comments below! I love hearing from you!
Homemade Teddy Grahams
Ingredients
Cinnamon Teddy Grahams
- 4 tbsp unsalted butter, softened to room temperature
- 3 tbsp maple syrup, room temperature
- ½ tsp vanilla extract
- ½ cup all-purpose flour
- ½ cup whole wheat flour
- ½ tsp ground cinnamon
- ¼ tsp salt
Chocolate Chips Teddy Grahams
- ADD ¼ cup finely chopped chocolate chips, mix in on low speed once dough is formed
Chocolate Teddy Grahams
- ADD 1 to 1½ tbsp unsweetened cocoa powder, mix in on low speed once the dough is formed
Instructions
- Preheat the oven to 325 degrees F (163 degrees C).
- Add the softened butter, maple syrup, and vanilla to a bowl and use an electric hand mixer or stand mixer to cream them together on high speed until fluffy and smooth, about 1 to 2 minutes
- In a separate bowl, mix together the all-purpose flour, whole wheat flour, cinnamon, and salt until combined
- Slowly add in the flour while mixing on low speed until it forms a dough. It may seem crumbly at first, but it will form into a soft dough. Scrape down the sides as needed.
- Gather the dough and split it in half. Spread and press each half into two silicone bear molds. Scrape off any extra dough and make sure that the dough is pressed firmly into each mini mold.
- Transfer the silicone molds onto a baking sheet and bake the teddy grahams for 15 to 18 minutes (or until dry to the touch). Let the crackers cool fully in the molds. They will be soft at first but will firm up and crisp as they cool.
- Once fully cooled, turn over the molds and transfer them to a container (they should pop right out!) Serve and enjoy!
Notes
- If the dough seems crumbly after adding in the flour and mixing on low speed, add in 1 to 2 tablespoons of cold water and continue mixing on low speed until it moistens and forms into a soft dough.
- Make sure to press the dough firmly into the silicone teddy bear molds so that the shapes fully form once baked.
- Let the crackers cool completely before serving. They will be soft at first right out of the oven but will firm up as they cool.
- Make sure that your butter is softened to room temperature beforehand. Cutting butter up into cubes will help it come to room temperature quickly. Using cold butter may result in the mixture curdling, so make sure to let it fully soften.


Would I be able to use regular flour instead of wheat ?
Hi Aubrey! You can use all all purpose flour if that’s what you have on hand, the cookies will just be a little lighter in texture and have a slightly different taste😊
Hi, can you provide the link to the mold you used? Thanks!
Hi Emily! Here is a link for the molds that I used😊
Can I use honey instead of maple syrup? Over a year old.
Yes, you can swap it with equal parts honey😊
This is the second recipe for homemade teddy grahams I’ve used, and it will be the last! My daughter absolutely loves these, and so do I! They are so easy to make and they turn out beautifully. They have a nice crunch to them but they’re still soft. And the best part.. no sugar! They’re just sweet enough with the syrup and vanilla. I wanted one of my batches slightly sweeter so I added 1/4 tsp sugar and it was perfect. Love this recipe, it going in the books! I’ll likely be making these every week haha!
I’m so glad to hear that you enjoyed them! Thank you for taking the time to share your feedback, Avery!😊
I made these today, they were a hit at my household. I did Not have a teddy bear mold but I had a bear cookie cutter (1.5 inches).
Probable made about 85. Kids and hubby kept eating them as soon as they cooled down to eat lol. I baked them for 12 minutes.
I’m so glad to hear that you enjoyed them, Jessica! Thank you for sharing your feedback about the cutters!😊
I made this mostly with freshly milled white flour and it still came out fantastic! my toddler is eating them by the fistful! (And I am as well. )I think I need to make a double batch next time!
I made this recipe and substituted honey for the maple syrup as I saw you suggested to other commenter! After some trial and error I discovered that after adding 2 tablespoons of water to the dough I was able to use my cookie press! I don’t have any molds and I’m too lazy to roll out and cut individual cookies lol. I used a bear disc that came with my cookie press, baked for 10 minutes, and they came out beautifully!! My toddler loves them! Next time I’ll try adding a little sprinkle of cinnamon and sugar on top for just a bit more sweetness. 10/10! I will definitely make these again!!
Thank you for sharing that feedback, Tiffany! I’m so glad to hear that your little one enjoyed them!😊
I’m so excited to try this recipe! Do you have the variations to make the honey teddy grahams? (They’re my boys favorite ❤️ )
Hi Kelly! I’d recommend trying to swap out the maple syrup with honey to get more of that honey flavor😊
I made these today! They are fabulous! I cannot wait for our grandkids to try them. Thank you for the recipe.
I’m so glad to hear that you enjoyed them and hope that your grandchildren enjoy them as well!😊
Can you add sugar to this recipe? If so how much do you recommend adding?
Hi Jen! Did you mean in place of the maple syrup or in addition to it?