

Mini Apple Pies (Refined sugar-free)

on Apr 23, 2022, Updated Oct 23, 2026
This post may contain affiliate links. Please read our disclosure policy.
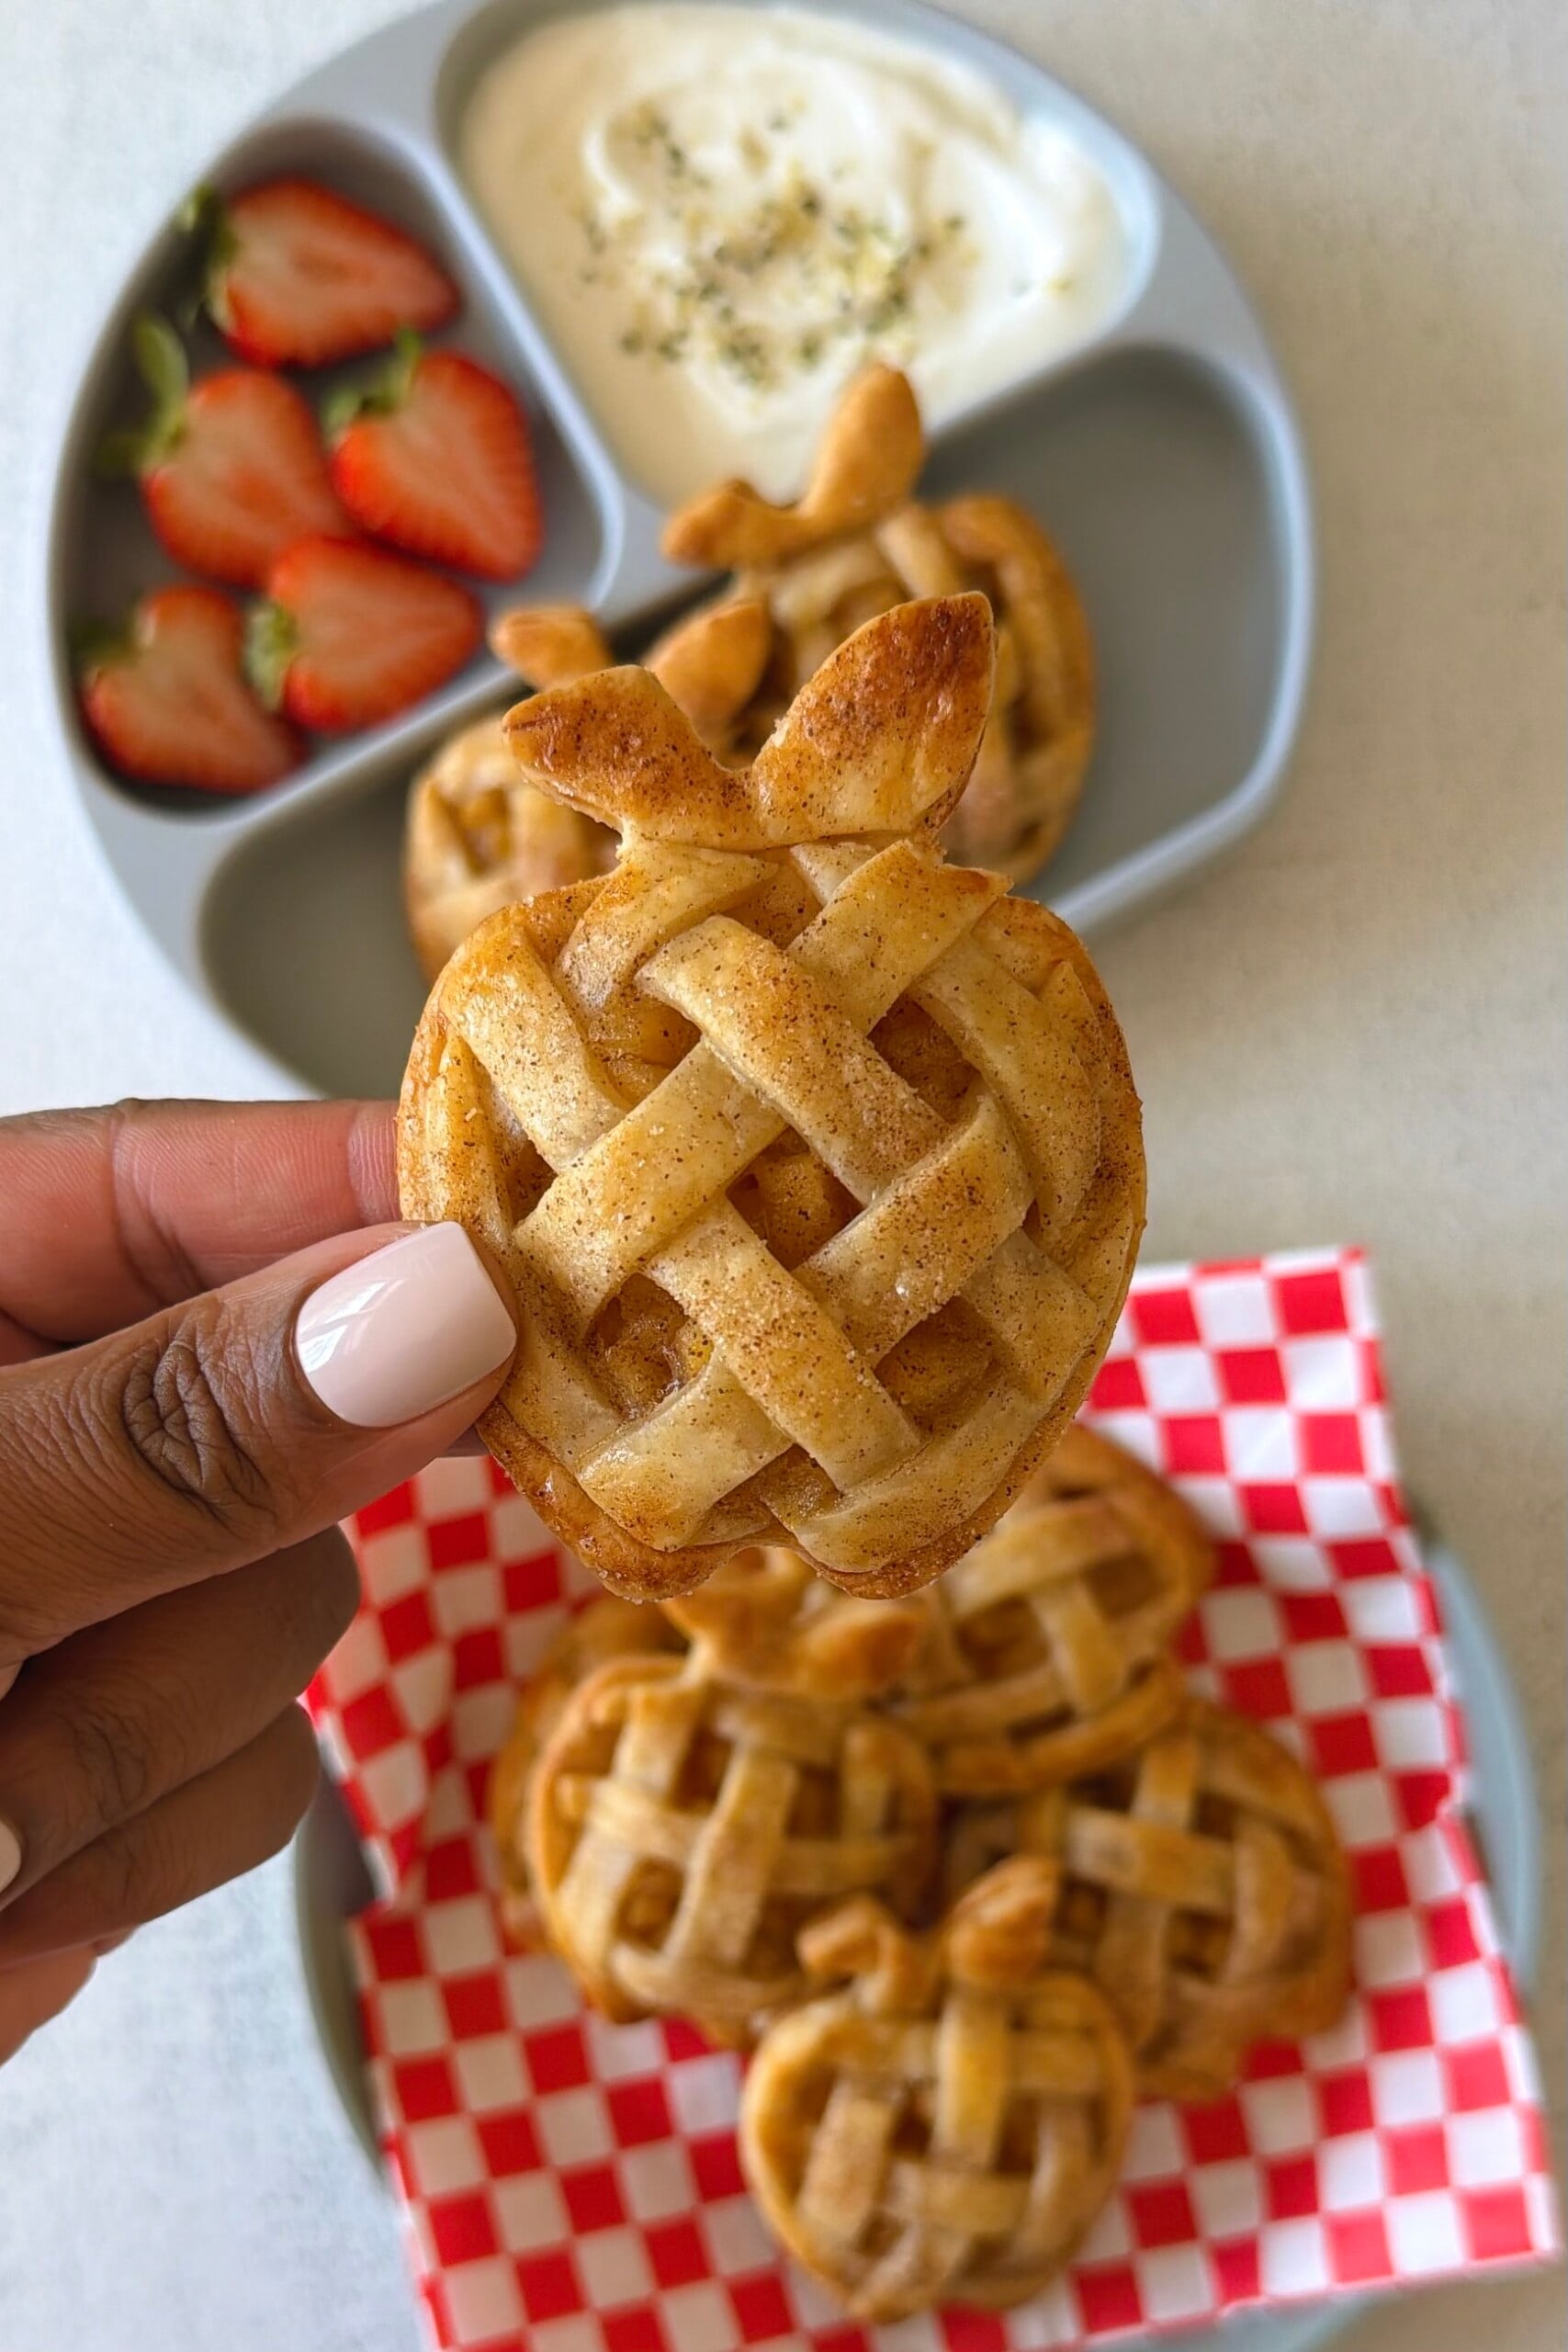
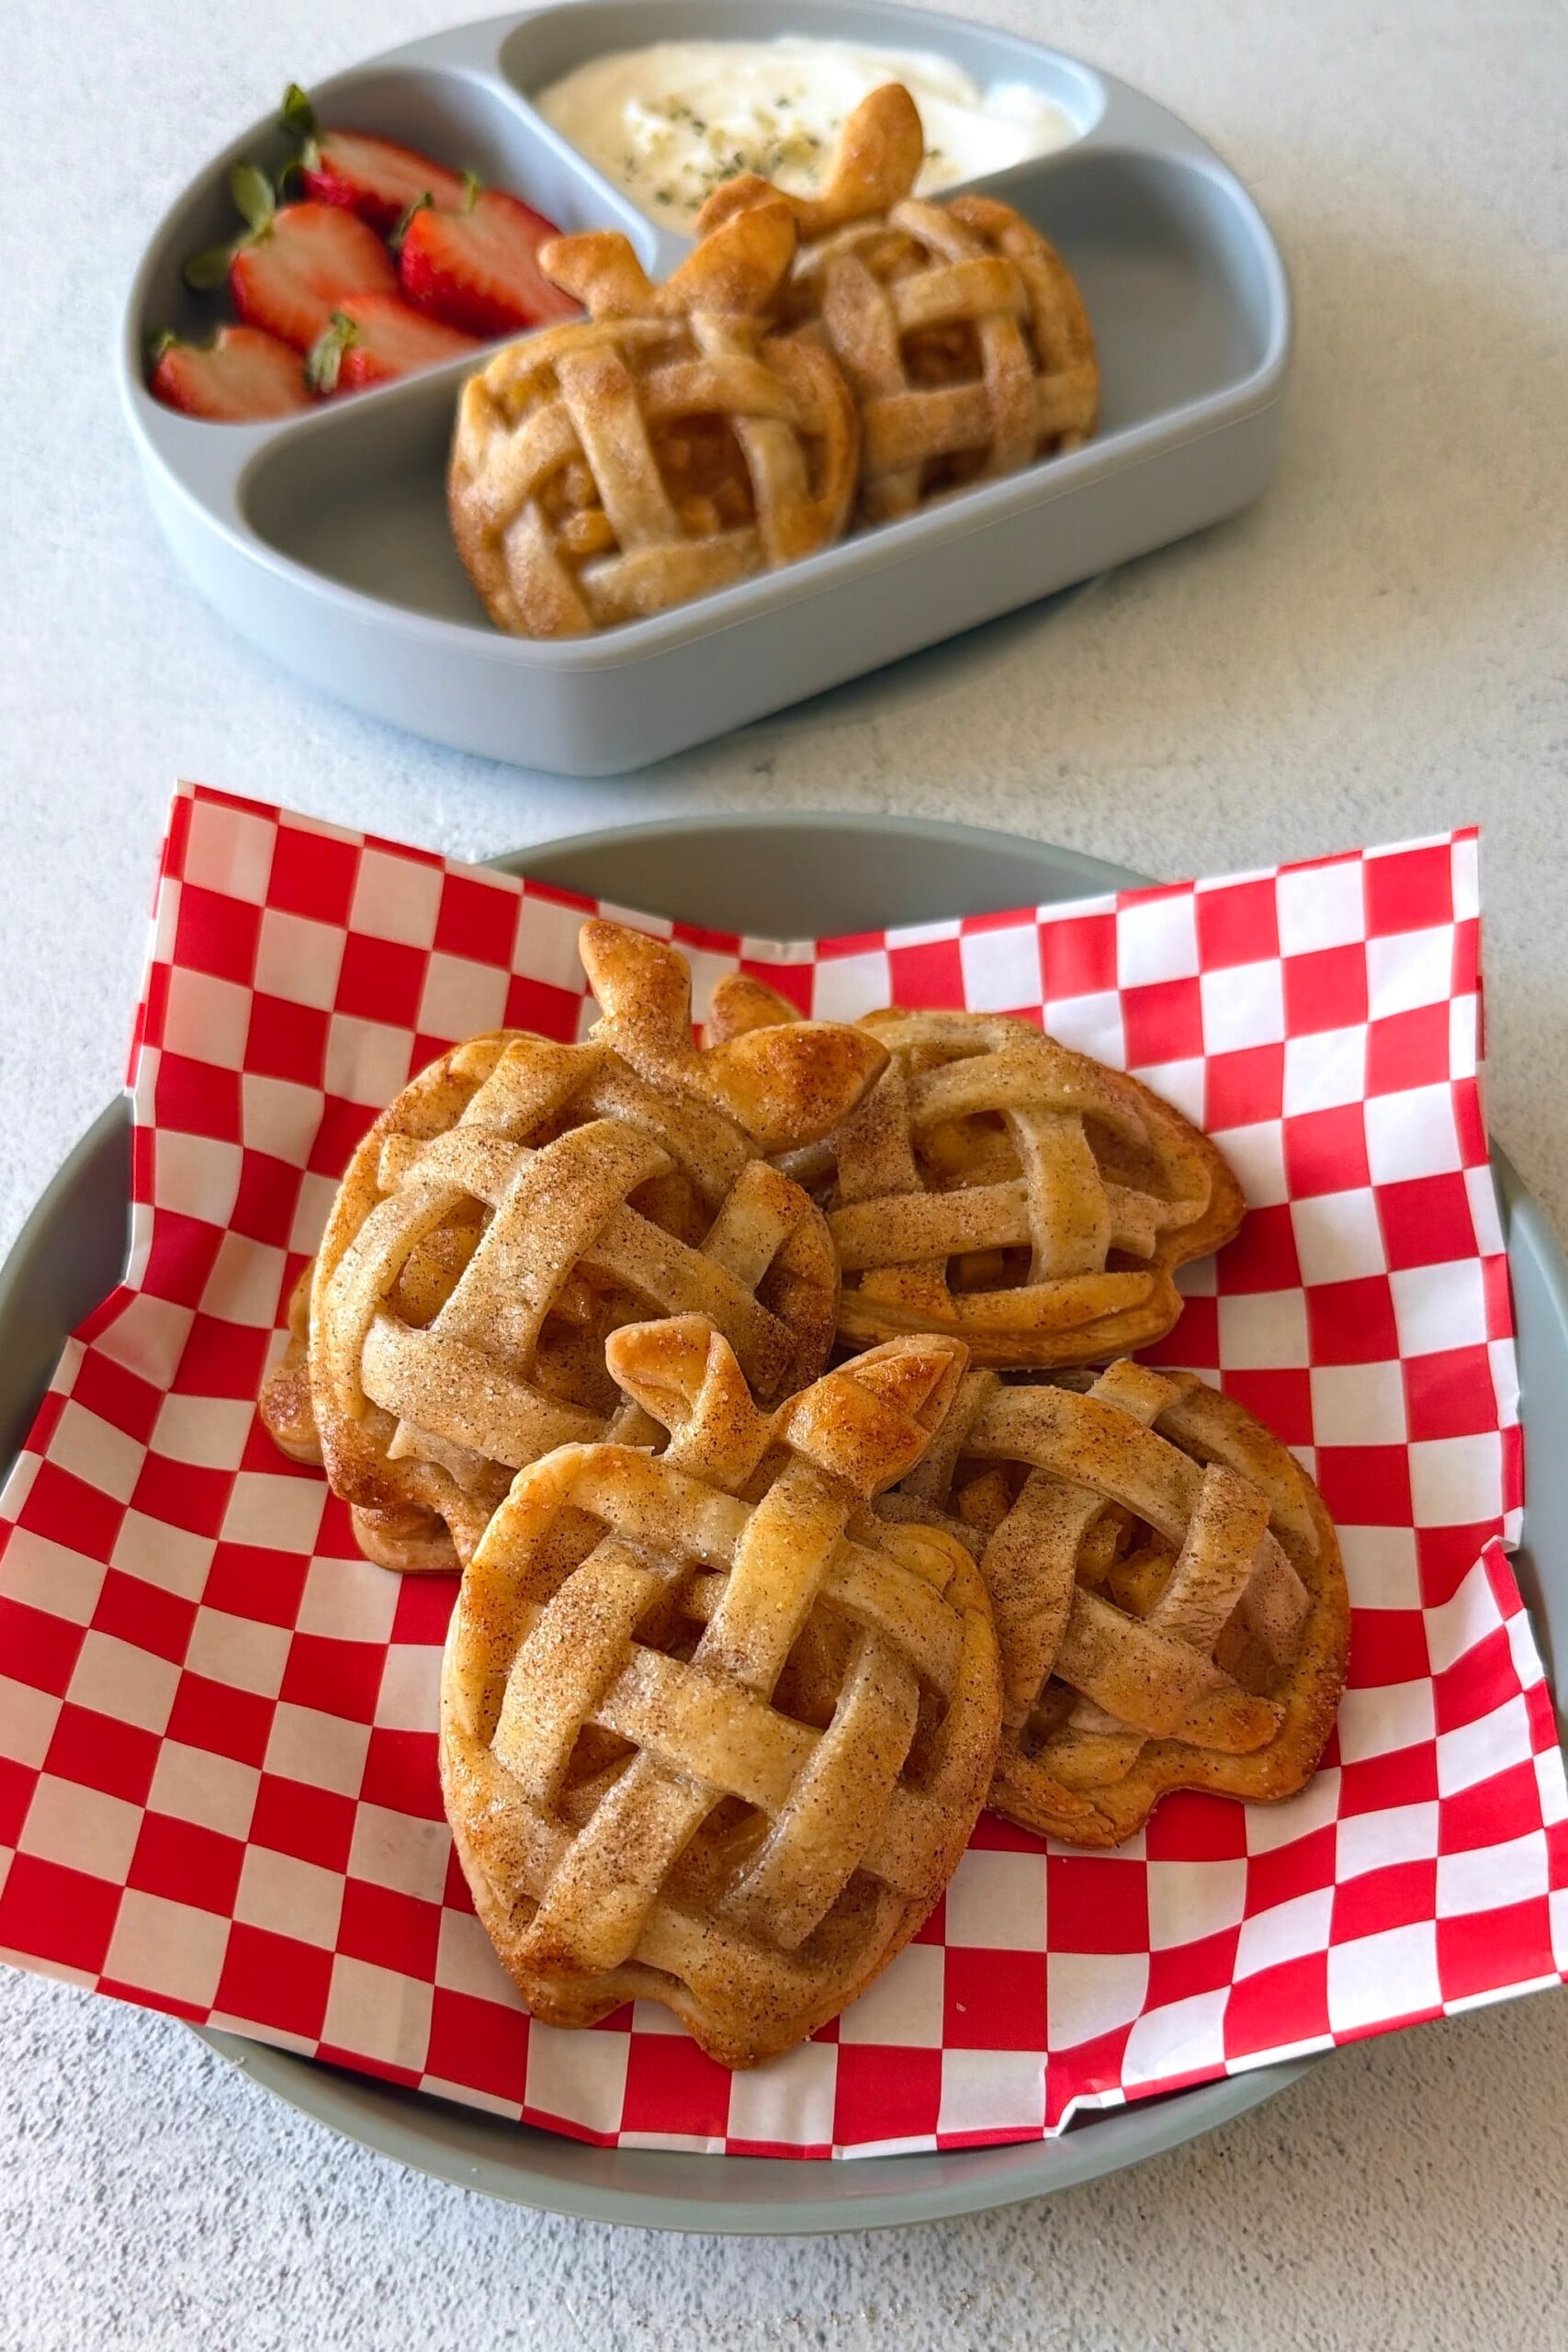
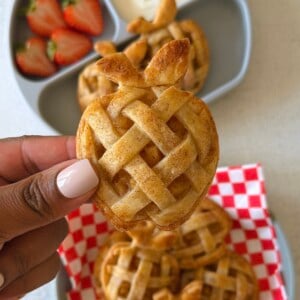
Add as Google preferred sourceThese mini apple pies are such a fun way to enjoy a classic apple pie in a cute, handheld size! Made with flaky store-bought pie crust and filled with tender cinnamon apples, they’re easy to put together without having to make pie dough from scratch. They’re perfect for fall baking, holiday gatherings, or a fun dessert for little hands!
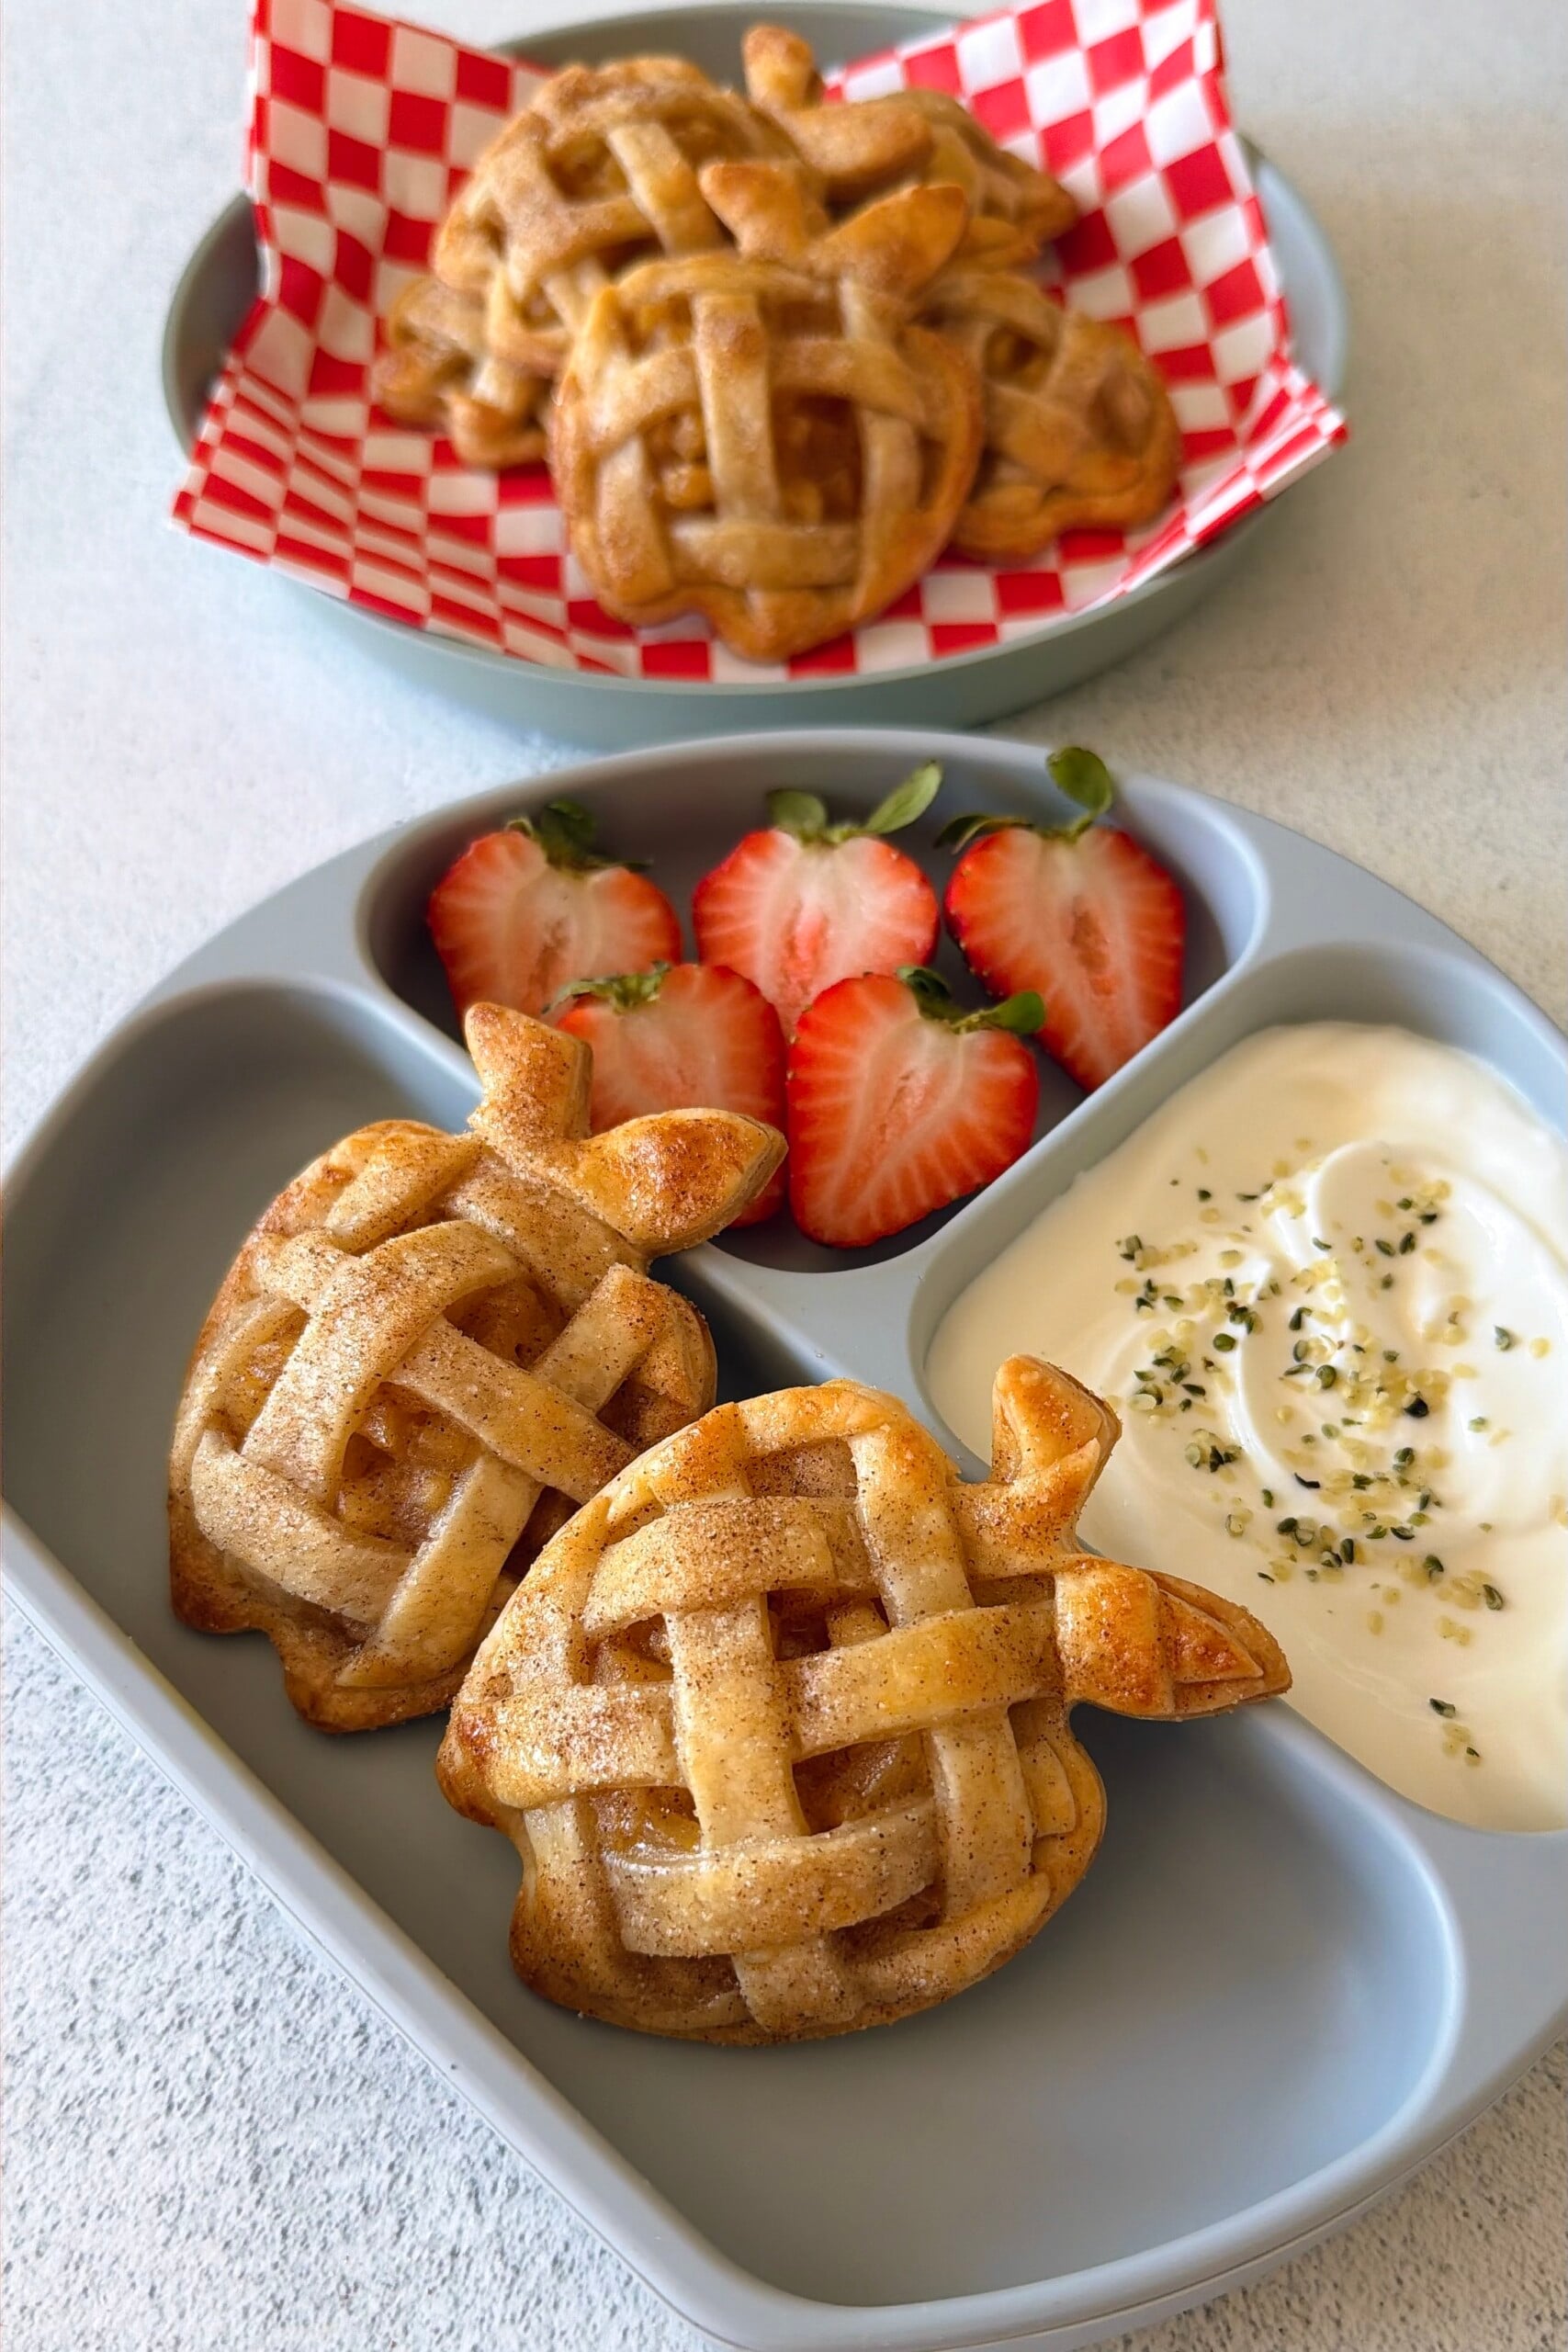
Because everything is cuter when it’s mini, right?! These little apple pies are so much fun to make and surprisingly simple to put together! I use store-bought pie crust to keep things easy and fill each one with a homemade cinnamon apple filling that’s lightly sweetened with maple syrup. The little lattice tops are my favorite part, and they’re such a fun way to use up the leftover pie crust scraps. Perfect for a little fall treat or a fun dessert to make with the kids!
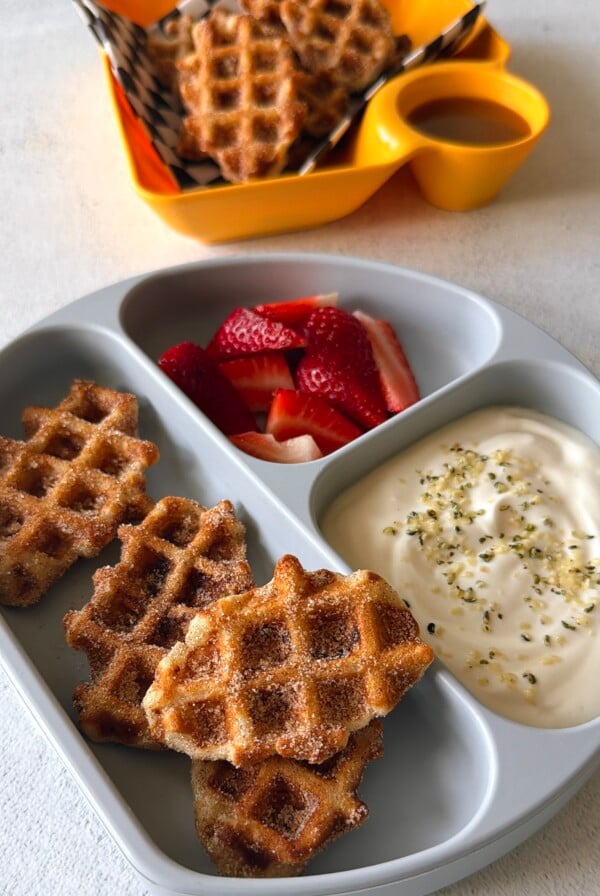
Looking for more fun ways to use up fresh apples? Try these apple pancake dippers, apple slice waffles, and cinnamon apple oatmeal cookies! These cinnamon apple pancakes are another easy option that’s perfect for breakfast or a snack!
Table of Contents
What You’ll Need
Here is what you’ll need to make these mini apple pies:
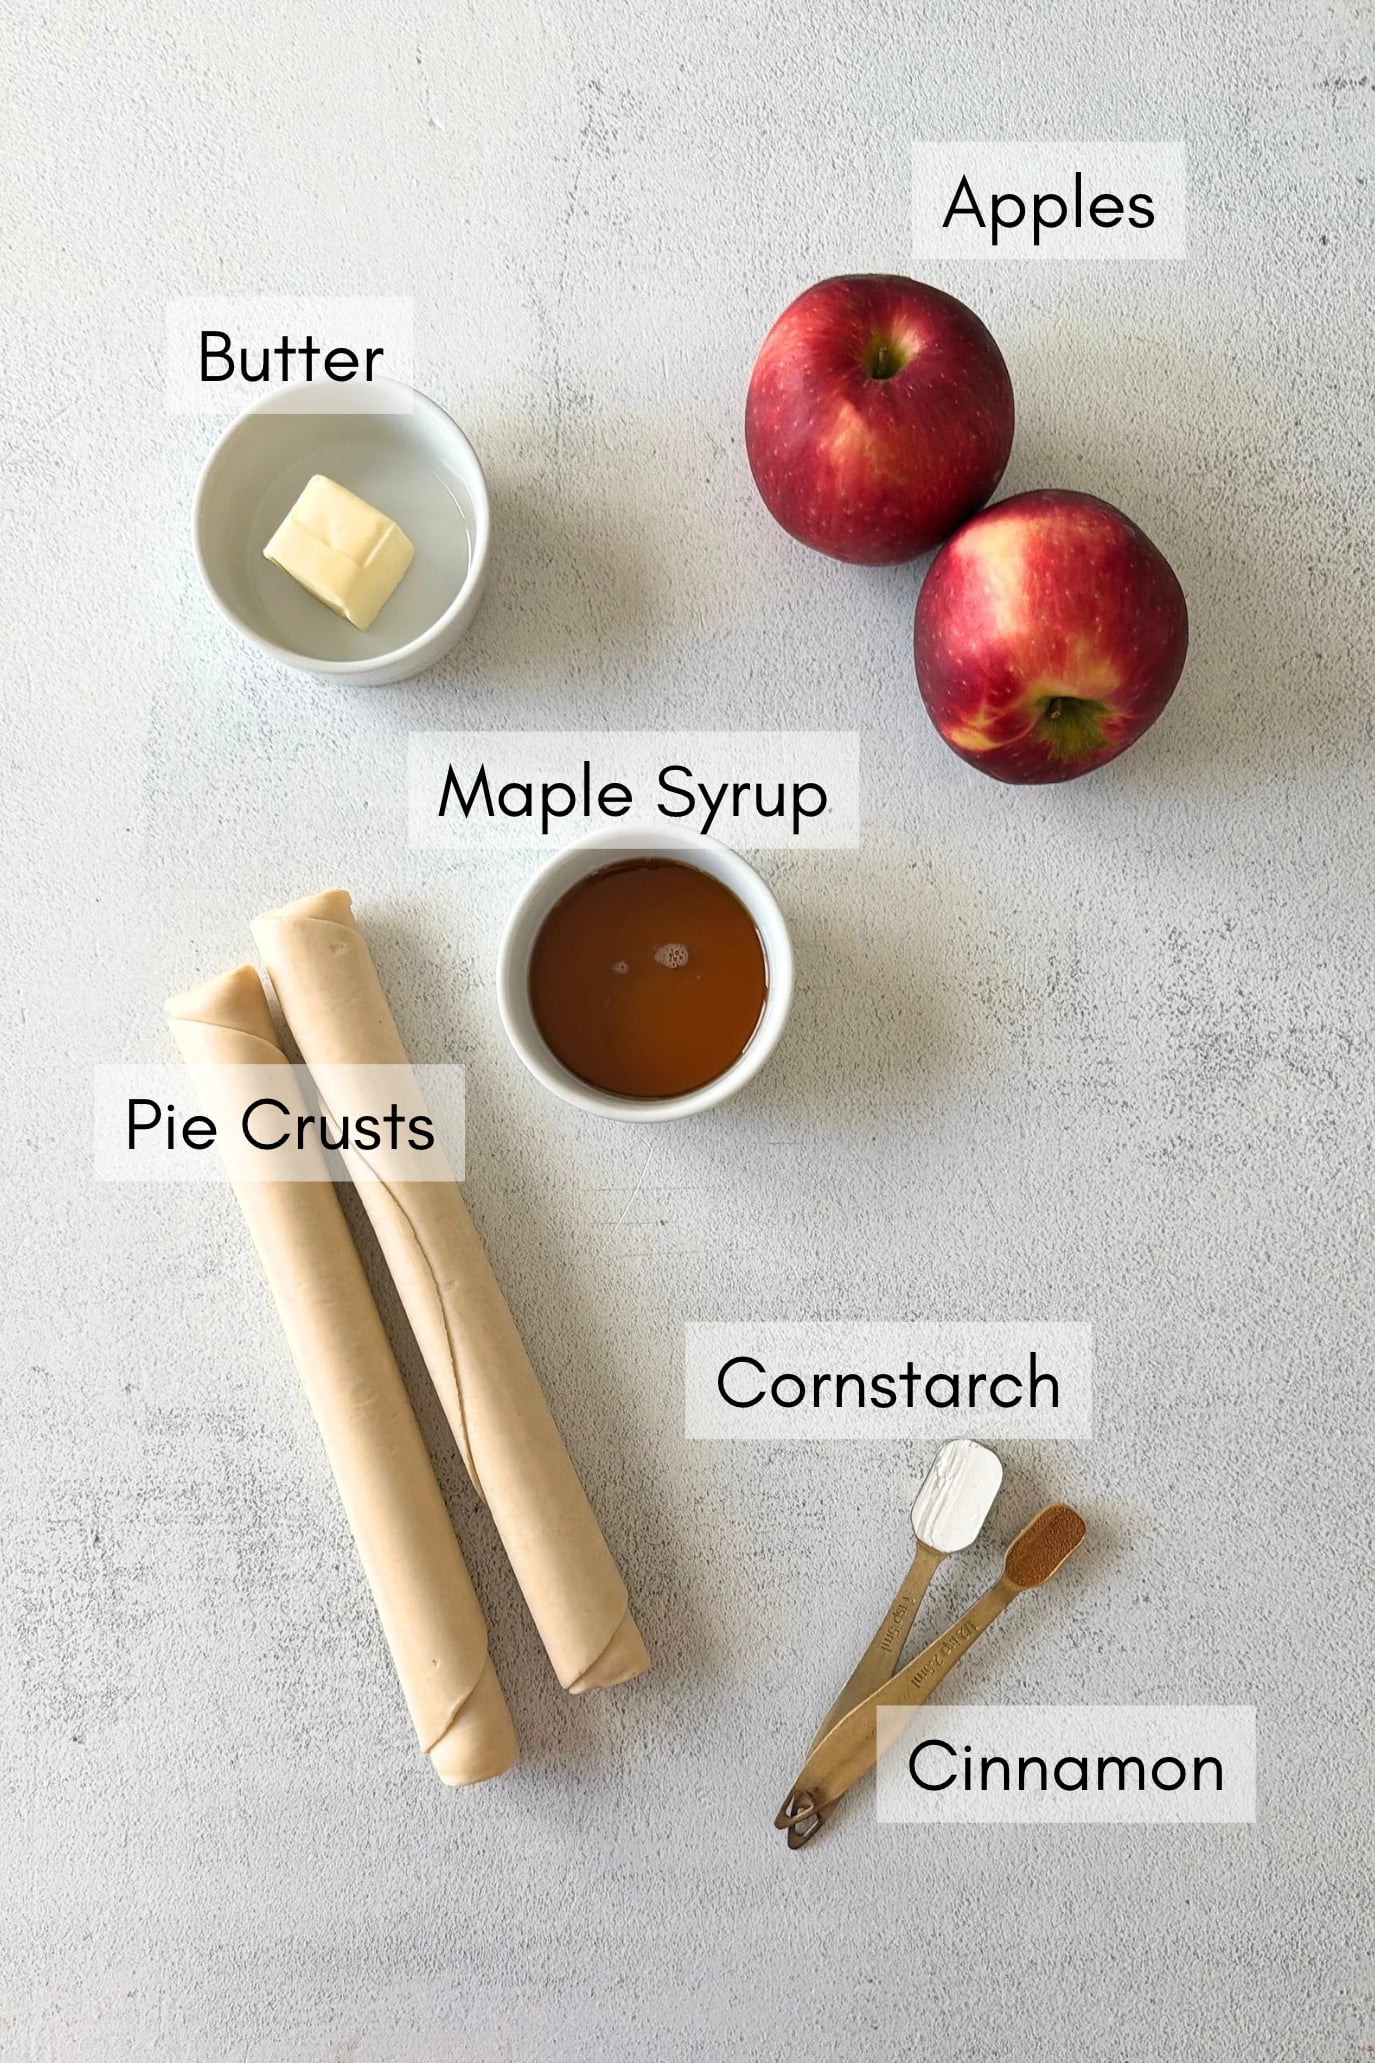
- Apples: I recommend Honeycrisp or Cosmic Crisp apples because they’re naturally sweet and hold their shape well when cooked.
- Unsalted Butter: Helps the apples soften as they cook.
- Maple Syrup: Naturally sweetens the apples and adds a delicious hint of maple flavor.
- Ground Cinnamon: Gives the filling that classic warm apple pie flavor.
- Cornstarch: Helps thicken the apple filling so it stays inside the pies while baking.
- Store-Bought Pie Crust: Makes these mini pies so much easier to prepare! You’ll need two refrigerated pie crust rounds.
- Egg or Milk: Brushed around the edges to help seal the crusts and over the tops for a golden finish.
- Cinnamon Sugar (Optional): Sprinkle a little over the tops before baking for extra sweetness and a delicious cinnamon flavor.
See the recipe card below for full information on ingredients and quantities.
Ingredient Substitutions & Additions
- Butter: Replace with dairy-free butter for a dairy-free filling.
- Maple Syrup: Swap with honey (for children over 1 year old) or brown sugar. If using brown sugar, start with a slightly smaller amount and adjust to taste.
- Egg Wash: Brush the crust with milk instead of egg for an egg-free option. The tops may brown a little differently.
- Cinnamon Sugar: Leave it off for a less sweet option, or sprinkle the tops with a little coarse sugar for extra crunch.
Step-by-Step Instructions
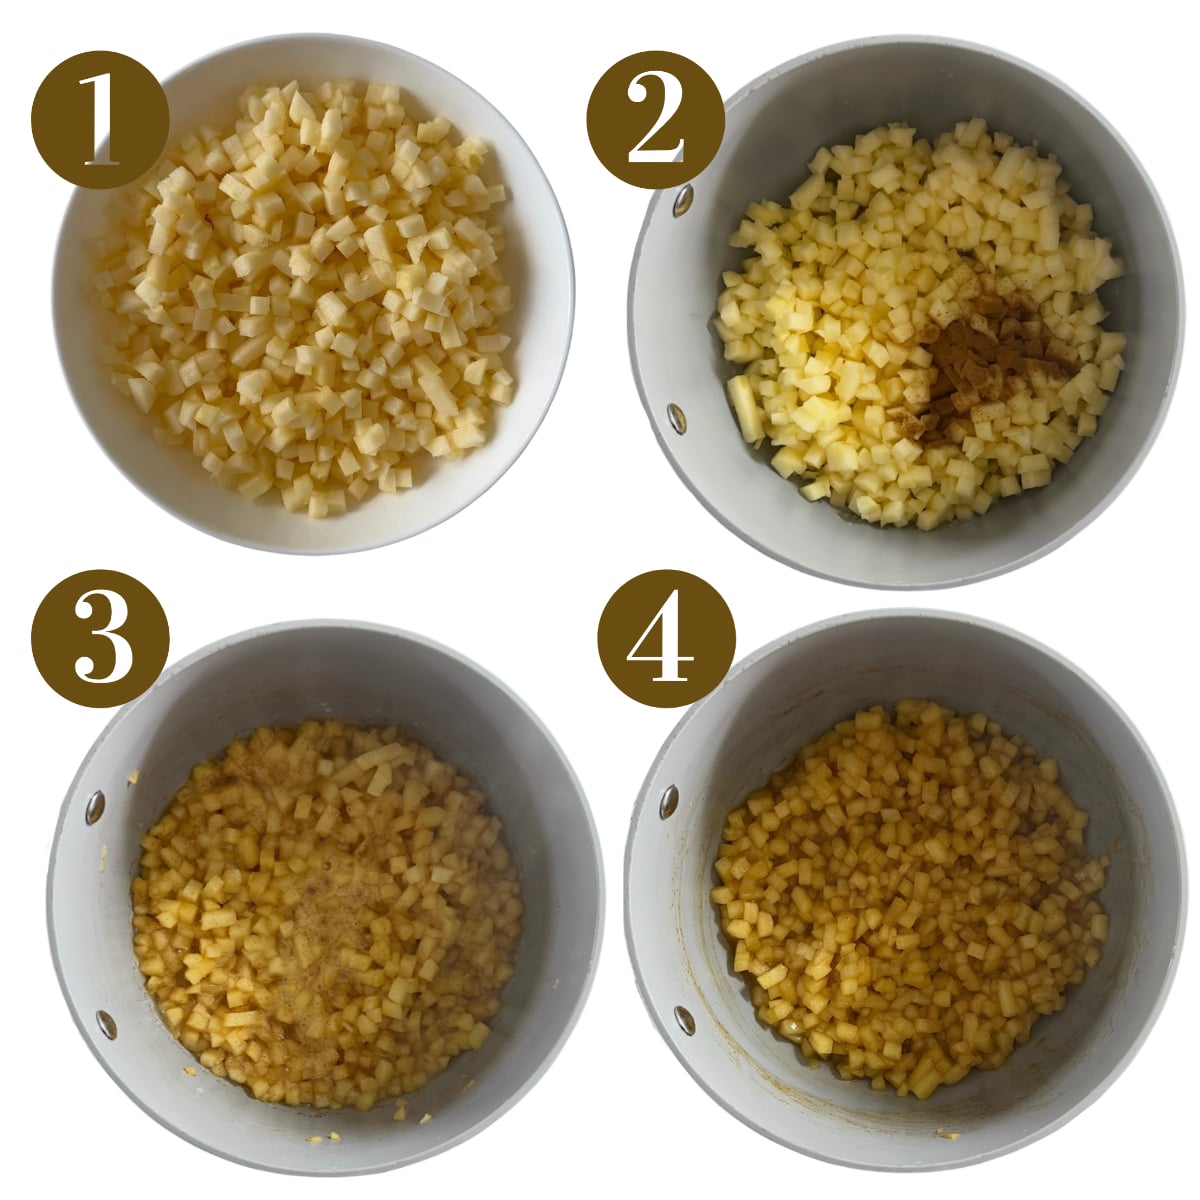
STEP 1: Peel, core, and finely dice the apples into small, even pieces (Image 1). Since these pies are mini, cutting the apples into small pieces will make them easier to fill.
STEP 2: Melt the butter in a skillet over medium heat. Add the diced apples, maple syrup, cinnamon, and nutmeg, stirring until the apples are evenly coated (Image 2).
STEP 3: Cook the apples for about 5–7 minutes, stirring occasionally, until they begin to soften (Image 3). In a small bowl, mix the cornstarch with 2 teaspoons of cold water until smooth. Pour the slurry into the apple mixture and cook for another 1–2 minutes, stirring until the filling thickens (Image 4). Remove from the heat and set aside to cool.
STEP 4: Preheat the oven to 400°F and line a baking sheet with parchment paper. Unroll the refrigerated pie crusts onto a lightly floured surface.
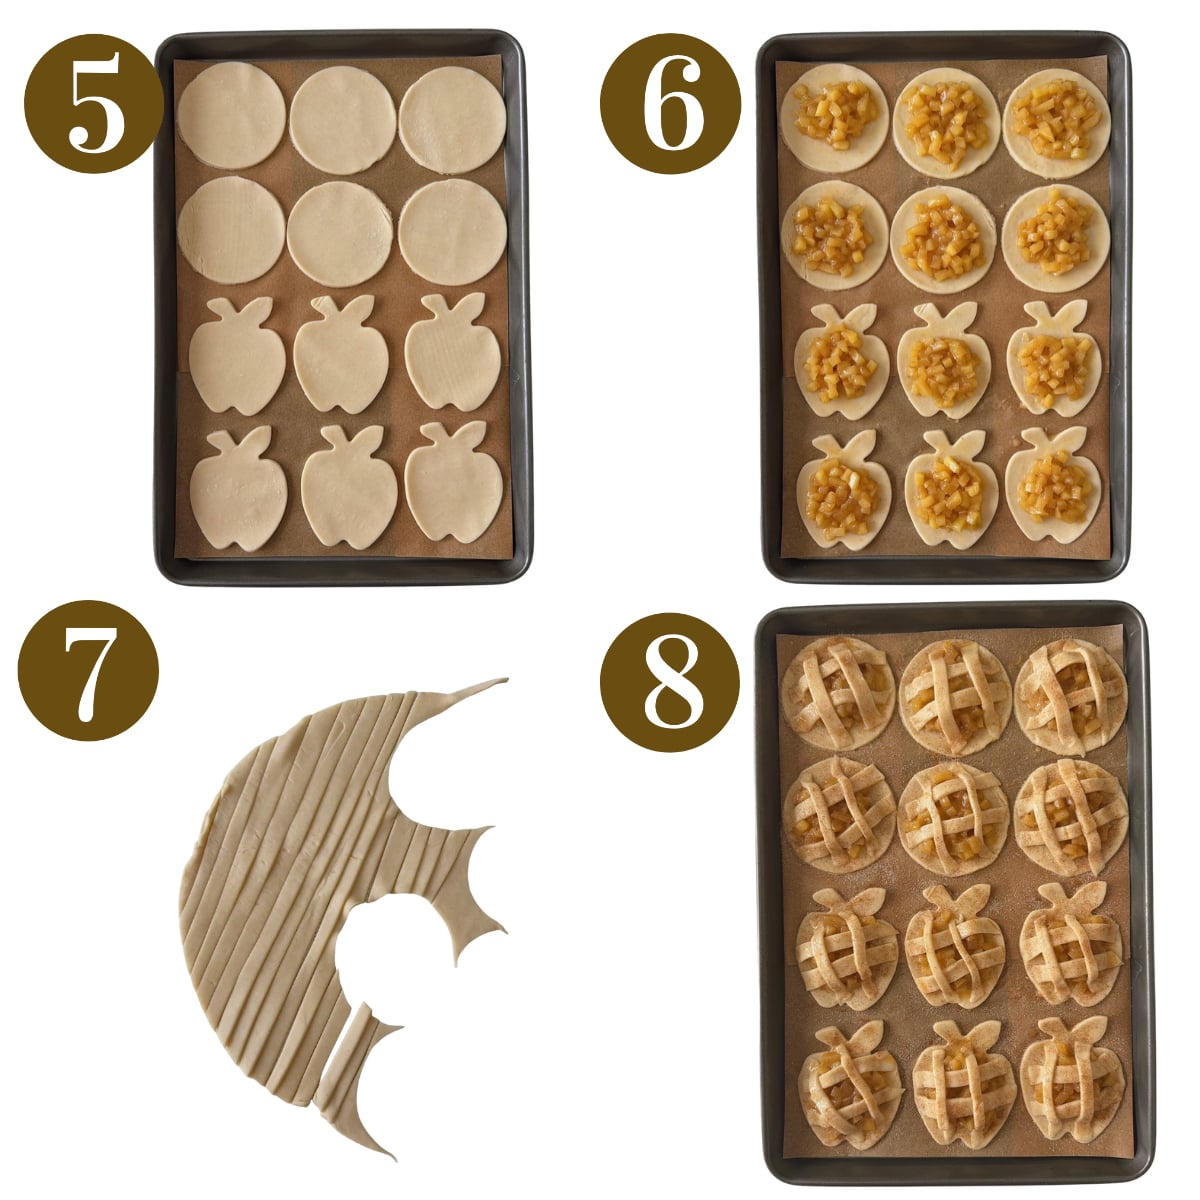
STEP 5: Using a 3 to 3½-inch round or apple-shaped cookie cutter, cut out 12 shapes from the pie crusts. Place the cutouts onto the prepared baking sheet (Image 5).
STEP 6: Spoon about 1 tablespoon of the cooled apple filling into the center of each pie crust cutout, leaving a small border around the edges. Lightly brush the edges with egg wash or milk (Image 6).
STEP 7: Slice the remaining pie crust into thin strips to create the tops (Image 7). Place two or three strips horizontally and two or three vertically over each pie, or weave them together to create a lattice design. Combine and reroll any remaining scraps as needed to make additional strips. Gently press down around the edges of each pie to seal the strips to the bottom crust, trimming away any excess (Image 8).
STEP 8: Lightly brush the tops with egg wash or milk and sprinkle with cinnamon sugar, if desired. Bake for 12–15 minutes, or until the crusts are golden brown and cooked through, and let them cool before serving.
Storage Instructions
Store leftover mini apple pies in an airtight container in the refrigerator for up to 4 days. For the best texture, reheat them in the oven or air fryer at 325°F for a few minutes until warmed through, and the crust becomes crisp again. You can also microwave them briefly, but the crust will be softer. To freeze, let the baked pies cool completely, then place them in a single layer on a baking sheet and freeze until firm. Transfer them to a freezer-safe bag or container and freeze for up to 3 months. Thaw overnight in the refrigerator and reheat in the oven or air fryer before serving.
Tips For Success
- Cut the apples into small pieces. Since these pies are only about 3 to 3½ inches wide, finely diced apples will fit much better inside the crusts and make the filling easier to distribute evenly.
- Don’t overcook the filling. Cook the apples just until they begin to soften, since they’ll continue cooking a little more in the oven. You want them tender but still able to hold their shape.
- Don’t overfill the pies. I recommend using about 1 tablespoon of filling per pie. Too much filling can make it difficult to seal the edges and may cause the filling to leak out during baking.
- Seal the edges well. Brushing the edges with egg wash or milk helps the lattice strips stick to the bottom crust. Gently press the edges together so the tops stay in place while baking.
- Watch the pies closely while baking. Since these pies are much smaller than a traditional apple pie, they bake quickly. Start checking around 12 minutes and remove them once the crusts are golden brown.
Recipe FAQs
Yes! Homemade pie crust works just as well. Roll it out to about ⅛-inch thickness before cutting out your shapes. Keep in mind that the baking time may vary slightly depending on the thickness of your dough.
Make sure the apple filling has thickened and cooled before assembling the pies. Avoid adding too much filling or excess liquid, and bake until the crust is golden and fully cooked. For the best texture, let the pies cool on a wire rack so moisture doesn’t collect underneath.
Definitely! The apple filling can be prepared up to 2 days in advance and stored in an airtight container in the refrigerator. Just let it cool completely before refrigerating, then use it straight from the fridge when you’re ready to assemble the pies.
Other Hand Pie Recipes You’ll Love

Mini Maple Sweetened Pumpkin Pies
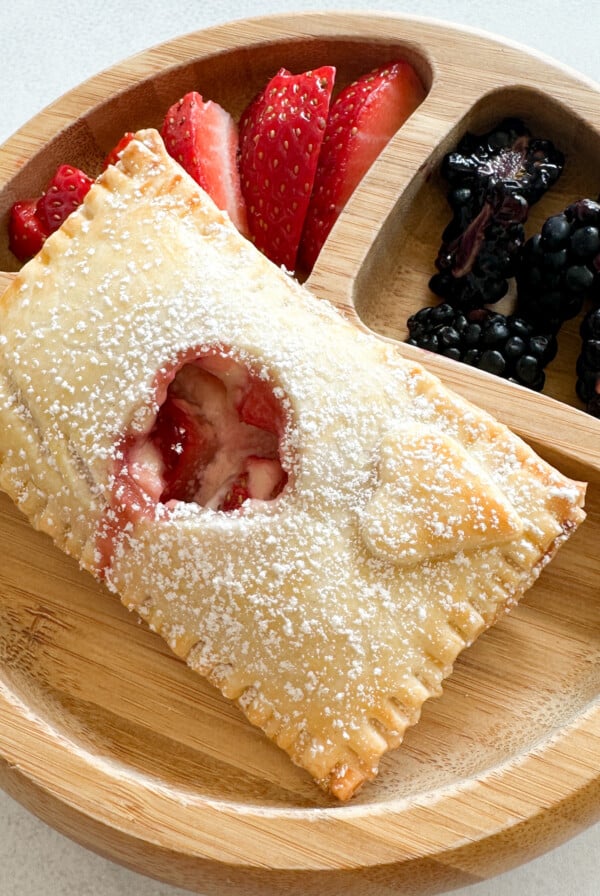
Strawberry Cream Cheese Hand Pies

Sweet Potato Hand Pies
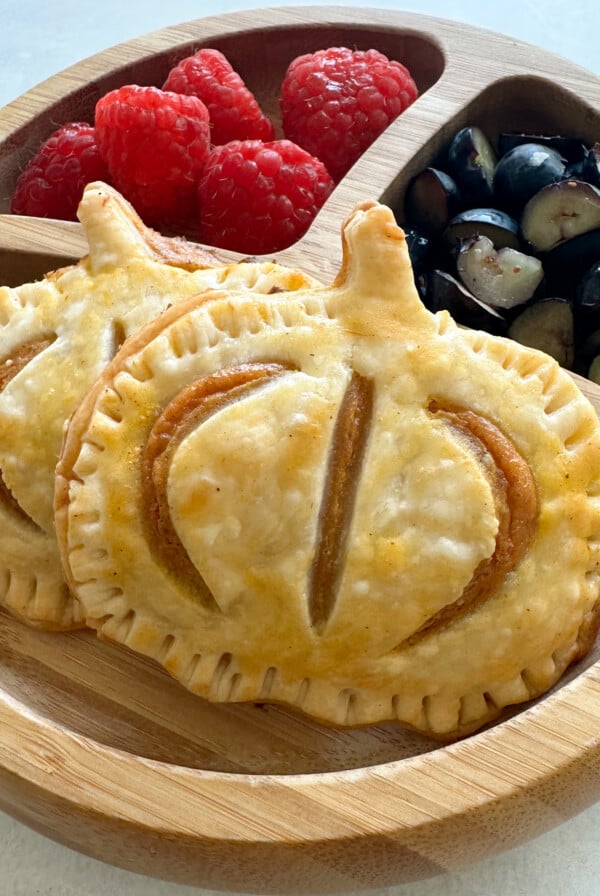
Pumpkin Hand Pies
If you tried these Mini Apple Pies, please leave a ⭐ star rating and let me know how it went in the comments below! I love hearing from you!
Easy Mini Apple Pies
Equipment
- apple-shaped cookie cutter or 3 to 3.5 inch circular cutter
Ingredients
- 2 medium apples, Honeycrisp or Cosmic Crisp
- 2 tbsp unsalted butter
- 2-3 tbsp maple syrup
- ½ tsp ground cinnamon
- 1 tsp cornstarch
- 1 package refrigerated pie crusts (2 crusts)
- 1 egg, beaten, or milk for brushing
- cinnamon sugar, optional for sprinkling on top
Instructions
- Peel, core, and finely dice the apples into small, even pieces. Since these pies are mini, cutting the apples into small pieces will make them easier to fill.
- Melt the butter in a skillet over medium heat. Add the diced apples, maple syrup, cinnamon, and nutmeg, stirring until the apples are evenly coated
- Cook the apples for about 5–7 minutes, stirring occasionally, until they begin to soften. In a small bowl, mix the cornstarch with 2 teaspoons of cold water until smooth. Pour the slurry into the apple mixture and cook for another 1–2 minutes, stirring until the filling thickens. Remove from the heat and set aside to cool.
- Preheat the oven to 400°F and line a baking sheet with parchment paper. Unroll the refrigerated pie crusts onto a lightly floured surface.
- Using a 3 to 3½-inch round or apple-shaped cookie cutter, cut out 12 shapes from the pie crusts. Place the cutouts onto the prepared baking sheet.
- Spoon about 1 tablespoon of the cooled apple filling into the center of each pie crust cutout, leaving a small border around the edges. Lightly brush the edges with egg wash or milk.
- Slice the remaining pie crust into thin strips to create the tops. Place two or three strips horizontally and two or three vertically over each pie, or weave them together to create a lattice design. Combine and reroll any remaining scraps as needed to make additional strips. Gently press down around the edges of each pie to seal the strips to the bottom crust, trimming away any excess.
- Lightly brush the tops with egg wash or milk and sprinkle with cinnamon sugar, if desired. Bake for 12–15 minutes, or until the crusts are golden brown and cooked through, and let them cool before serving.
Notes
-
- Cut the apples into small pieces. Since these pies are only about 3 to 3½ inches wide, finely diced apples will fit much better inside the crusts and make the filling easier to distribute evenly.
- Don’t overcook the filling. Cook the apples just until they begin to soften, since they’ll continue cooking a little more in the oven. You want them tender but still able to hold their shape.
- Don’t overfill the pies. I recommend using about 1 tablespoon of filling per pie. Too much filling can make it difficult to seal the edges and may cause the filling to leak out during baking.
- Seal the edges well. Brushing the edges with egg wash or milk helps the lattice strips stick to the bottom crust. Gently press the edges together so the tops stay in place while baking.
- Watch the pies closely while baking. Since these pies are much smaller than a traditional apple pie, they bake quickly. Start checking around 12 minutes and remove them once the crusts are golden brown.







Delish for adults too! Made for my kids bday and they loved! Much better than sugar packed traditional pies!
I make your apple pies and your animal crackers for my 2-1/2 year old grandson. He loves them and so does the rest of the family. I would like to convert your small apple pies to a regular 9 inch pie but am unsure of the ingredient amounts and timing. Your recipes are so much healthier so can you help?
Hi Joan! For a 9-inch pie, you’d want to at least quadruple these ingredients using at least 8 apples. You can bake the pie at 375 degrees F for 45 to 55 minutes, until the top crust is golden😊
Made them today and they are delicious!! I want to eat them myself !
I’m so happy to hear that you liked these pies, Danielle!😊
turned out so well I also used Chinese 5 spice as I was out of cinnamon but still came out really good and my toddler loves them
I’m so glad to hear that your little one enjoyed them, Jazmyn!😊