
Ritz Crackers Homemade
on Feb 28, 2024
This post may contain affiliate links. Please read our disclosure policy.
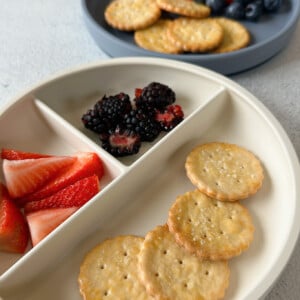
Make these homemade ritz crackers with only 5 simple ingredients you likely have on hand! They have that same buttery, flaky texture of store-bought crackers and are so satisfying to make yourself for a crunchy snack!
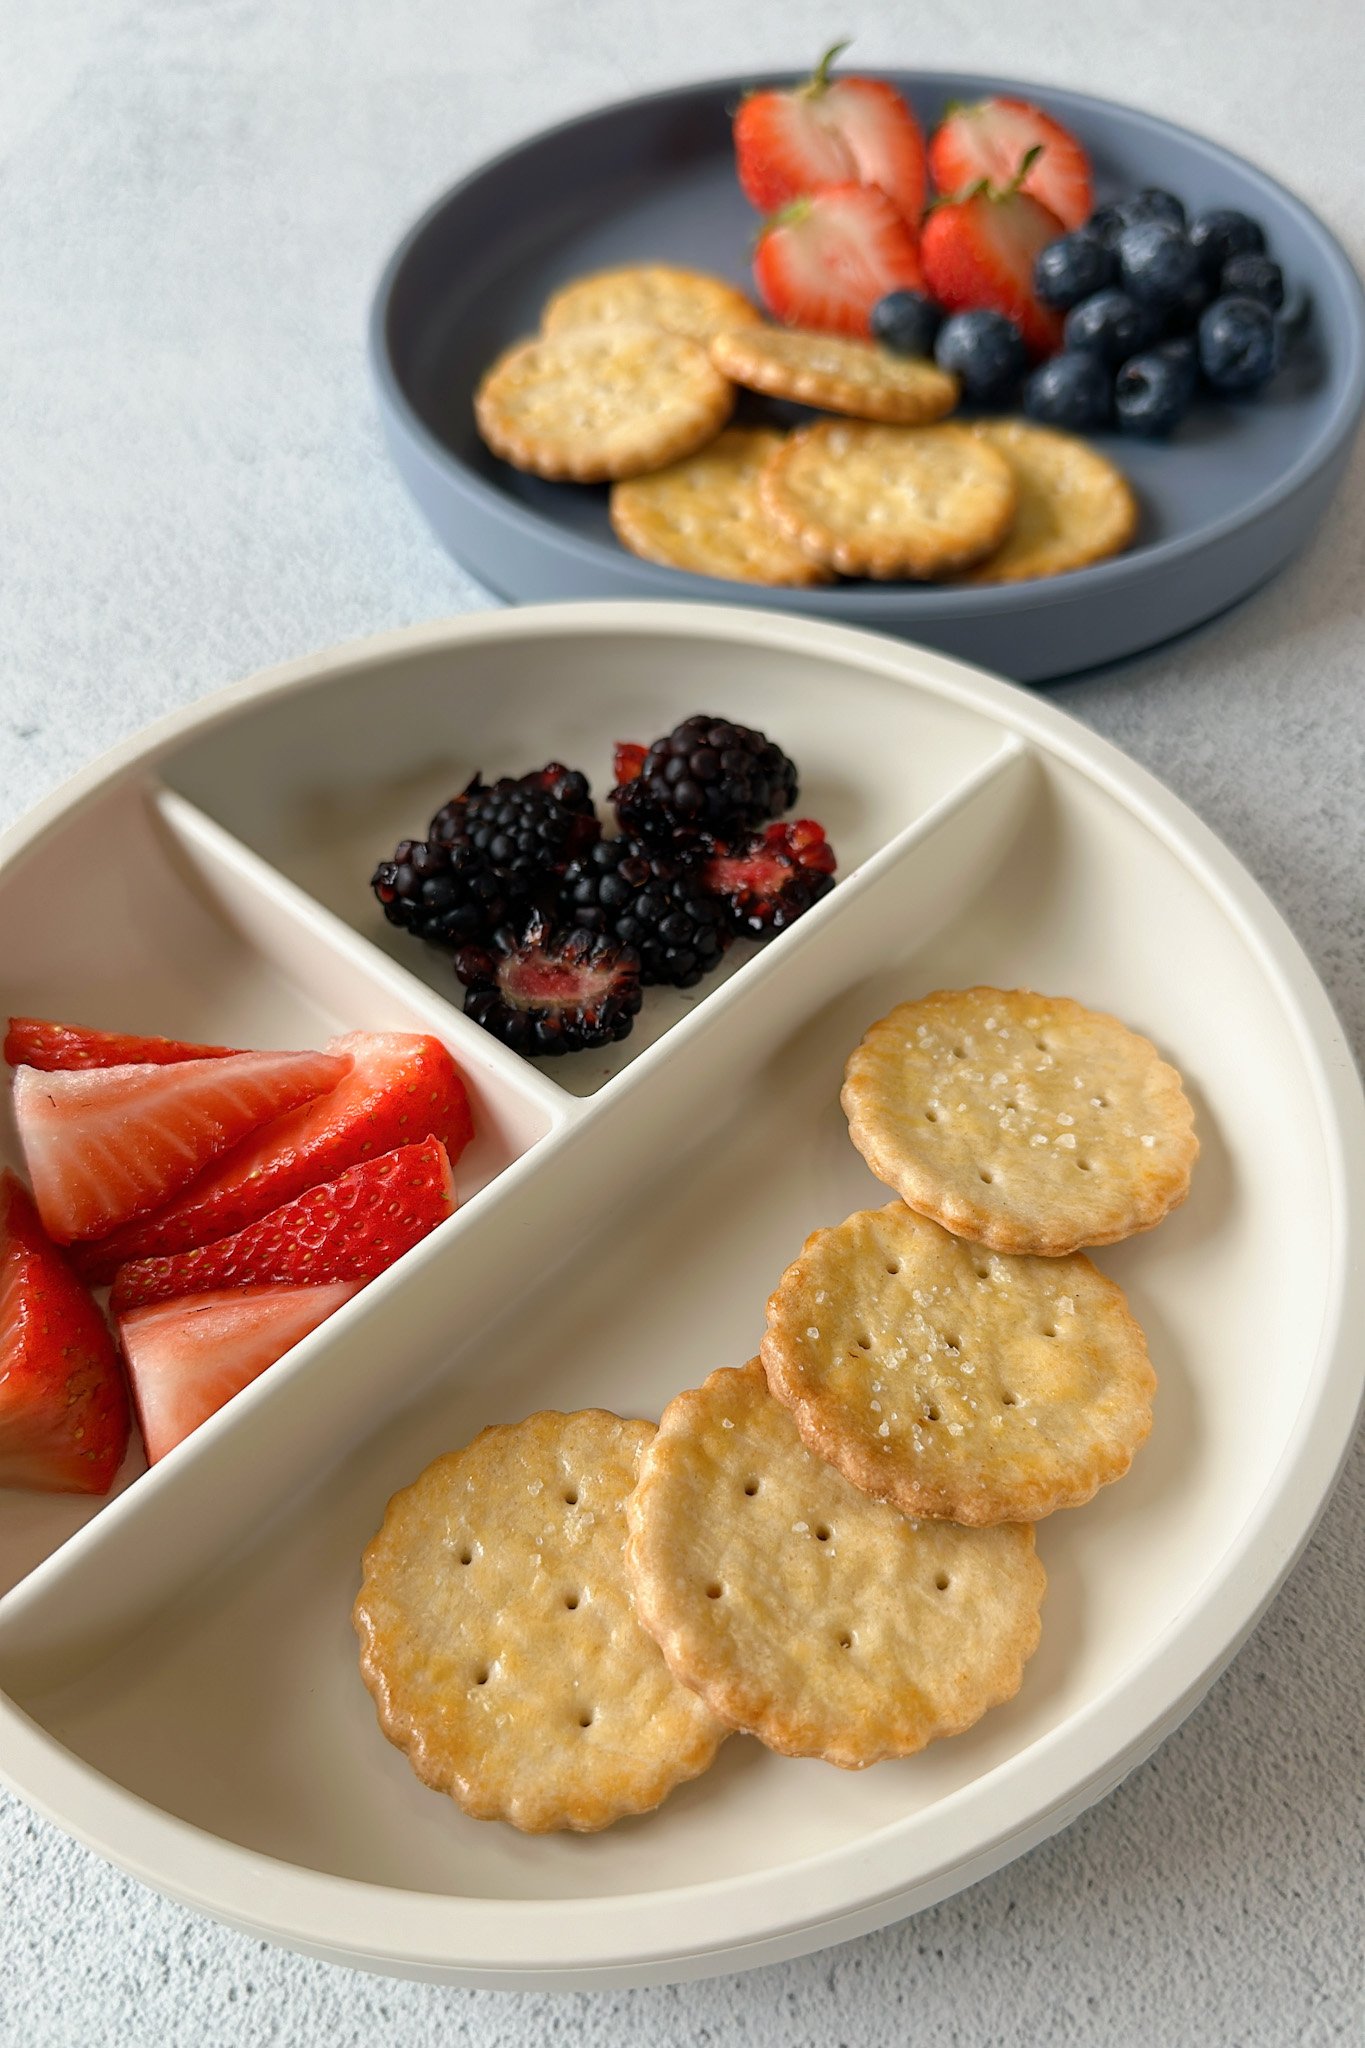
These homemade ritz crackers take a little more effort than grabbing a box off the shelf, but I promise it doesn’t get easier than this 5-ingredient snack! You’re able to choose the ingredients you want to use and customize add-ins for added flavor. These crackers make for a great ‘snacktivity’ to get your little ones involved with cutting out the shapes and poking holes. You’ll love this buttery snack!
Looking for more fun copycat snacks? Be sure to try out these homemade goldfish crackers, homemade cocoa puffs, and homemade Cheez-it crackers as well!
Table of Contents
What You’ll Need
Here is what you’ll need to make these homemade ritz crackers:
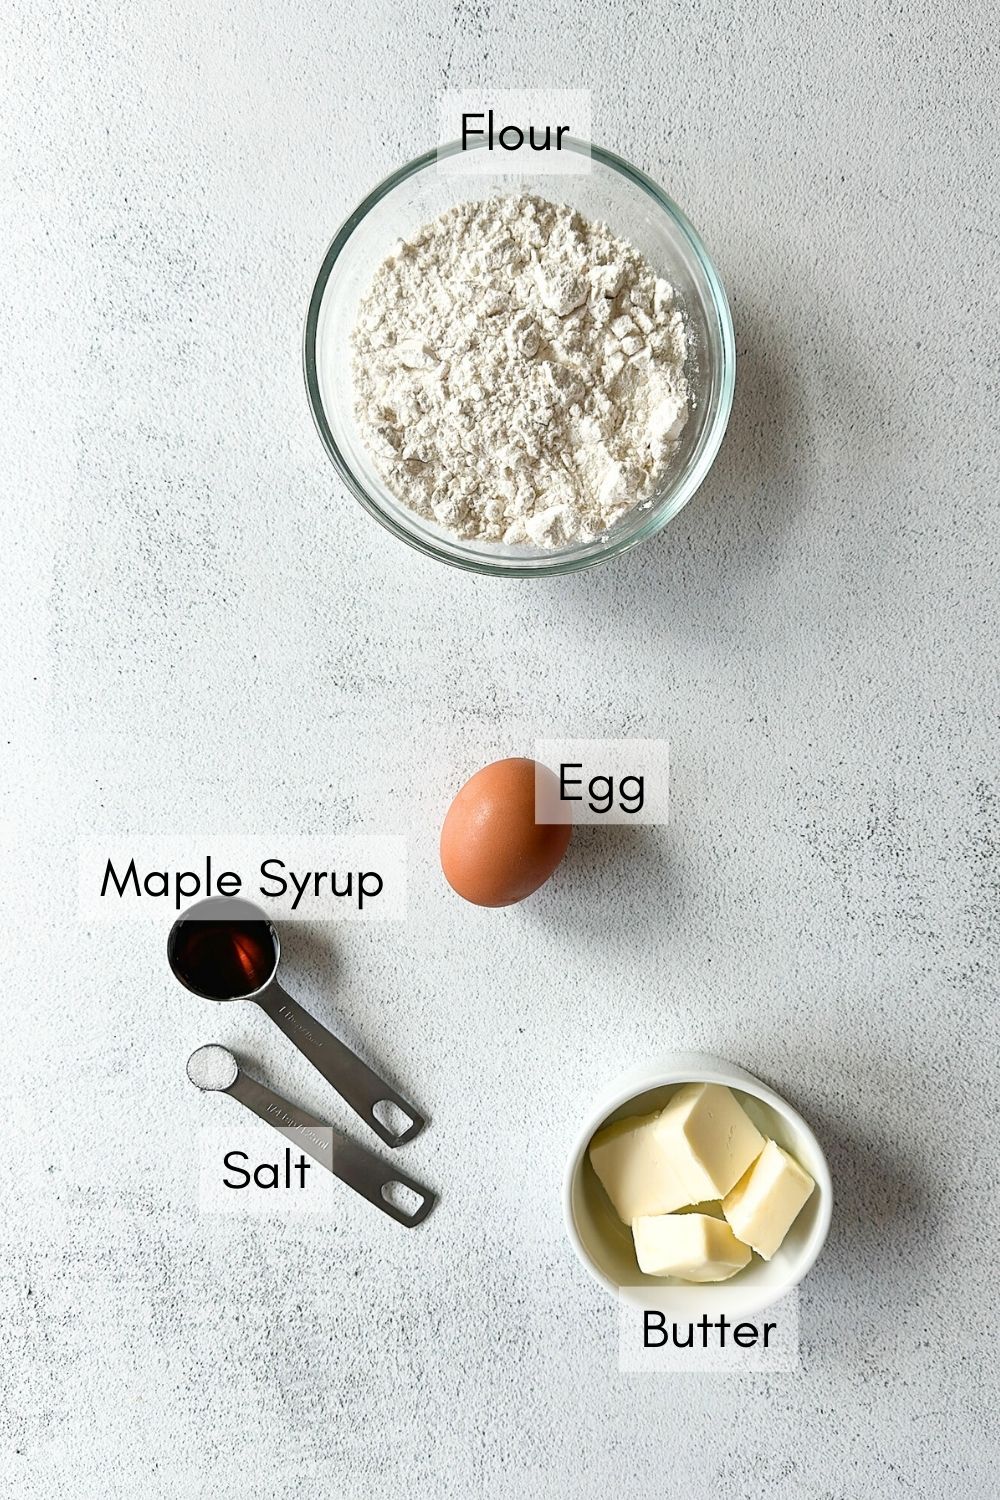
- Butter: I used unsalted butter for these crackers. If you only have salted butter on hand, just omit the salt from the recipe. Make sure that the butter is cold from the fridge.
- Maple Syrup: This addition may sound strange in a salty, savory cracker, but it helps balance out the flavors in the dough while adding subtle flavor. I promise it won’t make the crackers taste sweet!
- All-Purpose Flour: Make sure to measure your flour correctly. Scoop the flour into the measuring cup and use a knife to level it out.
- Salt: To balance out the flavors of the dough.
- Egg: Used to brush on top of the crackers to help obtain that golden brown, shiny color.
See the recipe card below for full information on ingredients and quantities.
Recipe Substitutions & Additions
- Butter: For a dairy-free option, swap the butter with dairy-free butter like these olive oil plant-based butter sticks.
- Maple Syrup: You may replace the maple syrup with equal parts honey. Note – Honey should not be offered to babies under the age of 1 as per CDC guidelines.
- All-Purpose Flour: For a gluten-free option, swap the all-purpose flour with an equal part gluten-free flour blend. You may also use white whole wheat flour, but start with a smaller amount as whole wheat flour absorbs liquids a little differently than all-purpose.
- Egg: The egg is used to brush on top of the crackers and can be replaced with oil or melted butter. Just note that if you are using oil or melted butter, the crackers will be lighter in color and not golden brown but they will still have the same taste.
Step By Step Instructions
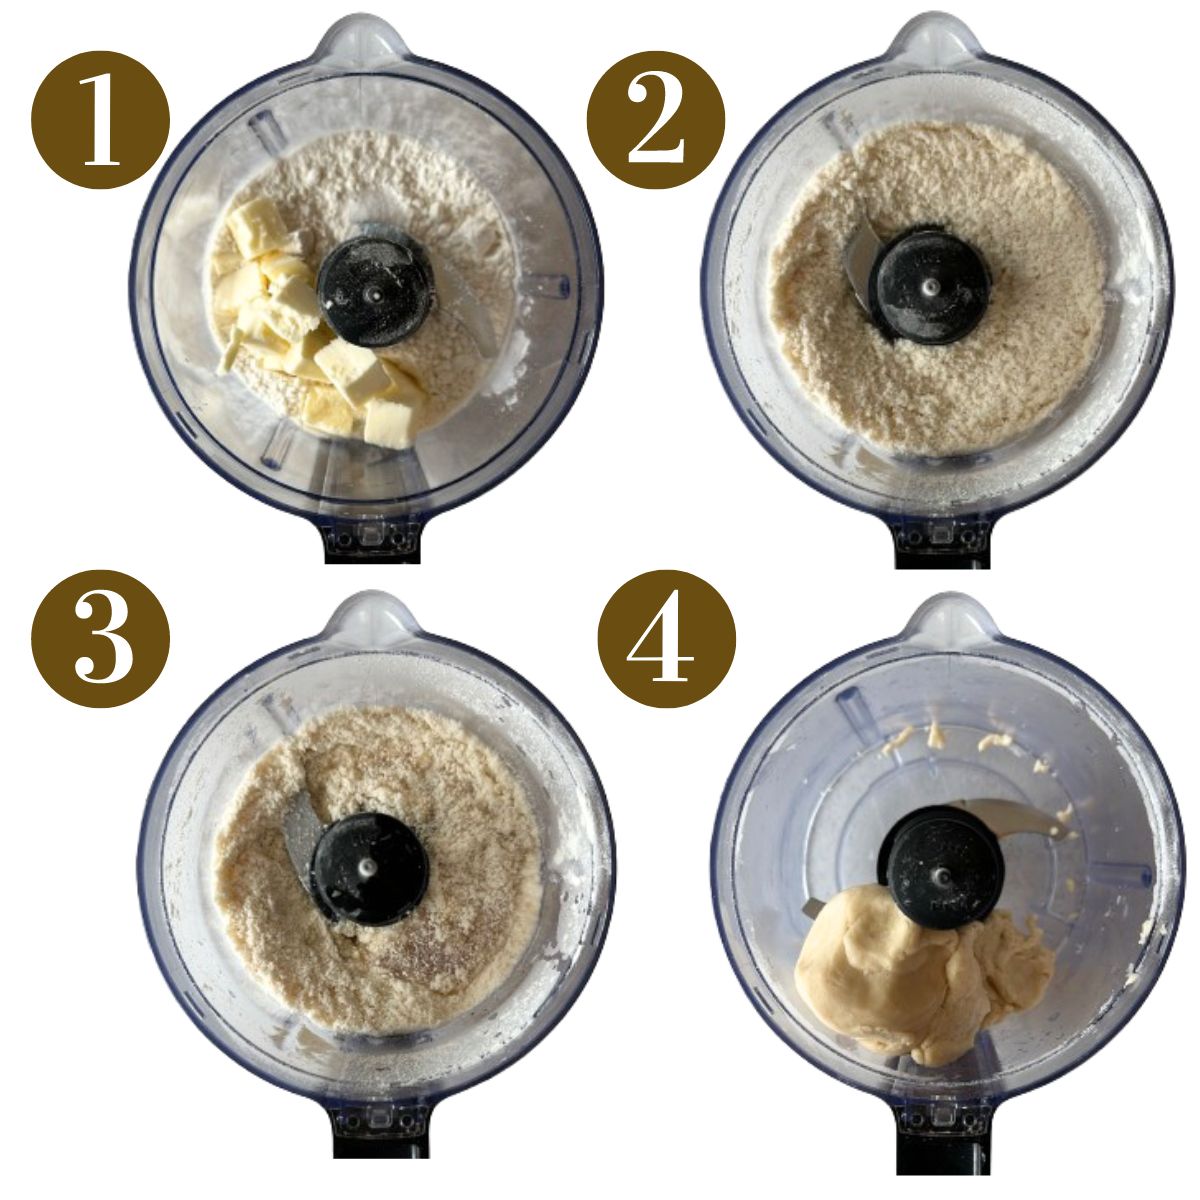
STEP 1: Add the flour, butter, and salt to a food processor and pulse it in increments until it forms into a grainy, sand-like texture (Images 1 & 2).
STEP 2: Add the maple syrup and iced cold water to the food processor and pulse until it starts to form into a dough (Images 3 & 4). It will seem dry and grainy at first but will eventually come together into a dough. Scrape down the sides as needed.
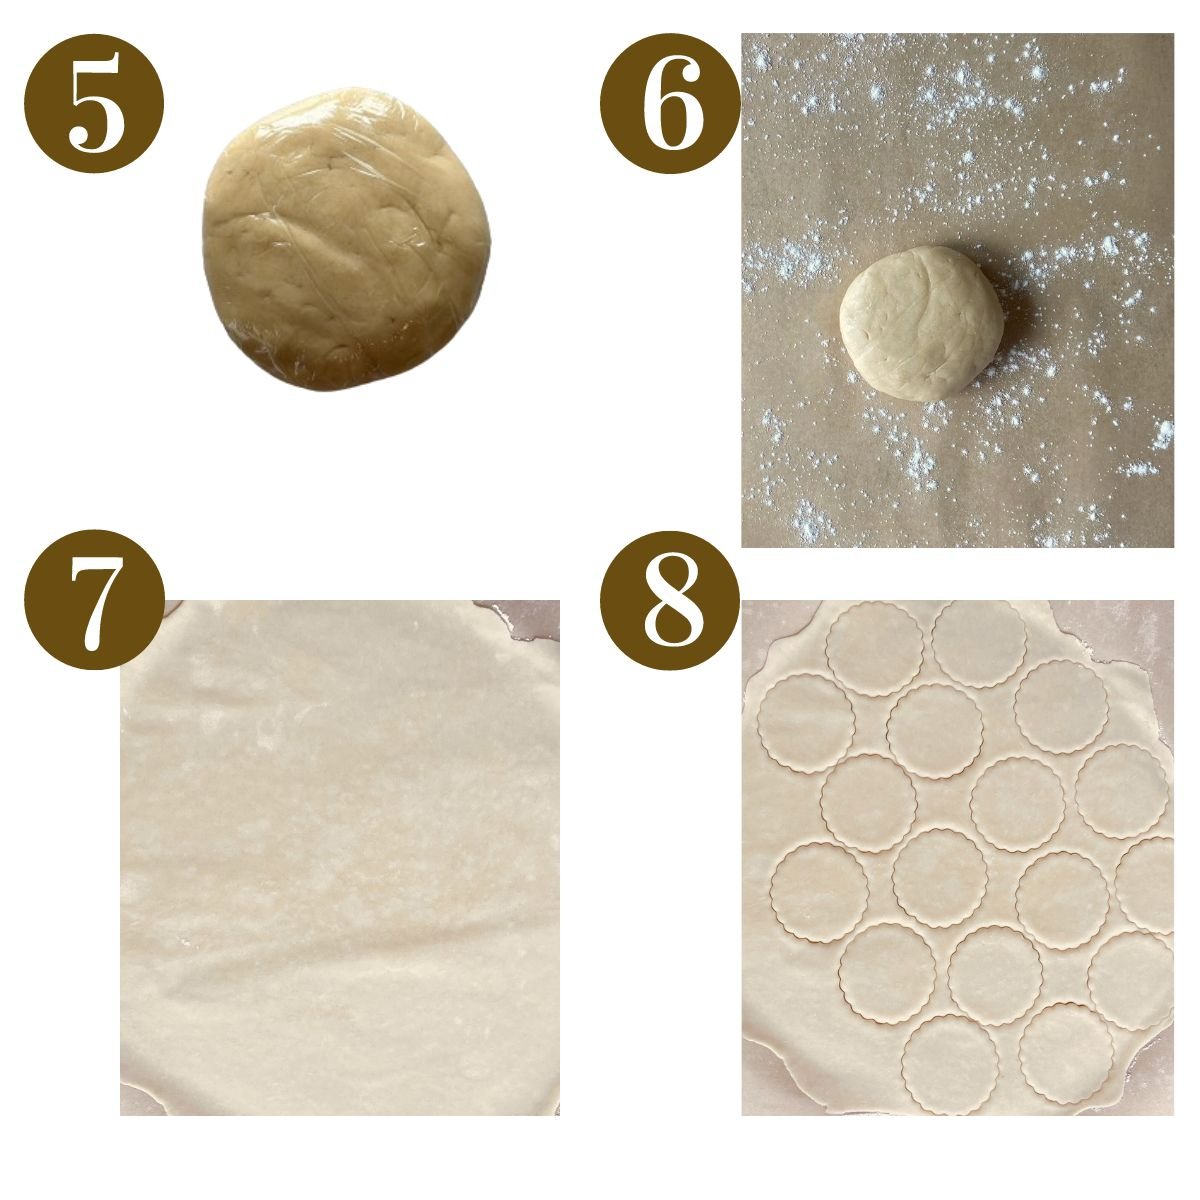
STEP 3: Form a disc with the dough, wrap it in plastic, and refrigerate the dough for 20 minutes as you preheat the oven (Image 5).
STEP 4: Preheat the oven to 400 degrees F.
STEP 5: Place the dough onto a lightly floured sheet of parchment paper (Image 6). Roll the dough out to be ⅛ of an inch thick or less (Image 7). You will want to make sure that the dough is thin since the crackers will slightly puff up a bit while baking. Try to make sure that the dough is rolled out evenly so that the crackers cook through evenly.
STEP 6: Use a ridged-edge cutter to cut out shapes from the dough (Image 8). Peel away the scraps and transfer the cracker shapes to a parchment-lined pan (Image 9) or transfer the same sheet of parchment paper to a baking sheet to prevent the shapes from distorting. Gather the scraps, re-roll the dough, and cut out more cracker shapes. Repeat this process until all of the dough is used up.
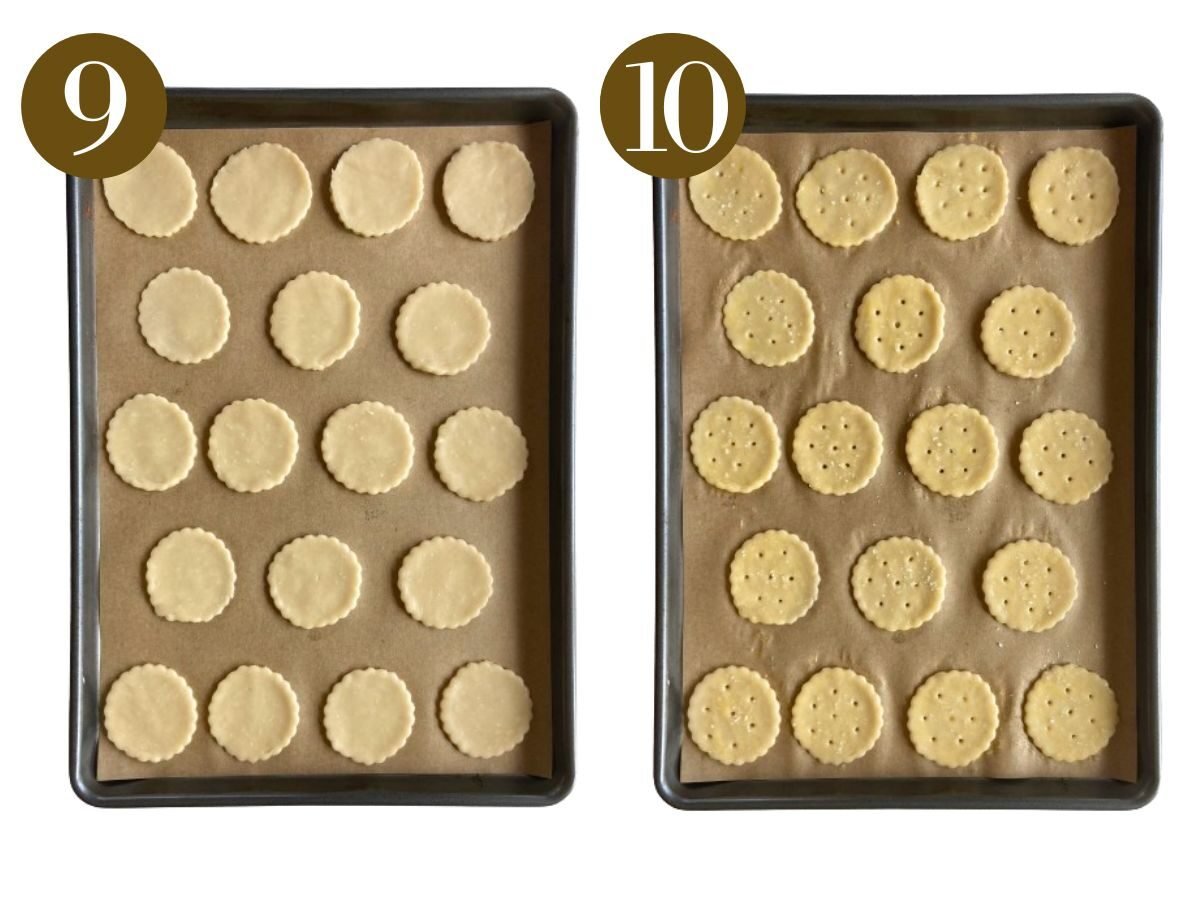
STEP 7: Use a toothpick or a skewer to poke 7 holes into the crackers (this helps prevent the crackers from puffing up too much while baking). Whisk the egg and brush a very light layer evenly on top of the cracker shapes. Sprinkle with extra flaky salt if desired (Image 10).
STEP 8: Bake the crackers for 10 minutes or until the edges are lightly golden brown. Keep a very close eye on the crackers as they can burn easily. Allow the crackers to cool completely before removing them from the pan. They will darken and harden as they cool.
Storage Instructions
Once cooled, store the homemade ritz crackers in an airtight container at room temperature for up to 1 week.
Tips For Success
- Make sure to roll the dough out thin to about 1/8 inch thickness or less to obtain that crunchy, cracker texture. Rolling the dough out too thick will result in a biscuit-like texture that is soft and not crunchy. If the dough is not rolled out evenly, you will end up with edges that are browning much more quickly than the center.
- If you don’t have a ridged-edge cutter, you can use any circular cookie cutter! You can also use a pizza slicer to slice the dough into rectangles to create rectangular-shaped crackers!
- Make sure to let the crackers cool completely before serving. They will be soft at first right out of the oven but will firm up as they cool.
Recipe FAQs
This recipe makes approximately 36 ritz crackers. Make sure to gather the scraps and reroll the dough to get the most cracker shapes out of your dough.
Yes! Baking powder is not needed in this recipe as the crackers will still rise slightly when baking.
These crackers are crunchy, flaky, and buttery just like the store-bought ones! If you notice that your crackers do not have the same texture and are soft, this means that the dough was not rolled out thinly enough. Try to ensure that your dough is rolled out thin.
Other Homemade Snacks You’ll Love
Homemade Healthy Goldfish Crackers

Homemade Gummy Worms
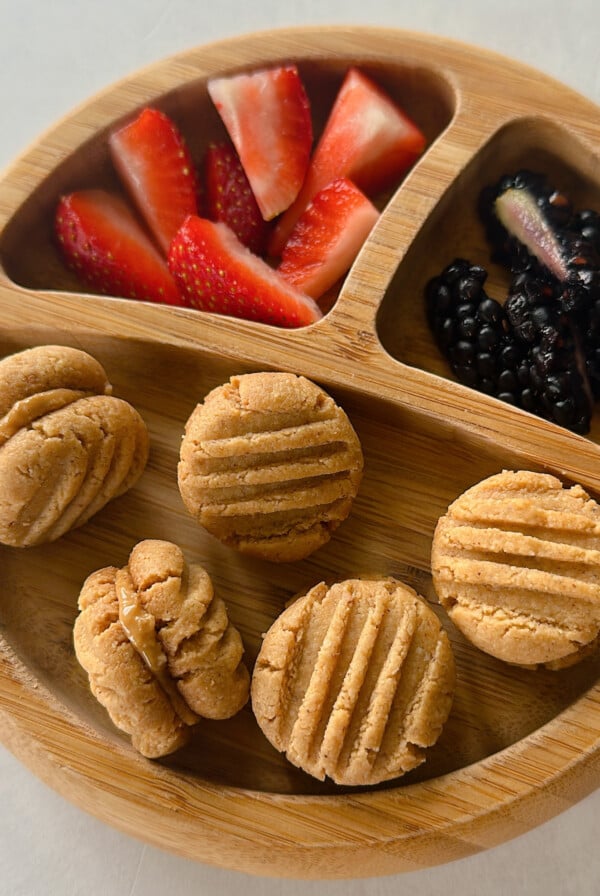
4 Ingredient Peanut Butter Cookies
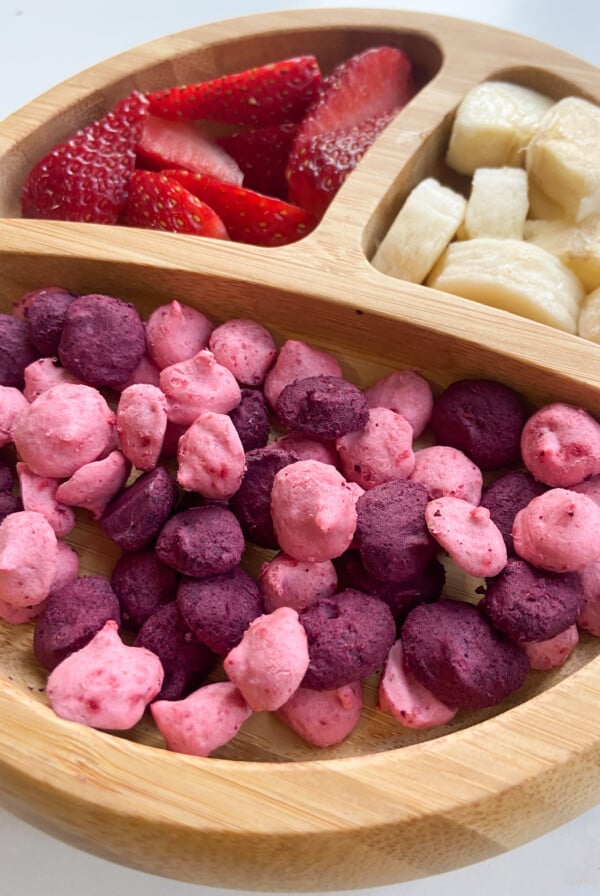
Baby Yogurt Melts (With Freeze-Dried Fruits!)
If you tried these Homemade Ritz Crackers please leave a ⭐ star rating and let me know how it went in the comments below! I love hearing from you!
Ritz Crackers Homemade
Ingredients
Ritz Crackers
- 1 cup all-purpose flour
- 4 tbsp unsalted butter, cold from fridge
- ½ tsp salt
- 1 tbsp maple syrup
- 2 tbsp iced cold water
- 1 egg, for egg wash to brush on top
- flaky salt, optional for sprinkling on top
Optional Peanut Peanut Butter Filling
- 3 tbsp natural peanut butter
- 1 tsp maple syrup
Instructions
- Add the flour, butter, and salt to a food processor and pulse it in increments until it forms into a grainy, sand-like texture.
- Add the maple syrup and iced cold water to the food processor and pulse until it starts to form into a dough. It will seem dry and grainy at first but will eventually come together into a dough. Scrape down the sides as needed.
- Form a disc with the dough, wrap it in plastic, and refrigerate the dough for 20 minutes as you preheat the oven.
- Preheat the oven to 400 degrees F.
- Place the dough onto a lightly floured sheet of parchment paper. Roll the dough out to be ⅛ of an inch thick or less. You will want to make sure that the dough is thin since the crackers will slightly puff up a bit while baking. Try to make sure that the dough is rolled out evenly so that the crackers cook through evenly.
- Use a ridged-edge cutter to cut out shapes from the dough. Peel away the scraps and transfer the cracker shapes to a parchment-lined pan or transfer the same sheet of parchment paper to a baking sheet to prevent the shapes from distorting. Gather the scraps, re-roll the dough, and cut out more cracker shapes. Repeat this process until all of the dough is used up.
- Use a toothpick or a skewer to poke 7 holes into the crackers (this helps prevent the crackers from puffing up to much while baking). Whisk the egg and brush a very light layer evenly on top of the cracker shapes. Sprinkle with extra flaky salt if desired.
- Bake the crackers for 8 to 10 minutes or until the edges are lightly golden brown. Keep a very close eye on the crackers as they can burn easily. Allow the crackers to cool completely before removing them from the pan. They will seem light in color at first but will darken and harden as they cool.
- For an optional peanut butter filling, mix together the peanut butter and maple syrup until it forms a thick paste to spread between the crackers.
Notes
- Make sure to roll the dough out thin to about 1/8 inch thickness or less to obtain that crunchy, cracker texture. Rolling the dough out too thick will result in a biscuit-like texture that is soft and not crunchy. If the dough is not rolled out evenly, you will end up with edges that are browning much more quickly than the center.
- If you don’t have a ridged-edge cutter, you can use any circular cookie cutter! You can also use a pizza slicer to slice the dough into rectangles to create rectangular-shaped crackers!
- Make sure to let the crackers cool completely before serving. They will be soft at first right out of the oven but will firm up as they cool.


No logro ver dónde están las cantidades de cada ingredientes. Me podrían indicar, por favor.
Such a great easy delicious cracker!!! I have a very old oven that doesn’t run very hot so I had to bake them for longer, but they are absolutely smashing! I am sure I’ll be doubling the batch the next time I make it!
Delicious! Will roll out even thinner next time. I measured and it was thicker than 1/8, so that’s on me. Still amazing.
I’m so glad you enjoyed them, Sandra!😊
These are ok, they literally taste like pie crust. I won’t make again.
Turned out great! I didn’t have maple syrup so I subbed regular sugar but it was still perfect.
I’m so glad to hear that they turned out well, Debi!😊
Could sunflower butter be used in this recipe? My daughter has a peanut allergy.
Hi Sydney! Yes, you can swap with sunflower butter in the filling😊