
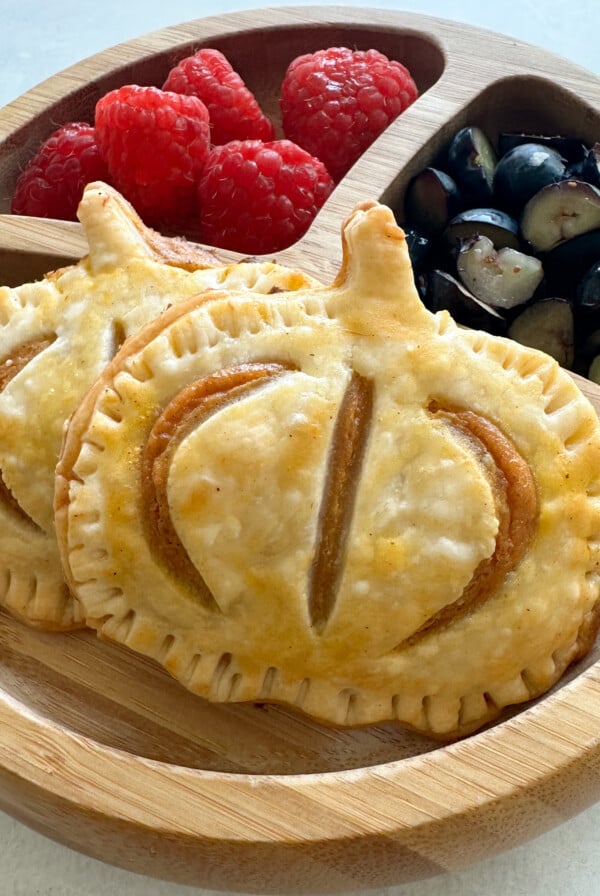
Mini Maple Sweetened Pumpkin Pies
on Oct 25, 2021, Updated Apr 20, 2026
This post may contain affiliate links. Please read our disclosure policy.
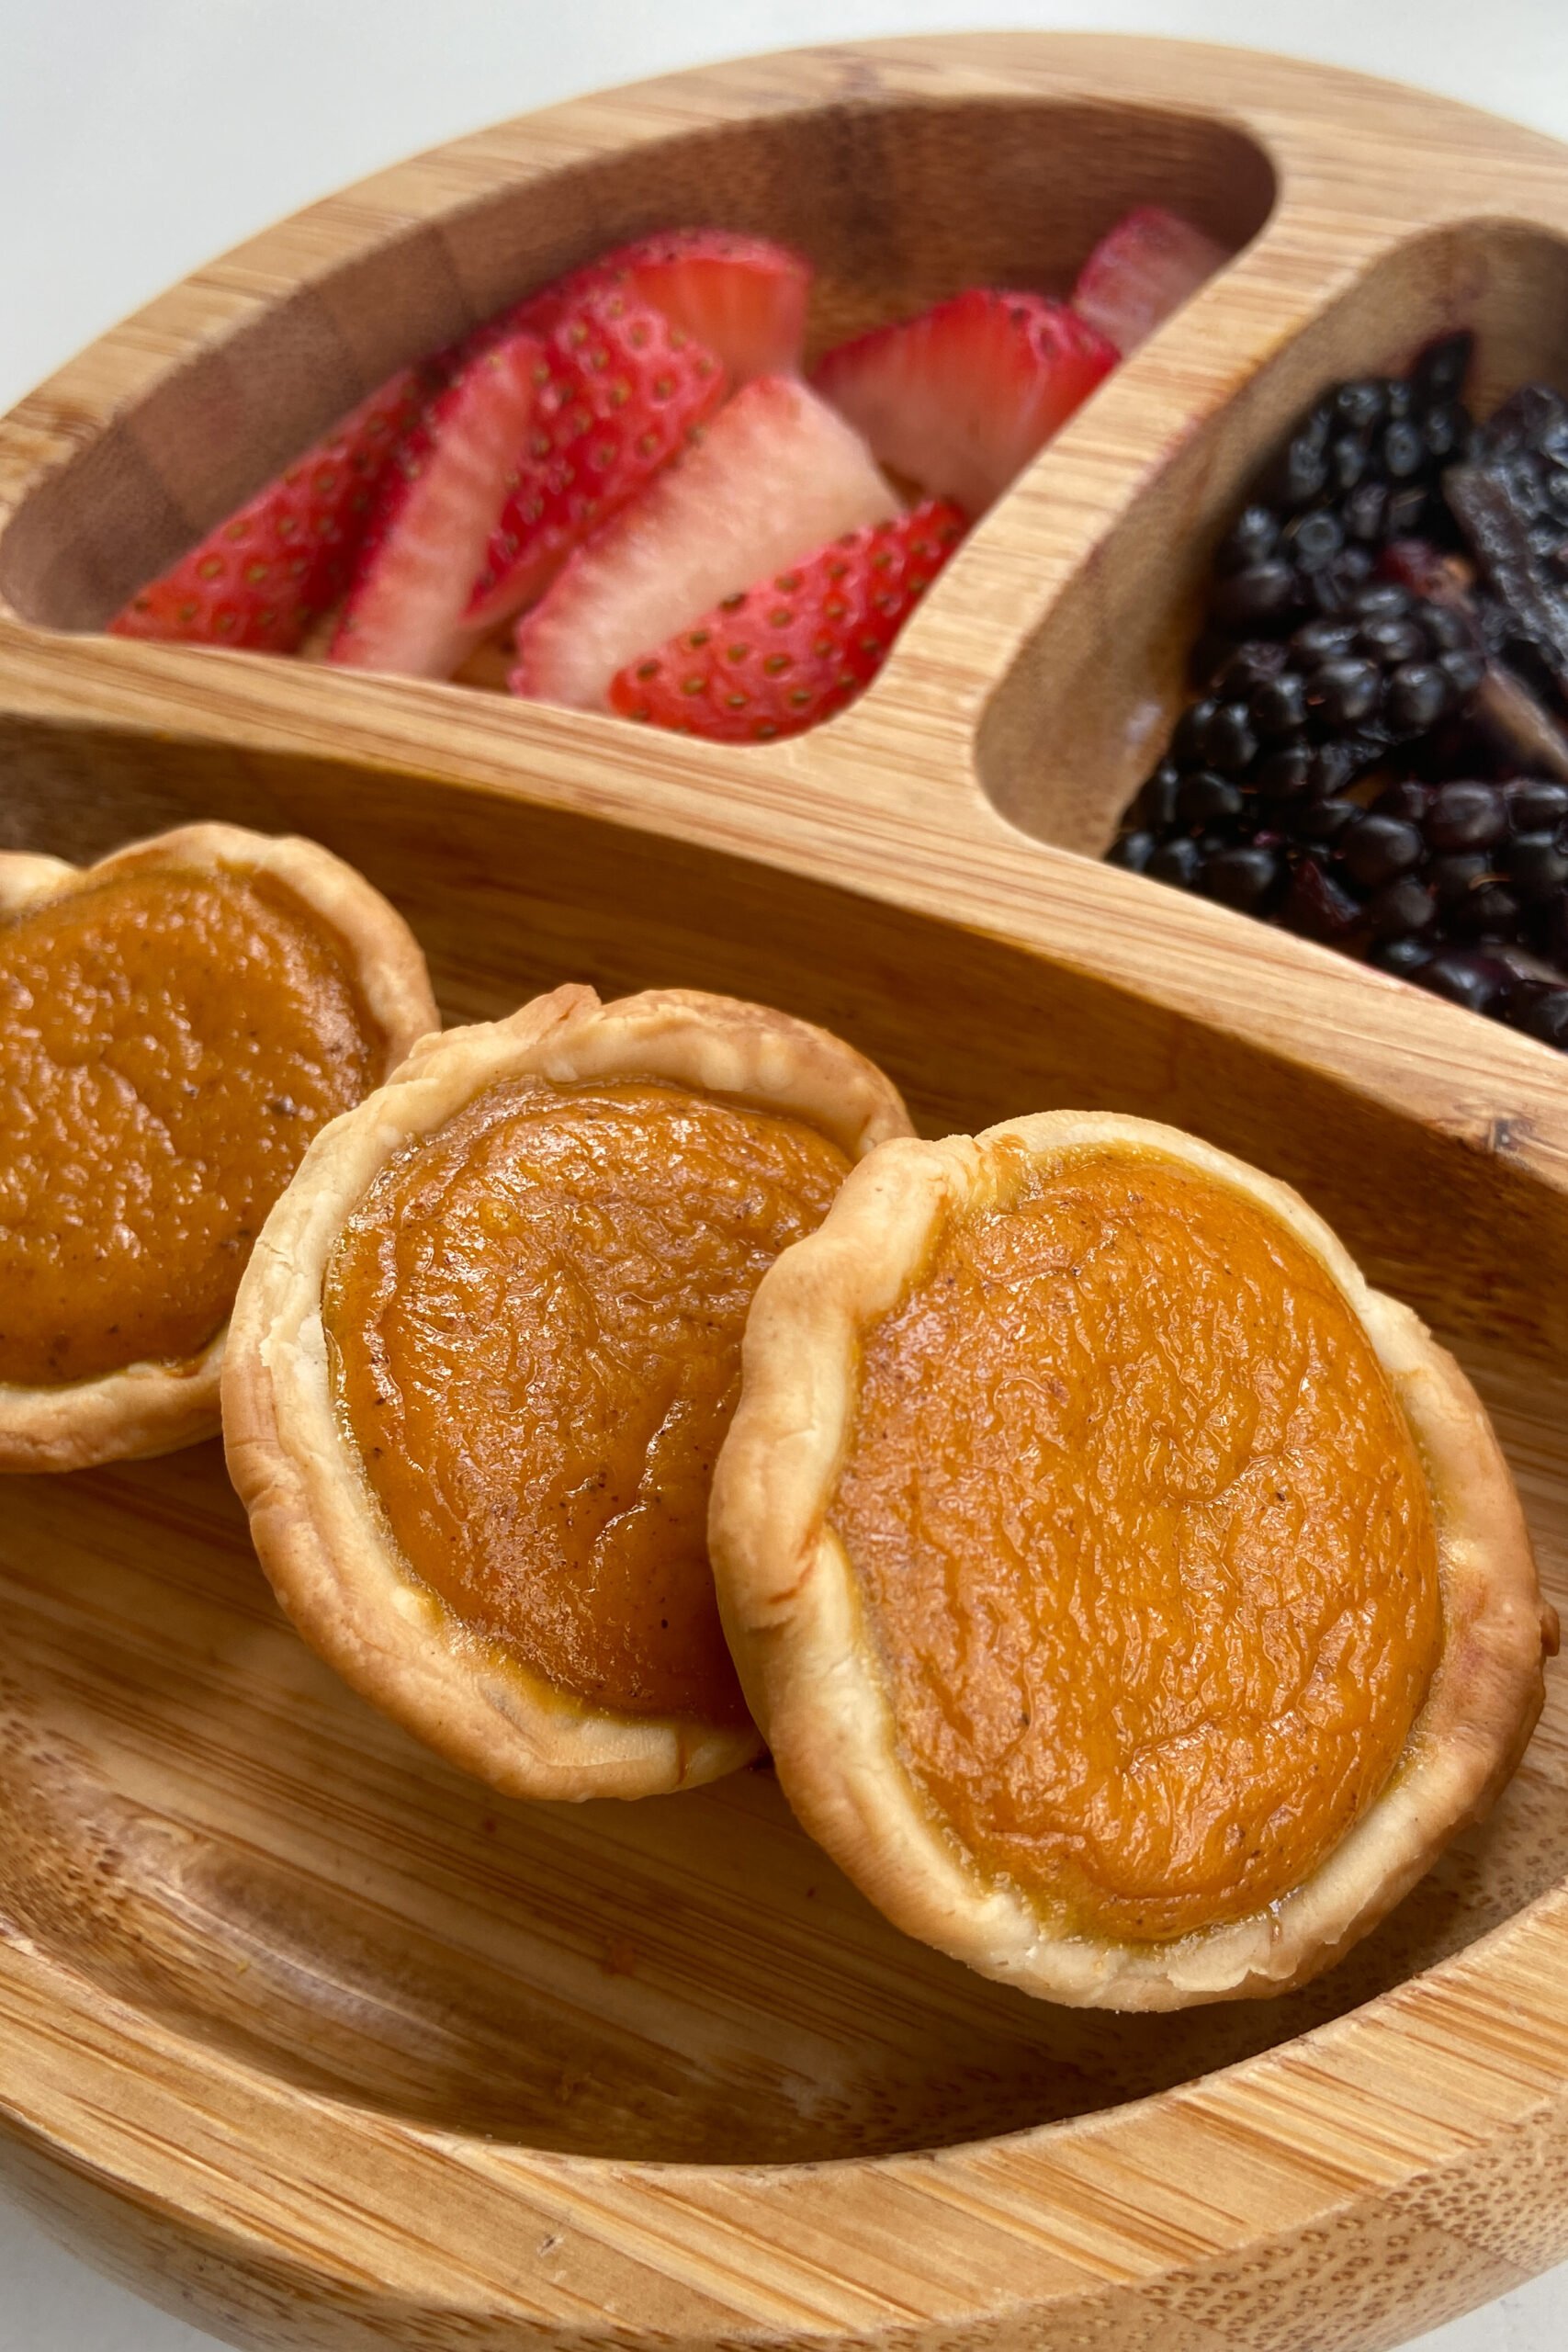
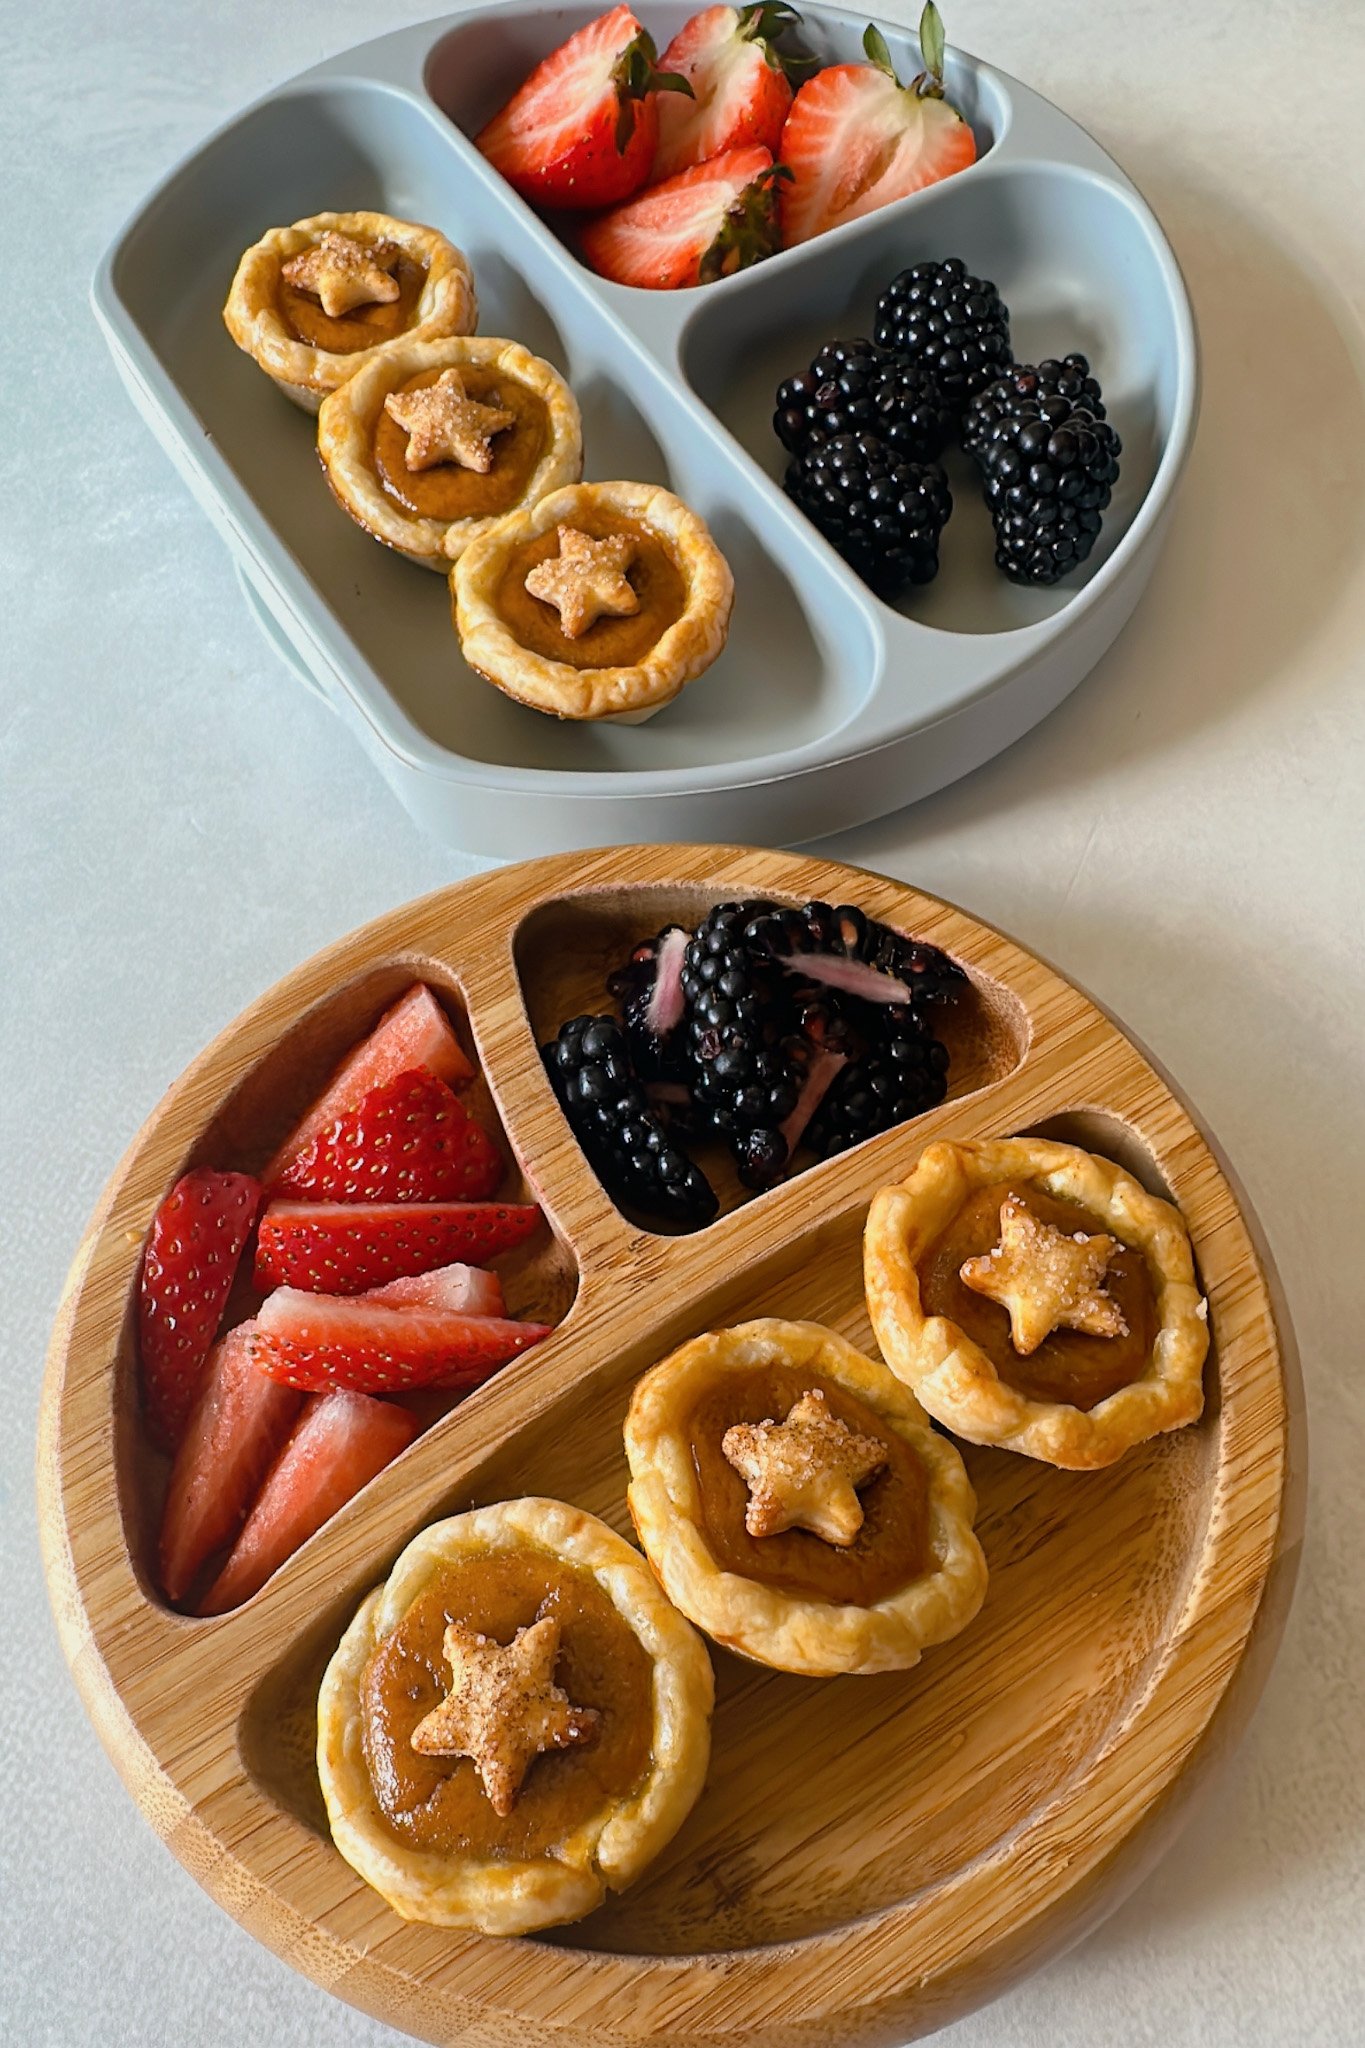
These mini pumpkin pies are the perfect size for little hands! They are sweetened with maple syrup and are a perfect little sweet treat to add to your Thanksgiving dessert menu!
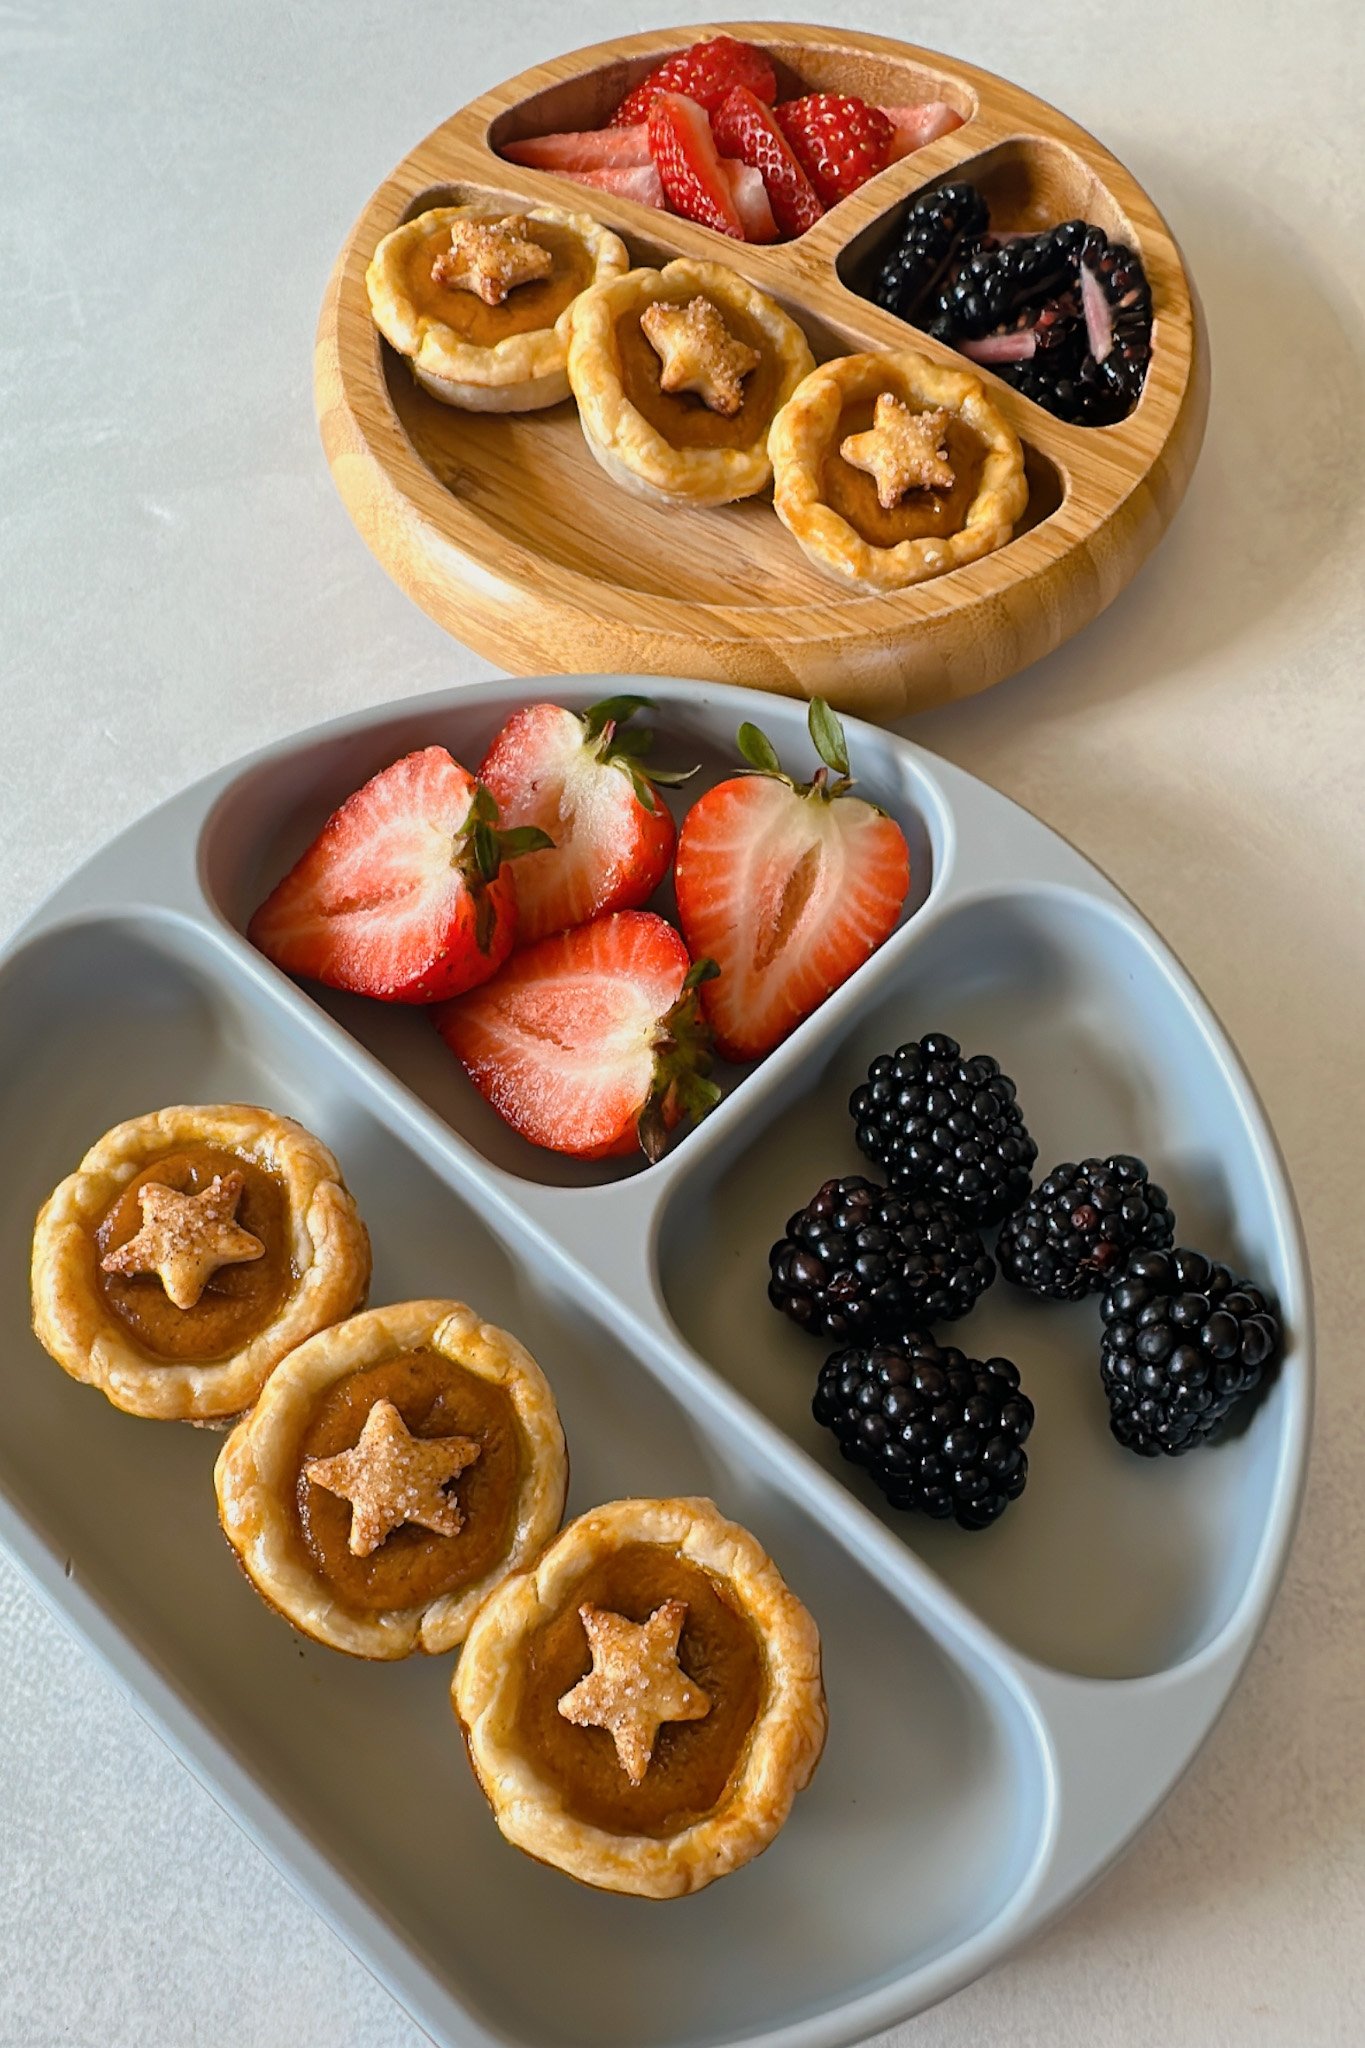
Anyone who knows me knows that I love, love, love all things mini! Mini bite-sized treats are the perfect size for tiny hands and less goes to waste. I can offer my boys more bite-sized items as they eat them, but these little pies never last long in our house! The maple syrup and pumpkin complement each other so well, making for a subtly sweet and creamy treat!
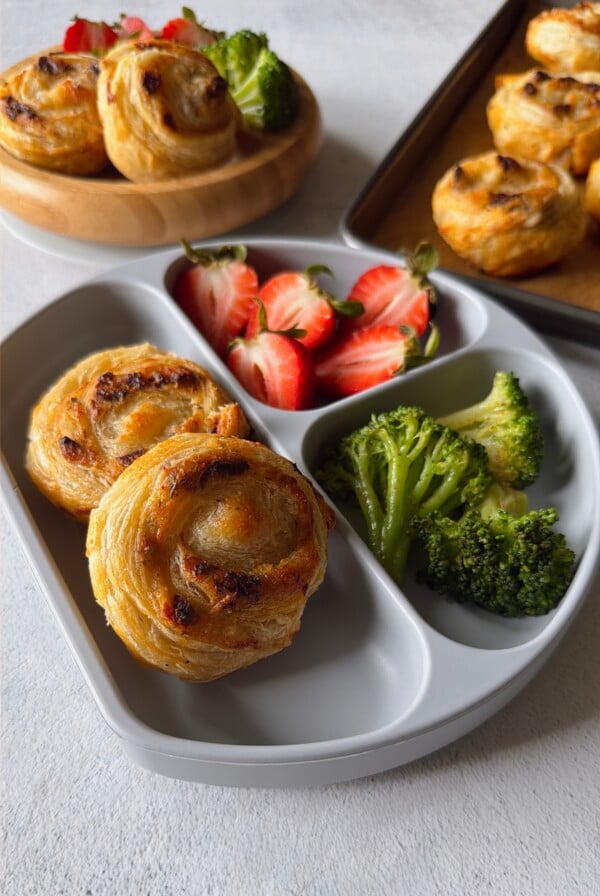
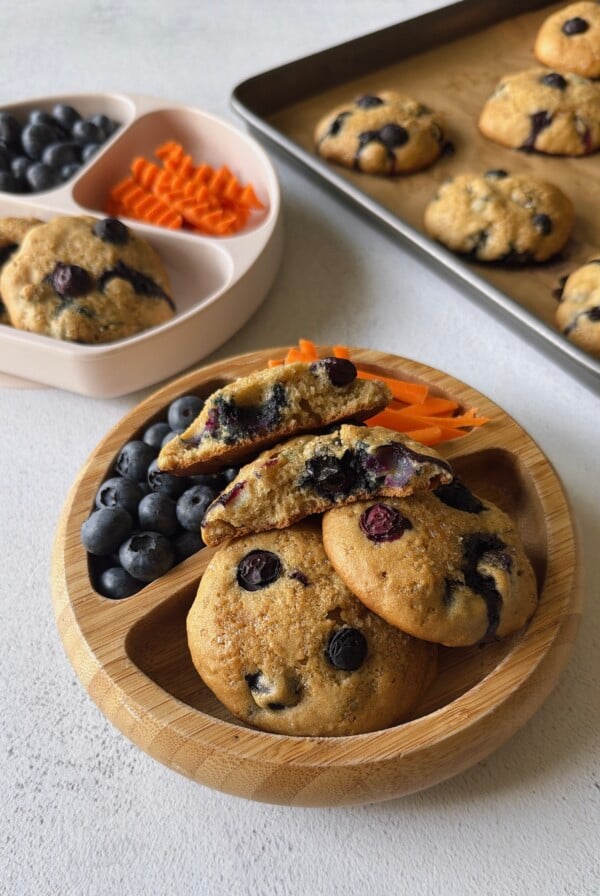
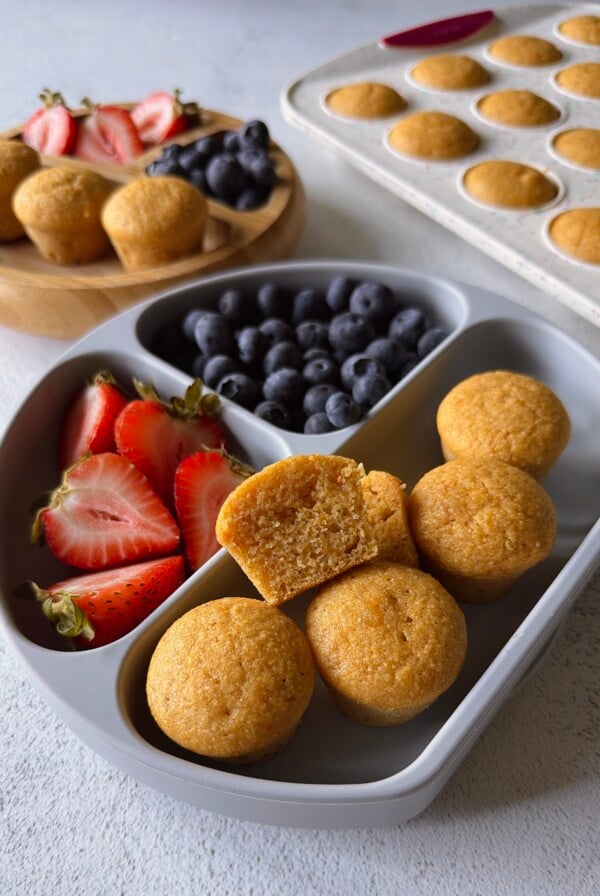
If you’re looking for more recipes to make with some leftover canned pumpkin puree, make sure to also try out this creamy pumpkin pasta, these pumpkin maple muffins, and these pumpkin banana pancakes for a breakfast treat!
Table of Contents
What You’ll Need
Here is what you’ll need to make these mini maple-sweetened pumpkin pies:
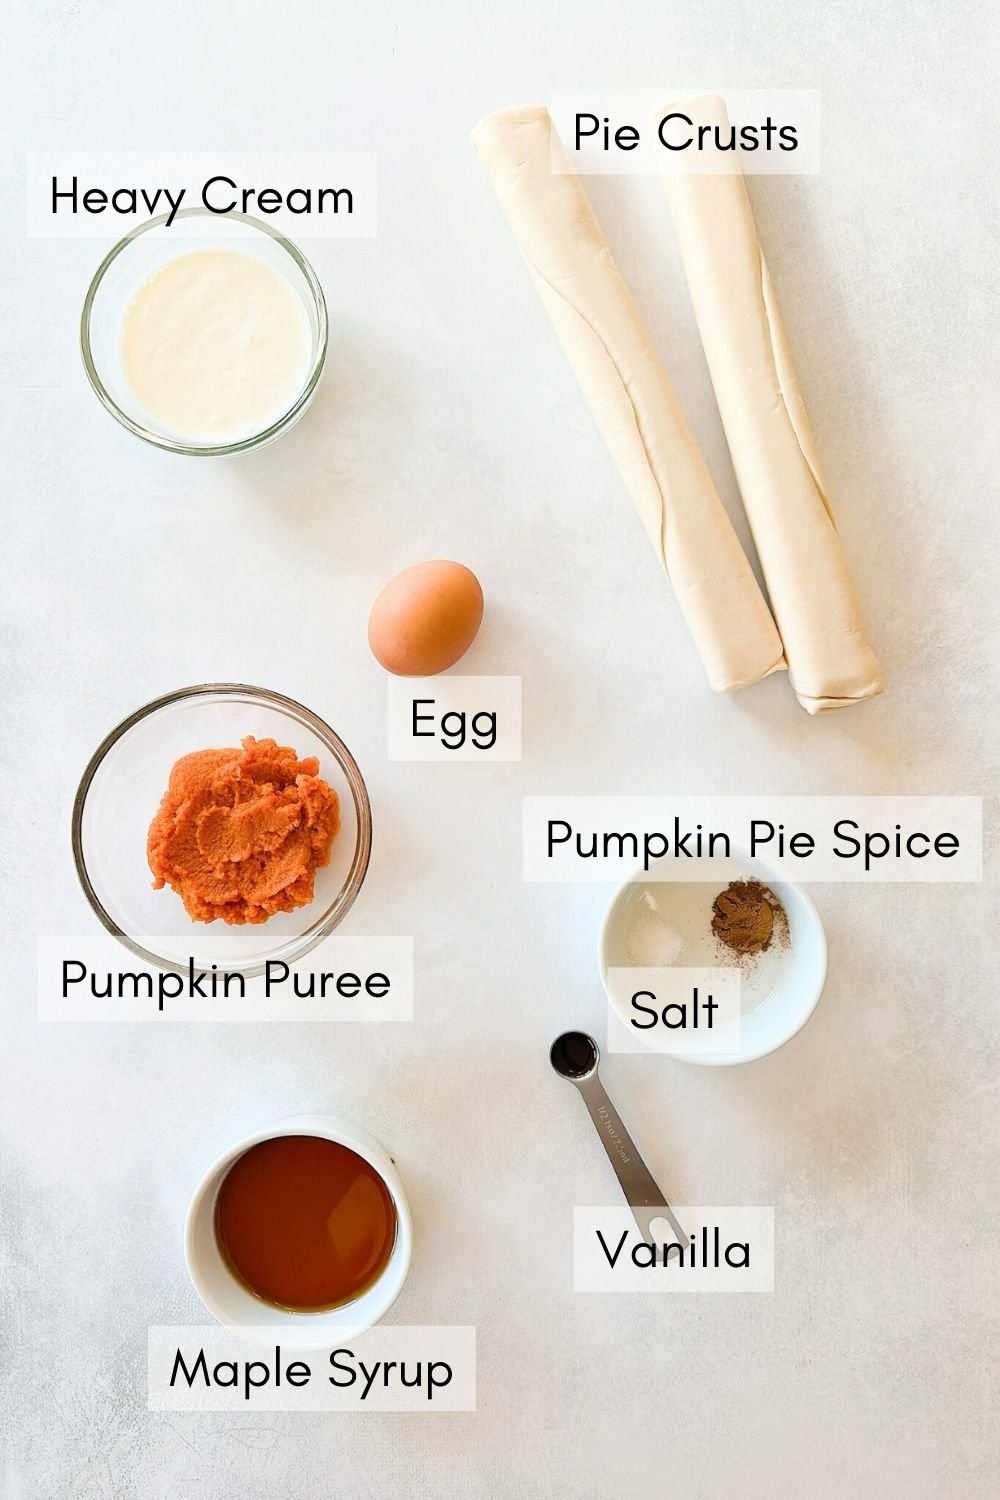
- Pumpkin Puree: Be sure to get the unsweetened variety, not the ones that are marked pumpkin pie filling.
- Pie Crust: You may use homemade or store-bought!
- Heavy Cream: For added creaminess to the pumpkin pie filling.
- Egg: Used as a binder to help the mini pies maintain their shape.
- Maple Syrup: The main source of sweetness in these pies.
- Vanilla Extract: To enhance the sweetness of these pies.
- Pumpkin Spice: Provides an extra warm spice and added flavor.
- Salt: To balance out the flavors in the pie.
See the recipe card below for full information on ingredients and quantities.
Recipe Substitutions & Additions
- Eggs: You may try replacing the egg with ¼ cup of unsweetened applesauce. I haven’t tested replacing it with a banana, but you may also replace it with ¼ cup of mashed banana. Be mindful that this will change the overall flavor of the pie, so you may want to adjust the amount of maple syrup used in the recipe.
- Heavy cream: You may substitute the heavy cream with unsweetened coconut cream. This is different from unsweetened coconut milk and thicker in consistency.
- Pumpkin Spice: The pumpkin spice may be replaced with a mixture of cinnamon and nutmeg.
Step By Step Instructions
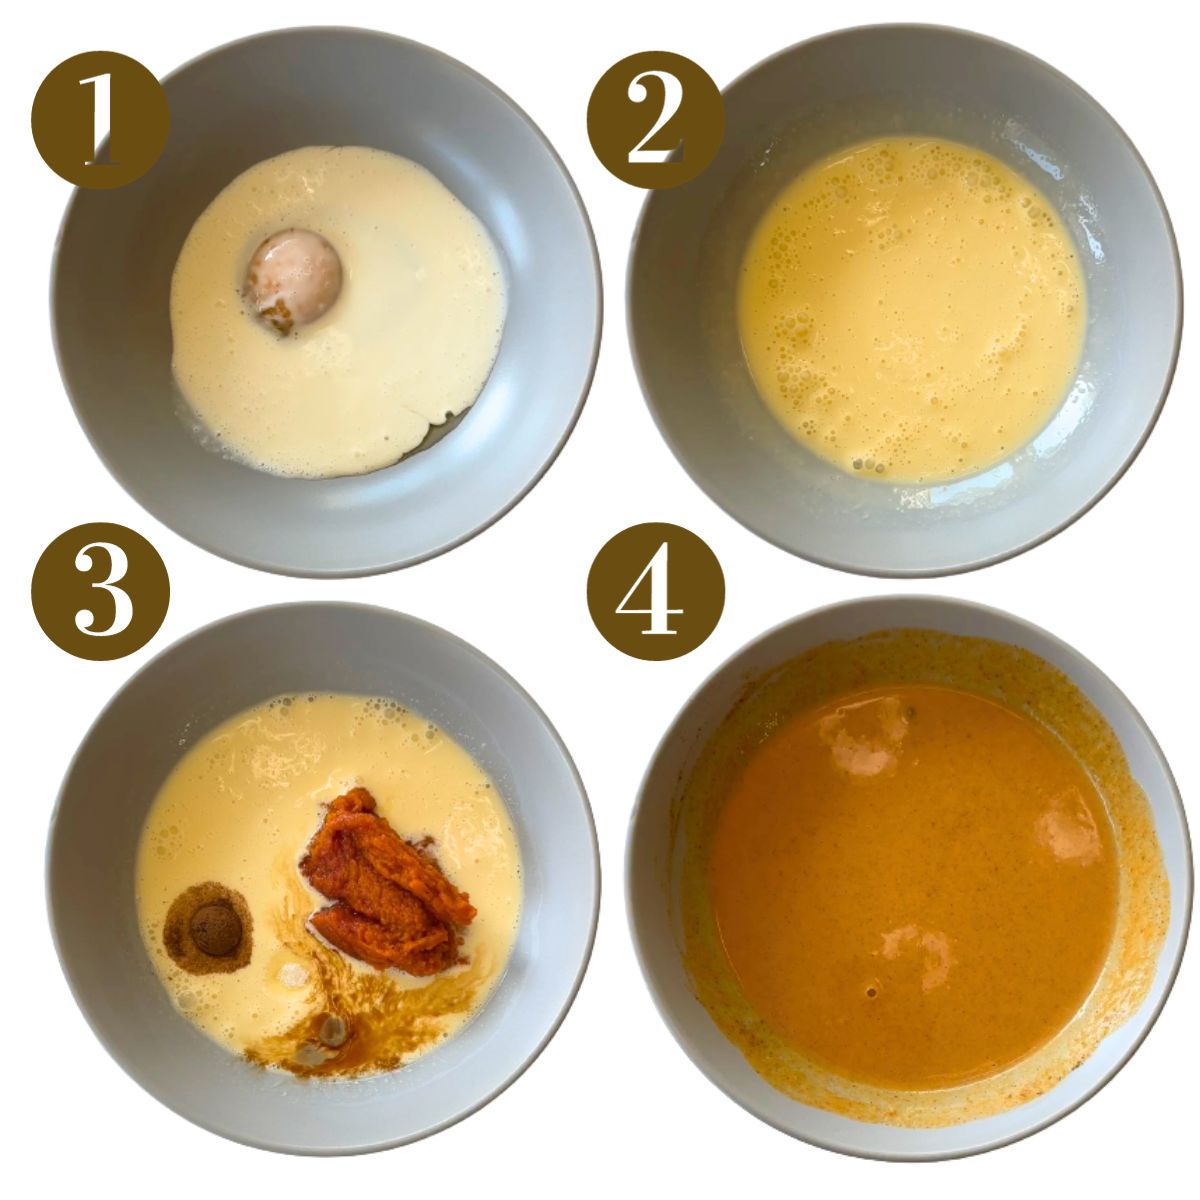
STEP 1: Add the heavy cream and egg in a bowl and whisk together until smooth (Images 1 & 2).
STEP 2: Add in the pumpkin puree, vanilla, pumpkin pie spice, and salt and mix until combined into a smooth custard (Images 3 & 4).
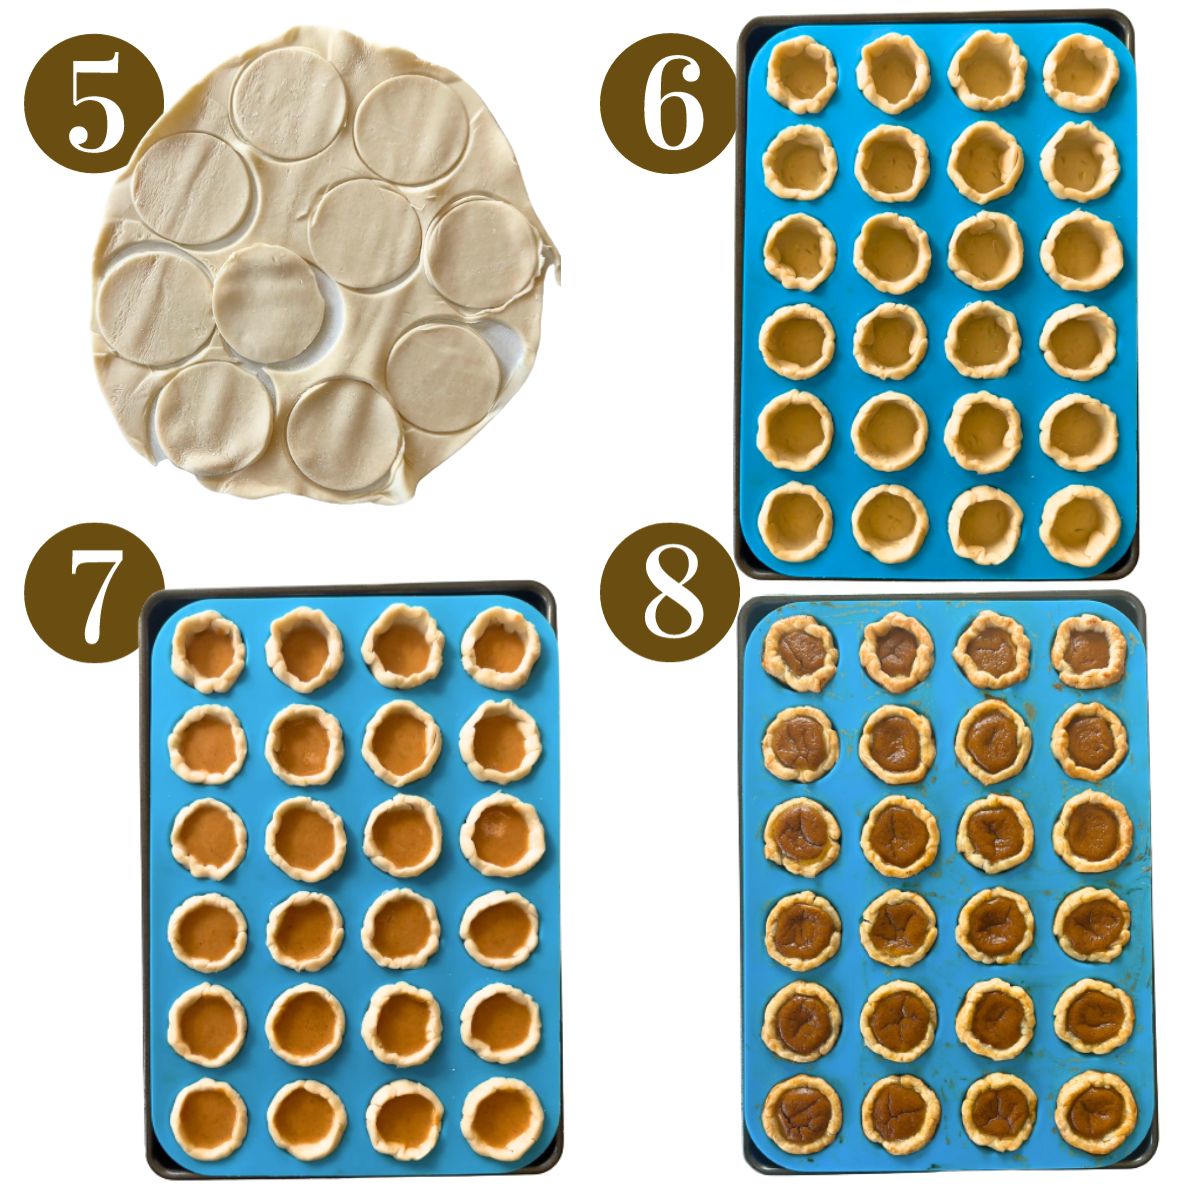
STEP 3: Unroll the pie crusts on a floured surface. Use a 2.5-inch cookie cutter (or any small circular object) to cut out small circles from the dough (Image 5). You may have to combine the scraps and re-roll them out to be able to get more circles from the dough.
STEP 4: Place the dough circles into the mini muffin pan, pressing in on the edges (Image 6).
STEP 5: Place the mini muffin pan on top of a cookie pan and pour the filling evenly into the mini pie cups (Image 7). Make sure to place the mini muffin pan on top of the cookie pan before pouring the filling because the liquids will move easily if using a silicone pan. For a shinier crust, gently brush an egg wash on top of the dough.
STEP 6: Bake at 375 degrees F (190 degrees C) for 25 minutes, or until the crust slightly browns (Image 8). The pies will puff up while baking and deflate once cooled.
Storage Instructions
Let the mini pumpkin pies completely cool and store them in an airtight container for up to 4-5 days in the fridge. To freeze, store in a freezer-safe container or Ziploc bag once cooled for up to 3 months.
Tips For Sucess
- You may make regular-sized muffins by adding a few more minutes to the total bake time and using a larger-sized cookie cutter for the crust.
- The pies will puff up while baking, but they will deflate and even out once they cool.
- You may adjust the amount of maple syrup if you prefer less or more sweetness in the pies.
- I like to use a silicone muffin pan to bake these pies as they pop out easily without any sticking.
- If your crust is light in color and you prefer for it to be a little darker, set your oven to broil once the pies are done baking for exactly 1 minute. Be sure to take them out immediately so that they don’t burn!
Recipe FAQs
Yes! If you are making these pies in a mini muffin pan you will need to increase the total bake time. Add an additional 7 to 10 minutes, keeping an eye on the pies for a golden crust.
It is normal if the filling puffs up a bit while baking, it will shrink back down once it cools.
You can reroll the crusts of leftover pie crust, cut out fun shapes and sprinkle them with a little cinnamon sugar to bake for 5 to 8 minutes to make pie crust cookies! Brush some egg or milk onto the pie crust shapes before adding the cinnamon sugar to ensure that it sticks.
Other Pie Recipes You’ll Love
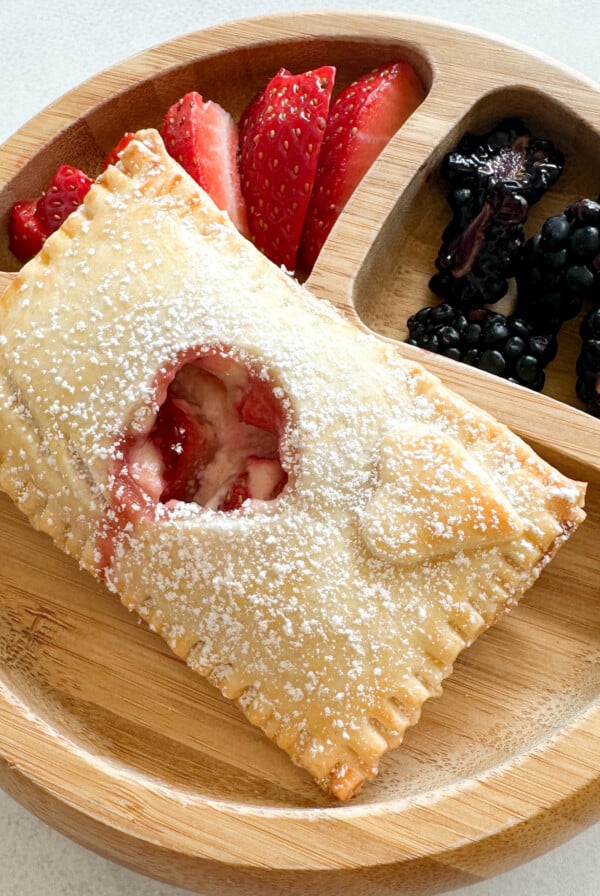
Strawberry Cream Cheese Hand Pies
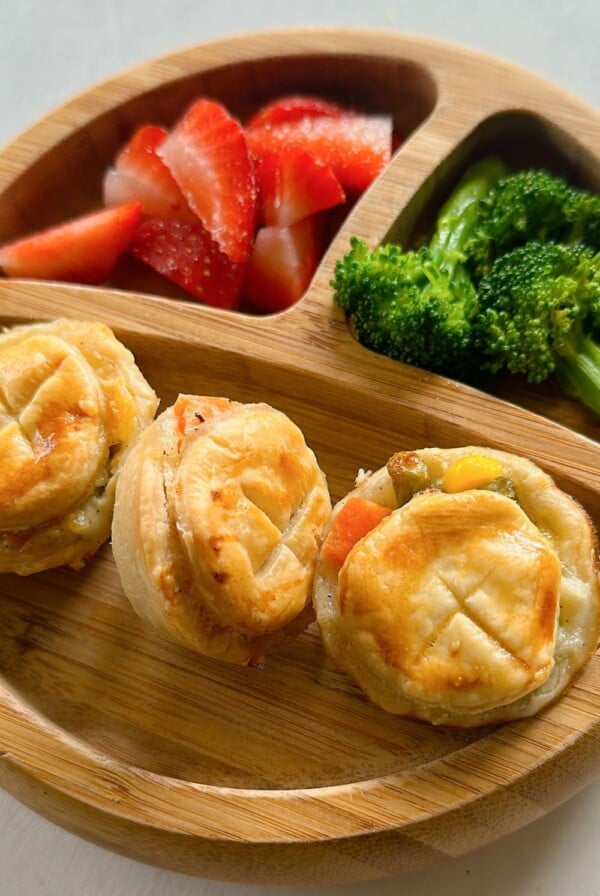
Mini Chicken Pot Pies With Pie Crust
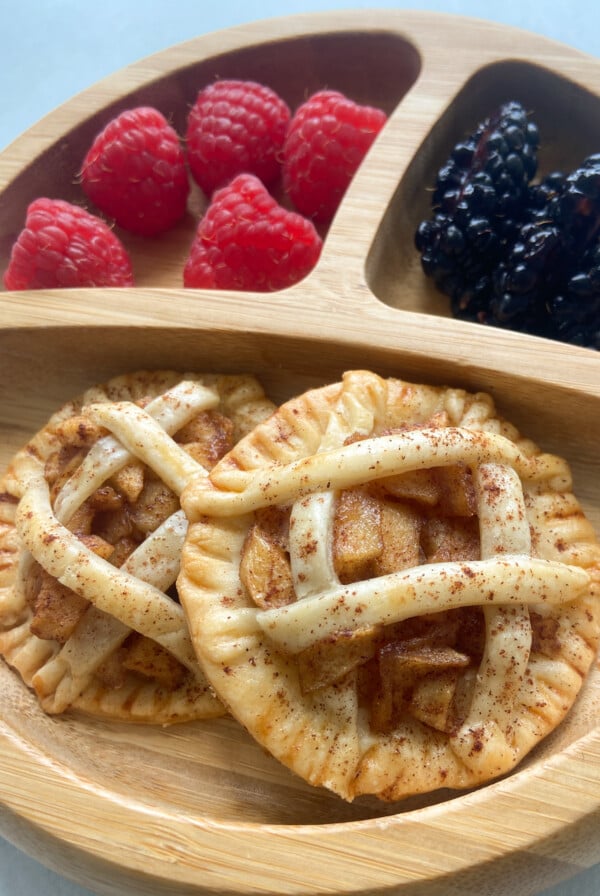
Pumpkin Hand Pies
If you tried these Mini Maple Sweetened Pumpkin Pies, please leave a ⭐ star rating and let me know how it went in the comments below! I love hearing from you!
Mini Maple Sweetened Pumpkin Pies
Ingredients
- ¼ cup heavy whipping cream
- 1 egg
- ⅓ cup pumpkin puree
- 3 tbsp maple syrup
- ½ tsp vanilla extract
- ½ tsp pumpkin pie spice
- ⅛ tsp salt
- 2 rolls pie crust
Instructions
- Preheat the oven to 375 degrees F (190 degrees C).
- Whisk together the heavy cream and egg until smooth.
- Add in the pumpkin puree, vanilla, pumpkin pie spice, and salt and mix until combined into a smooth custard.
- Unroll the pie crusts on a floured surface. Use a 2.5-inch cookie cutter (or any small circular object) to cut out small circles from the dough. You may have to combine the scraps and re-roll them out to be able to get more circles from the dough.
- Place the dough circles into the mini muffin pan. Use your fingers to press it onto the sides of each mini muffin cup.
- Place the mini muffin pan on top of a cookie pan and pour the filling evenly into the 24 mini pie cups. If you are using a silicone mini muffin pan, make sure to place the mini muffin pan on top of the cookie pan before pouring the filling (liquids will move easily if using a silicone pan). For a shinier crust, gently brush an egg wash on top of the dough.
- Bake at 375 degrees F (190 degrees C) for 25 minutes, or until the crust slightly browns. The pies will puff up while baking and deflate once cooled.
Notes
- You may make regular-sized muffins by adding a few more minutes to the total bake time and using a larger-sized cookie cutter for the crust.
- The pies will puff up while baking, but they will deflate and even out once they cool.
- You may adjust the amount of maple syrup if you prefer less or more sweetness in the pies.
- I like to use a silicone muffin pan to bake these pies as they pop out easily without any sticking.
- If your crust is light in color and you prefer for it to be a little darker, set your oven to broil once the pies are done baking for exactly 1 minute. Be sure to take them out immediately so that they don’t burn!


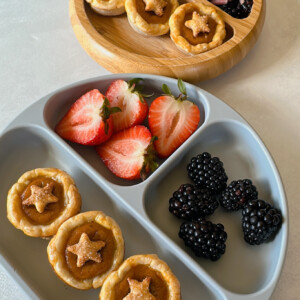
Tried these for the first time and I love them SO much! They are yummy and a fun snack. I only needed one roll of pie crust and still ended up with 24 minis. They plump up super cute in the oven and then relax during cooling. I cut out little star shapes and baked them in the toaster oven, and then placed them on the little pies while the pies were still warm.
My 3 year old loves pretty much all things pie crust and all things pumpkin, so these have been a massive hit. I’ve got the extras in the freezer and pop them into his lunches.
This is such a great recipe! Thank you! I’ve made soooo many of your recipes and they’ve ALL been great. Love your cookbook too 😊. How do I store these? In the fridge? Or are they ok sitting out on the counter?
I’m so glad to hear that you enjoyed these pies, Kelly! They would be ok out on a counter for a day but afterwards you can store them in an airtight container for up to 4-5 days in the fridge😊
Hi Lily, is there any substitute I can use for heavy cream? We are dairy free over here!
Hi Brittney! I’d recommend canned coconut milk as a swap (usually if you place a can in the fridge for a few hours, the top develops a thick cream texture which is a great swap for heavy cream😊
amazing thank you!
I made these for the little ones at our family thanksgiving dinner. They loved having mini pies while the grown ups had regular pie. I would increase the amount of filling the next time as there was not much filling in the crusts at all.
how long do they cook for?
Hi Emily! I just noticed that I was missing that in the directions! These will bake for 25 minutes, or until the crust slightly browns. Thank you for pointing that out!