
Mini Chicken Pot Pies With Pie Crust
on Sep 14, 2022, Updated Apr 20, 2026
This post may contain affiliate links. Please read our disclosure policy.
These mini chicken pot pies with pie crust are a fun classic on the American meal we’ve come to love. Their mini size makes them perfect for little hands to hold! In just 35 minutes, they’re baked to golden perfection and ready to serve!

Chicken pot pie is a classic but can sometimes get a little messy, especially when served to little ones. These mini chicken pies are compact and easy to pick up and eat! I also love that I can offer a couple at a time and offer more as needed so that less goes to waste!
Many people tend to use canned cream of chicken soup as the base of their pie filling, but the filling is so simple to make yourself with just a little chicken broth, heavy cream, and flour! You’re also able to control the sodium level when making your own base. Once you see how simple it is to make your own filling base, you’ll never want to go back! And if you’re looking for more ways to use up leftover chicken, be sure to try out these broccoli and cheese pinwheels and these chicken salad rollups as well!
Table of Contents
What You’ll Need
Here is what you’ll need to make these mini chicken pot pies:
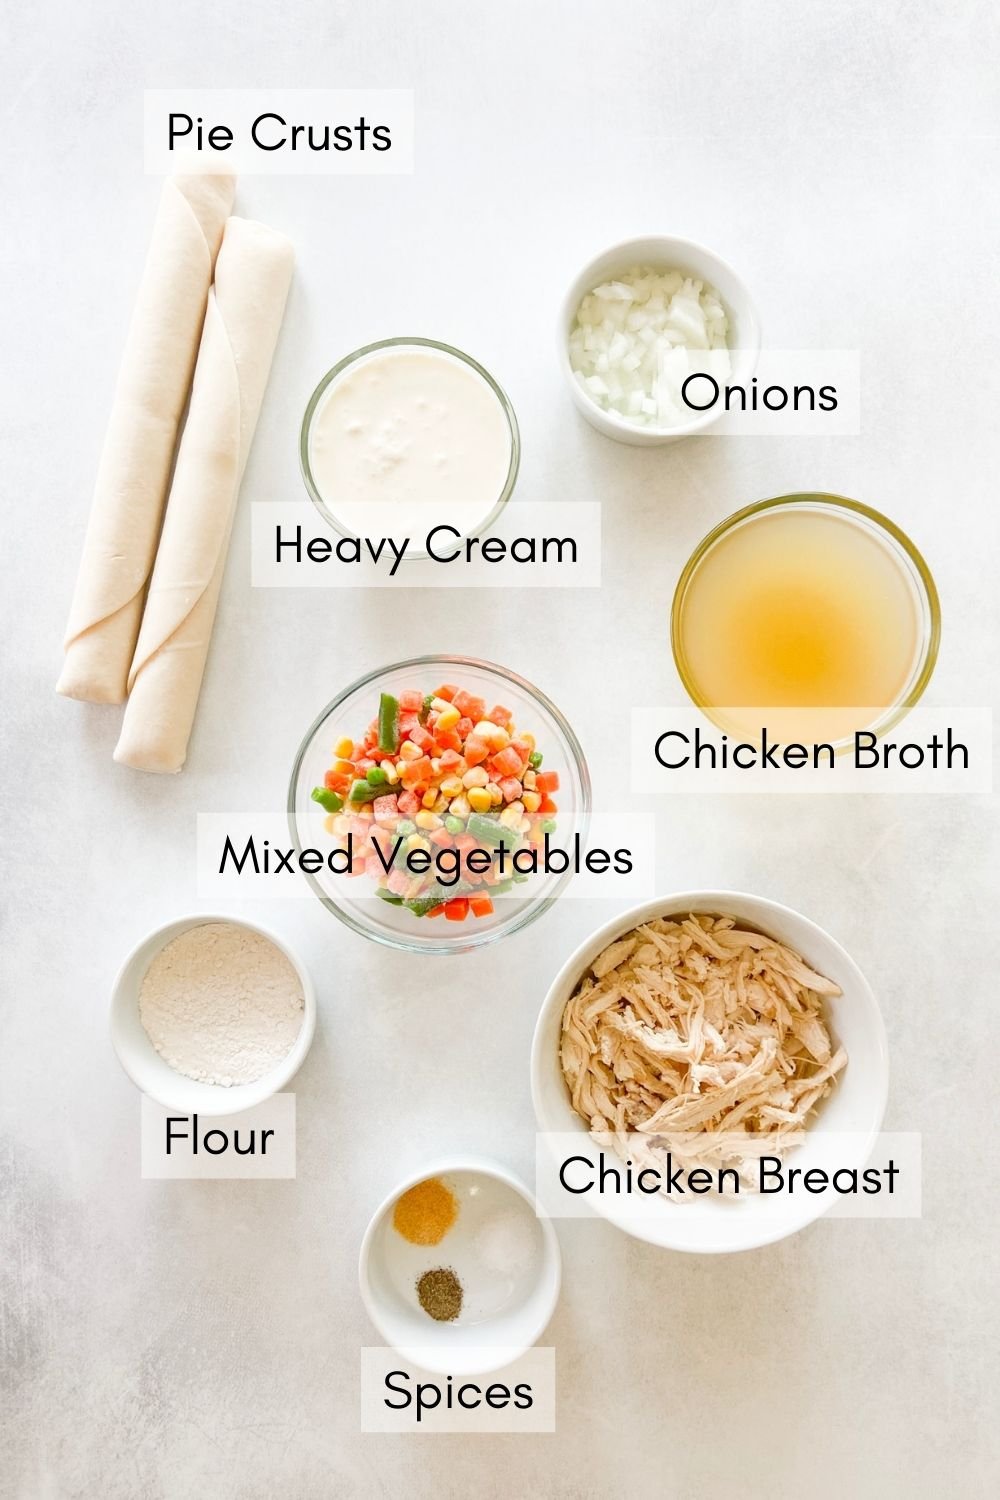
- Shredded Chicken: I used pre-cooked leftover rotisserie chicken breast for a quicker option, but you can also quickly cook and shred some chicken breasts to use as well.
- Mixed Vegetables: Frozen mixed veggies are great to use in a pinch, but you can use equal parts freshly chopped vegetables.
- Onions: Freshly chopped onions add great flavor to the sauce filling.
- Chicken Stock: For that main chicken flavor in the filling.
- Heavy Cream: The main source of creaminess for the chicken pie filling.
- Flour: Used to thicken the sauce for the pie filling.
- Pie Crust: You can use storebought pie crust or homemade. If you are using a storebought crust, you will need two 9-inch pie crusts.
- Unsalted Butter: Used to cook down the veggies and onions.
- Seasonings: Salt, pepper, and garlic powder for added flavor.
See the recipe card below for full information on ingredients and quantities.
Recipe Substitutions & Additions
- Heavy cream: You may substitute the heavy cream with half and half milk, milk, or unsweetened coconut cream.
- Chicken broth: You may replace the chicken broth with a stock or vegetable broth.
Step By Step Instructions
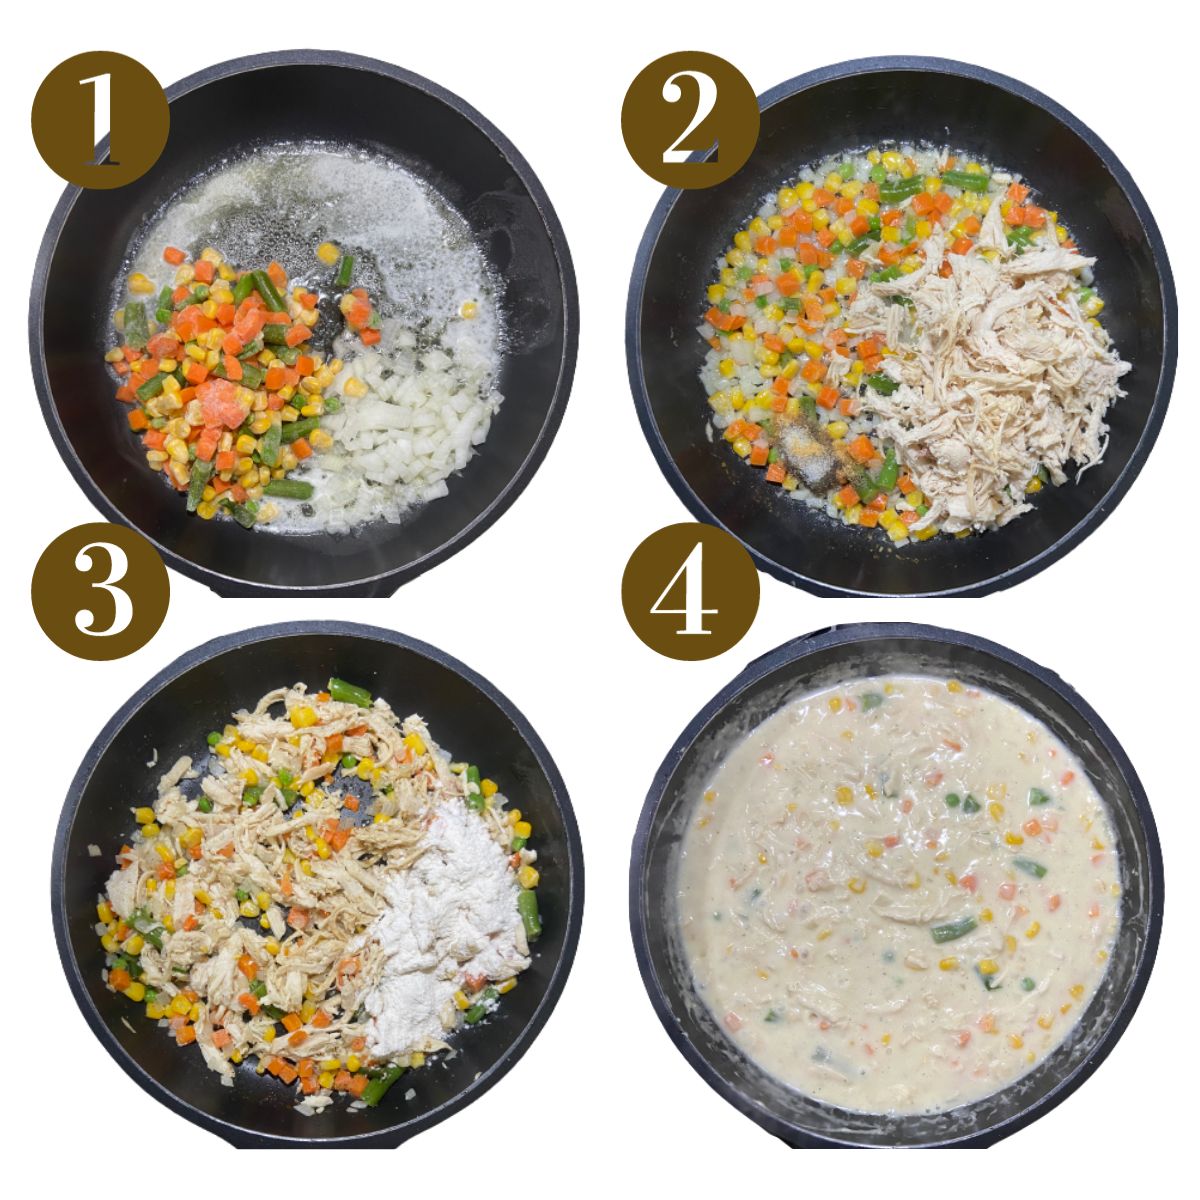
STEP 1: Melt the butter on a pan on medium heat and add in the frozen veggies and onions. Cook until onions are translucent and veggies are fully warmed through (Image 1).
STEP 2: Add in the shredded chicken, salt, pepper, and garlic powder, and mix until combined (Image 2).
STEP 3: Add in the flour and mix well until it is all incorporated and no pieces of raw flour remain (Image 3).
STEP 4: Pour in the chicken broth and heavy cream and mix until it is combined. Allow the mixture to bubble and thicken, reducing the heat if needed (Image 4). Once the mixture thickens, remove it from the heat and let it cool as you prepare the pie crusts. It will continue to thicken as it cools.
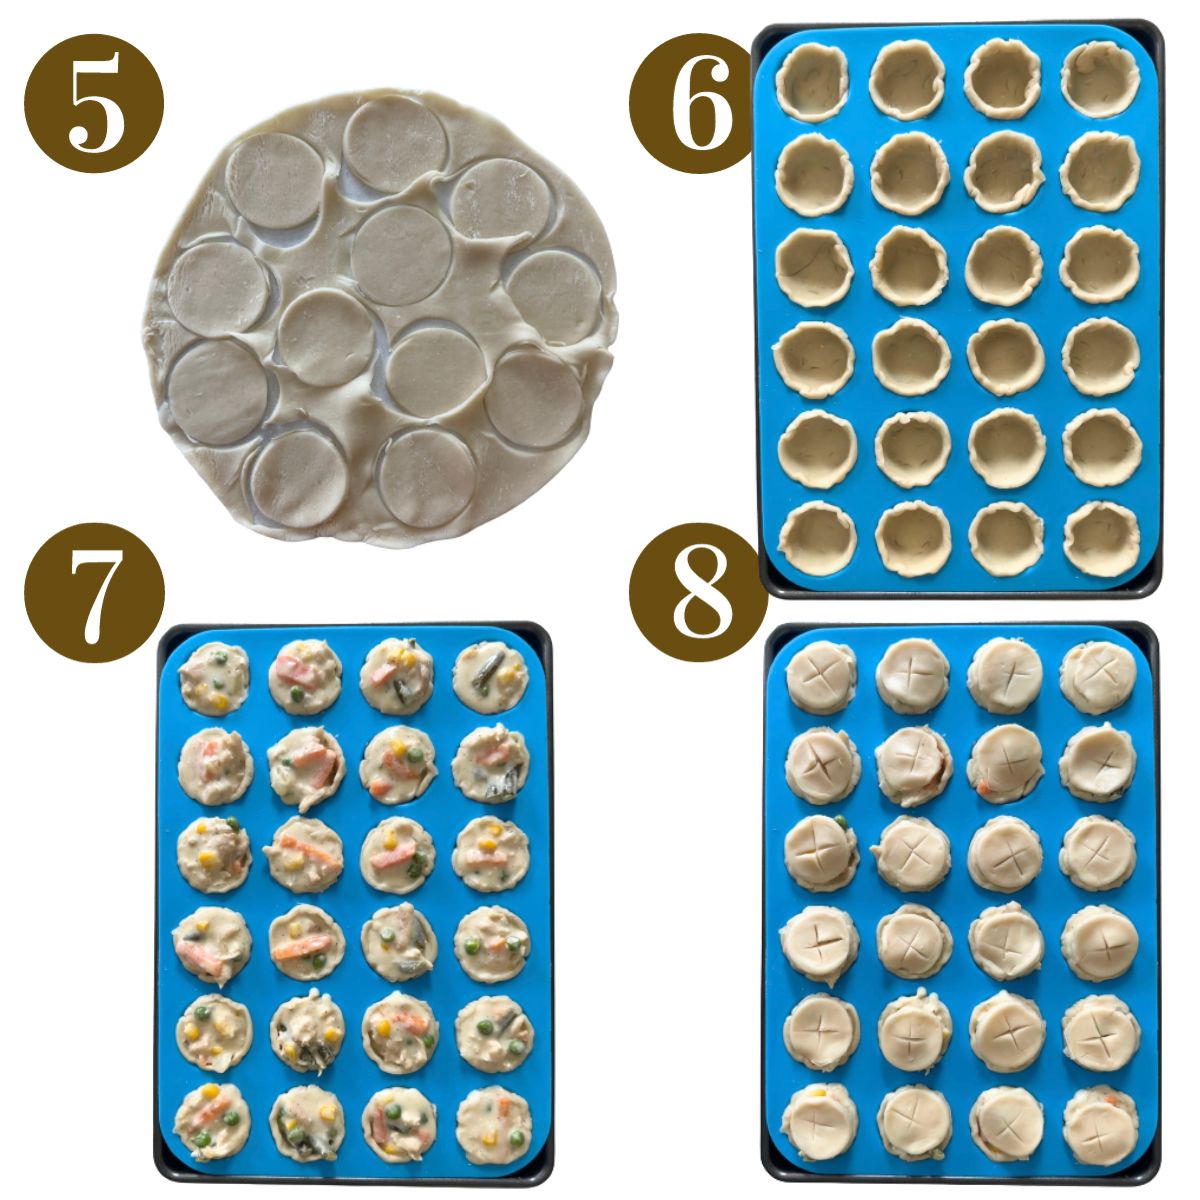
STEP 5: Unroll the pie dough and use a small cookie cutter or measuring cup to cut out circles that are about 2.5 inches in diameter (Image 5). Place these circles into the cups of a mini muffin pan pressing in on the sides as needed (Image 6).
STEP 6: Once the filling cools, scoop out about 1 tablespoon of filling into each pie cup. Make sure to not overfill the mini cups so that the filling doesn’t completely ooze out while baking (Image 7).
STEP 7: Combine the scraps of remaining dough from the pie bottoms and reroll it out. Use a small circle (I used my tablespoon-sized measuring spoon) to cut out small circles about 1.25 inches in diameter for the top of the pies (Image 8). These tops do not need to cover the pies completely, they are just added to help prevent the pie filling from drying out when baked.
STEP 8: *Optional: Whisk together one egg and one tablespoon of water to form an egg wash to brush on top of the pies. This is not necessary but helps the pies to obtain a shiny brown color. You can also brush a little milk on top of the pies for a similar effect.
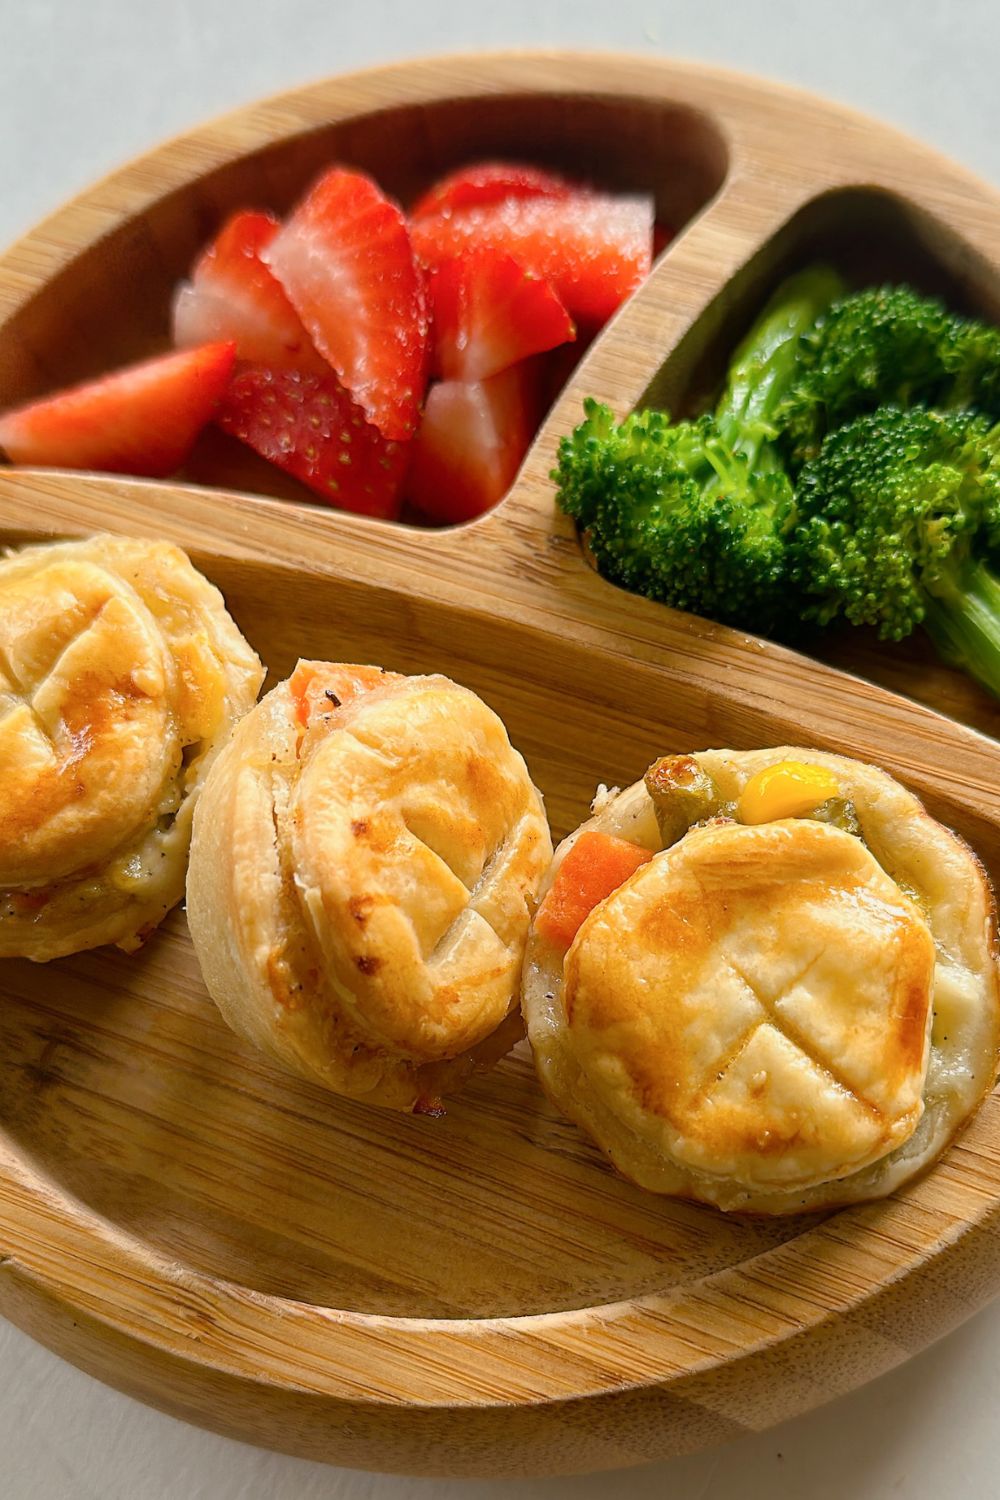
STEP 9: Bake the pies for 15 to 20 minutes or until the crust is golden. Allow the pies to cool completely before serving.
Tips For Success
- This recipe makes 24-30 mini pies. You may make regular-sized pies by adding a few more minutes to the total bake time and using a larger-sized cookie cutter for the crust.
- I like to use a silicone muffin pan to bake these pies as they pop out easily without any sticking. If you are using a normal mini muffin pan, make sure to grease your pan well before adding the pie dough.
- The egg wash is optional if you would like your pies to have a shiny golden color. You can also brush the pies with milk for a similar effect or omit this altogether as it does not have any effect on the taste.
Recipe FAQs
You do not need to prebake the pie crusts, as they will fully cook in the oven. If you’d like a crispier crust, you can prebake it for a few minutes, let it cool for a few minutes, add in the filling, and bake again, but this is not necessary.
Yes! If you are making these pies in a mini muffin pan you will need to increase the total bake time. Add an additional 7 to 10 minutes, keeping an eye on the pies for a golden crust.
Let the mini pies completely cool and store them in an airtight container for up to 4-5 days in the fridge. To freeze, store in a freezer-safe container or Ziploc bag once cooled for up to 3 months.
More Chicken Recipes You’ll Love
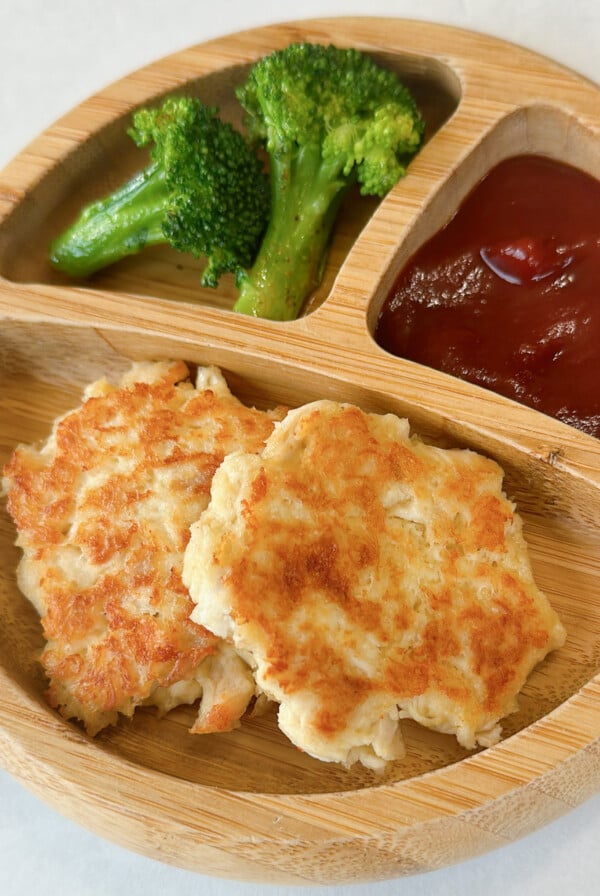
Chicken Fritters (With Leftover Chicken)
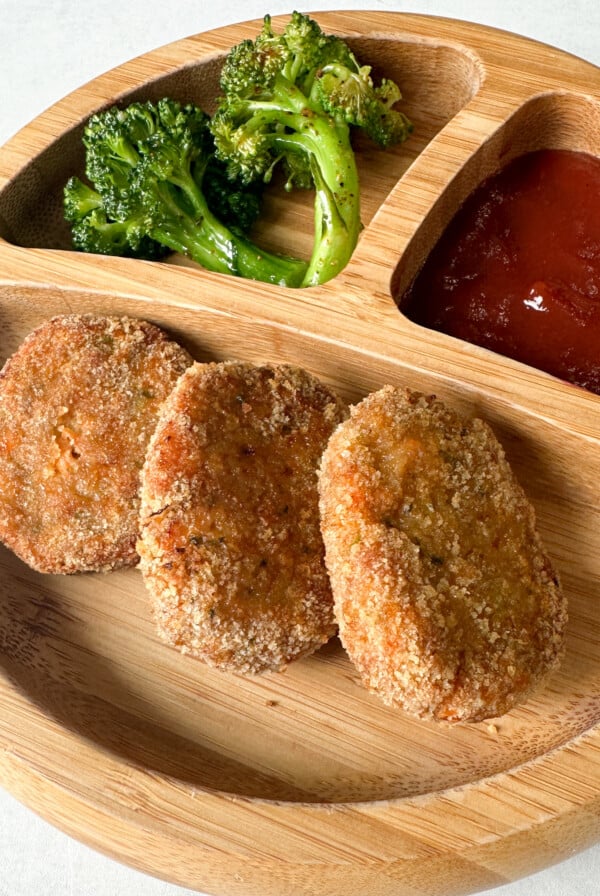
Chicken Nuggets With Veggies
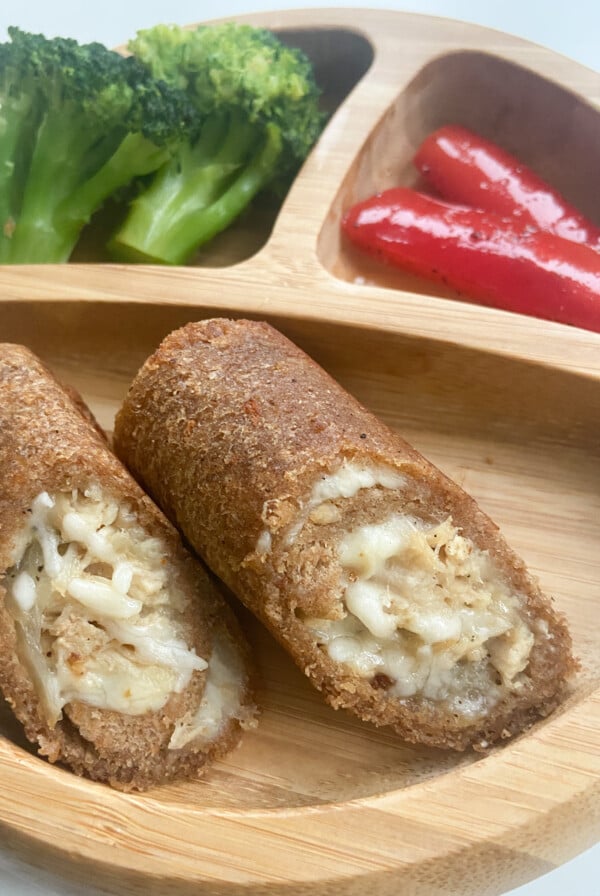
Chicken and Cheese Bread Rolls
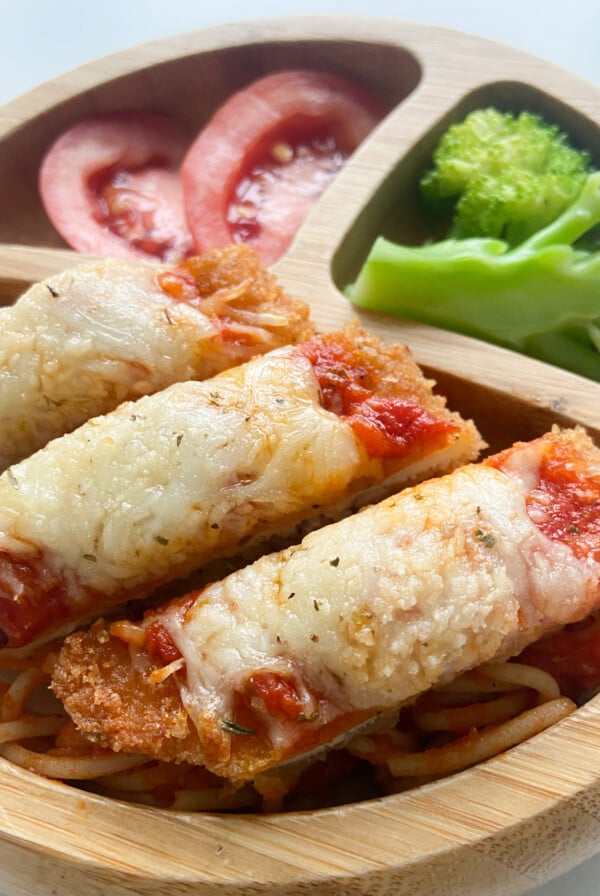
Easy Crispy Chicken Parmesan
If you tried these Mini Chicken Pot Pies With Pie Crust, please leave a ⭐ star rating and let me know how it went in the comments below! I love hearing from you!

Mini Chicken Pot Pies With Pie Crust
Ingredients
- 1 cup pre-cooked shredded chicken
- 1 cup mixed vegetables
- ¼ cup finely chopped onions
- 1 cup chicken broth
- ½ cup heavy cream
- 2 tbsp flour
- 2 9-inch pie crusts
- 4 tbsp unsalted butter
- ½ tsp salt, optional
- ½ tsp garlic powder
- ¼ tsp black pepper
Instructions
- Preheat the oven to 425 degrees F (220 degrees C).
- Melt the butter on a pan on medium heat and add in the frozen veggies and onions. Cook until onions are transluscnet and veggies are fully warmed through.
- Add in the shredded chicken, salt, pepper, and garlic powder and mix until combined.
- Add in the flour and mix well until it is all incorporated and no pieces of raw flour remain.
- Pour in the chicken broth and heavy cream and mix until it is combined. Allow the mixture to bubble and thicken (reduce the heat if needed). Once the mixture thickens, remove it from the heat and let it cool as you prepare the pie crusts. It will continue to thicken as it cools.
- Unroll the pie dough and use a small cookie cutter or measuring cup to cut out circles that are 2.5 inches in diameter. Place these circles into the cups of a mini muffin pan pressing in on the sides as needed.
- Once the filling cools, scoop out about 1 tablespoon of filling into each pie cup. Make sure to not overfill the mini cups so that the filling doesn't completely ooze out while baking
- Combine the scraps of remaining dough from the pie bottoms and reroll it out. Use a small circle (I used my tablespoon-sized measuring spoon) to cut out small circles about 1.25 inches in diameter for the top of the pies. These tops do not need to completely cover the pies, they are just added to help prevent the pie filling from drying out when baked.
- *Optional: Whisk together one egg and one tablespoon of water to form an egg wash to brush on top of the pies. This is not necessary but helps the pies to obtain a shiny brown color. You can also brush a little milk on top of the pies for a similar effect.
- Bake the pies for 15-20 minutes or until the crust is golden. Allow the pies to cool completely before serving.
Notes
- This recipe makes about 30 mini pies. You may make regular-sized pies by adding a few more minutes to the total bake time and using a larger-sized cookie cutter for the crust.
- I like to use a silicone muffin pan to bake these pies as they pop out easily without any sticking. If you are using a normal mini muffin pan, make sure to grease your pan well before adding the pie dough.
- The egg wash is optional if you would like your pies to have a shiny golden color. You can also brush the pies with milk for a similar effect or omit this altogether as it does not have any effect on the taste.


Thank you for this!! I’ve been playing with different recipes for my twin granddaughters and this was the first successful one. They ate it and loved it!
Hi, can I ask if they freeze well? If they do – what would be the recommended way to reheat them? Thank you!
Hi Charmaine! Yes, these do freeze well in a freezer-safe airtight container or airtight ziploc bag! I find that they reheat best in the oven or in an air fryer so that the crust maintains its crisp texture as opposed to in the microwave😊
I’ve done these a couple times now and everybody in the family love them (from 9 months to 38 yo male)
I’m so glad to hear that you all enjoy this recipe, Marie!😊
My son, who is picky, loved these! I even enjoyed them with him. So delicious and easy to make.
I’m so glad to hear that you both enjoyed them, Meredith!😊
Perfect, adorable little pies! These were so easy to make and my 2.5 year old enjoyed helping me with some of the assembly (especially cutting out pastry shapes and placing them in the pan). They are very forgiving as well. I increased the seasonings and did a mix of cooked frozen broccoli plus the bagged medley. I made 12 little pies in a mini cupcake tin and used the remainder to make a single serving pie for my husband. Quite delicious!
Thank you for sharing your feedback Jenny, I’m so glad that you enjoyed them!😊
Hi, thank you so much for this recipe! What is the best way to reheat these once frozen?
Hi Elizabeth! I usually reheat in an air fryer or oven to keep the crusts a little crisp, but you can also reheat in the microwave for a few seconds if you’re in a pinch😊
I’m wondering if these can be frozen, and if so for how long? Thanks!
Hi Andrea! Yes, these mini pies can be frozen in a airtight freezer safe container for up to 2 months😊
it’s a 🎯 hit every time for all the family (toddler and all)
I’m so glad to hear that you enjoy these mini pies, Marie!😊
My toddler loves these and so do my husband and I!
I’m so glad to hear that you all enjoyed them, Emily!😊
Picky eater approved! I used mini phyllo dough crusts that are pre-made in the freezer section. Quick and delish thank you so much! Even copied your sides from the pictures 🙂
I’m so glad that you enjoyed them, Katie!😊