
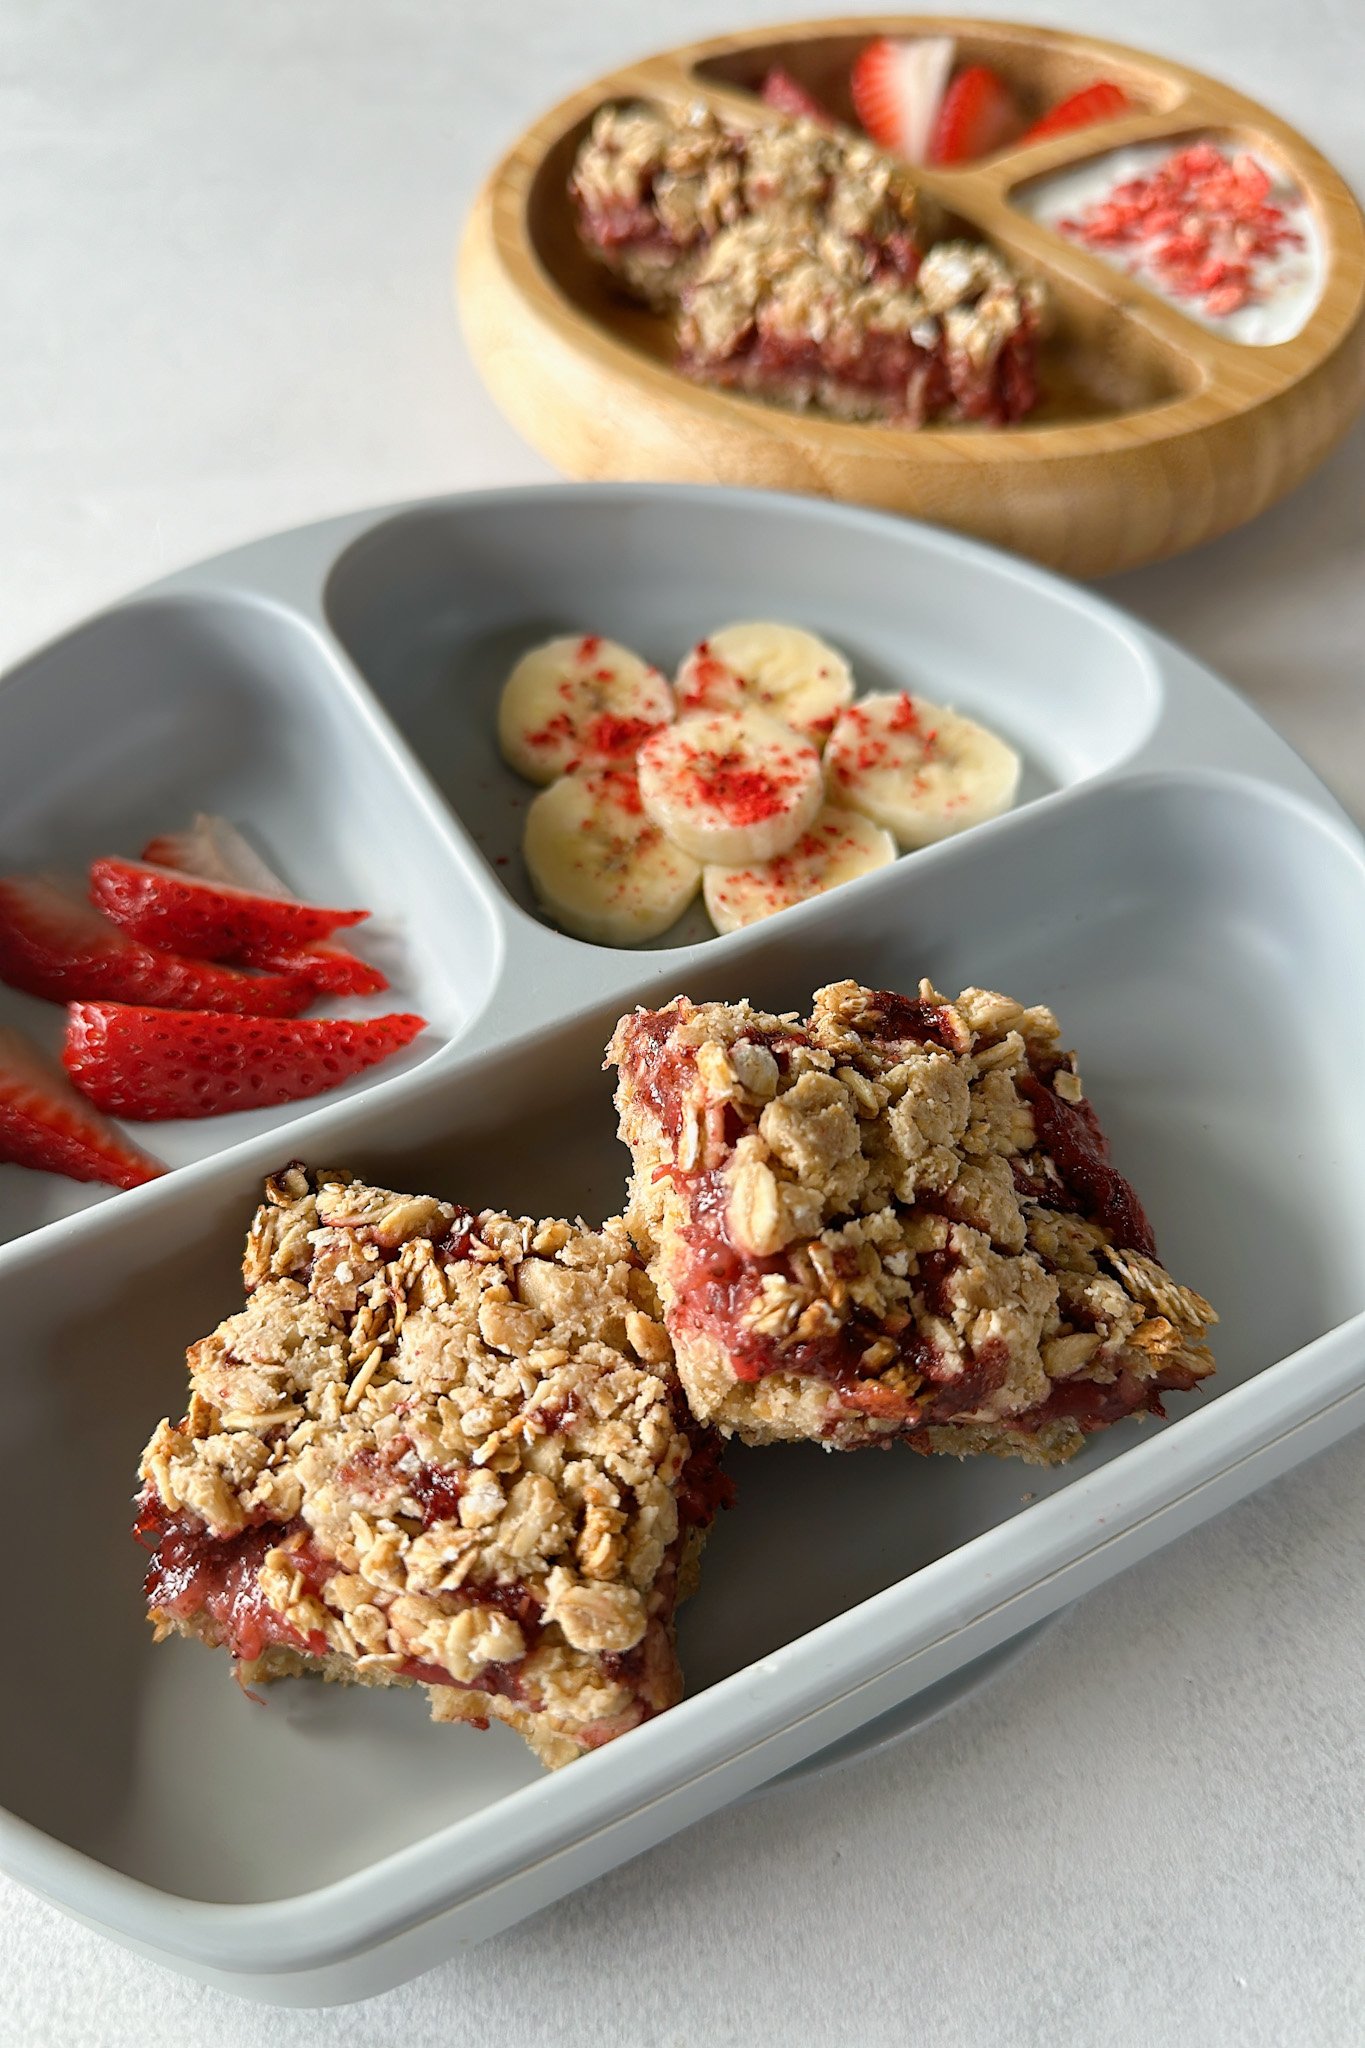
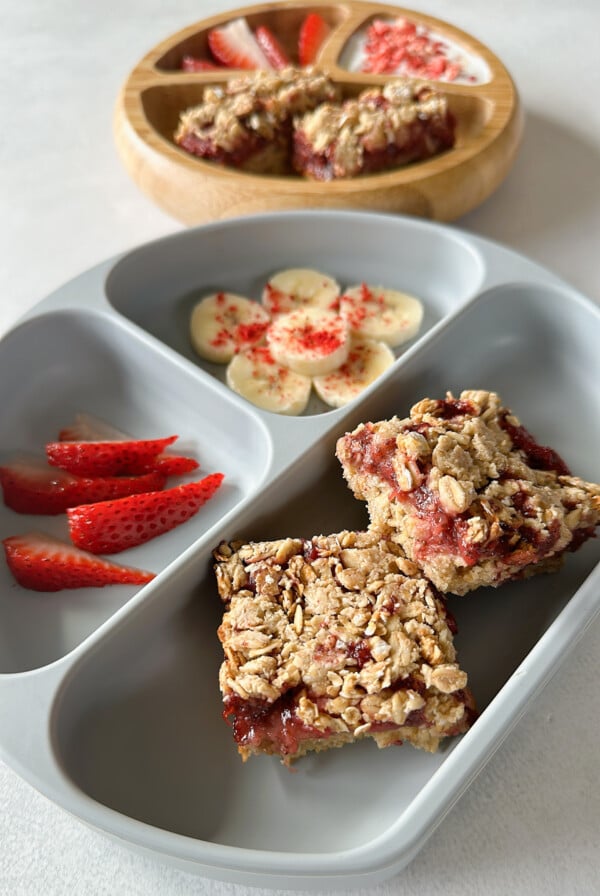
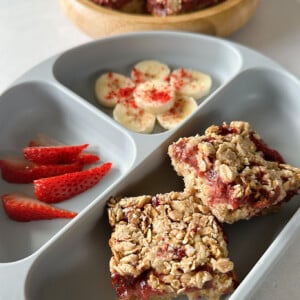
Strawberry Jam Crumble Bars
on Aug 02, 2022, Updated Apr 20, 2026
This post may contain affiliate links. Please read our disclosure policy.
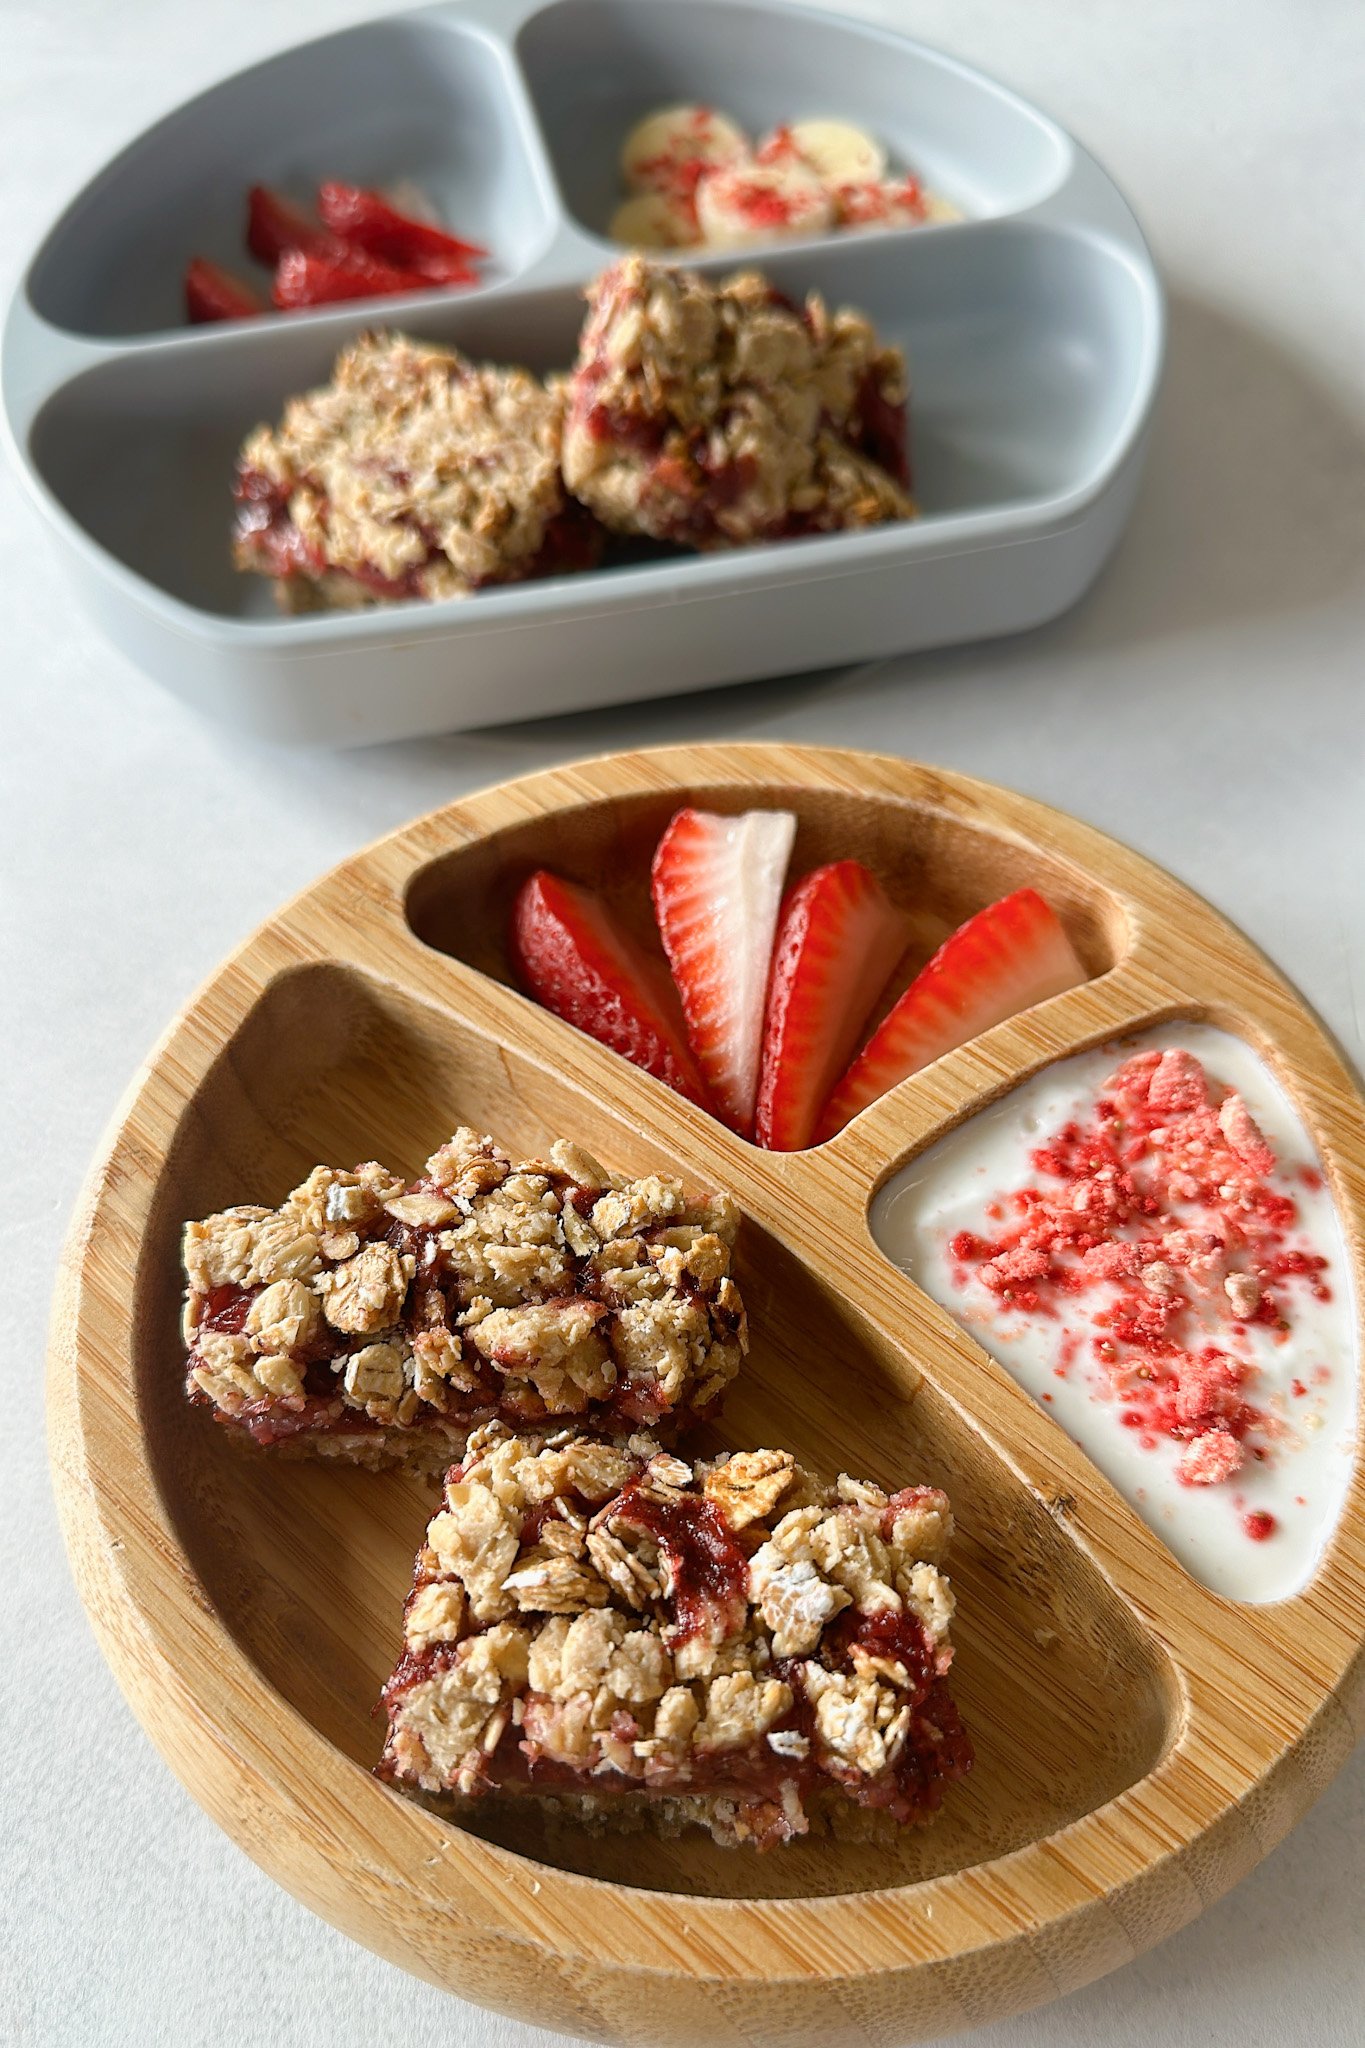
These strawberry jam crumble bars are the perfect sweet treat! The sweet strawberry filling is made with a simple jam and they are egg-free and gluten-free and perfect for breakfast or a snack!

There are so pre-made many strawberry bars on the market, but many of them contain several grams of added sugar and additives. These strawberry jam crumble bars are made with clean, everyday ingredients and are a filling treat! The homemade strawberry jam is also perfect to serve in a sandwich, with crackers, or on a slice of toast!
If you love these strawberry crumble bars, you’ll also love these filling strawberry banana oatmeal bars and these strawberry cheesecake french toast roll ups!
Table of Contents
What You’ll Need
Here is what you’ll need to make these strawberry jam crumble bars:
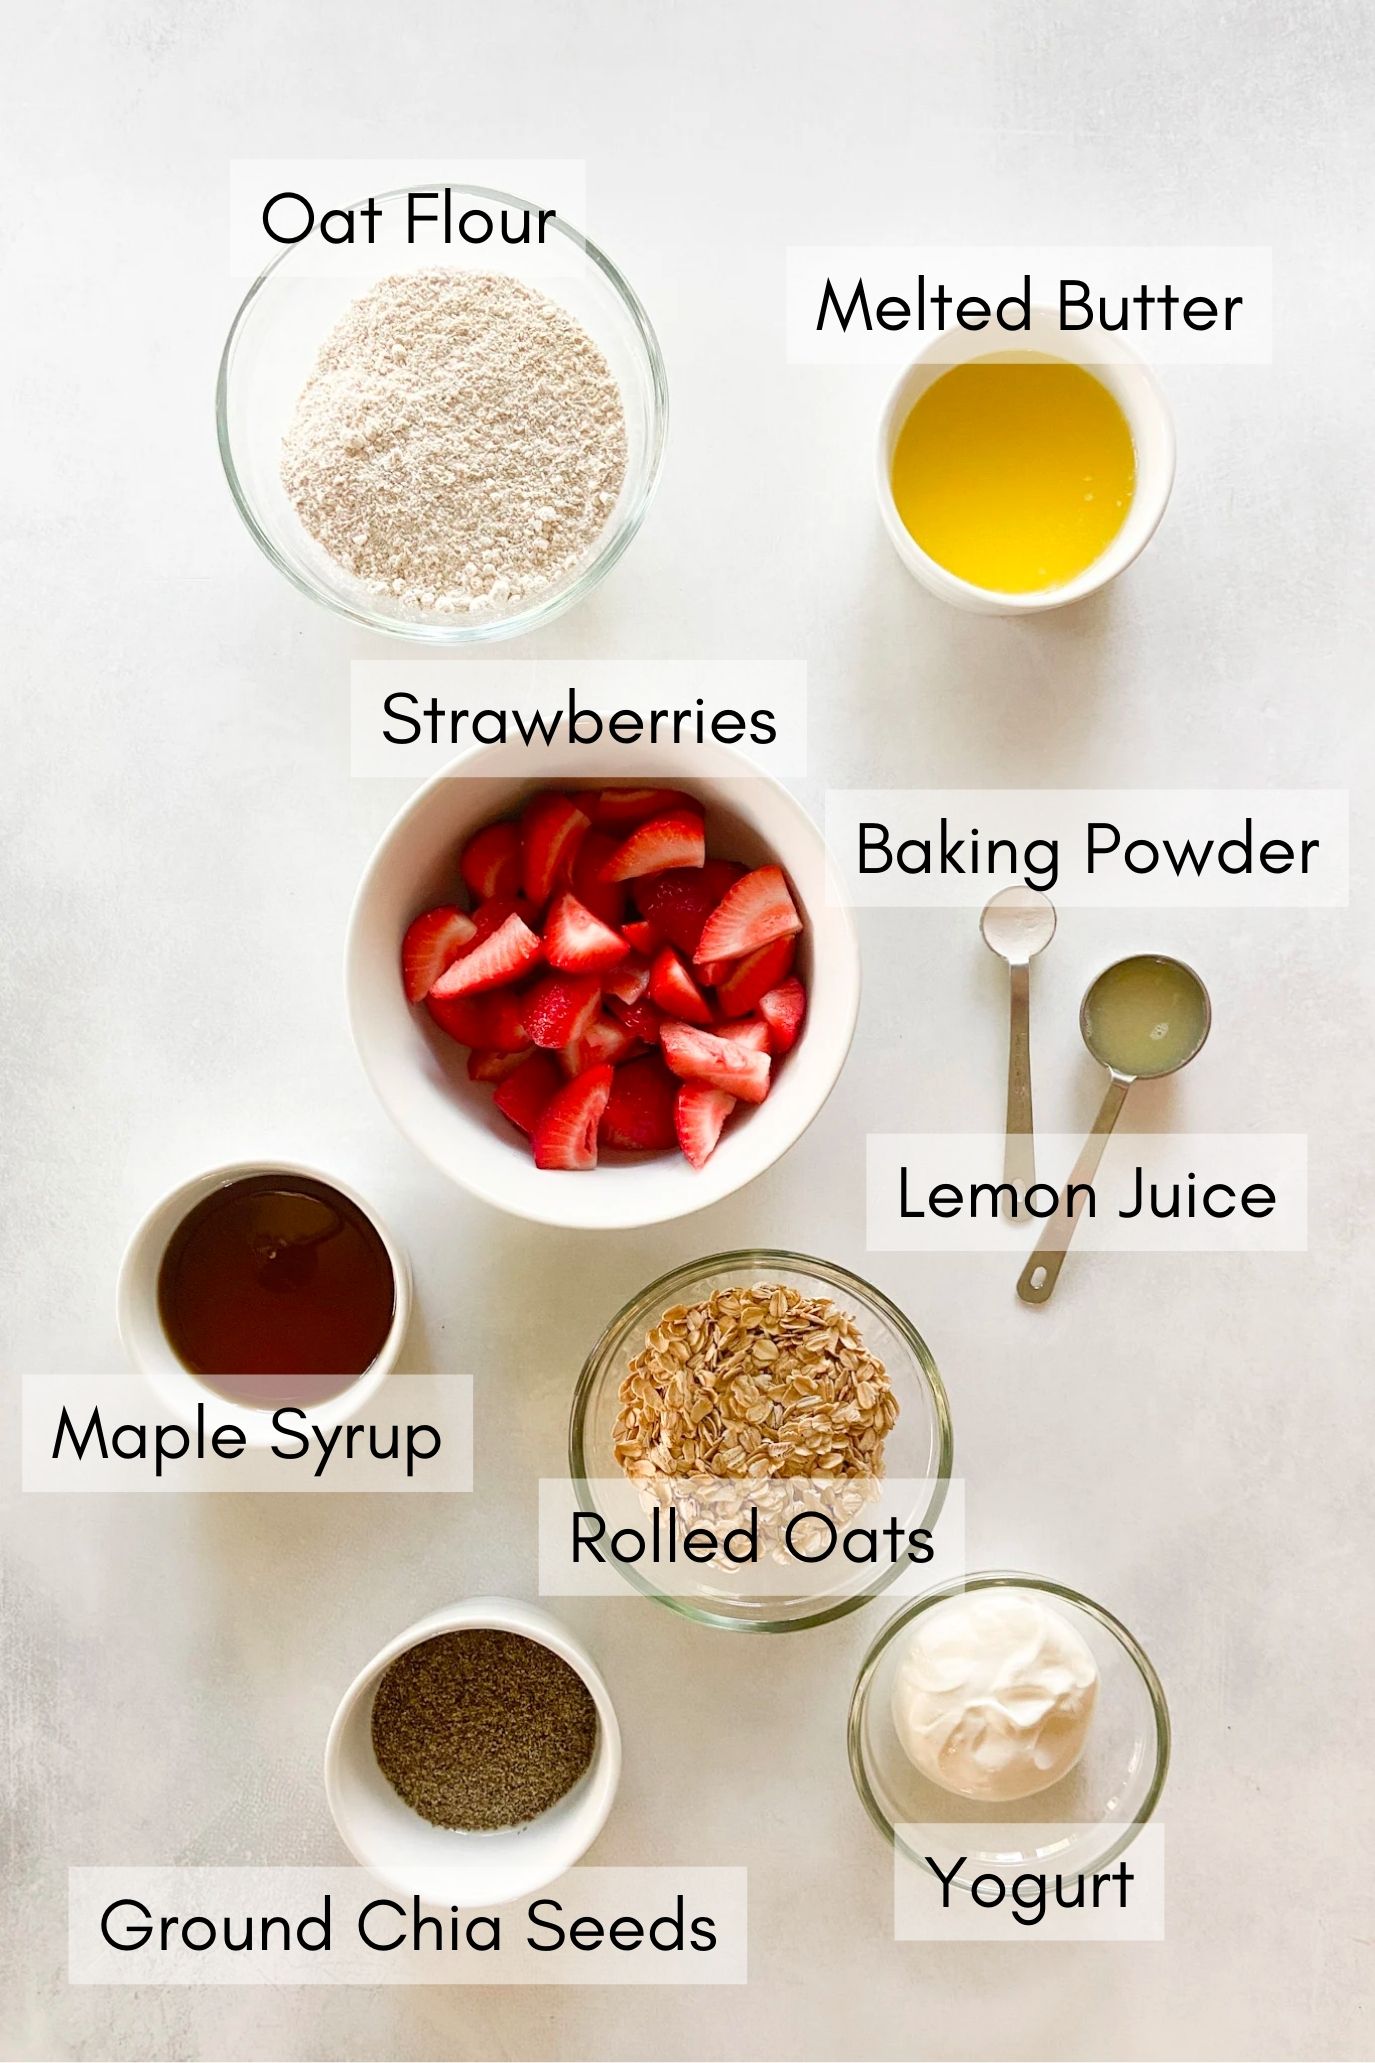
- Rolled Oats: I love baking with rolled oats as they are packed with nutrition! Gluten-free rolled oats make these strawberry oat bars gluten-free.
- Oat Flour: I usually make my own oat flour by blending rolled oats in a flour-like texture.
- Baking Powder: Leavening agent for the bars.
- Maple Syrup: The main source of sweetness for the bars.
- Melted Butter: Helps to hold the base ingredients together.
- Greek Yogurt: For added moisture and flavor to the base of the bars.
- Strawberries: Base ingredient for the homemade jam filling to these bars.
- Lemon/Lime Juice: Used to balance out the flavors in the filling.
- Chia Seeds: To thicken up the strawberry jam. I love using this specific brand of chia seeds which are designed for babies and toddlers.
See the recipe card below for full information on ingredients and quantities.
Recipe Substitutions & Additions
- Berries: Any berry may be used in this recipe. You can also try this similar recipe for raspberry oat bars or this recipe for homemade blueberry chia jam!
- Butter: The butter may be replaced with equal parts of a mild-tasting oil (ex: Avocado oil, extra light-tasting olive oil, etc).
- Greek Yogurt: Greek yogurt may be replaced with a dairy-free yogurt.
- Granola: Optional add-in to sprinkle on top of the bars for added flavor and crunch!
Step By Step Instructions
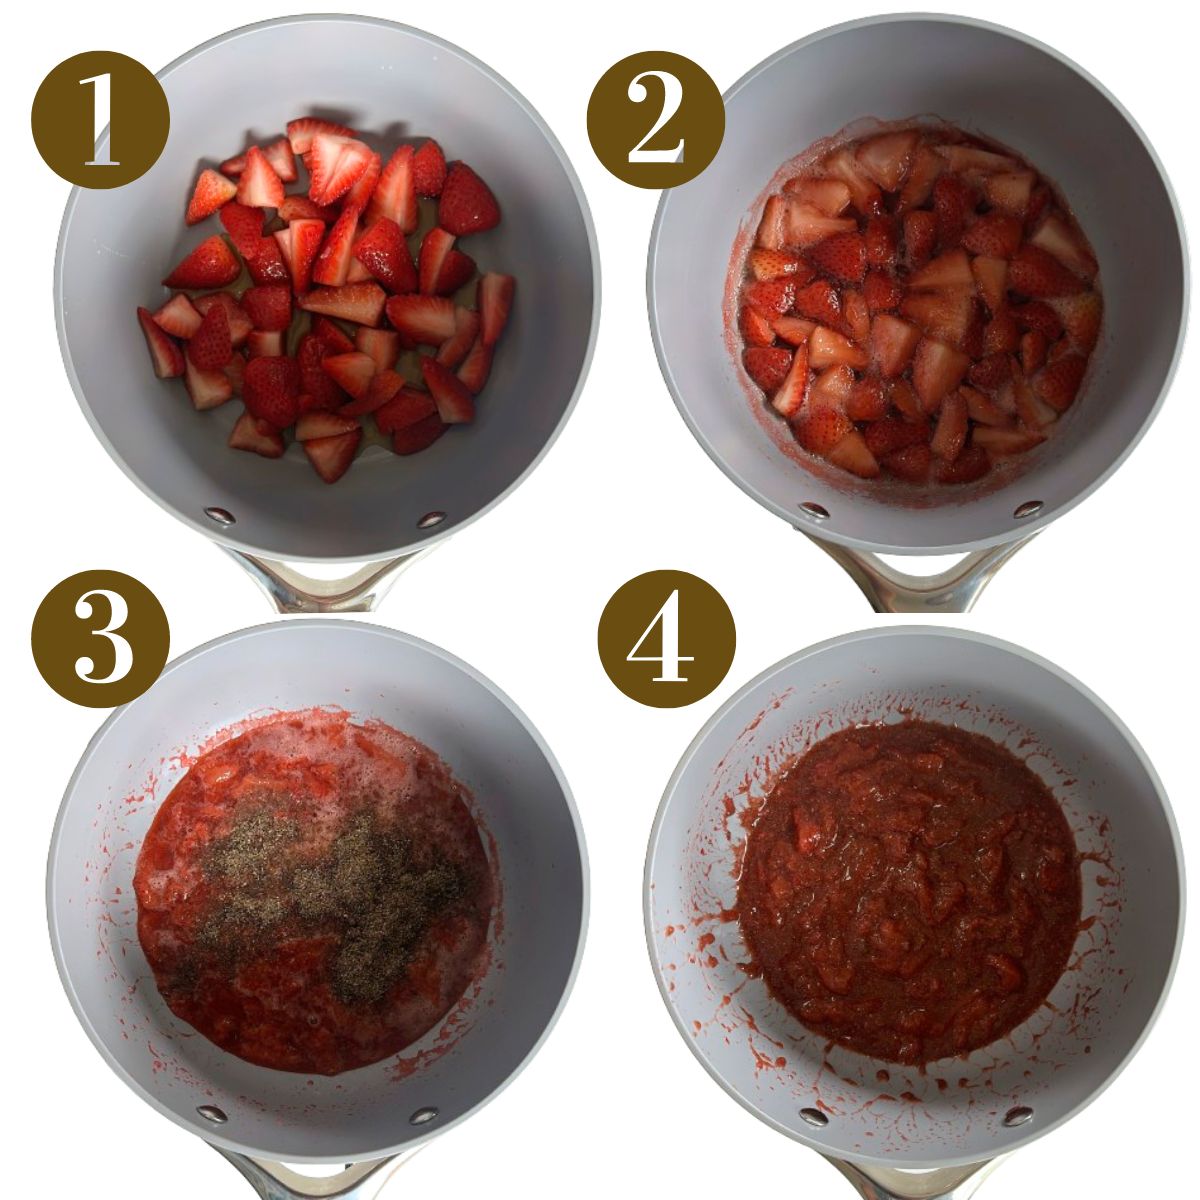
STEP 1: Wash the strawberries and chop them into small pieces. Add the strawberries to a small saucepan along with the lemon juice and maple syrup (Image 1). Let it come to a boil, then reduce the heat to medium-low and allow the strawberries to cook down (Image 2).
STEP 2: After about 5 minutes, once the strawberries soften, use a fork or masher to mash them down. I like to leave a few large chunks in, but feel free to mash it as much as you’d like. Add in the chia seeds and stir them in well (Image 3). Remove the pan from the heat and allow the jam to sit for 10-15 minutes as the chia seeds work to thicken the sauce (Image 4).
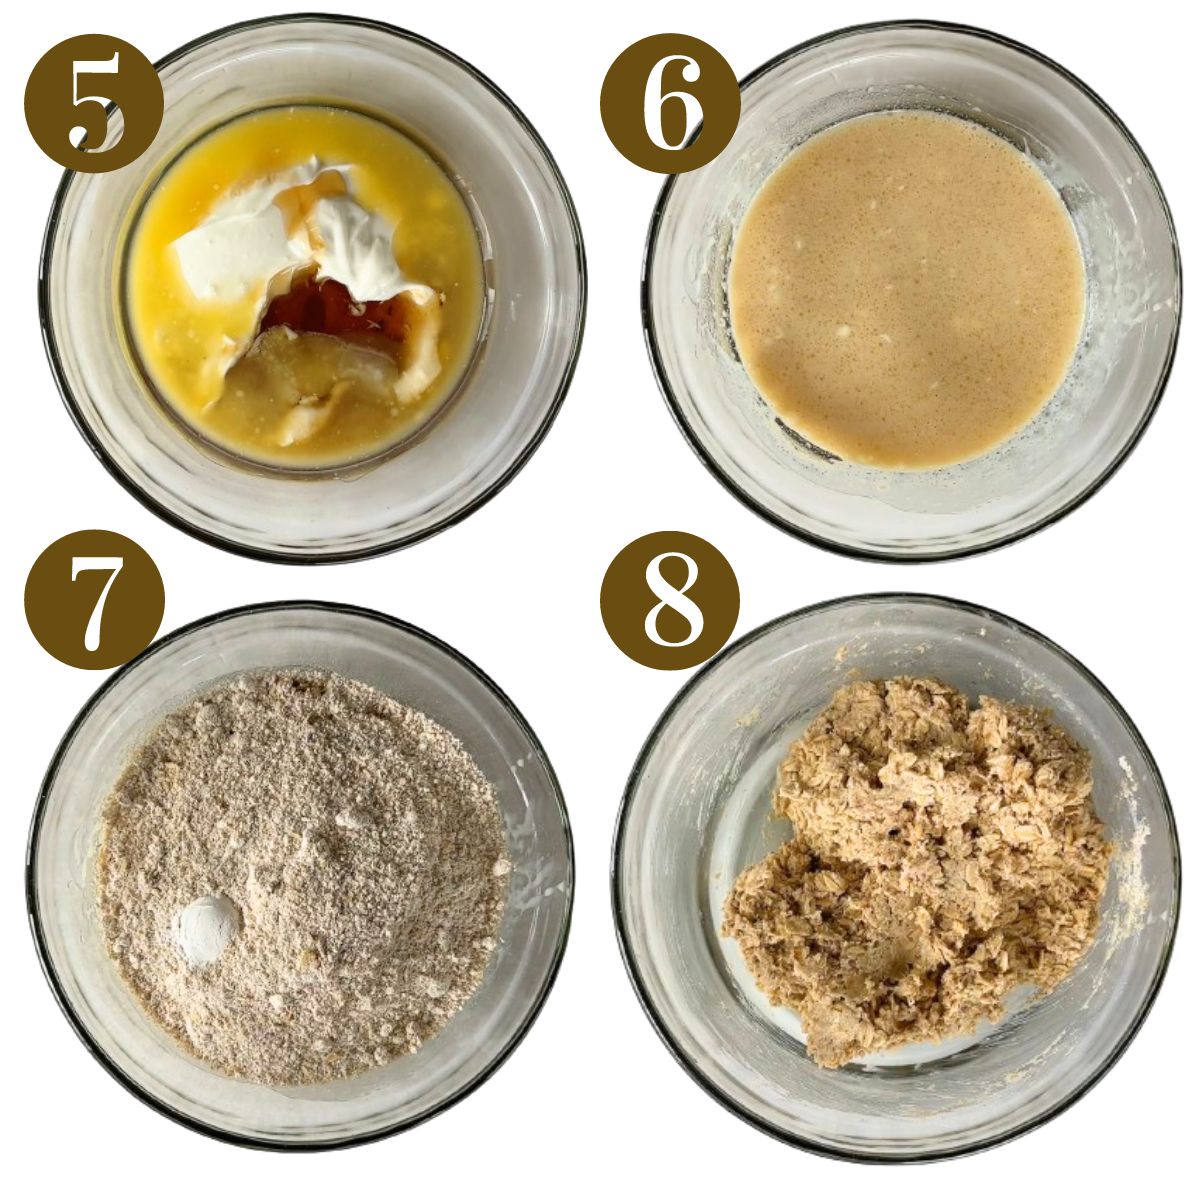
STEP 3: In a separate bowl, whisk together the melted butter, maple syrup, and Greek yogurt until smooth (Images 5 & 6).
STEP 4: Add the oats, oat flour, and baking powder into the bowl with the wet ingredients and mix until well combined into a thick mixture (Images 7 & 8).
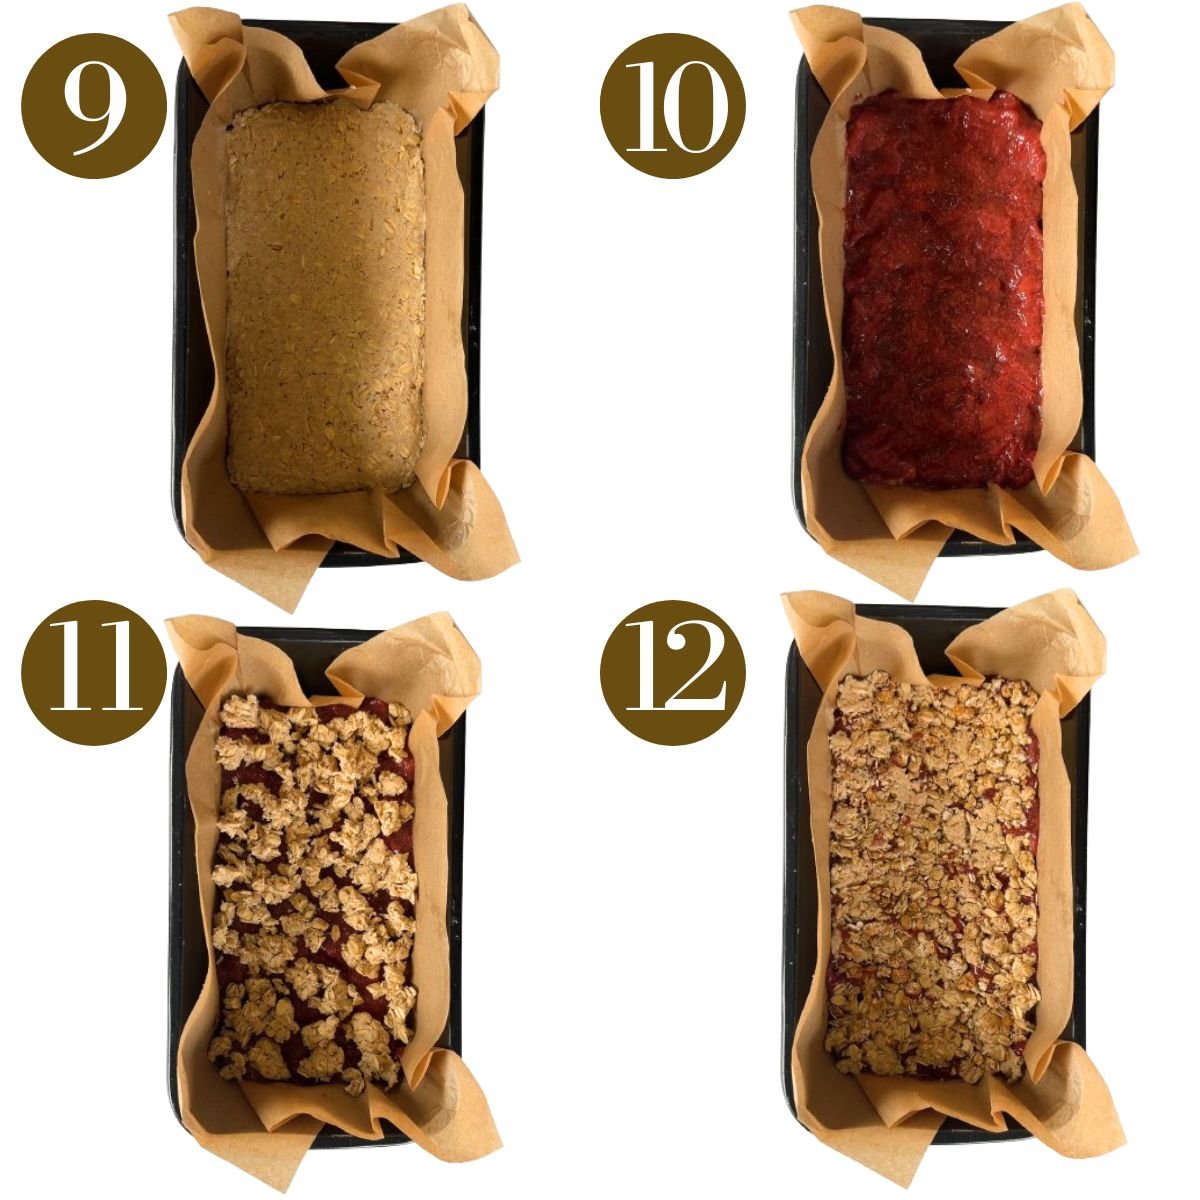
STEP 5: Line a loaf pan with parchment paper and add about 3/4 of the oat mixture to the pan. Press this mixture into the bottom of a loaf pan in an even layer (Image 9).
STEP 6: Pour the strawberry jam mixture on top of the base and smooth it out in an even layer (Image 10).
STEP 7: Pinch off small pieces of the remaining oat mixture and crumble it on top of the jam. If you would like, sprinkle some extra pieces of granola on top for added flavor and crunch. Use a spatula to lightly press the oat mixture into the jam (Images 11 & 12).
STEP 8: Bake at 350 degrees F for 20 minutes. Allow it to cool completely before slicing it into bars.
Storage Instructions
Once cooled, slice into bars and store in an airtight container at room temperature for up to 3 days. To freeze, store in a freezer-safe Ziploc bag for up to 3 months.
Tips For Success
- I used a 9 by 5 loaf pan for this recipe, but you may use an 8 by 8 brownie pan for a thinner bar, or you may bake them in these silicone granola bar molds!
- You can make homemade oat flour by just blending up old-fashioned rolled oats! You may purchase oat flour separately, but making your own is so simple and much more economical!
- For gluten-free bars, be sure to use certified gluten-free oats.
Recipe FAQs
Yes! You can use raspberries, blueberries, blackberries, or a mix of all for these! For a blueberry version, try out this recipe for homemade blueberry chia jam! Oftentimes, I love to double the jam recipe and use it on toast for a breakfast treat!
These bars are soft textured with added moisture from the strawberry jam!
Yes! You can use your favorite store-bought jam in place of the homemade strawberry jam.
Other Strawberry Recipes You’ll Love
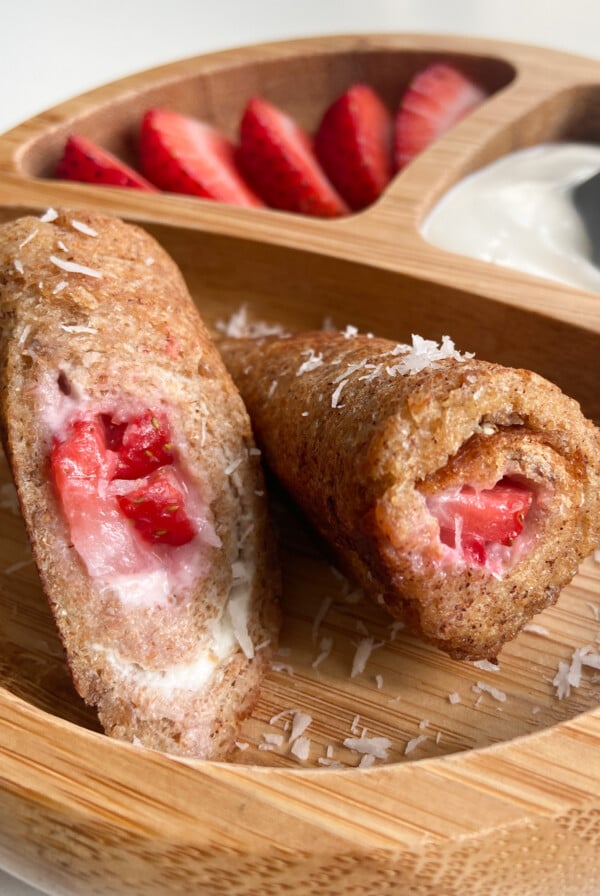
Strawberry Cheesecake Roll-Ups
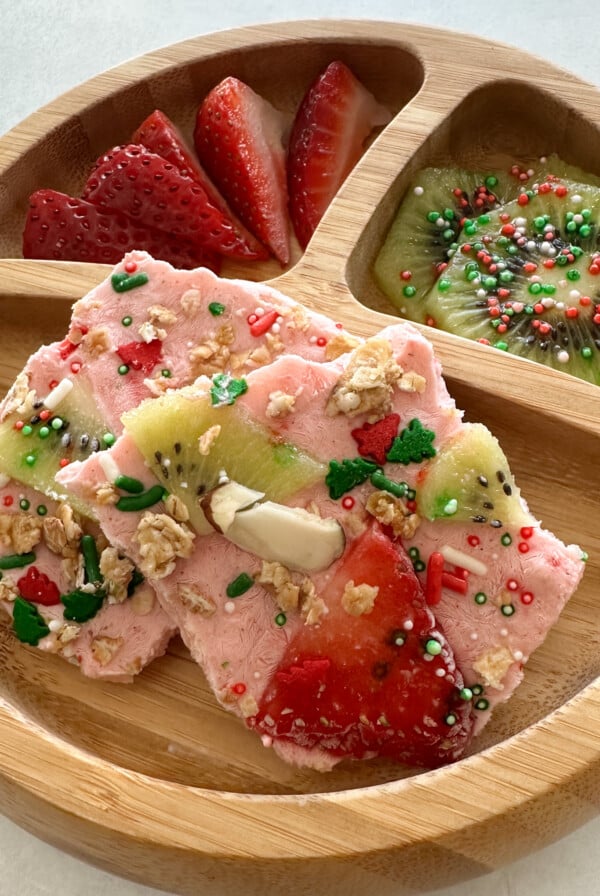
Strawberry Yogurt Bark
Strawberry Banana Oatmeal Muffins
Strawberry Jam Crumble Bars
If you tried these Strawberry Jam Crumble Bars please leave a ⭐ star rating and let me know how it went in the comments below! I love hearing from you!
Strawberry Crumble Bars
Ingredients
For The Oat Base/Crumble
- ¾ cup oat flour
- ¾ cup whole rolled oats
- ½ tsp baking powder
- ¼ cup Greek yogurt
- 3 tbsp melted butter
- 3 tbsp maple syrup
For The Strawberry Jam
- 8-10 medium strawberries, about 1 ½ cup quartered strawberries
- 1 tbsp lemon juice
- 1 tbsp maple syrup
- 1 tbsp chia seeds
Instructions
- Preheat the oven to 350 degrees F (180 degrees C).
- Wash the strawberries and chop them into small pieces. Add the strawberries to a small saucepan along with the lemon juice and maple syrup. Let it come to a boil, then reduce the heat to medium-low and allow the strawberries to cook down.
- After about 5 minutes, once the strawberries soften, use a fork or masher to mash them down. I like to leave a few large chunks in but feel free to mash it as much as you'd like. Add in the chia seeds and stir them in well. Remove the pan from the heat and allow the jam to sit for 10-15 minutes as the chia seeds work to thicken the sauce.
- In a separate bowl, whisk together the melted butter, maple syrup, and Greek yogurt until smooth.
- Add the oats, oat flour, and baking powder into the bowl with the wet ingredients and mix until well combined into a thick mixture.
- Line a loaf pan with parchment paper and add about 3/4 of the oat mixture to the pan. Press this mixture into the bottom of a loaf pan in an even layer.
- Pour the strawberry jam mixture on top of the base and smooth it out in an even layer.
- Pinch off small pieces of the remaining oat mixture and crumble it on top of the jam. If you would like, sprinkle some extra pieces of granola on top for added flavor and crunch. Use a spatula to lightly press the oat mixture into the jam.
- Bake at 350 degrees F for 20 minutes. Allow it to cool completely before slicing it into bars.
Notes
- I used a 9 by 5 loaf pan for this recipe, but you may use an 8 by 8 brownie pan for a thinner bar, or you may bake them in these silicone granola bar molds!
- You can make homemade oat flour by just blending up old-fashioned rolled oats! You may purchase oat flour separately, but making your own is so simple and much more economical!
- For gluten-free bars, be sure to use certified gluten-free oats.


can I use store bought jam? I don’t have fresh strawberries but I do have strawberry chia jam from a store.
Hi! Yes, you can definitely use store-bought jam for these bars😊
Hi, I was wondering if I could omit the maple syrup entirely for my baby. Is that possible and/or should I put something in place for that? I’m trying to avoid the sugars. Would it be a problem? Thanks in advance!
Hi Jac! Yes, you can omit the maple syrup entirely, the bars just wont be sweet but will have some slight subtle sweetness from the strawberries. You could also maple try this recipe instead that incorporates banana for a naturally sweetened bar😊
My 13 month old absolutely devours these! I love them too. They also reheat really well from being frozen. I use 50% power level on microwave in small increments. Definitely recommend this recipe for an easy snack or dessert. 🙂
Hi Liana! I’m so glad to hear that you and your little enjoyed these bars! And thank you for sharing the tip about reheating!😊
Just wondering how you would store to leftover!? And for how long?
Hi Danielle! Once cooled, you can store them in an airtight container at room temperature for up to 3 days (or in the fridge for up to 5 days). To freeze, store in a freezer-safe Ziploc bag for up to 3 months.😊