Gluten-Free Gingerbread Waffles
on Dec 02, 2023, Updated Mar 17, 2024
This post may contain affiliate links. Please read our disclosure policy.
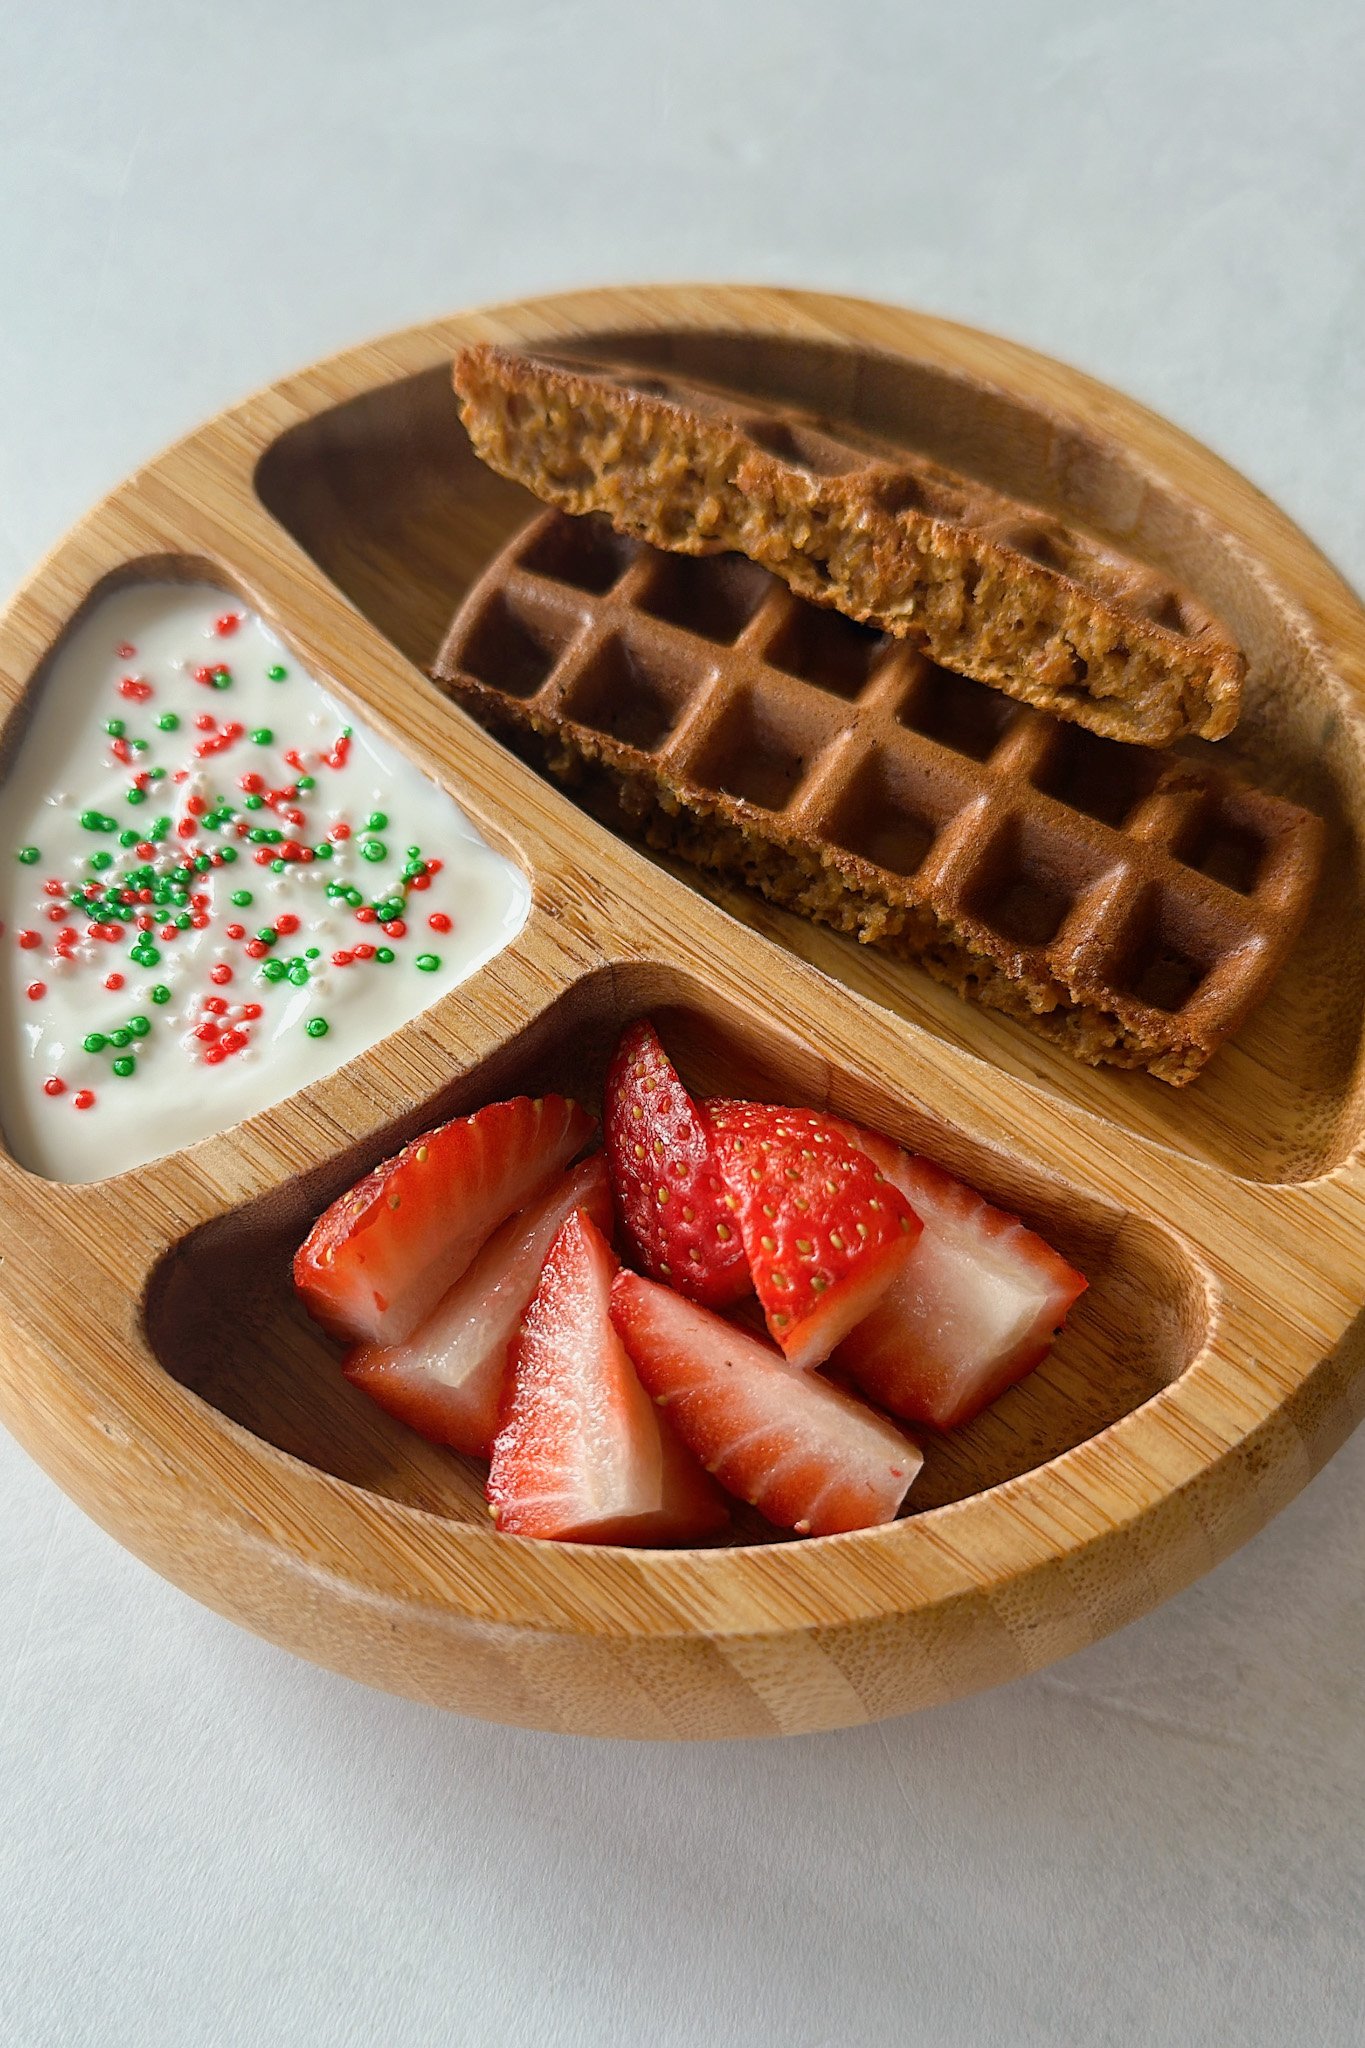
These gluten-free gingerbread waffles are made right in the blender with just a few simple ingredients. They are crisp on the outside and soft and tender on the inside, made with hearty rolled oats as the base!
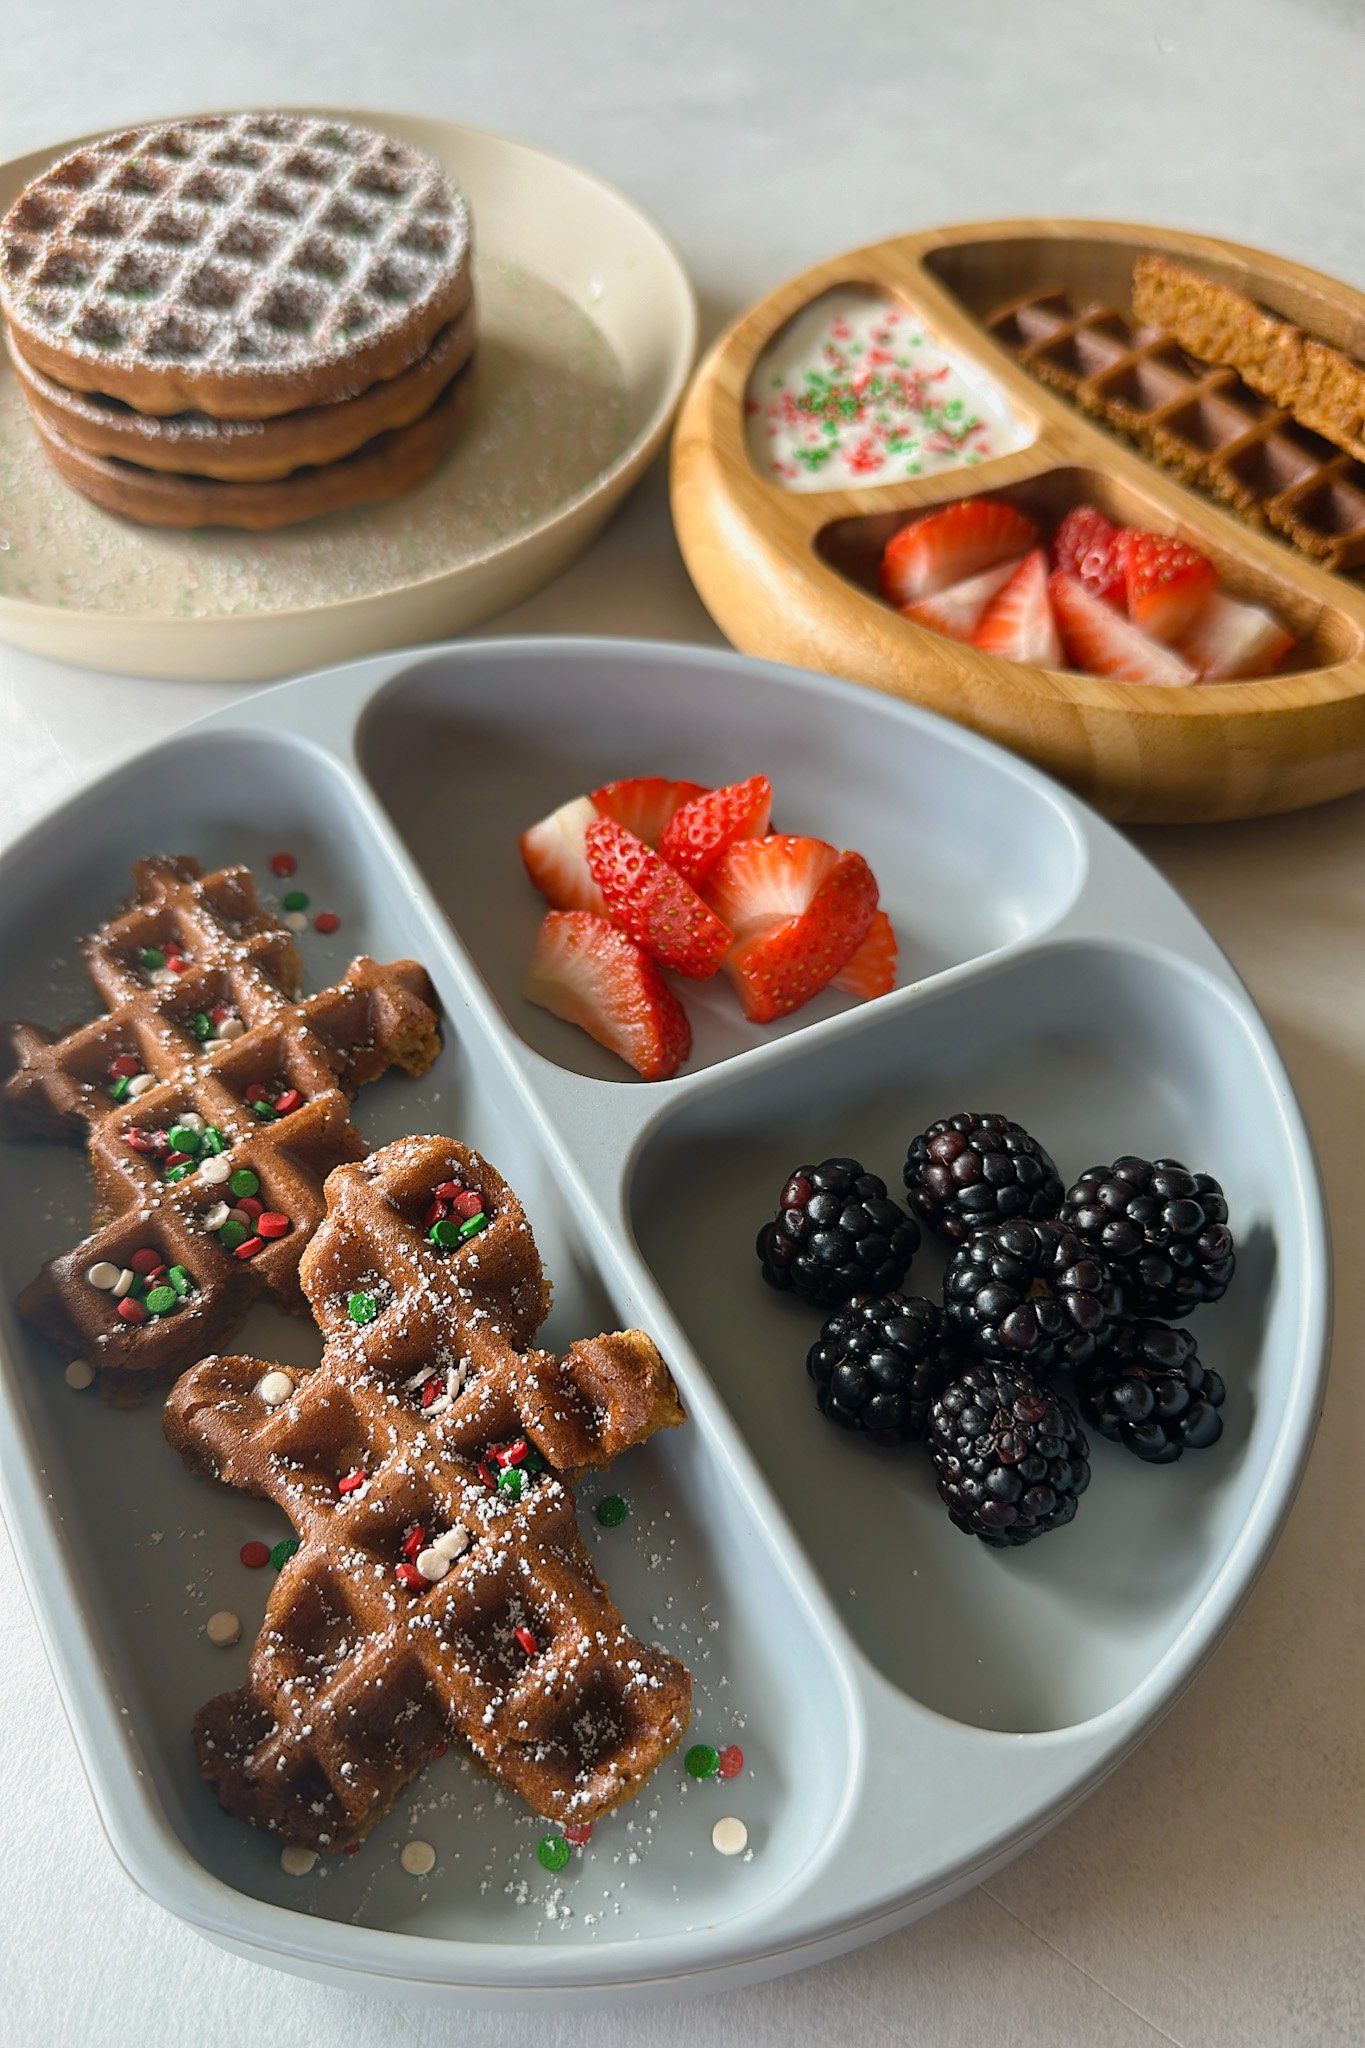
It doesn’t get easier than a good old blender waffle! These waffles combine the flavors of ginger cinnamon, and molasses for a perfectly spiced morning treat. They’re perfect for the holiday season, and I love using fun gingerbread cutouts to make them more festive and fun! Use any extra molasses to make these warm spiced baked gingerbread oatmeal bites for a breakfast treat as well!
Don’t have molasses on hand? You can also try out these ginger-spiced cookies, mini gingerbread men cookies, and these molasses-free gingerbread cookies for other fun holiday treats!
Table of Contents
What You’ll Need
Here is what you’ll need to make these gluten-free gingerbread waffles:
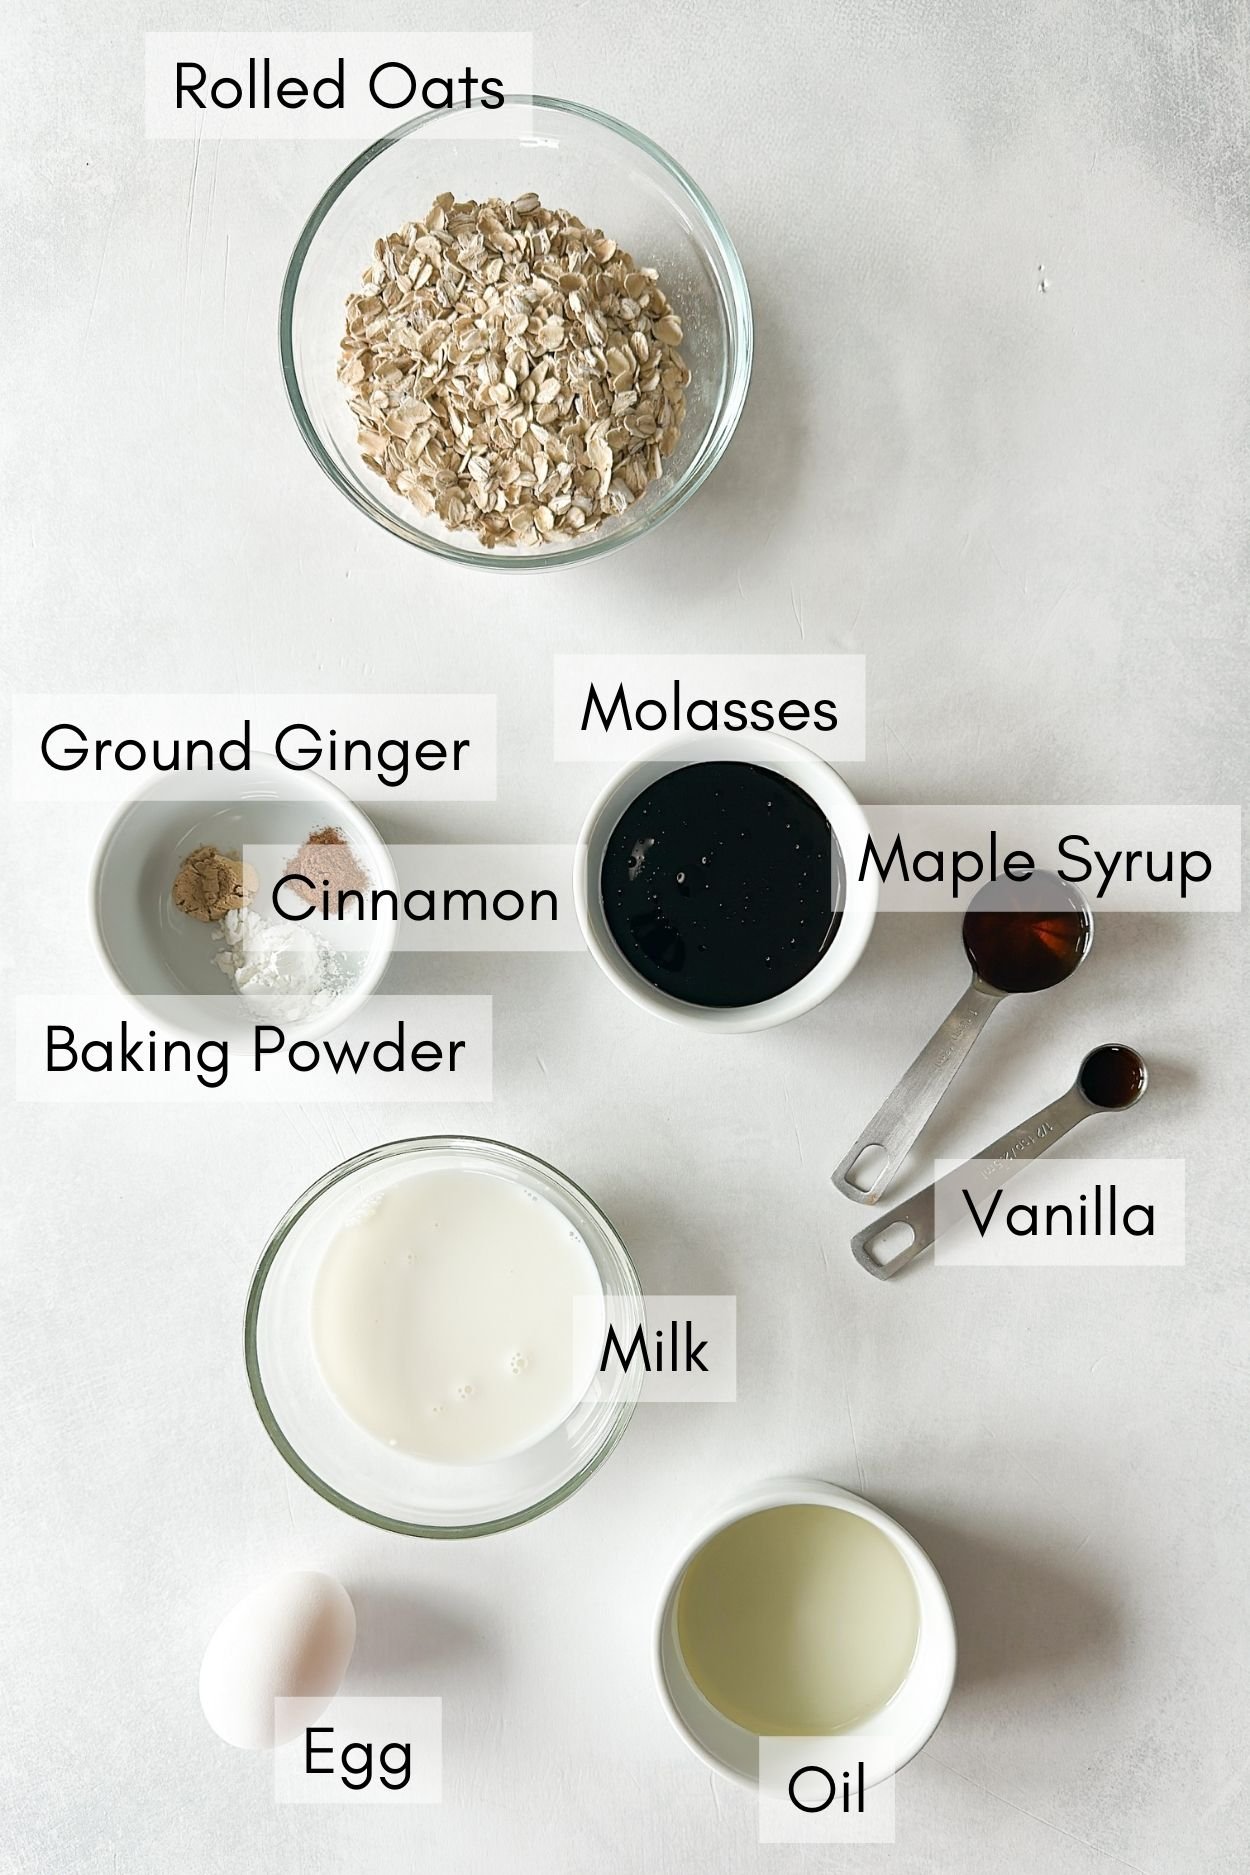
- Rolled Oats: The base ingredient for these waffles. Make sure to purchase certified gluten-free rolled oats if you want to ensure that these waffles are gluten-free.
- Milk: I used whole milk in this recipe, but any type of milk can be used.
- Oil: Be sure to use a mild-tasting oil like avocado oil, extra light-tasting olive oil, or coconut oil to ensure that a strong oil taste doesn’t overpower the waffles.
- Egg: Used as a binder to help the waffles maintain their shape.
- Molasses: The main ingredient to give the waffles a golden brown color and deep ginger flavor. I prefer to use unsulphured molasses, like this Grandma’s original brand.
- Maple Syrup: For added sweetness in the waffles.
- Cinnamon/Ground Ginger: Warm spices for added flavor and that classic ginger taste.
- Vanilla: For added flavor in the waffles.
- Baking Powder: Leavening agent to help the cookies rise.
See the recipe card below for full information on ingredients and quantities.
Recipe Substitutions & Additions
- Eggs: You may replace the egg with 1/4 cup of mashed banana. They will be slightly softer in texture but will still hold up once cooled.
- Milk: You can replace the milk with dairy-free milk or replace it with water.
- Molasses: Molasses is the main ingredient that gives these waffles that deep flavor and golden color, but if you don’t have any on hand, you can omit it altogether for classic maple oatmeal waffles.
Step By Step Instructions
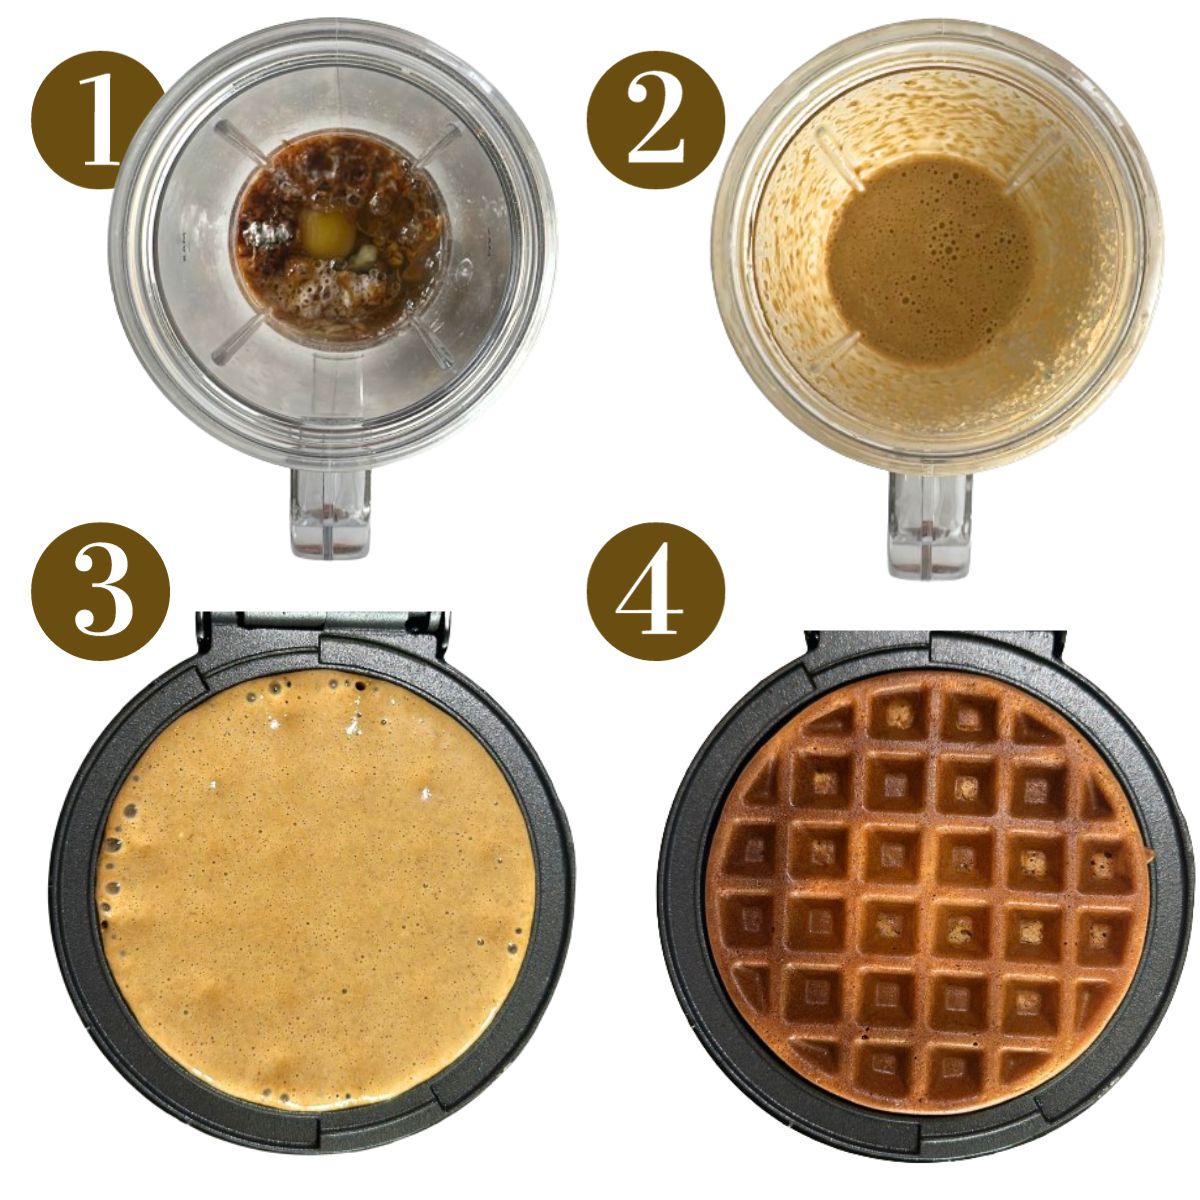
STEP 1: Add all of the ingredients to a high-powered blender (Step 1).
STEP 2: Blend at high speed until the mixture is smooth. Let the batter sit in the blender for at least 5 minutes to ensure that the oats can absorb all of the liquids (Step 2).
STEP 3: Preheat the waffle iron for 5 minutes. Once preheated, pour an even layer of batter into the iron and cook according to your waffle maker’s instructions (Step 3). My waffles took about 3.5 minutes in my mini waffle maker.
STEP 4: Once cooked, gently remove the waffle from the waffle maker and repeat for the remaining batter. Let the waffles cool completely before serving (Step 4).
Storage Instructions
Let the waffles completely cool and store them in an airtight container for up to 2 days in the refrigerator. To freeze, store in a freezer-safe Ziploc bag for up to 2 months. You may reheat on low heat in a pan or simply microwave for 20-30 seconds, or until warmed through!
Tips For Success
- I use this nutribullet blender to blend the ingredients into a smooth batter. Make sure to let the batter rest in the blender for at least 5 minutes before pouring it into the waffle maker to ensure that the oats have time to absorb the moisture.
- Do not overfill your waffle maker with batter. The waffles will rise slightly during cooking and may not cook properly if overfilled.
- You may need to spray your waffle iron with a little cooking spray depending on the type of waffle maker you have to prevent sticking. I love using this mini waffle maker or this multi mini waffle maker to make small eggo-sized waffles and no spraying is needed!
Recipe FAQs
The molasses is what gives these waffles that deep, rich flavor and golden color, but if you don’t have any on hand, you can omit it altogether for classic maple oatmeal waffles.
Some waffle makers have an indicator to let you know when they are done cooking, but if it doesn’t, steam is usually a good indicator. When the steam stops, your waffles should be done cooking. These waffles took 3.5 minutes to cook in a mini waffle maker and will take a few extra minutes in a full-sized waffle maker.
These waffles pair well with a drizzle of maple syrup, whipped cream, blueberry chia jam, or a thin layer of peanut butter!
I recommend using old-fashioned rolled oats for this recipe. Baby oats and quick oats cook quickly and would result in mushy waffles, and steel-cut oats require a longer cooking time and would result in dense, chewy waffles.
Other Waffle Recipes You’ll Love
Egg Free Waffles
Healthy Sweet Potato Waffles
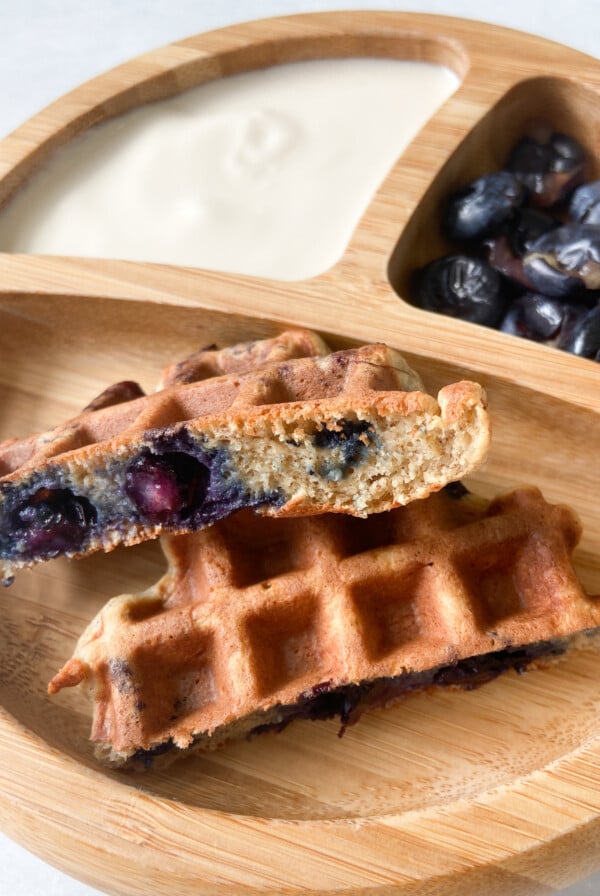
Waffles For Babies (Blueberry Banana Waffles)
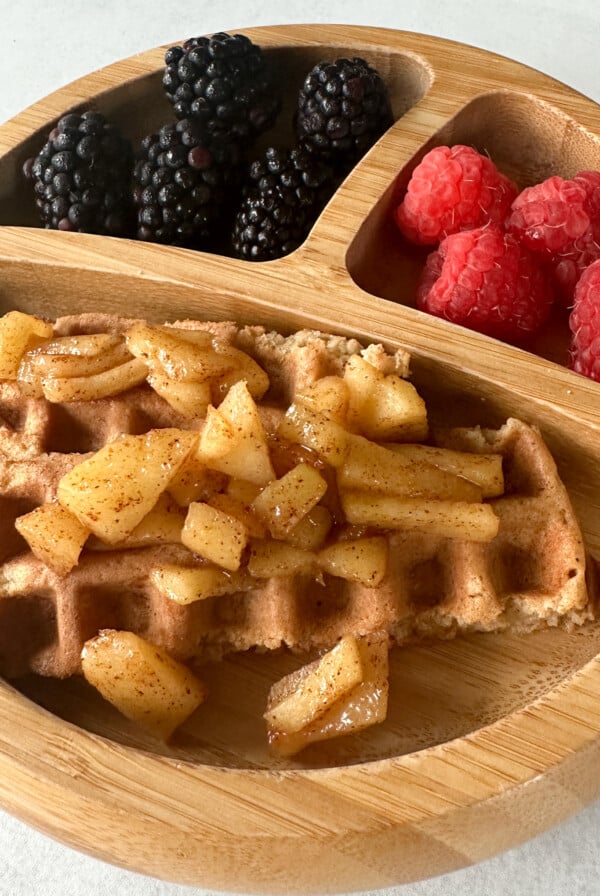
Cinnamon Apple Waffles
If you tried these Gluten-Free Gingerbread Waffles please leave a ⭐ star rating and let me know how it went in the comments below! I love hearing from you!
Gluten-Free Gingerbread Waffles
Equipment
Ingredients
- ¾ cup old fashioned rolled oats
- 1 tsp baking powder
- ½ tsp ground ginger
- ¼ tsp ground cinnamon
- ⅓ cup milk
- 2 tbsp mild-tasting oil
- 1 egg
- 2 tbsp molasses
- 1 tbsp maple syrup
- ½ tsp vanilla extract
Instructions
- Add all of the ingredients to a high-powered blender.
- Blend at high speed until the mixture is smooth. Let the batter sit in the blender for at least 5 minutes to ensure that the oats can absorb all of the liquids as you preheat the waffle maker.
- Preheat the waffle iron for 5 minutes. Once preheated, pour an even layer of batter into the iron and cook according to your waffle maker's instructions. My waffles took about 3.5 minutes in my mini waffle maker.
- Once cooked, gently remove the waffle from the waffle maker and repeat for the remaining batter. Let the waffles cool completely before serving. Makes 6 mini waffles or 2 full-sized waffles.
Notes
- I use this nutribullet blender to blend the ingredients into a smooth batter. Make sure to let the batter rest in the blender for at least 5 minutes before pouring it into the waffle maker to ensure that the oats have time to absorb the moisture.
- Do not overfill your waffle maker with batter. The waffles will rise slightly during cooking and may not cook properly if overfilled.
- You may need to spray your waffle iron with a little cooking spray depending on the type of waffle maker you have to prevent sticking. I love using this mini waffle maker or this multi mini waffle maker to make small eggo-sized waffles and no spraying is needed!







Delicious and easy! A wonderful holiday breakfast for two 3-year-olds—and their parents!
Loved it! Made it as waffles & as muffins. I doubled it so it would make more 🙂
I’m so happy to hear that you enjoyed these, Chanelle!😊