
Easy Homemade Mini Pizzas
on Dec 06, 2021, Updated Apr 20, 2026
This post may contain affiliate links. Please read our disclosure policy.
These homemade mini pizzas are perfect for little hands to pick up and hold! They can easily be customized with different toppings for a variety of textures and tastes!

The base of these mini pizzas is a 2-ingredient dough that consists of only self-rising flour and Greek yogurt. They are a great meal to make with your little ones and are great to reheat and pack in lunchboxes!
WHAT YOU’LL NEED
Here is what you’ll need to make these homemade mini pizzas:
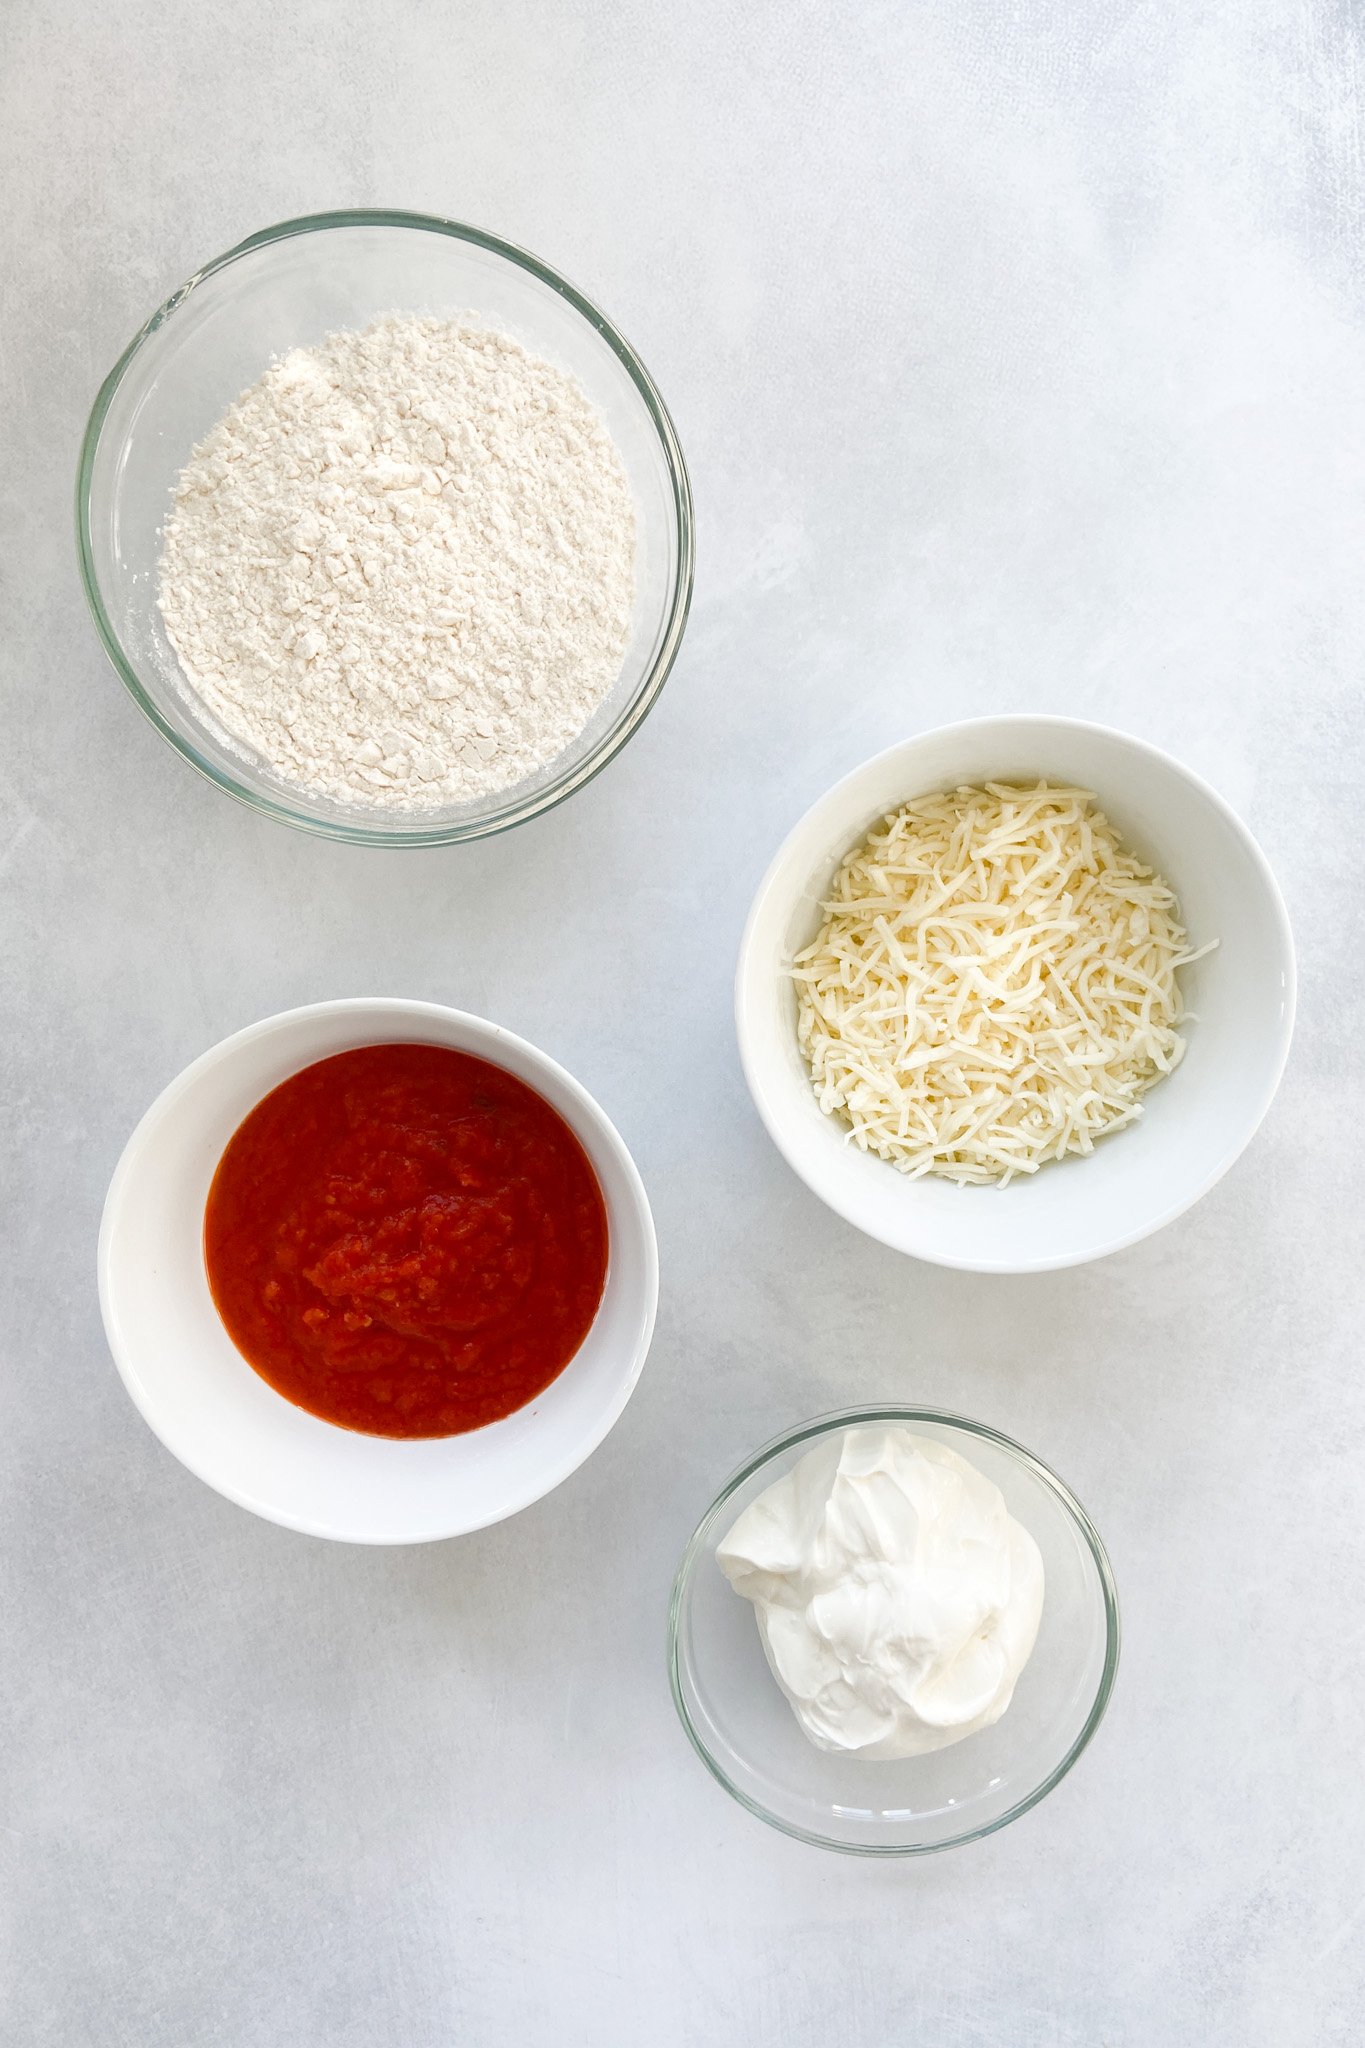
- Self-rising Flour: The main base of the dough. If you don’t have self-rising flour, you can make your own by combining all-purpose flour, baking powder, and salt!
- Greek Yogurt: Makes the dough soft and pliable, making it easy to roll out.
- Pizza Sauce: You can make your own pizza sauce or use a jarred one. I love using the Rao’s brand pizza sauce!
- Mozzarella Cheese: I used whole milk mozzarella cheese, but you can use a part-skim version as well.
- Toppings of choice!
PROCESS
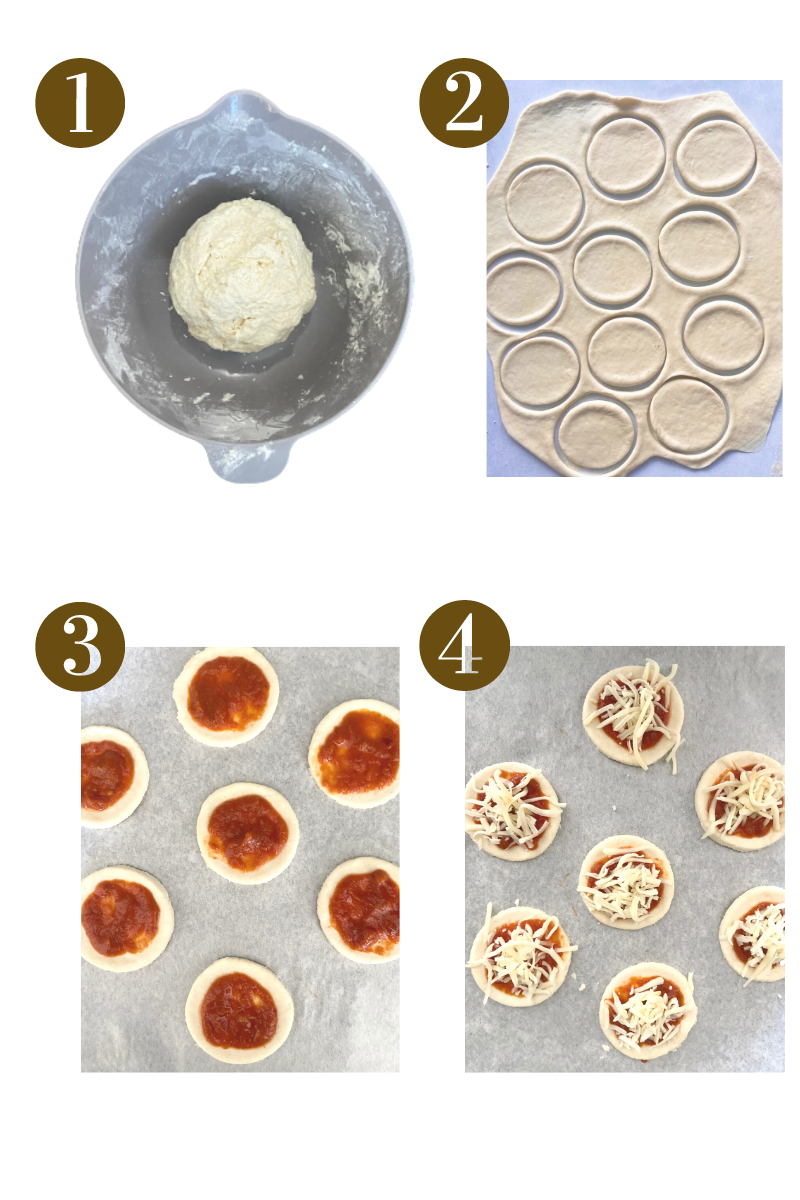
- Add the self-rising flour and Greek yogurt to a bowl and mix it until it becomes crumbly in texture.
- Use your hands to knead the dough for a few minutes until it starts to come together into a ball.
- Sprinkle a little flour on a surface and roll out the dough. I like to roll it out thin for these mini pizzas, but you can roll it out to your desired thickness.
- Use a cookie cutter or circular object to cut out small circles from the dough. Place the dough circles on a parchment paper-lined pan.
- Spread a small amount of pizza sauce on each dough circle.
- Sprinkle a small amount of cheese on top of the sauce on each dough circle. Top with optional toppings.
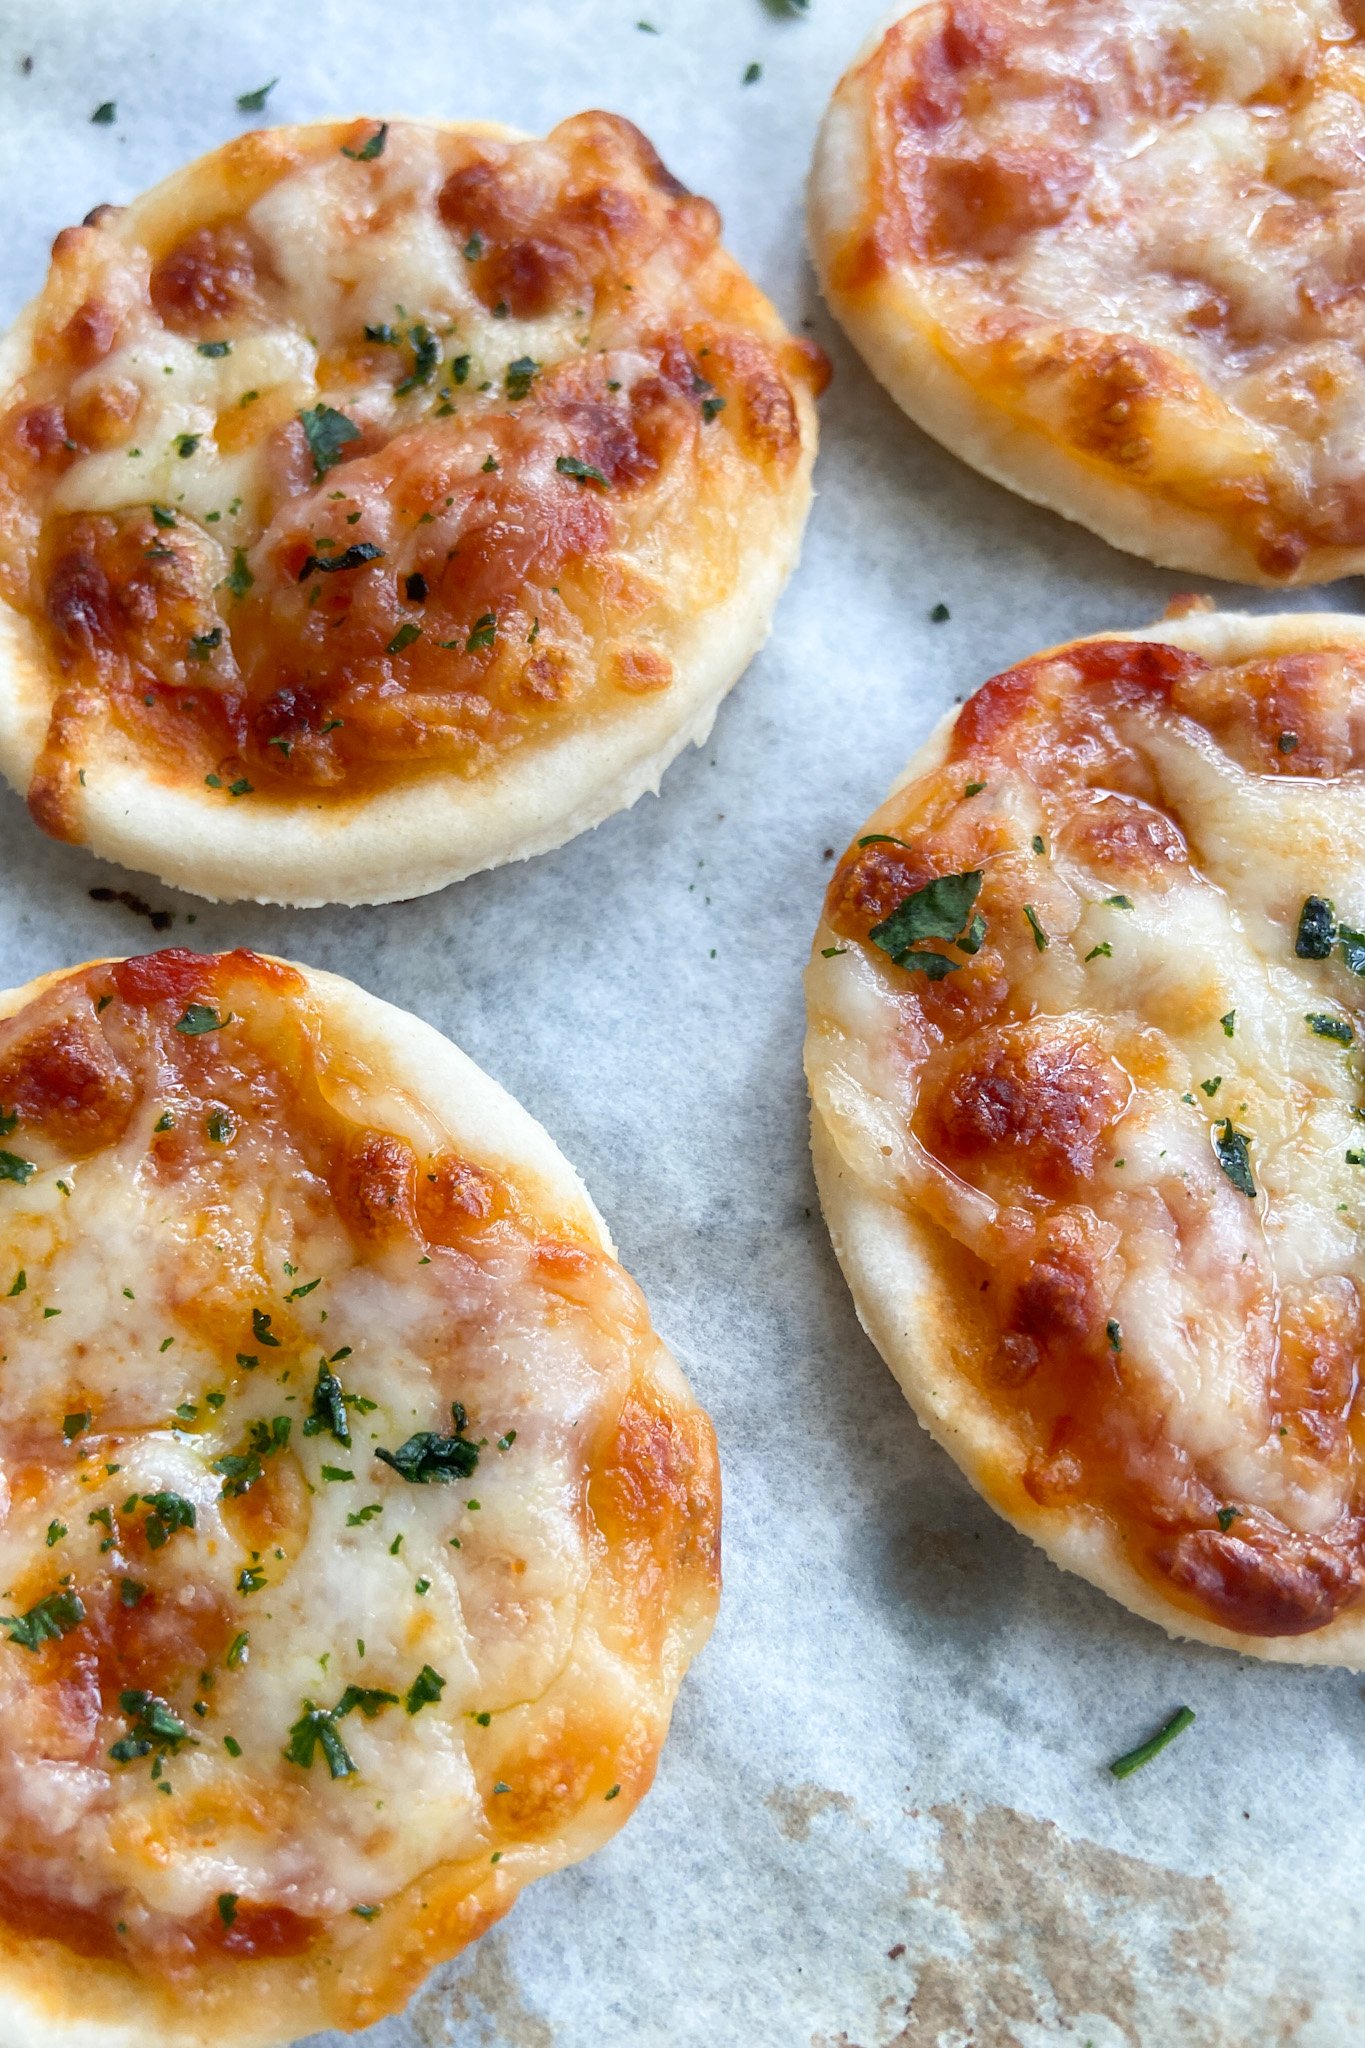
- Bake at 450 degrees F (232 degrees C) for 8-10 minutes, or until the cheese melts and the crust slightly browns. The mini pizzas will puff up while baking and deflate once cooled.
STORAGE INSTRUCTIONS
Let the mini pizzas completely cool and store them in an airtight container in the fridge for 3-4 days. To freeze, store in a freezer-safe Ziploc bag for up to 2 months. To reheat, bake for a few minutes at 350 degrees F until warmed through. You may also microwave the mini pizzas for 20-30 seconds, but the crust may become a little soggy.
SUBSTITUTIONS
- Self-rising flour: If you do not have self-rising flour, you can make your own by combining 2 cups of flour, 3 teaspoons of baking powder, and 1 teaspoon of salt and mixing it until it is well combined. Once combined, you can measure out 1 and ¾ cups of that mixture to combine with the Greek Yogurt to make the dough. You may use the same method with whole wheat flour.
- Greek yogurt: The Greek yogurt may be replaced with an equal amount of unsweetened coconut milk yogurt.
- Cheese: For a dairy-free version, substitute the cheese for dairy-free shredded cheese.
RECIPE NOTES
- This recipe makes around 24-30 mini pizzas (depending on the size you make each circle). You may make larger-sized pizzas by adding a few more minutes to the total bake time.
- I love using the Rao’s brand pizza sauce. It has natural, clean ingredients and tastes great!
- The mini pizzas puff up a lot while baking but shrink back down once they cool.
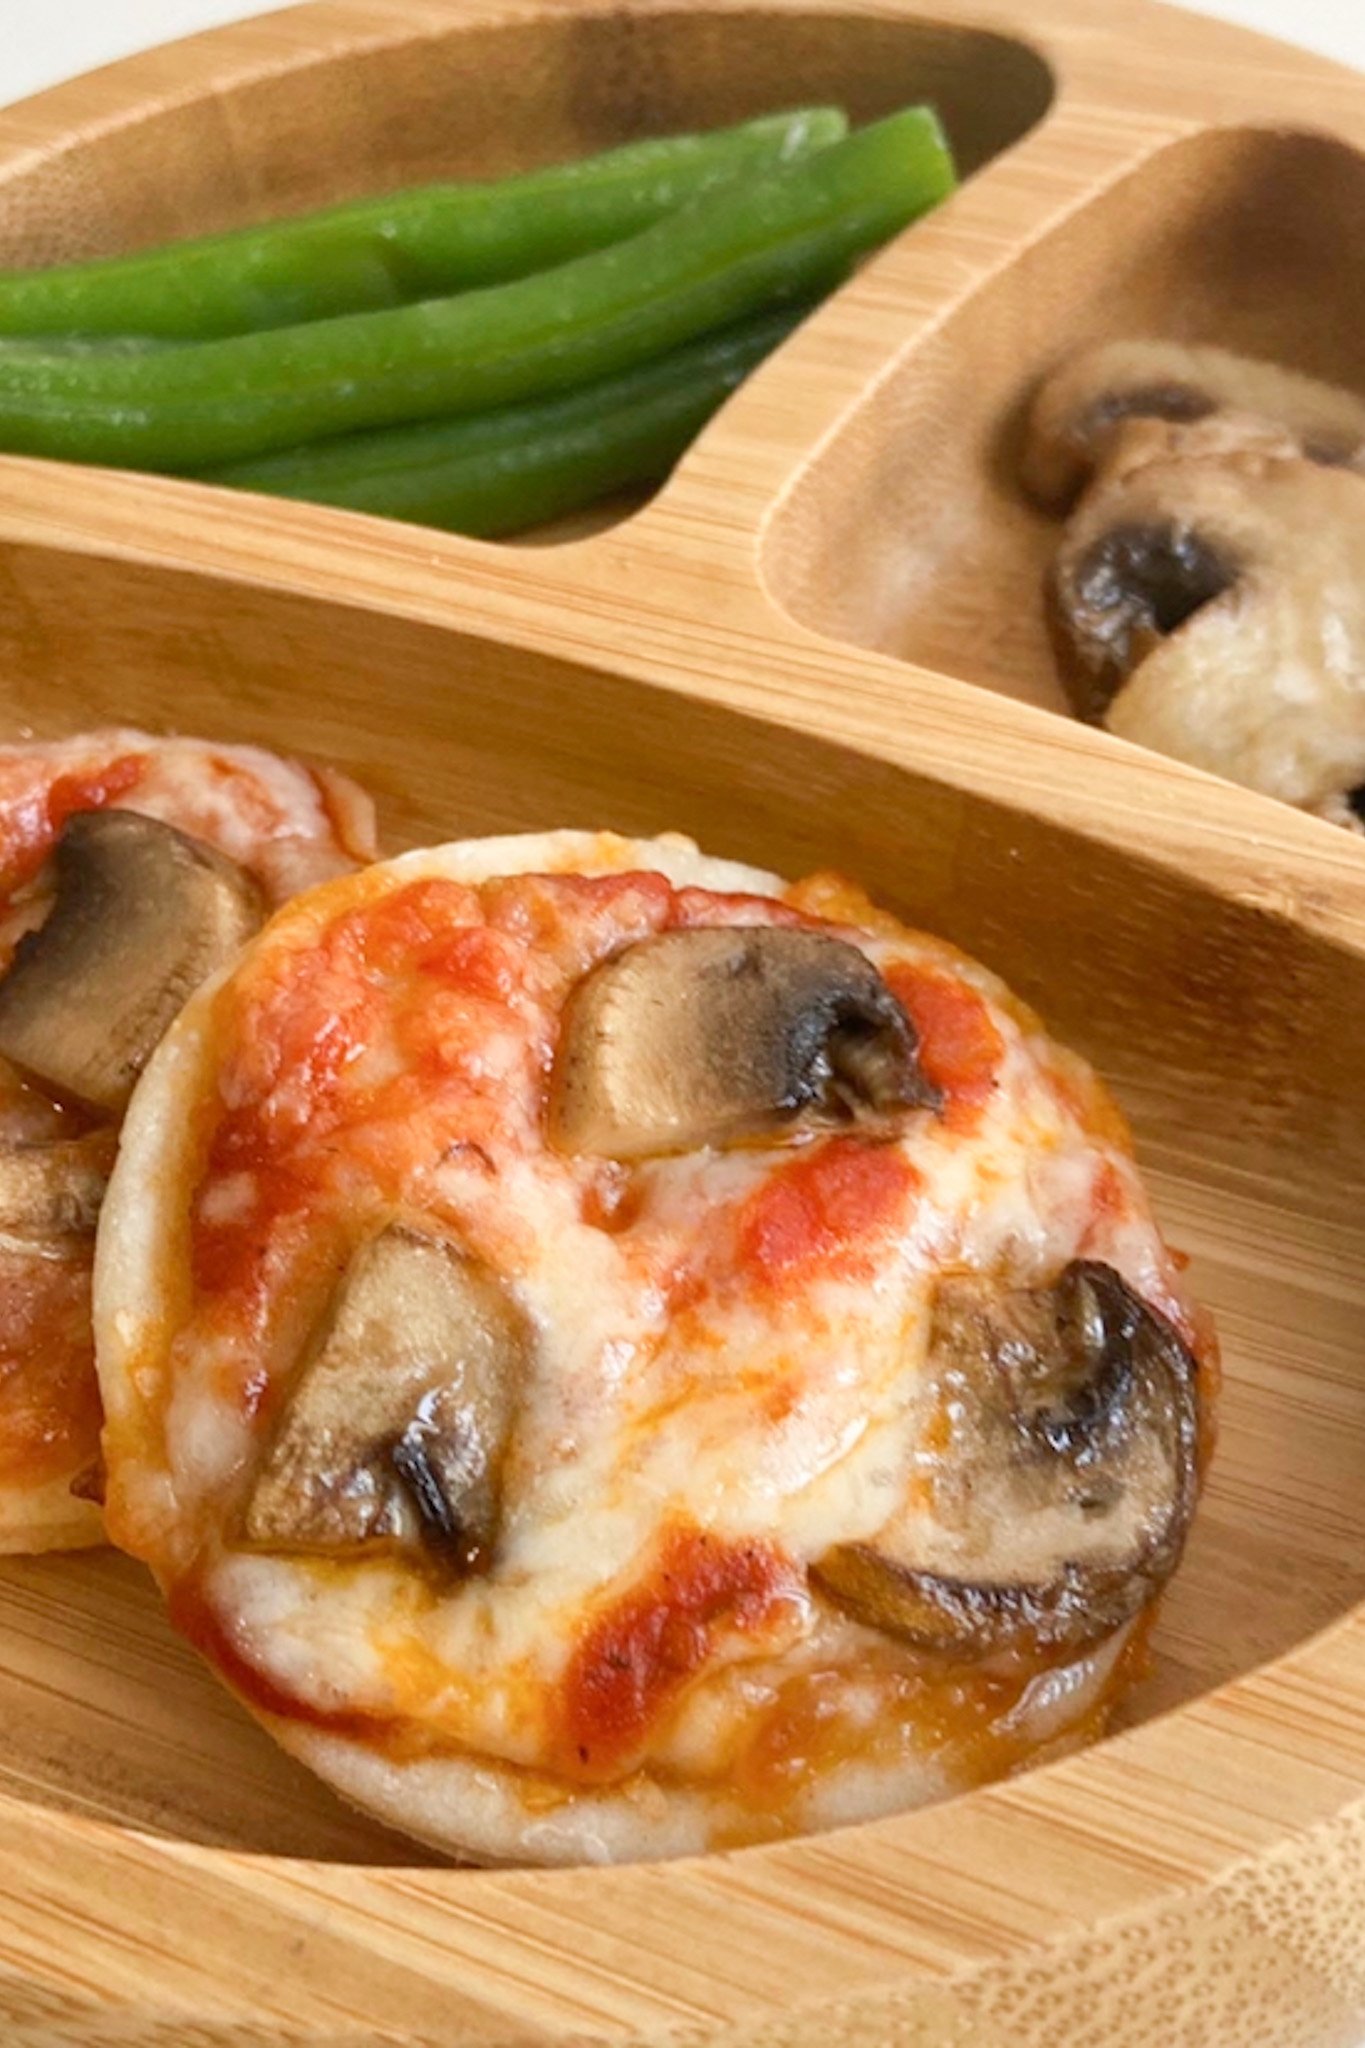
- Get creative with toppings! I love topping them with mushrooms, bell peppers, pepperoni, chicken, and more! Get your kiddos involved with making them and let them customize their own pizzas for fun creations!

You may also like:

Homemade Mini Pizzas
Ingredients
- 1 ¾ cups self-rising flour
- 1 cup Greek yogurt
- ½ cup pizza sauce
- 1 cup mozzarella cheese
- toppings of choice
Instructions
- Preheat the oven to 450 degrees F (232 degrees C).
- Add the self-rising flour and Greek yogurt to a bowl and mix it until it becomes crumbly in texture.
- Use your hands to knead the dough for a few minutes until it starts to come together into a ball.
- Sprinkle a little flour on a surface and roll out the dough. I like to roll it out thin for these mini pizzas, but you can roll it out to your desired thickness.
- Use a cookie cutter or circular object to cut out small circles from the dough. Place the dough circles on a parchment paper-lined pan.
- Spread a small amount of pizza sauce on each dough circle.
- Sprinkle a small amount of cheese on top of the sauce on each dough circle. Top with optional toppings.
- Bake for 8-10 minutes, or until the cheese melts and the crust slightly browns. The mini pizzas will puff up while baking and deflate once cooled.
Notes
- This recipe makes around 24-30 mini pizzas (depending on the size you make each circle). You may make larger-sized pizzas by adding a few more minutes to the total bake time.
- I love using the Rao’s brand pizza sauce. It has natural, clean ingredients and tastes great!
- The mini pizzas puff up a lot while baking but shrink back down once they cool.
- Get creative with toppings! I love topping them with mushrooms, bell peppers, pepperoni, chicken, and more! Get your kiddos involved with making them and let them customize their own pizzas for fun creations!


My picky 1 year old LOVES these. When it’s time to eat she always says “pizza pizza!” Thank you for the simple and healthy recipe!
I’m so glad to hear that your little one enjoys this recipe!😊
After baking, can you freeze them since it makes so many? If so, how long?
Hi Bethany! Yes, these are the storage instructions for these mini pizzas😊
Let the mini pizzas completely cool and store them in an airtight container in the fridge for 3-4 days. To freeze, store in a freezer-safe Ziploc bag for up to 2 months. To reheat, bake for a few minutes at 350 degrees F until warmed through. You may also microwave the mini pizzas for 20-30 seconds, but the crust may become a little soggy.
Can I bake just the crust and then freeze them before adding toppings?
That way if one topping doesn’t go over well with my little guy, I can change it the next time. 😃
Hi Katrina! I haven’t tried baking the crust alone first, but I think it should work out!😊
Do these freeze okay?
Hi Britteny! Yes, they can be frozen in an airtight, freezer-safe container😊
These are a favorite of my picky boy! Your site is my go-to for toddler meals and snacks! Thank you!!!
I’m so happy to hear that! Thank you for sharing your great feedback, Karlie, I’m so glad you’ve been finding the site helpful!😊
These were great! My two year old loved adding all her own toppings. I used whole wheat flour and added the baking powder and salt then used large biscuit cutter. Wonderful recipe Lilly!
I’m so glad that your little one enjoyed them and customizing her own toppings! Thank you for sharing your great feedback, Brittany!😊
Hi there! Can I make the dough and let it sit in the fridge or do I have to bake right away?
Hi! Yes, you can store the dough in the fridge wrapped tightly. Once you are ready to use it, you can let it sit out at room temperature for a few minutes so that it is easy to roll out😊
Hi
This sounds great! Would you say this would be suitable for an 8 month old as part of BLW?
Thanks!
Hi! Yes, these are definitely suitable for baby-led weaning! You may want to slice the mini pizzas into strips so that they are a little easier for your little one to pick up and hold to eat😊
Hi !! I was wondering if this freeze Ok?
Gotcha! Thank you for your response! I shall look for self-raising flour at the grocery store 🙂
Hi! Would oat flour work if I am making my own self-rising flour? Thank you 🙂
Hi Betty! I haven’t experimented with making self-raising flour using oat flour, it may work, but the texture of the dough would definitely be a little different since the oats provide a slightly different texture😊
Soooo gooodddddd I love it! I thought I would taste balcony because of the dough, but it’s actually amazing.
Tip:
If you don’t have Greek yogurt, just strain in a cheese cloth for 30 minutes and then use it,