
Pancakes With Pears (Fruit Dipped)

on Apr 27, 2024, Updated Sep 29, 2026
This post may contain affiliate links. Please read our disclosure policy.
Add as Google preferred sourceThese pancakes with pears are made by dipping fresh pear slices into a simple cinnamon pancake batter and cooking them until golden and fluffy. The pears soften as they cook, giving each bite a warm pear center surrounded by soft pancake for an easy breakfast or snack!
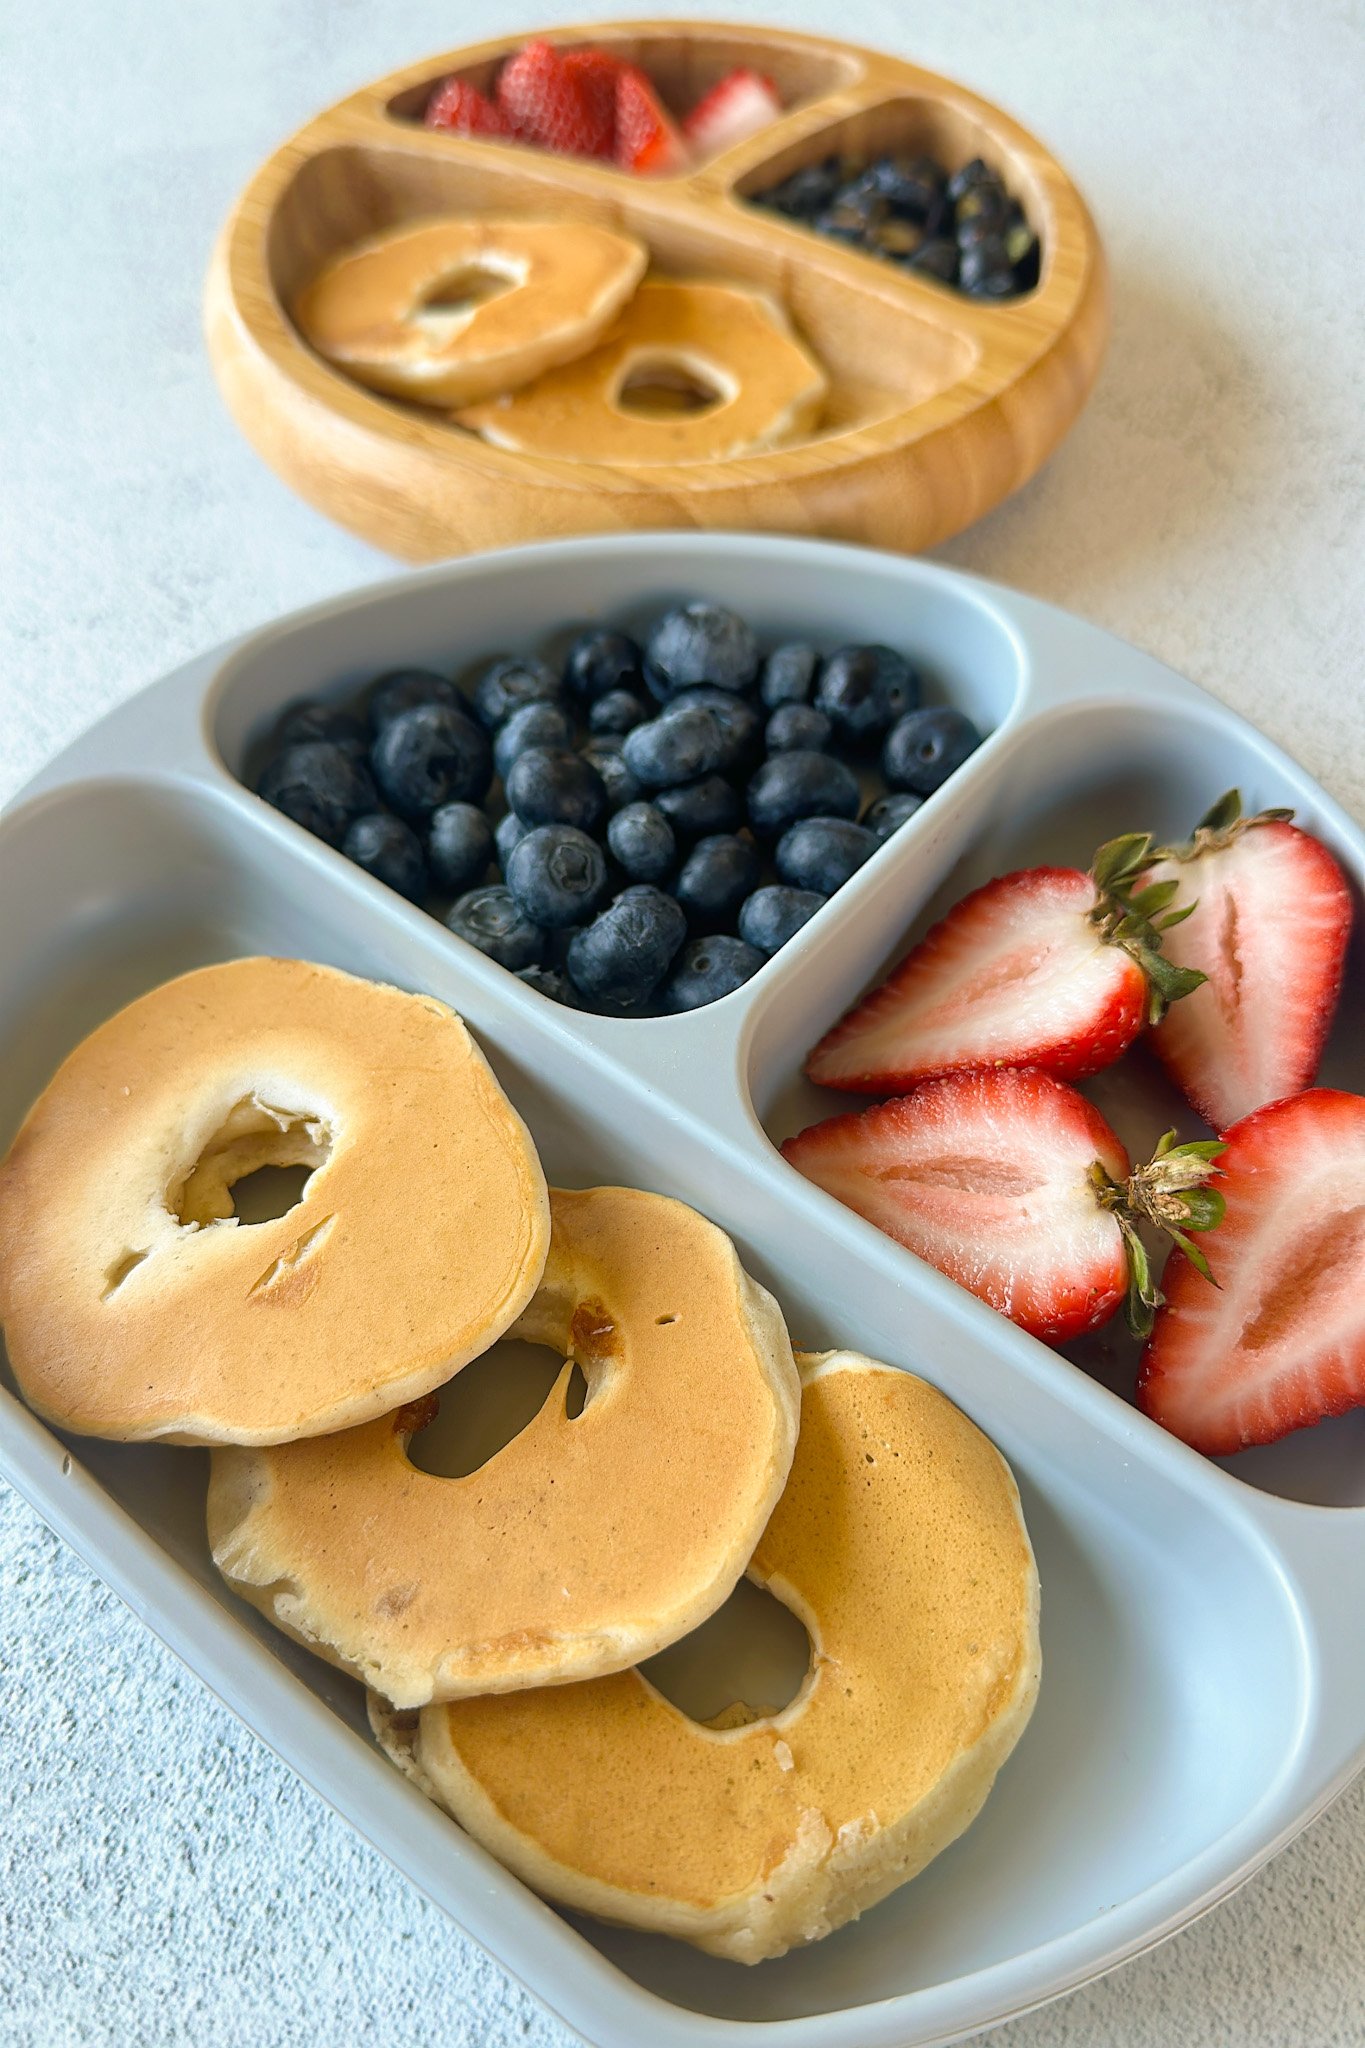
If you’re looking for a fun way to switch up regular pancakes, these pear pancake rings are so easy to make. Fresh pears are sliced into rounds, the centers are removed, and each ring is dipped into a lightly sweetened pancake batter before cooking.
The pancake batter is naturally egg-free and flavored with a little cinnamon and maple syrup, which pair perfectly with the sweet pears. Serve these pancakes on their own or with yogurt, fresh fruit, nut butter, or maple syrup for dipping.
If you’re looking for more pancake recipes to try, be sure to check out my list of pancake recipes for babies and toddlers! Looking for more easy breakfast ideas? You’ll love these strawberry banana oatmeal bars, homemade yogurt drinks, and easy air fryer cinnamon raisin bagels!
Table of Contents
What You’ll Need
Here is what you’ll need to make these pancakes with pears:
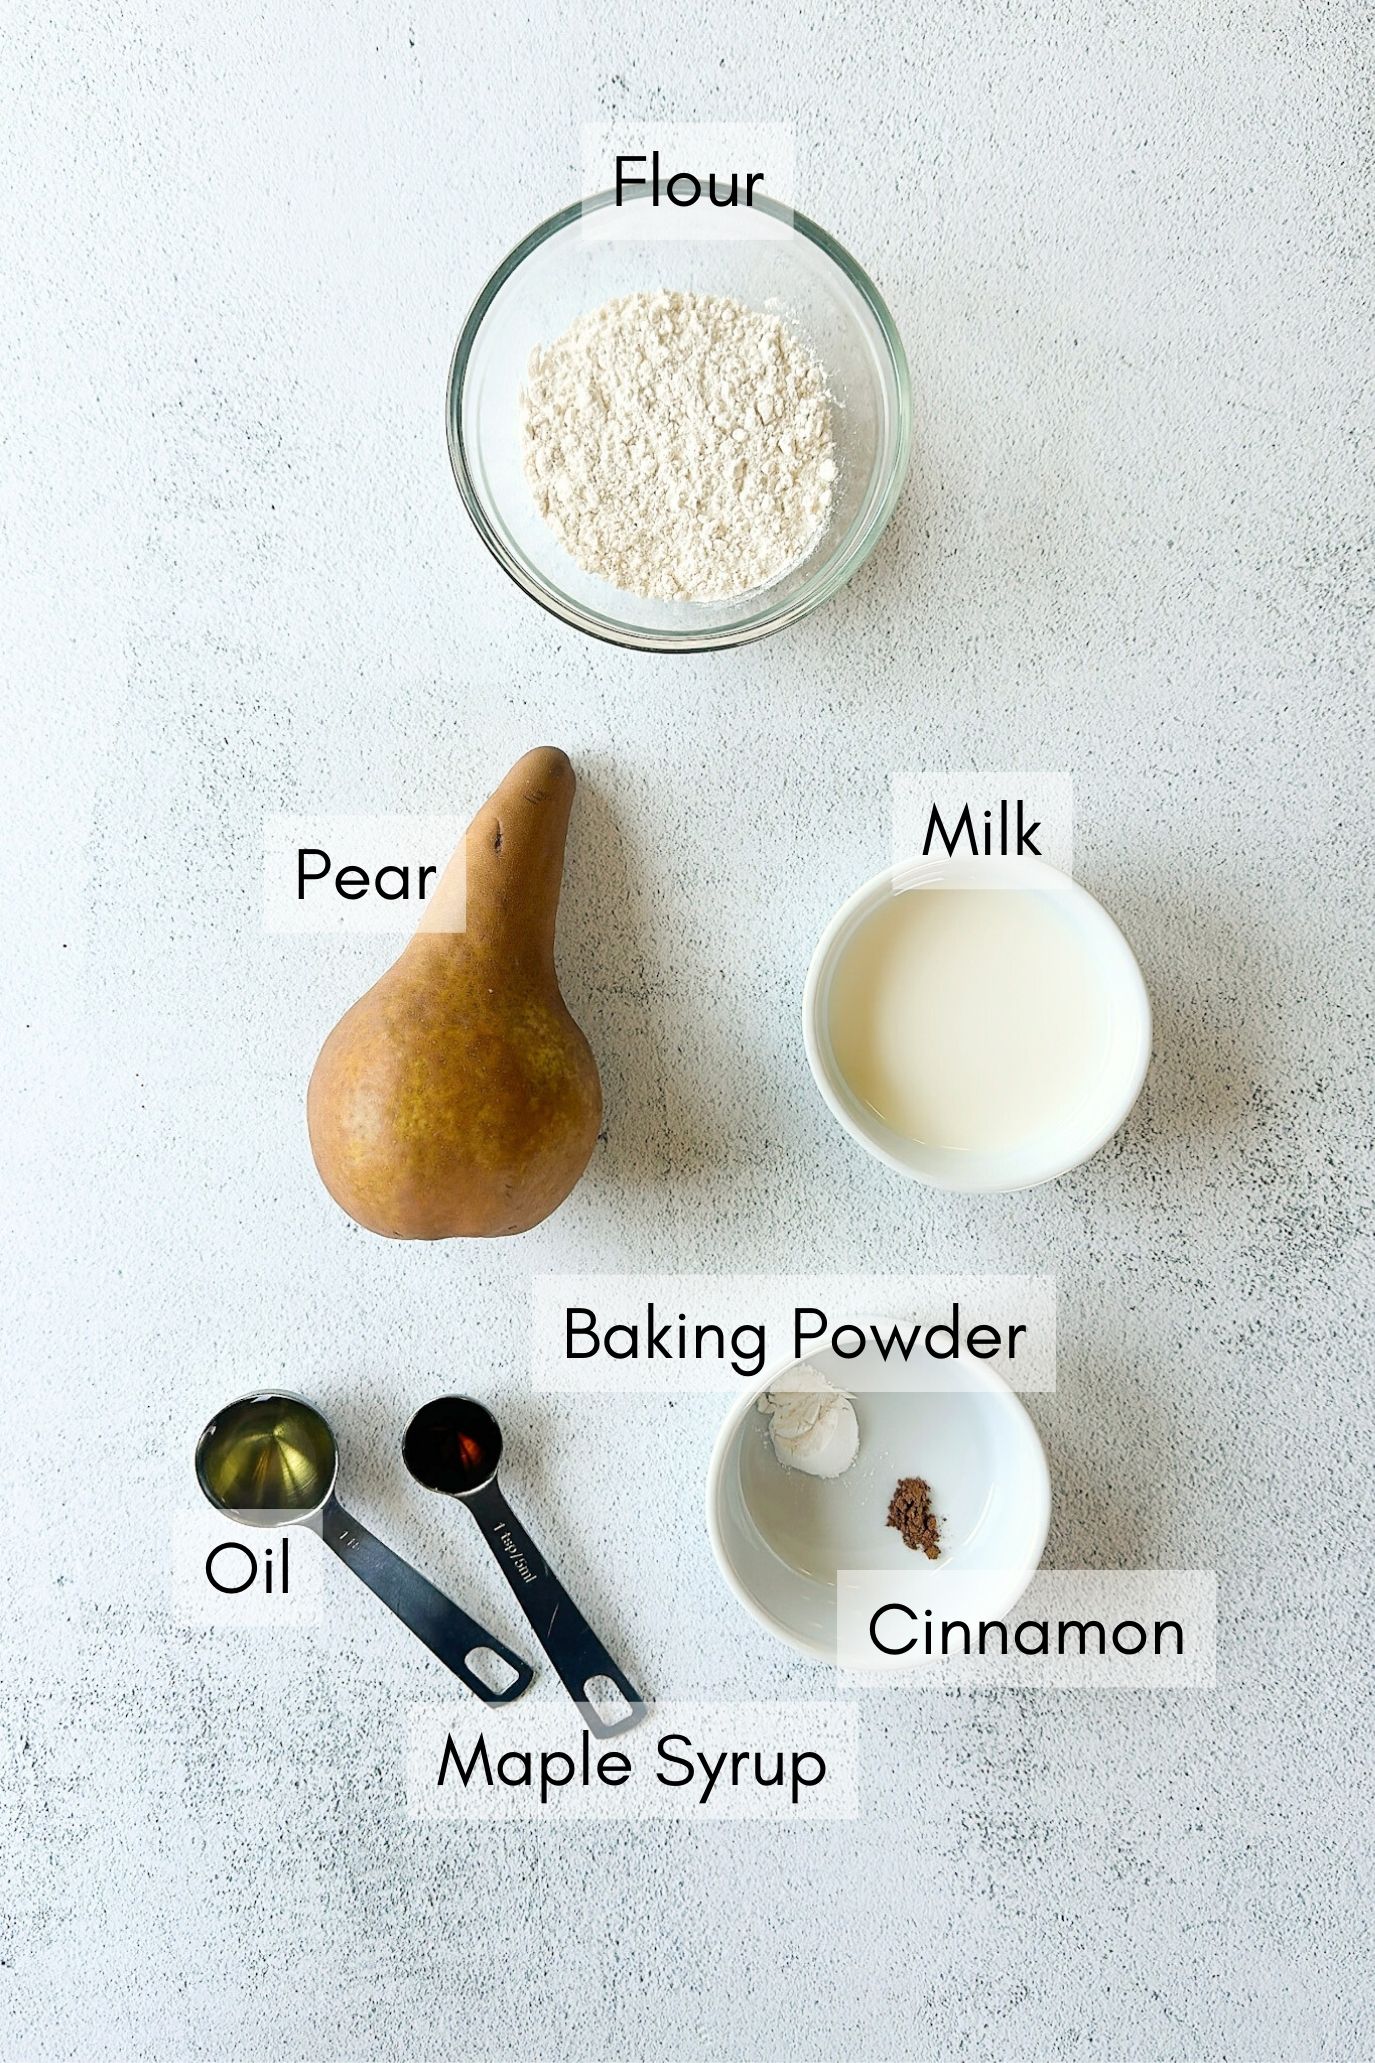
- Pear: Use a ripe but firm pear that will hold its shape when sliced, dipped, and cooked. Avoid very soft or overripe pears since the rings can become difficult to handle.
- All-Purpose Flour: Provides structure for the pancake coating and helps it puff up around the pear slices.
- Baking Powder: Helps the pancake batter rise so that the coating is soft and fluffy.
- Cinnamon: Adds a warm flavor that pairs perfectly with the pears.
- Salt: Balances the sweetness and enhances the other flavors.
- Milk: Adds moisture and helps create a smooth batter that easily coats the pear slices.
- Oil: Helps keep the egg-free pancake coating soft and tender.
- Maple Syrup: Lightly sweetens the pancake batter and pairs well with the cinnamon and pear.
See the recipe card below for full information on ingredients and quantities.
Ingredient Substitutions & Additions
- Pear: I like using Bartlett or Anjou pears, but any ripe yet firm pear should work well.
- Milk: You can replace the milk with your favorite unsweetened dairy-free alternative.
- Oil: I like using a mild-tasting oil such as avocado oil. Melted unsalted butter may also be used instead.
- Maple Syrup: You can replace the maple syrup with honey if serving to little ones over the age of 1.
- Cinnamon: Feel free to leave this out or replace it with a small amount of apple pie spice for a slightly different flavor.
Step-by-Step Instructions
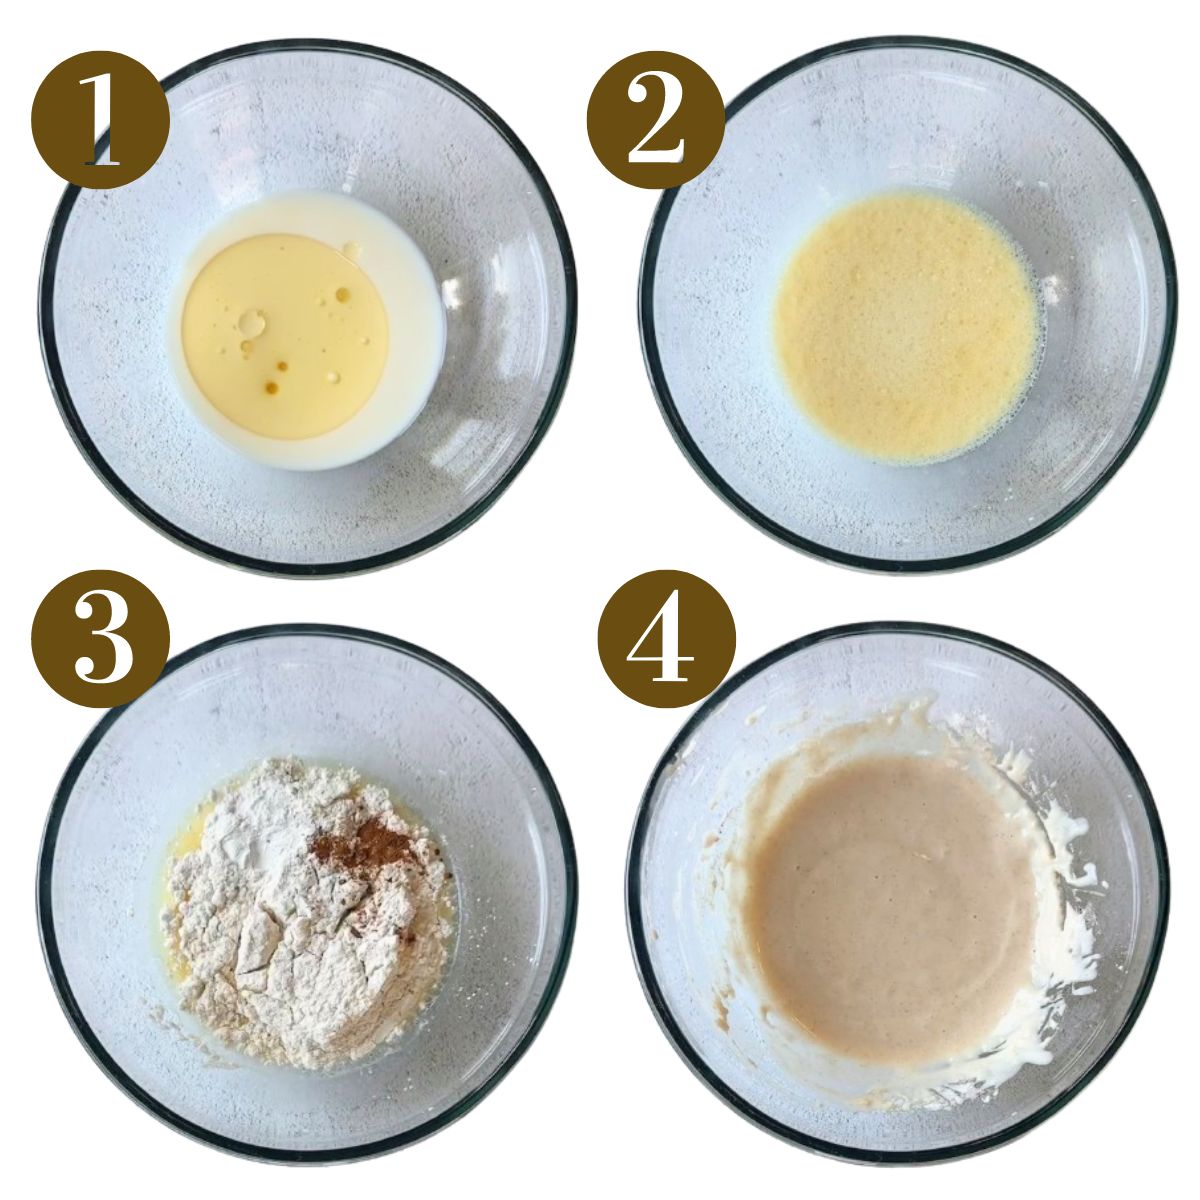
STEP 1: In a bowl, whisk together the milk, oil, and maple syrup until combined (Images 1 & 2).
STEP 2: In the same bowl, add in the flour, cinnamon, baking powder, and salt and mix until a smooth batter forms. It is okay if there are a few small lumps in the batter (Images 3 & 4). Let the batter stand for 5 minutes as you prepare the pear.
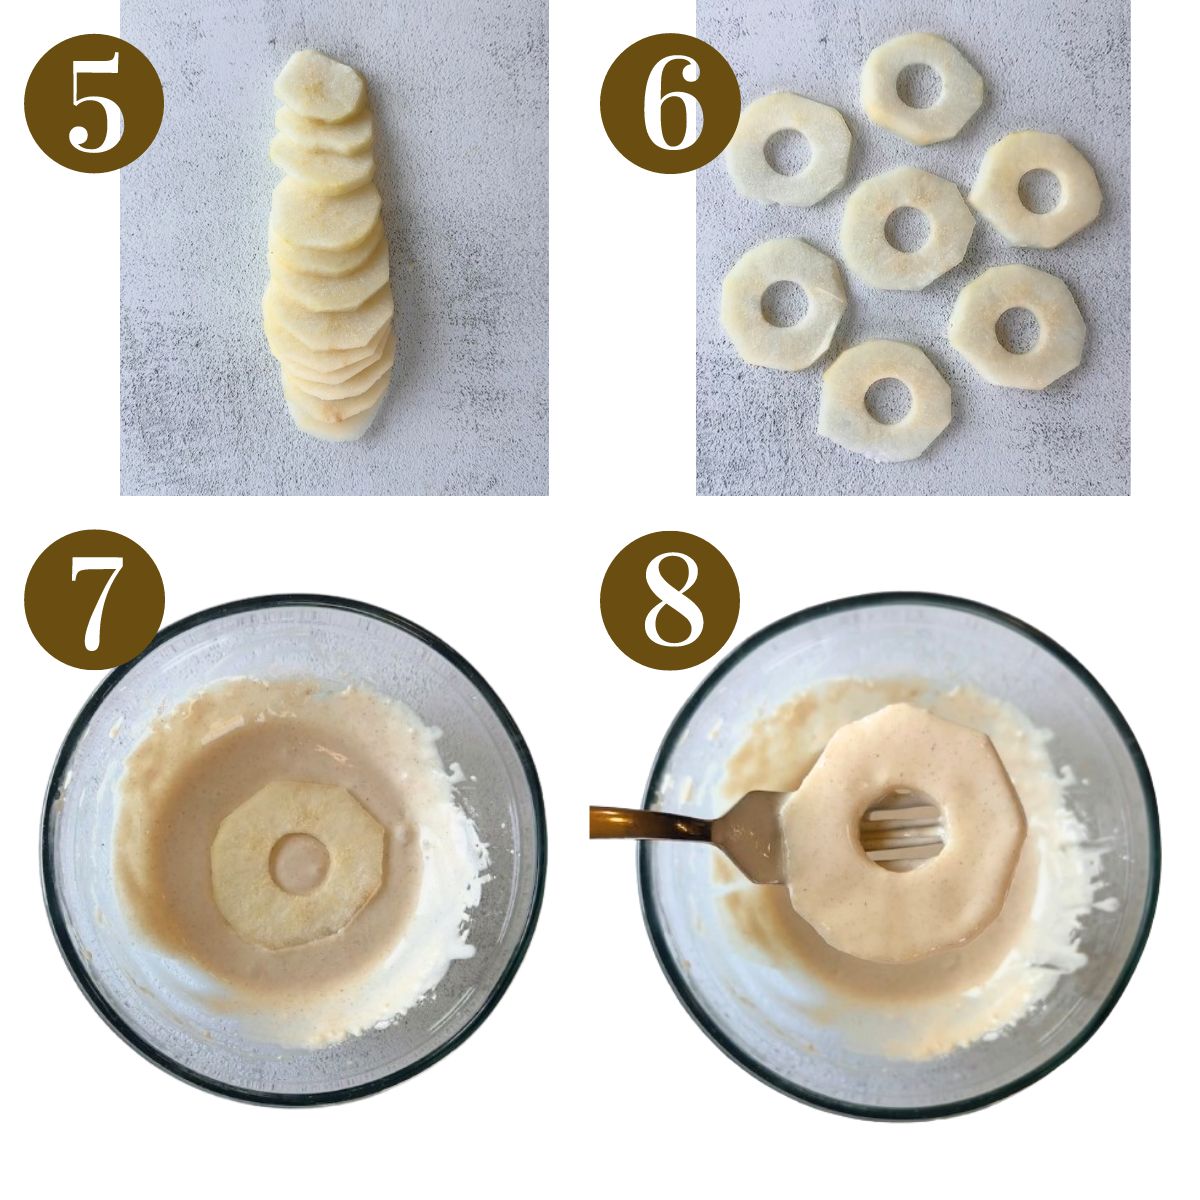
STEP 3: Peel and slice the pear crosswise into rounds about ¼-inch thick (Image 5). You’ll want the slices to be fairly thin so that they fully soften on the pan when cooked. Use a small round object or mini round fruit cutter to cut out the core in the center of each slice to form the rings (Image 6).
STEP 4: Heat a large nonstick skillet over medium-low heat. If needed, grease the pan with a light layer of butter or oil. Dip each pear ring into the pancake batter to fully coat it and shake off any excess batter (Images 7 & 8).
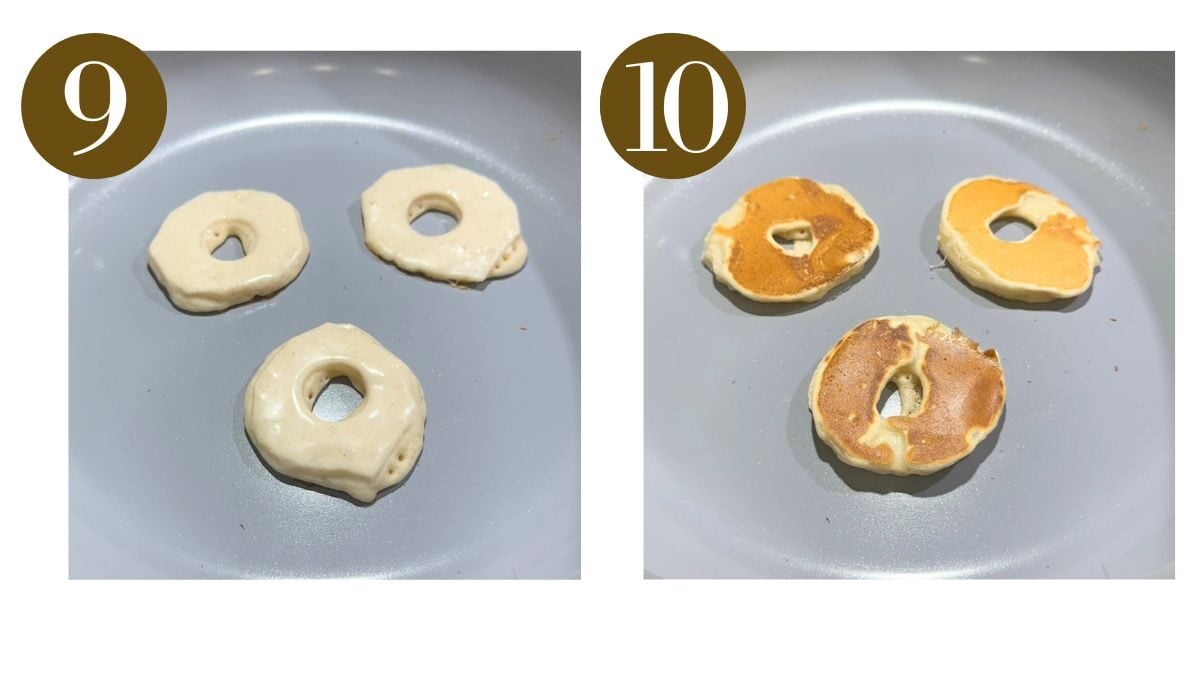
STEP 5: Place the coated pear rings onto the heated skillet, leaving a little space between each one. Cook for about 2 to 3 minutes, or until the bottoms are lightly golden and the edges of the pancake coating look set (Image 9).
STEP 6: Carefully flip each pear pancake and cook for another 1 to 2 minutes, or until golden and cooked through (Image 10). Repeat with the remaining pear slices, adjusting the heat as needed.
Storage Instructions
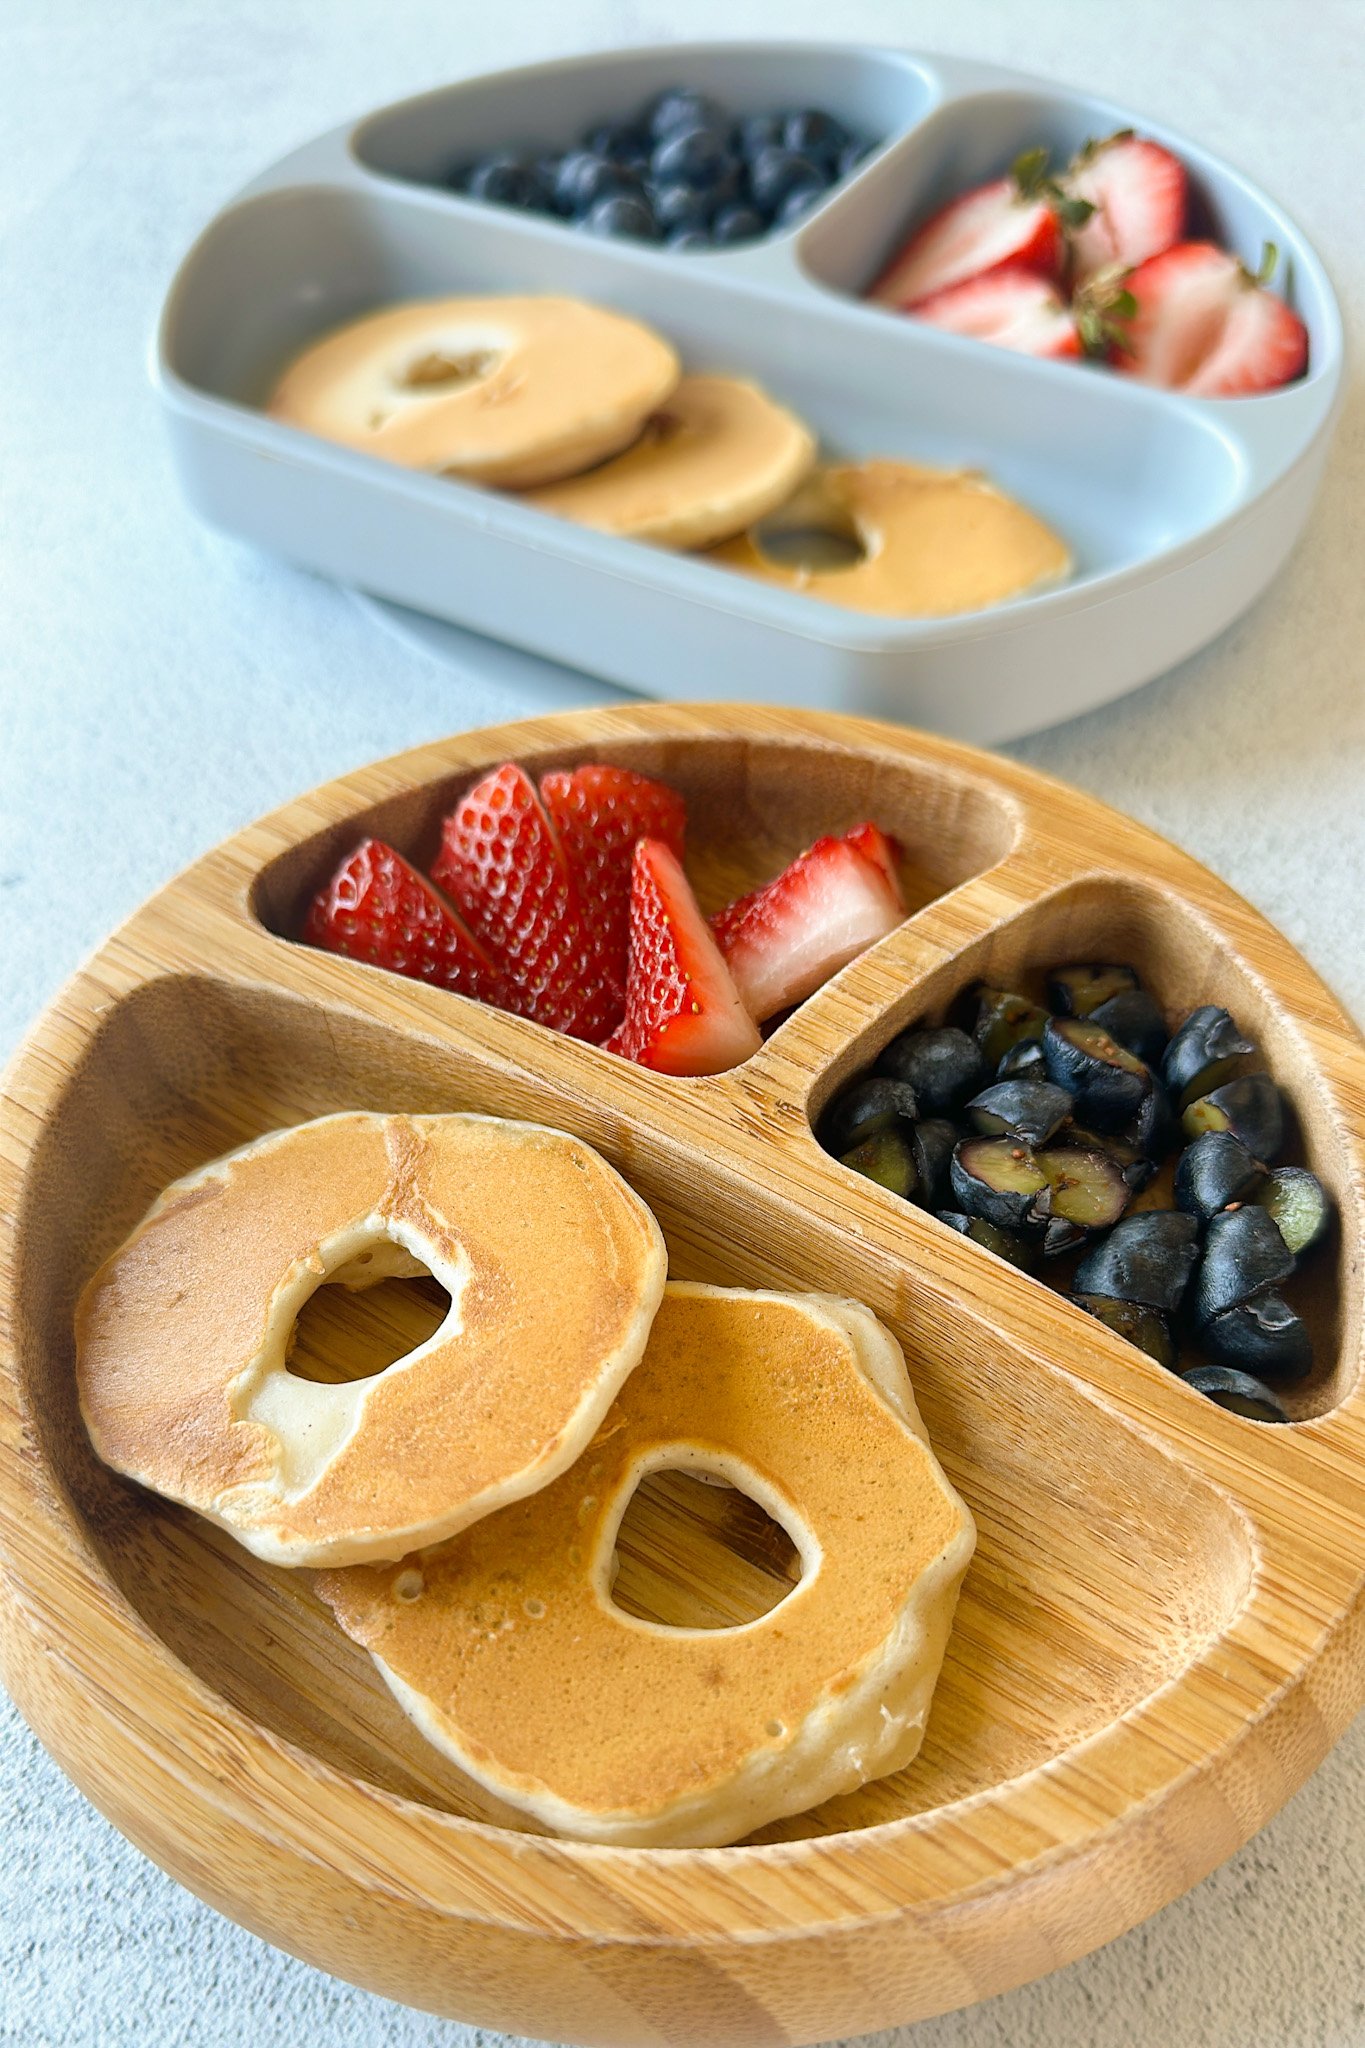
Let the pear pancakes cool completely before storing them in an airtight container in the refrigerator for up to 3 days. Reheat them in a skillet, toaster oven, or air fryer until warmed through. You can also microwave them, but the pancake coating will be softer. For longer storage, let the pancakes cool completely and freeze them in a freezer-safe container or bag for up to 2 months. For best results, freeze them in a single layer first before transferring them to a freezer-safe container. Reheat directly from frozen until warmed through.
Tips For Success
- Use a ripe but firm pear. You want the pear to have plenty of flavor and sweetness while still being sturdy enough to slice into rings and dip into the batter.
- Slice the pear about ¼-inch thick. Slices that are too thick may not soften enough by the time the pancake coating is cooked, while very thin slices can be more difficult to handle.
- Let the batter rest for 5 minutes. This gives the flour time to hydrate and allows the batter to thicken slightly so that it clings well to the pears.
- Check the batter consistency. The batter should be slightly thicker than traditional pancake batter so that it coats the pear rings without immediately sliding off. If it seems too thick after resting, stir in 1 tablespoon of milk.
- Cook over medium-low heat. The pears need a little time to soften, so avoid cooking these over high heat. Lower heat gives the pear time to soften while the pancake coating cooks through.
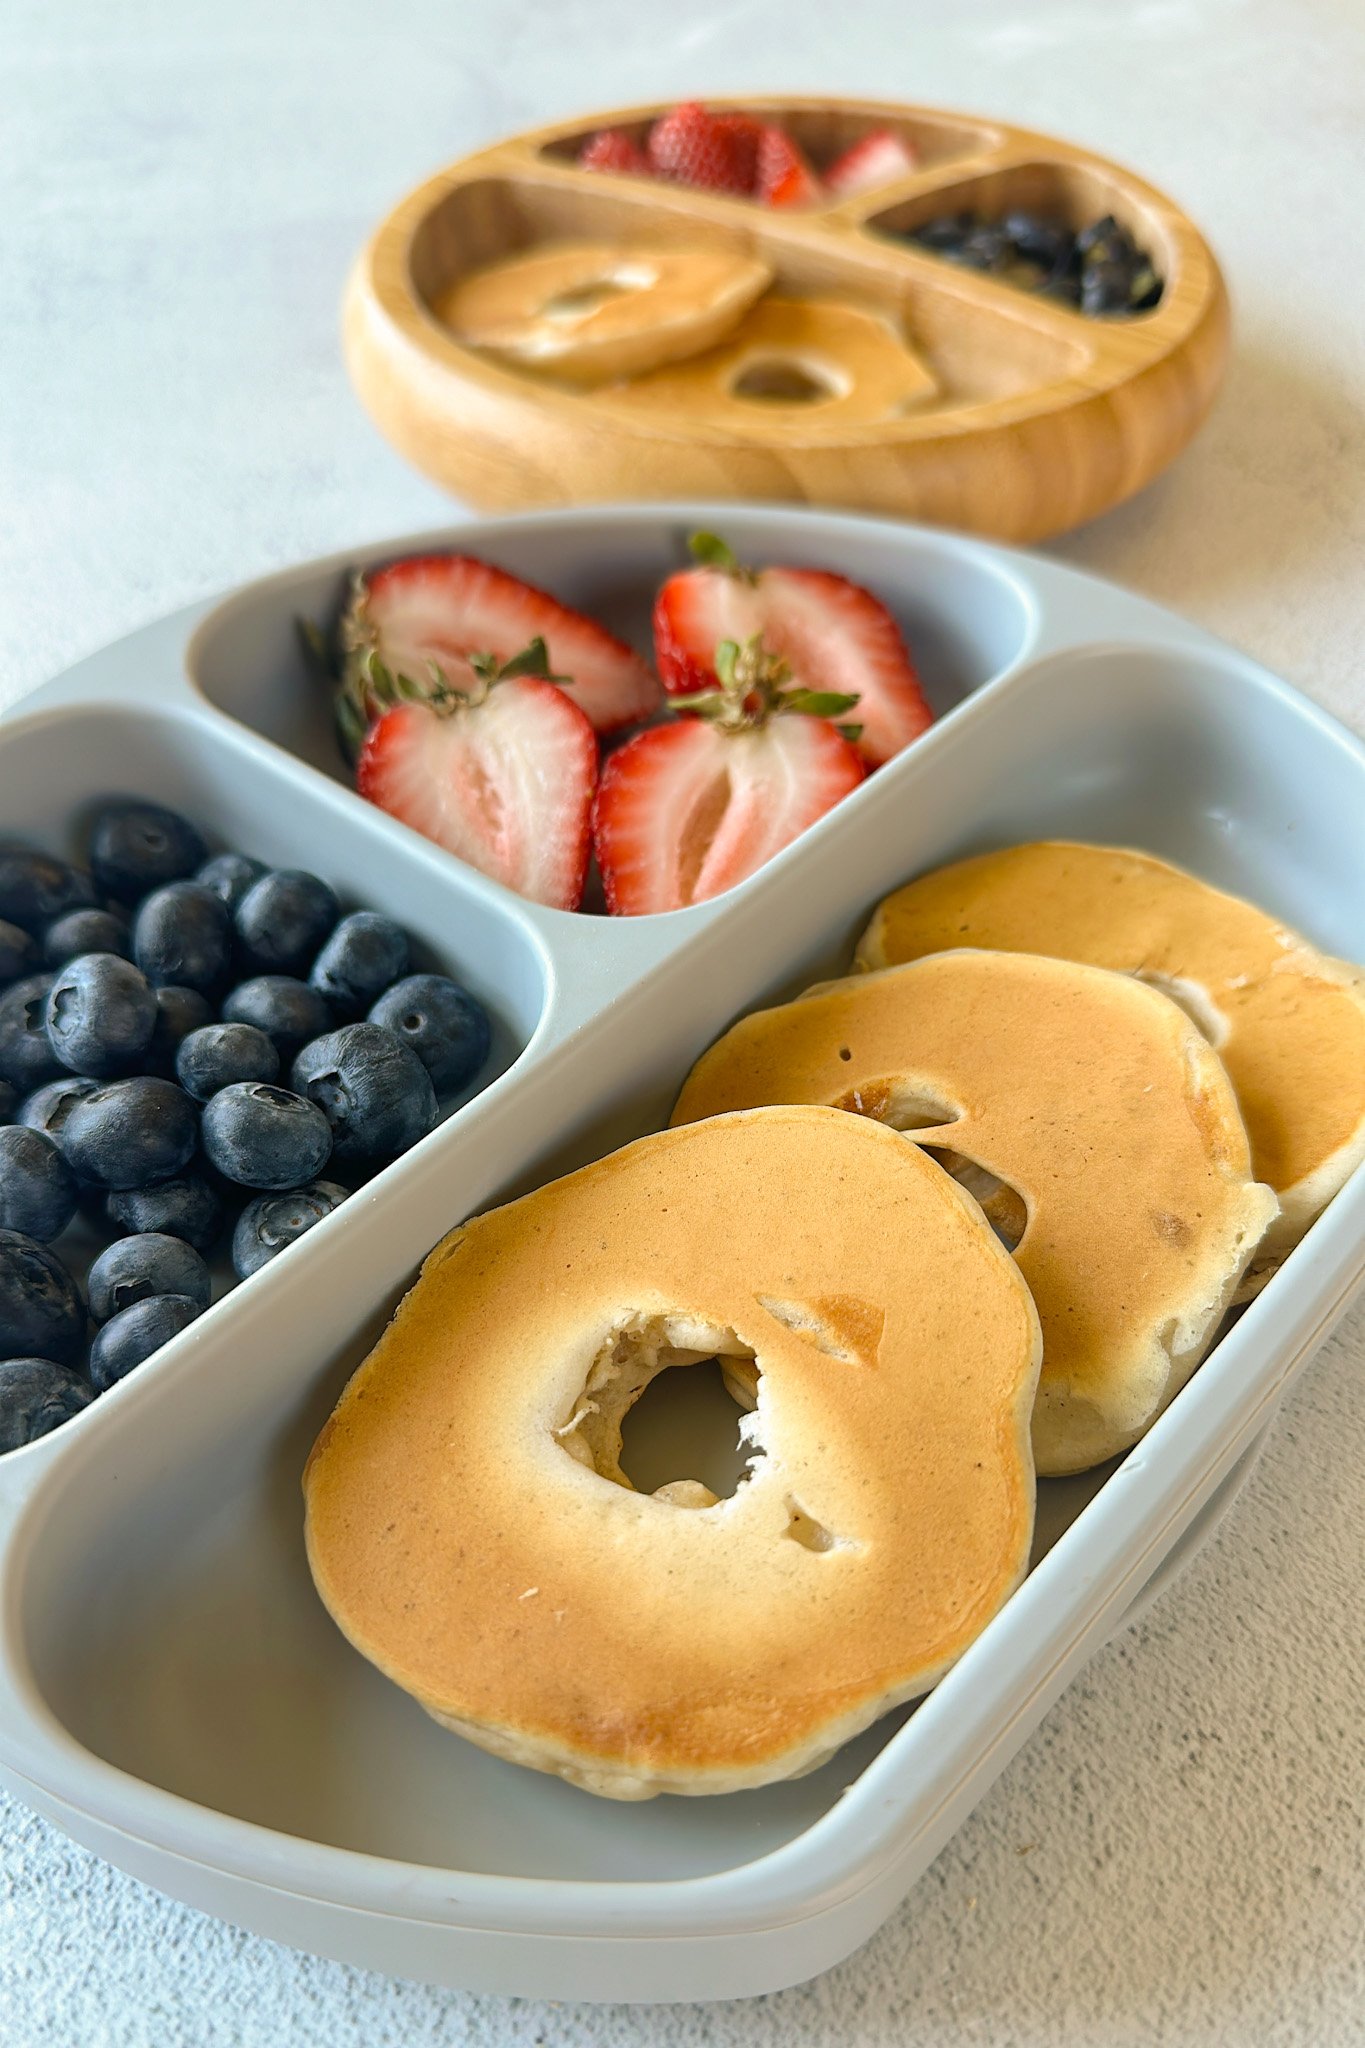
You’ll want to use pears that are ripe, but not too firm so that they are able to fully soften and cook through on the pan. I love using ripe Bosc pears, but any variety will work!
Yes! Sliced apples work great as well as sliced bananas. For a banana version, try out these dipped banana pancake bites or these dipped pumpkin banana pancakes!
If you have any leftover batter, use it to make extra mini pancakes! The maple syrup in the pancake batter provides some slight sweetness making them great even without the dipped pear! You can also experiment with dipping other fruits as well!
Other Pancake Recipes You’ll Love
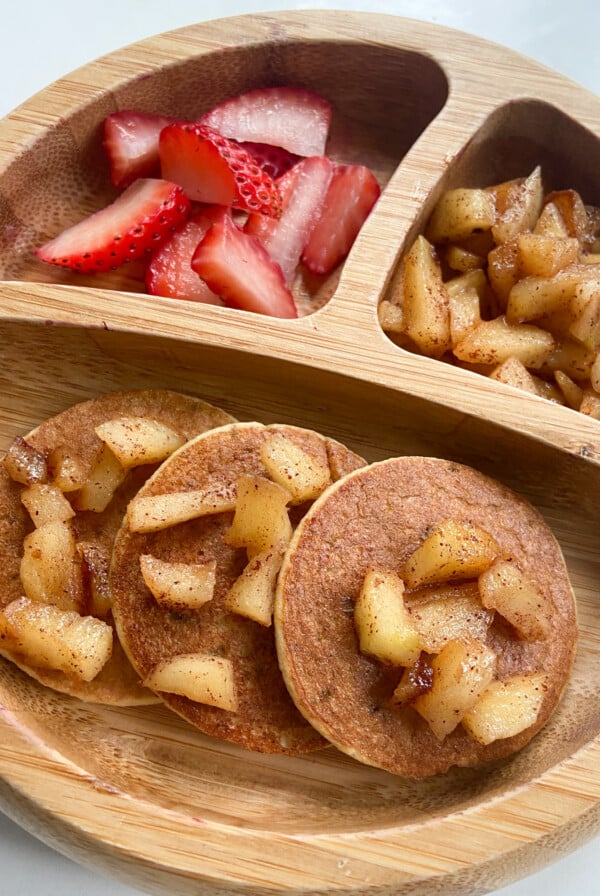
Cinnamon Apple Pancakes

Blueberry Oat Pancakes

Spinach Banana Pancakes

Peanut Butter Oatmeal Pancakes
If you tried these Pancakes With Pears, please leave a ⭐ star rating and let me know how it went in the comments below! I love hearing from you!

Pancakes With Pears (Dipped Pear Pancakes)
Ingredients
- 1 large ripe (but firm) pear
- ⅔ cup all purpose flour
- 1 tsp baking powder
- ¼ tsp ground cinnamon
- ¼ tsp salt
- ½ cup milk
- 1 tbsp mild-tasting oil
- 1 tbsp maple syrup
Instructions
- In a bowl, whisk together the milk, oil, and maple syrup until combined.
- In the same bowl, add in the flour, cinnamon, baking powder, and salt and mix until a smooth batter forms. It is okay if there are a few small lumps in the batter. Let the batter stand for 5 minutes as you prepare the pear.
- Peel and slice the pear crosswise into rounds about ¼-inch thick. You'll want the slices to be fairly thin so that they fully soften on the pan when cooked. Use a small round object or mini round fruit cutter to cut out the core in the center of each slice to form the rings
- Heat a large nonstick skillet over medium-low heat. If needed, grease the pan with a light layer of butter or oil. Dip each pear ring into the pancake batter to fully coat it and shake off any excess batte
- Place the coated pear rings onto the heated skillet, leaving a little space between each one. Cook for about 2 to 3 minutes, or until the bottoms are lightly golden and the edges of the pancake coating look set.
- Carefully flip each pear pancake and cook for another 1 to 2 minutes, or until golden and cooked through. Repeat with the remaining pear slices, adjusting the heat as needed.
Notes
- Use a ripe but firm pear. You want the pear to have plenty of flavor and sweetness while still being sturdy enough to slice into rings and dip into the batter.
- Slice the pear about ¼-inch thick. Slices that are too thick may not soften enough by the time the pancake coating is cooked, while very thin slices can be more difficult to handle.
- Let the batter rest for 5 minutes. This gives the flour time to hydrate and allows the batter to thicken slightly so that it clings well to the pears.
- Check the batter consistency. The batter should be slightly thicker than traditional pancake batter so that it coats the pear rings without immediately sliding off. If it seems too thick after resting, stir in 1 tablespoon of milk.
- Cook over medium-low heat. The pears need a little time to soften, so avoid cooking these over high heat. Lower heat gives the pear time to soften while the pancake coating cooks through.