Blueberry Cheesecake Popsicles
on Jun 24, 2023, Updated Mar 17, 2024
This post may contain affiliate links. Please read our disclosure policy.
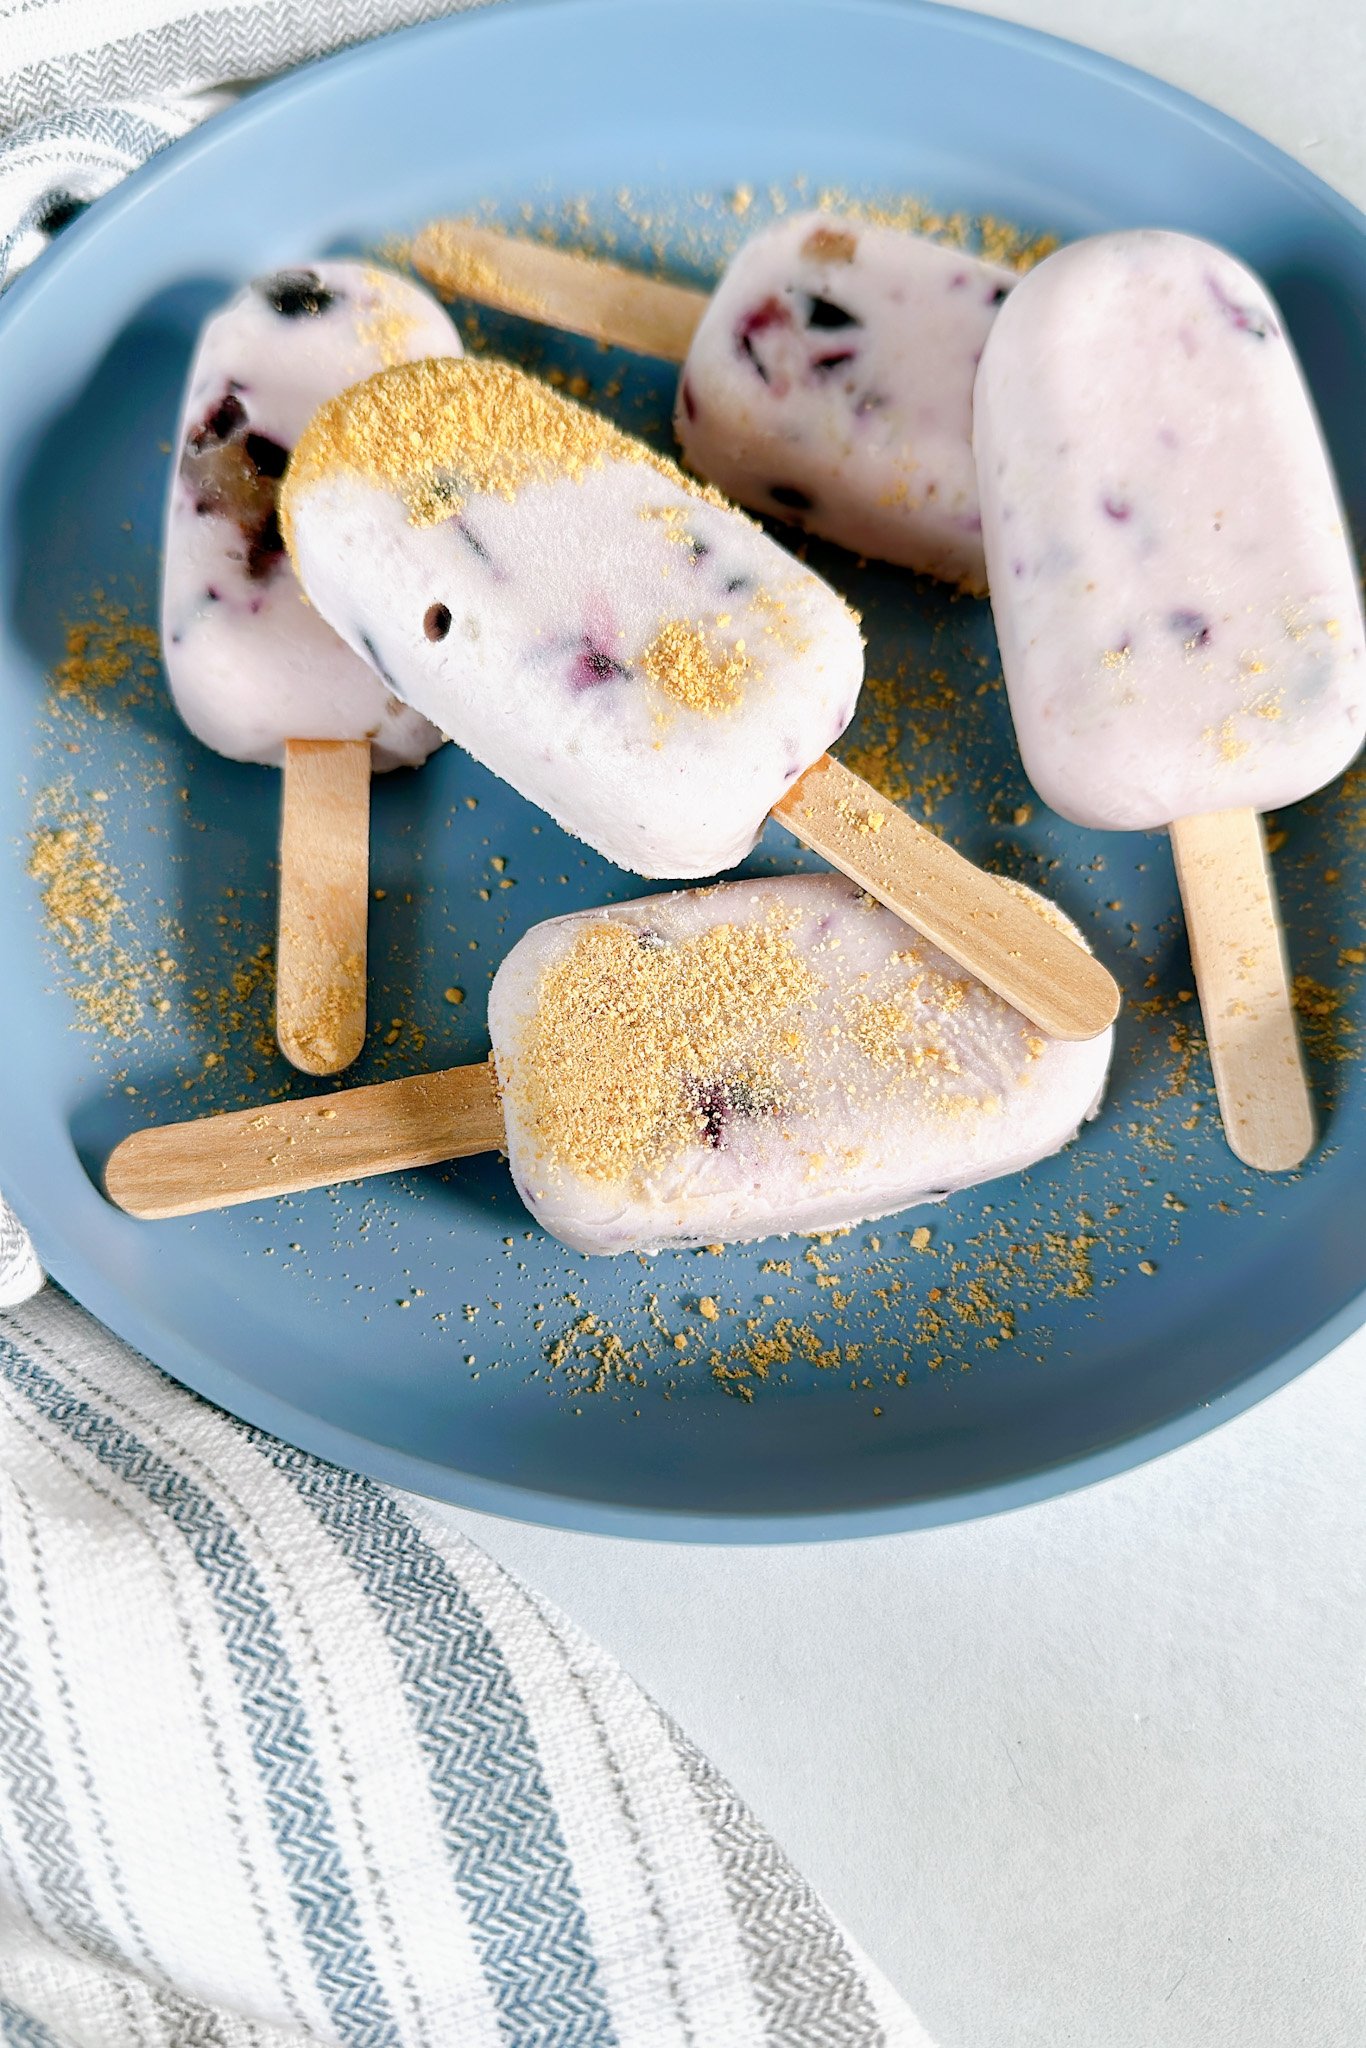
These blueberry cheesecake popsicles are a creamy sweet treat, perfect for summertime! All of the flavors of a cheesecake slice shine through in this simple-to-make treat!

If you’re a cheesecake lover, these popsicles are calling your name! Cream cheese mixed with yogurt makes for the creamiest popsicles and the bursts of blueberries add the perfect extra touch of sweetness. Everything comes together quickly in one bowl for a refreshing treat you’ll want to snack on all summer long.
Table of Contents
What You’ll Need
Here is what you’ll need to make these blueberry cheesecake popsicles:
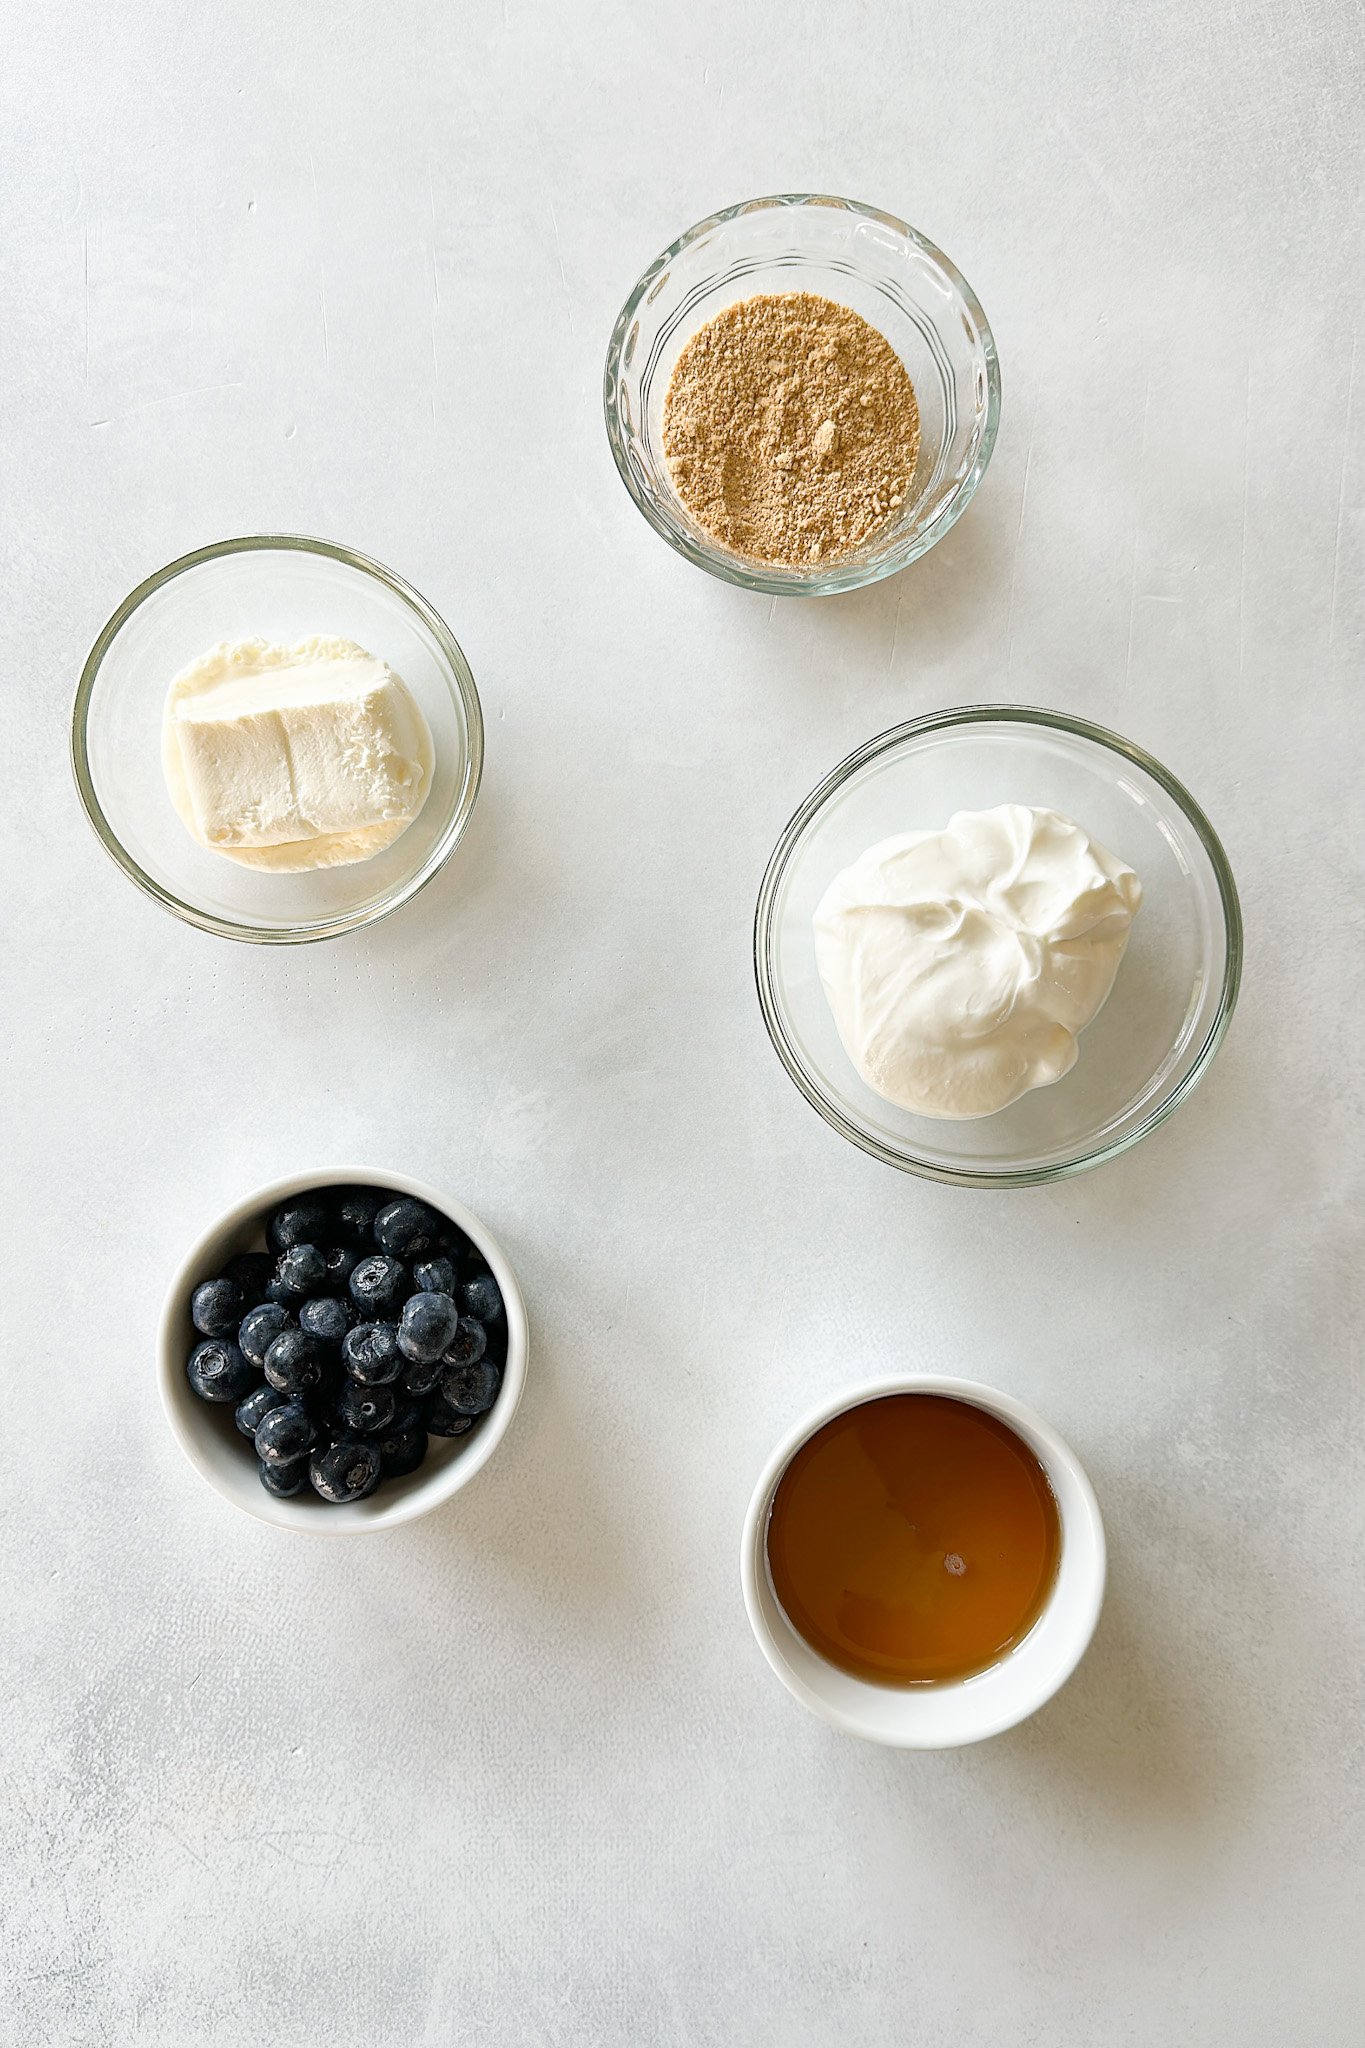
- Cream Cheese: The main source of flavor for these popsicles. Cream cheese gives these that authentic cheesecake taste. Make sure it is softened before using.
- Yogurt: A thick, creamy yogurt works best for these popsicles. I used Siggi’s brand plain, unsweetened yogurt, but Greek yogurt also works well.
- Blueberries: For added flavor and bursts of sweetness. Blueberries also add a fun bright color to the popsicles.
- Maple Syrup: To sweeten the yogurt cream cheese mixture.
- Graham Cracker Crumbs: Optional ingredient for added flavor and a little crunch!
Step By Step Instructions
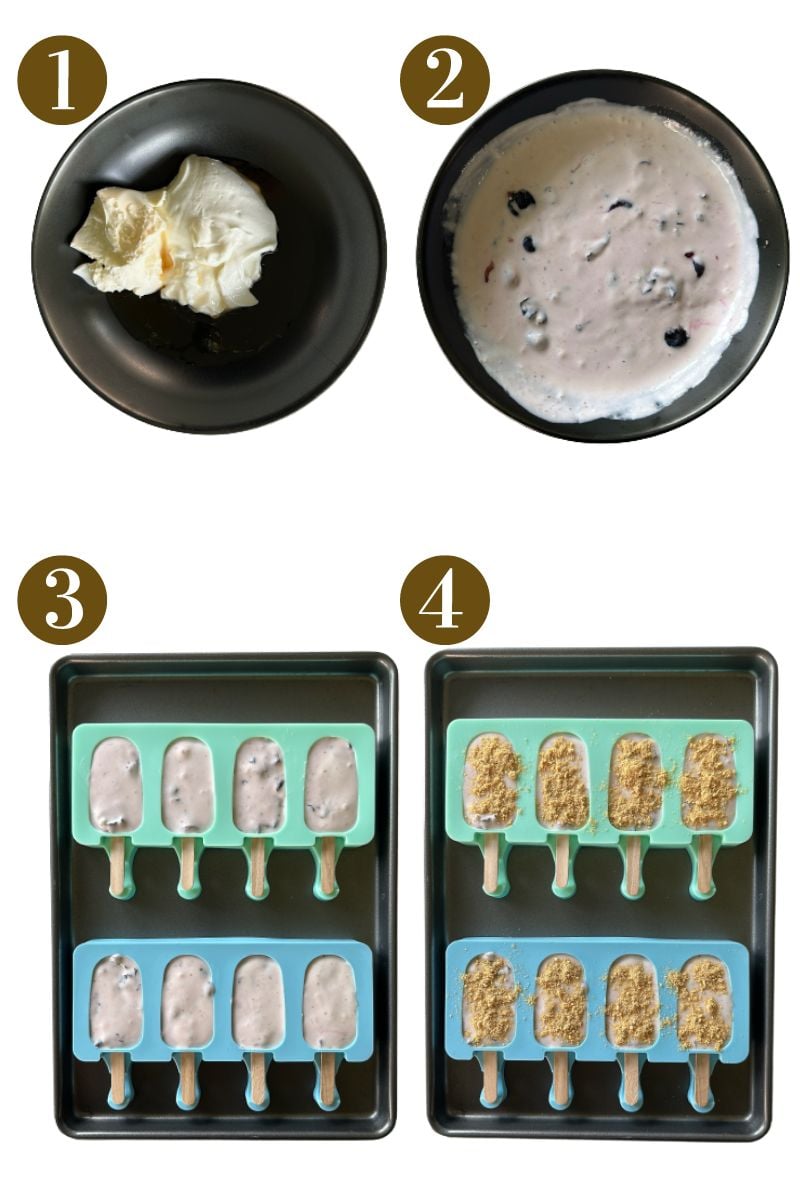
- Add the cream cheese, yogurt, and maple syrup to a bowl and mix until smooth and combined. If you’re in a pinch and don’t have time to soften your cream cheese at room temp, pop it in the microwave on high for about 10 seconds.
- Add in the blueberries and use a fork to break and mash them into the yogurt.
- Add the mixture to a popsicle mold and sprinkle some finely crushed graham crackers on top.
- Freeze the popsicles for 3-4 hours, or until fully hardened.
Ingredient Substitutions
- Yogurt: You may substitute the yogurt with a dairy-free alternative, like coconut yogurt. Be mindful that coconut yogurt is not as thick, but it still hardens and freezes well.
- Cream Cheese: You may replace the cream cheese with a dairy-free cream cheese like the brand Kite Hill. You may replace it with more yogurt, but the popsicles with not have that cheesecake flavor.
- Blueberries: You may replace the blueberries with any other types of berries such as strawberries, raspberries, or blackberries.

Storage Instructions
Once the popsicles harden, remove them from the silicone molds and transfer them to a freezer-safe Ziploc bag or container. Store them in the freezer for up to 1 month. Make sure to transfer them to a freezer-safe bag or container as soon as they harden to prevent freezer burn.

Recipe Notes
- I used these mini popsicle molds for these popsicles. I prefer using silicone molds since they pop out easily once frozen.
- Prior to serving, let the yogurt popsicles sit at room temperature for 2-3 minutes so that they can slightly soften and not be too hard for your little one to take bites from.
- Do not leave the yogurt popsicles at room temperature for too long because they will melt.
- Make sure to transfer the popsicles to a freezer-safe Ziploc bag or container as soon as it fully hardens. This will help prevent it from getting freezer-burnt.
- If you choose to add chopped graham cracker crumbs, make sure to avoid cracker varieties that contain honey if you are serving these to a baby under age 1.
Here are some other frozen sweet treats that you may like!

Blueberry Cheesecake Popsicles
Ingredients
- ½ cup yogurt, Skyr, Greek, or dairy-free
- 2 oz cream cheese, 1/4 cup
- 1 tbsp maple syrup, optional
- ½ cup blueberries
- 3 tbsp ground graham cracker crumbs, optional
Instructions
- Add the cream cheese, yogurt, and maple syrup to a bowl and mix until smooth and combined. If you're in a pinch and don't have time to soften your cream cheese at room temp, pop it in the microwave on high for about 10 seconds.
- Add in the blueberries and use a fork to break and mash them into the yogurt.
- Add the mixture to a popsicle mold and sprinkle some finely crushed graham crackers on top.
- Freeze the popsicles for 3-4 hours, or until fully hardened.
Notes
- I used these mini popsicle molds for these popsicles. I prefer using silicone molds since they pop out easily once frozen.
- Prior to serving, let the yogurt popsicles sit at room temperature for 2-3 minutes so that they can slightly soften and not be too hard for your little one to take bites from.
- Do not leave the yogurt popsicles at room temperature for too long because they will melt.
- Make sure to transfer the popsicles to a freezer-safe Ziploc bag or container as soon as it fully hardens. This will help prevent it from getting freezer burnt.
- If you choose to add chopped graham cracker crumbs, make sure to avoid cracker varieties that contain honey if you are serving these to a baby under age 1.


