Pumpkin Yogurt (Yogurt Bark And Yogurt Melts)
on Oct 19, 2022, Updated Apr 20, 2026
This post may contain affiliate links. Please read our disclosure policy.
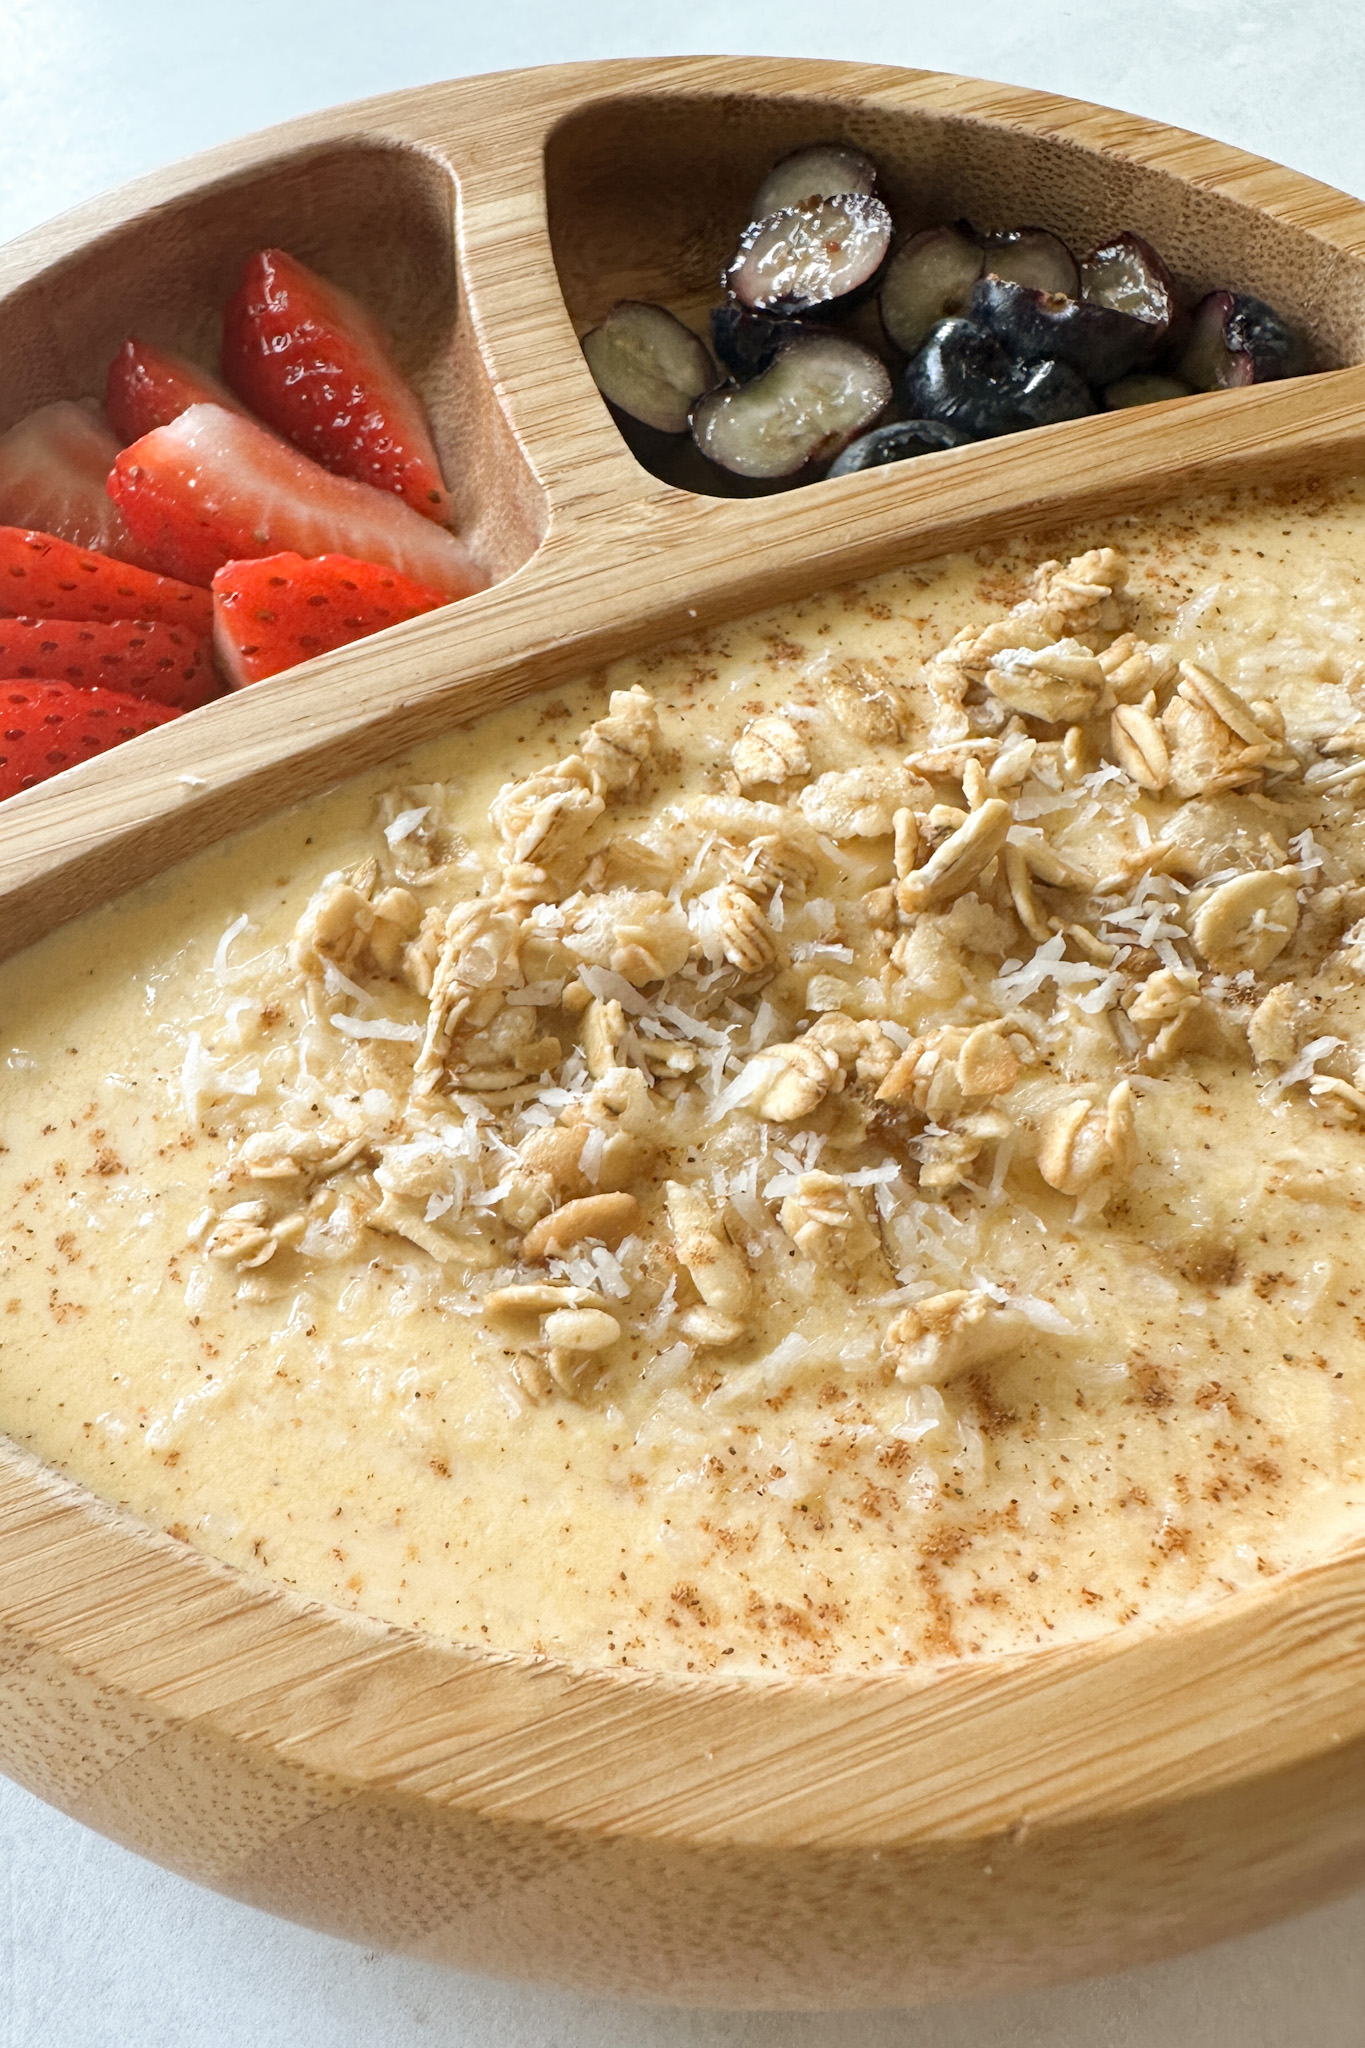
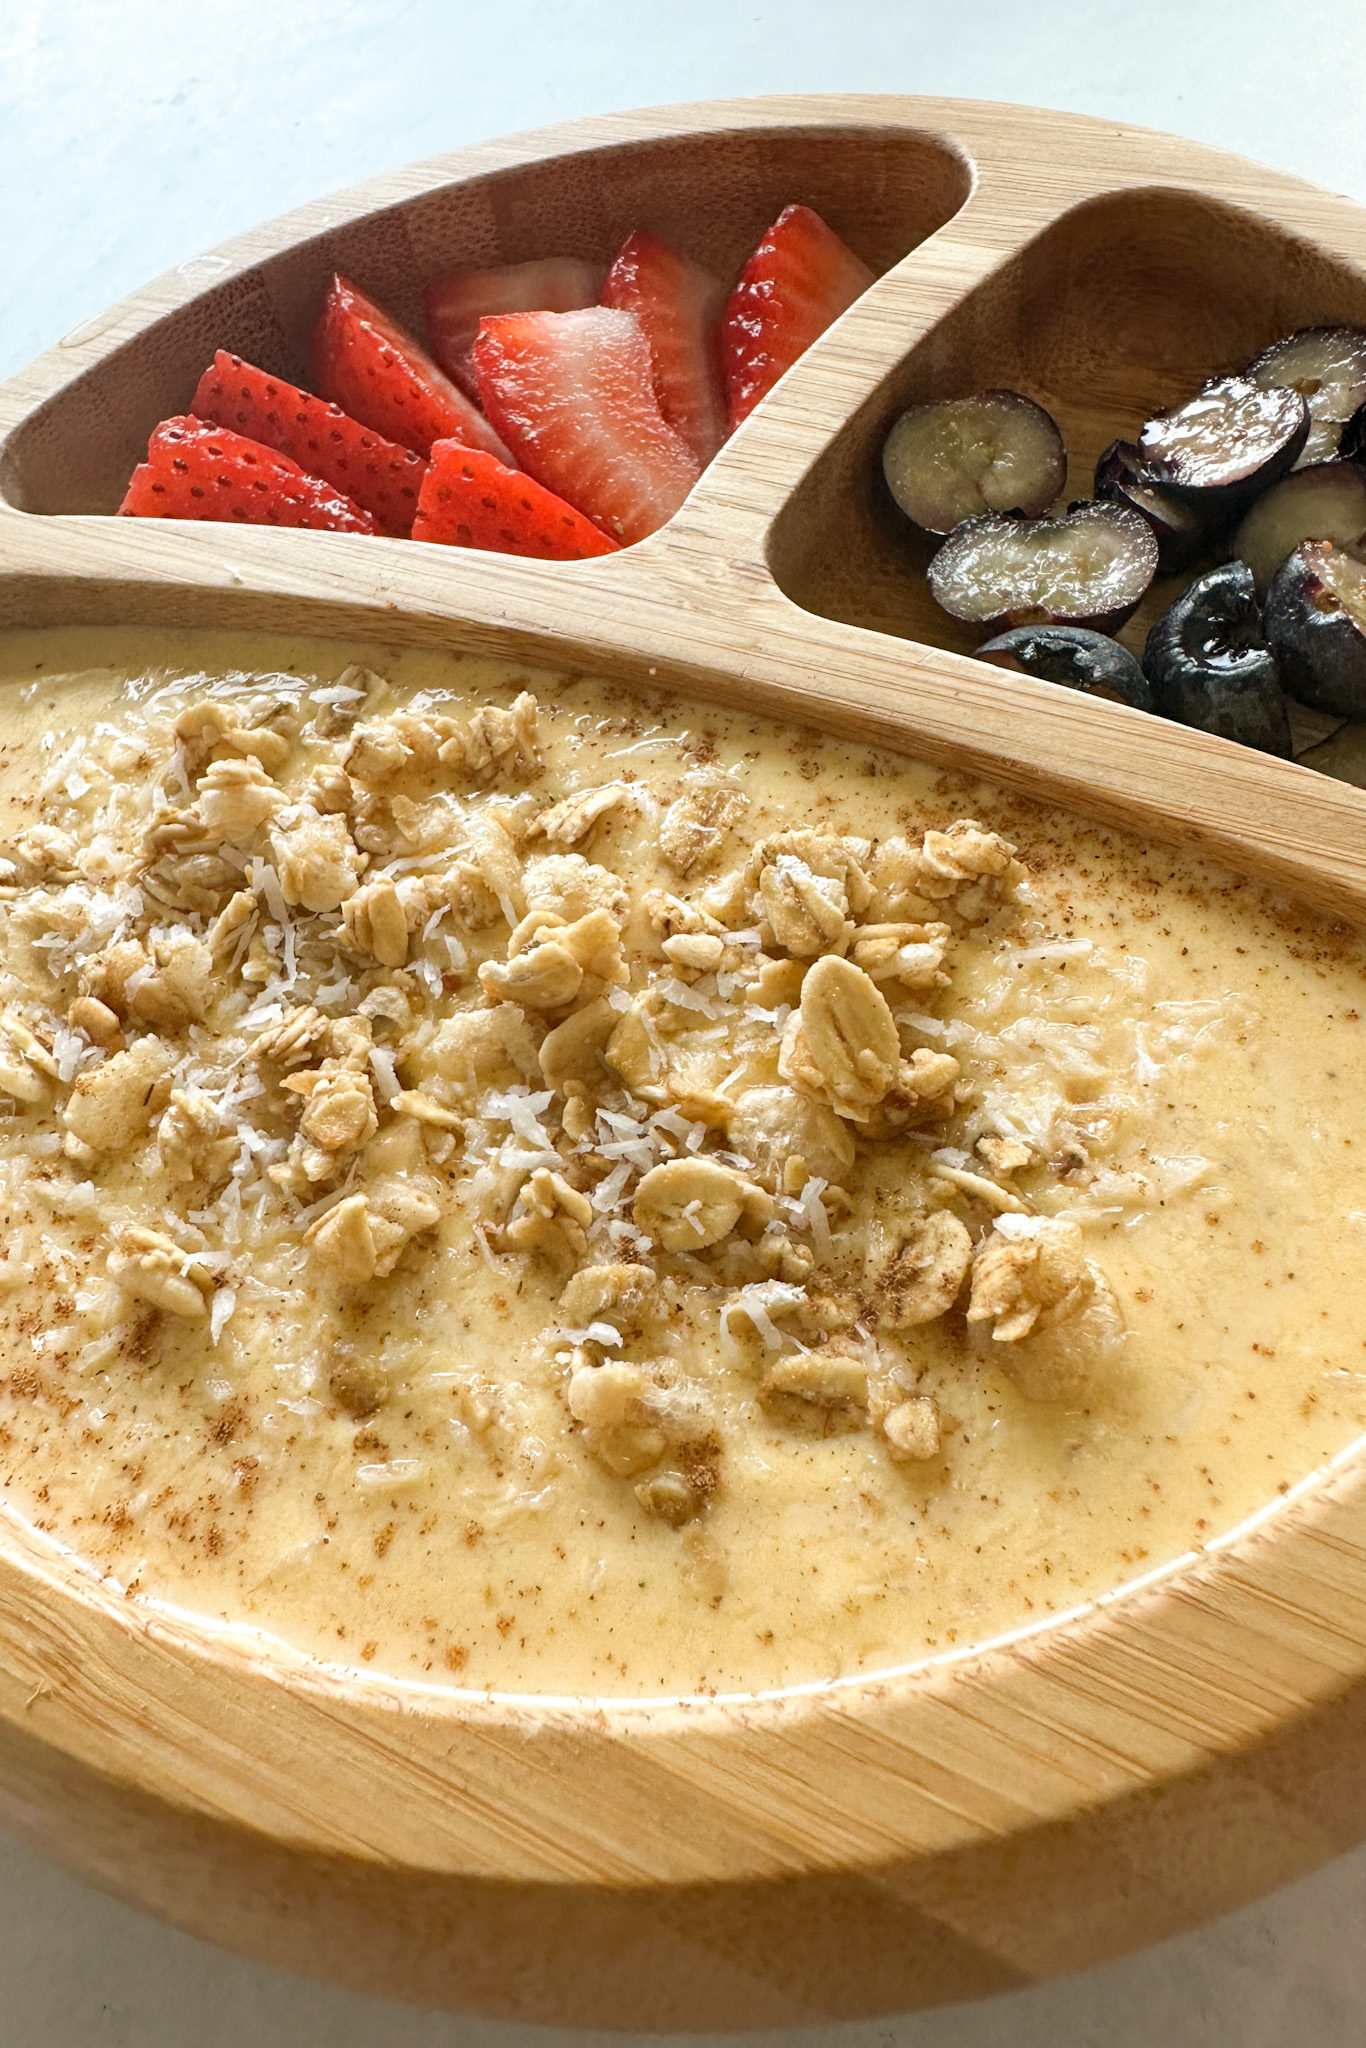
This pumpkin yogurt is a creamy, warm-spiced treat. It can be served as yogurt bark, yogurt melts, or as is!
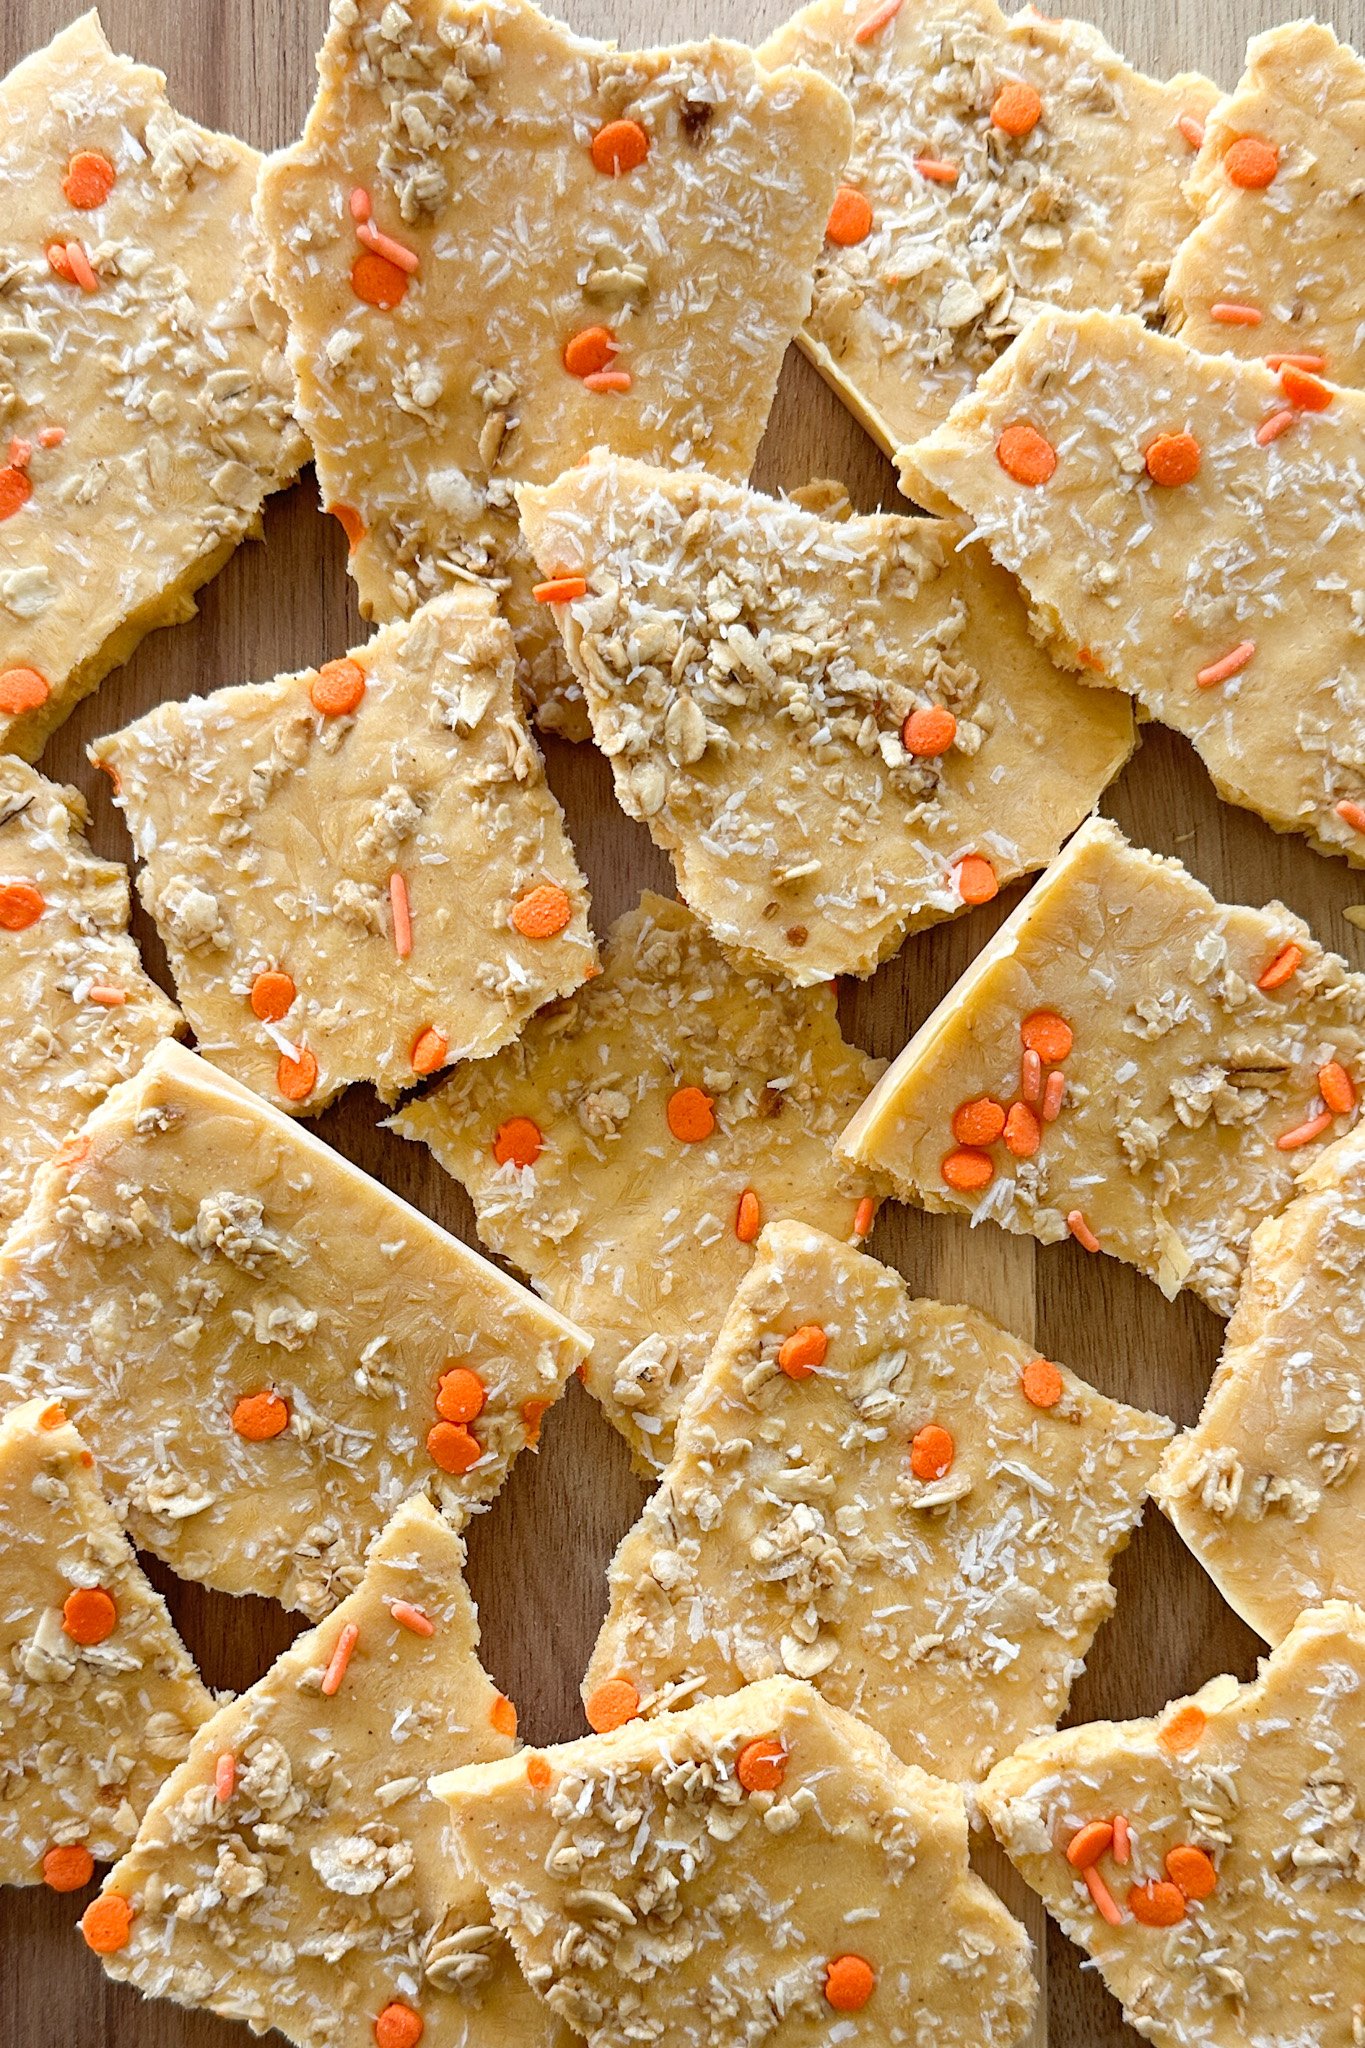
If you love warm pumpkin flavors and creamy yogurt, you’ll absolutely love this combo of pumpkin pie yogurt. It tastes like a creamy pumpkin pie in frozen form and makes for a refreshing sweet treat! You can top it with all of your favorite toppings for a nutritious snack!
Table of Contents
What You’ll Need
Here is what you’ll need to make this pumpkin yogurt:
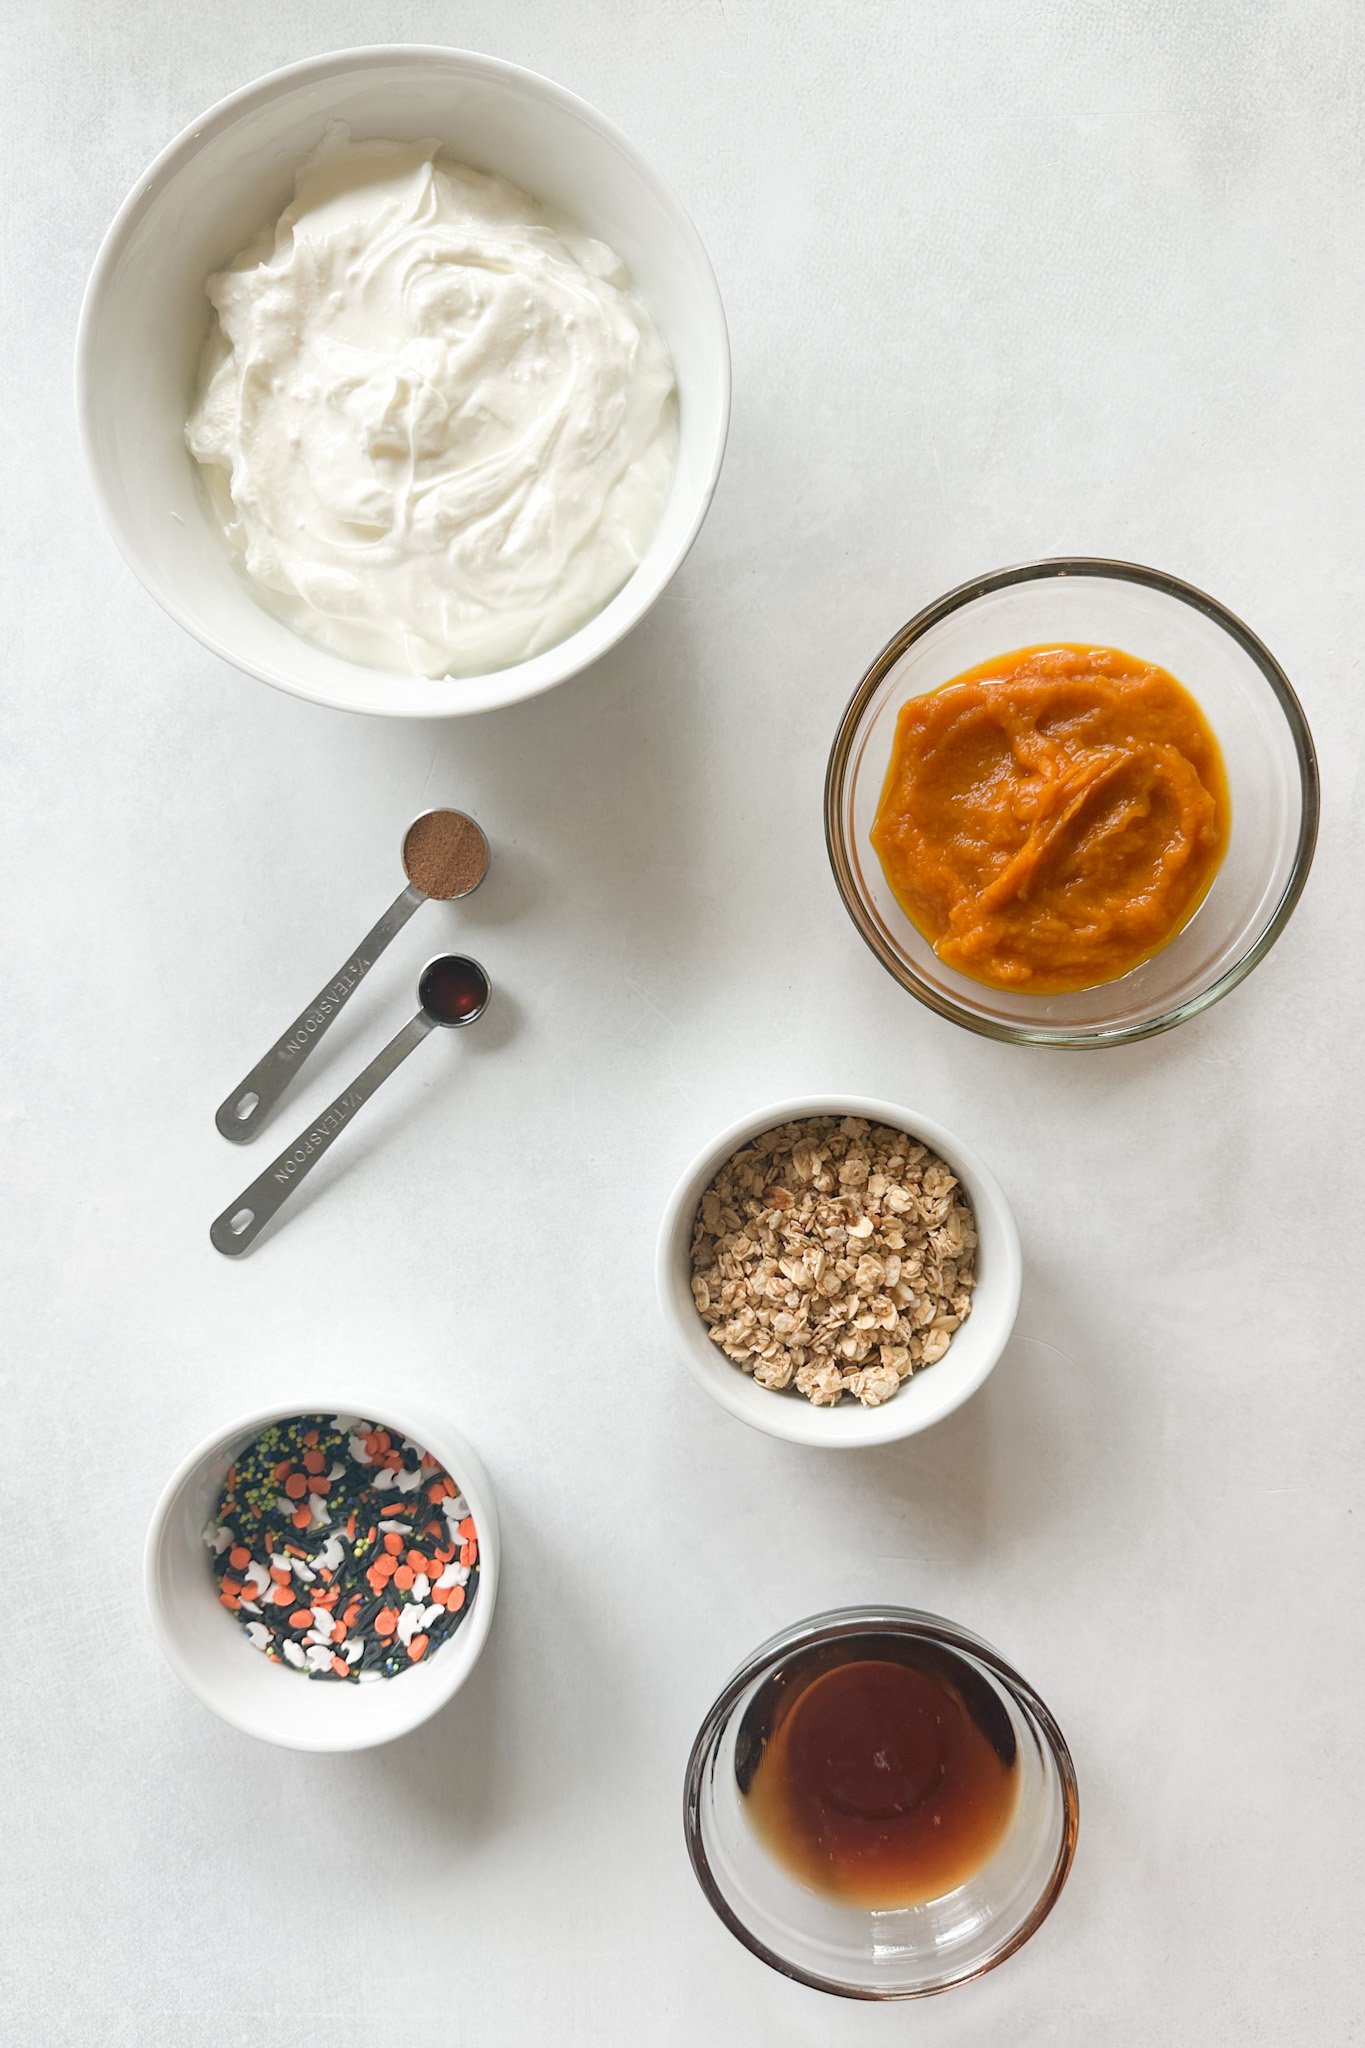
- Pumpkin Puree: Be sure to get the unsweetened variety, not the ones that are marked pumpkin pie filling.
- Greek Yogurt: Naturally thick and great to help the bark hold its shape. I recommend using full-fat whole milk Greek yogurt for the best creamy texture and taste.
- Maple Syrup: The main source of sweetness for the bark.
- Pumpkin Spice: Warm spice combination for added flavor.
- Vanilla Extract: For added flavor and taste.
- Granola: For an added crunch!
- Sprinkles: Optional for an added festive touch!
Step By Step Instructions
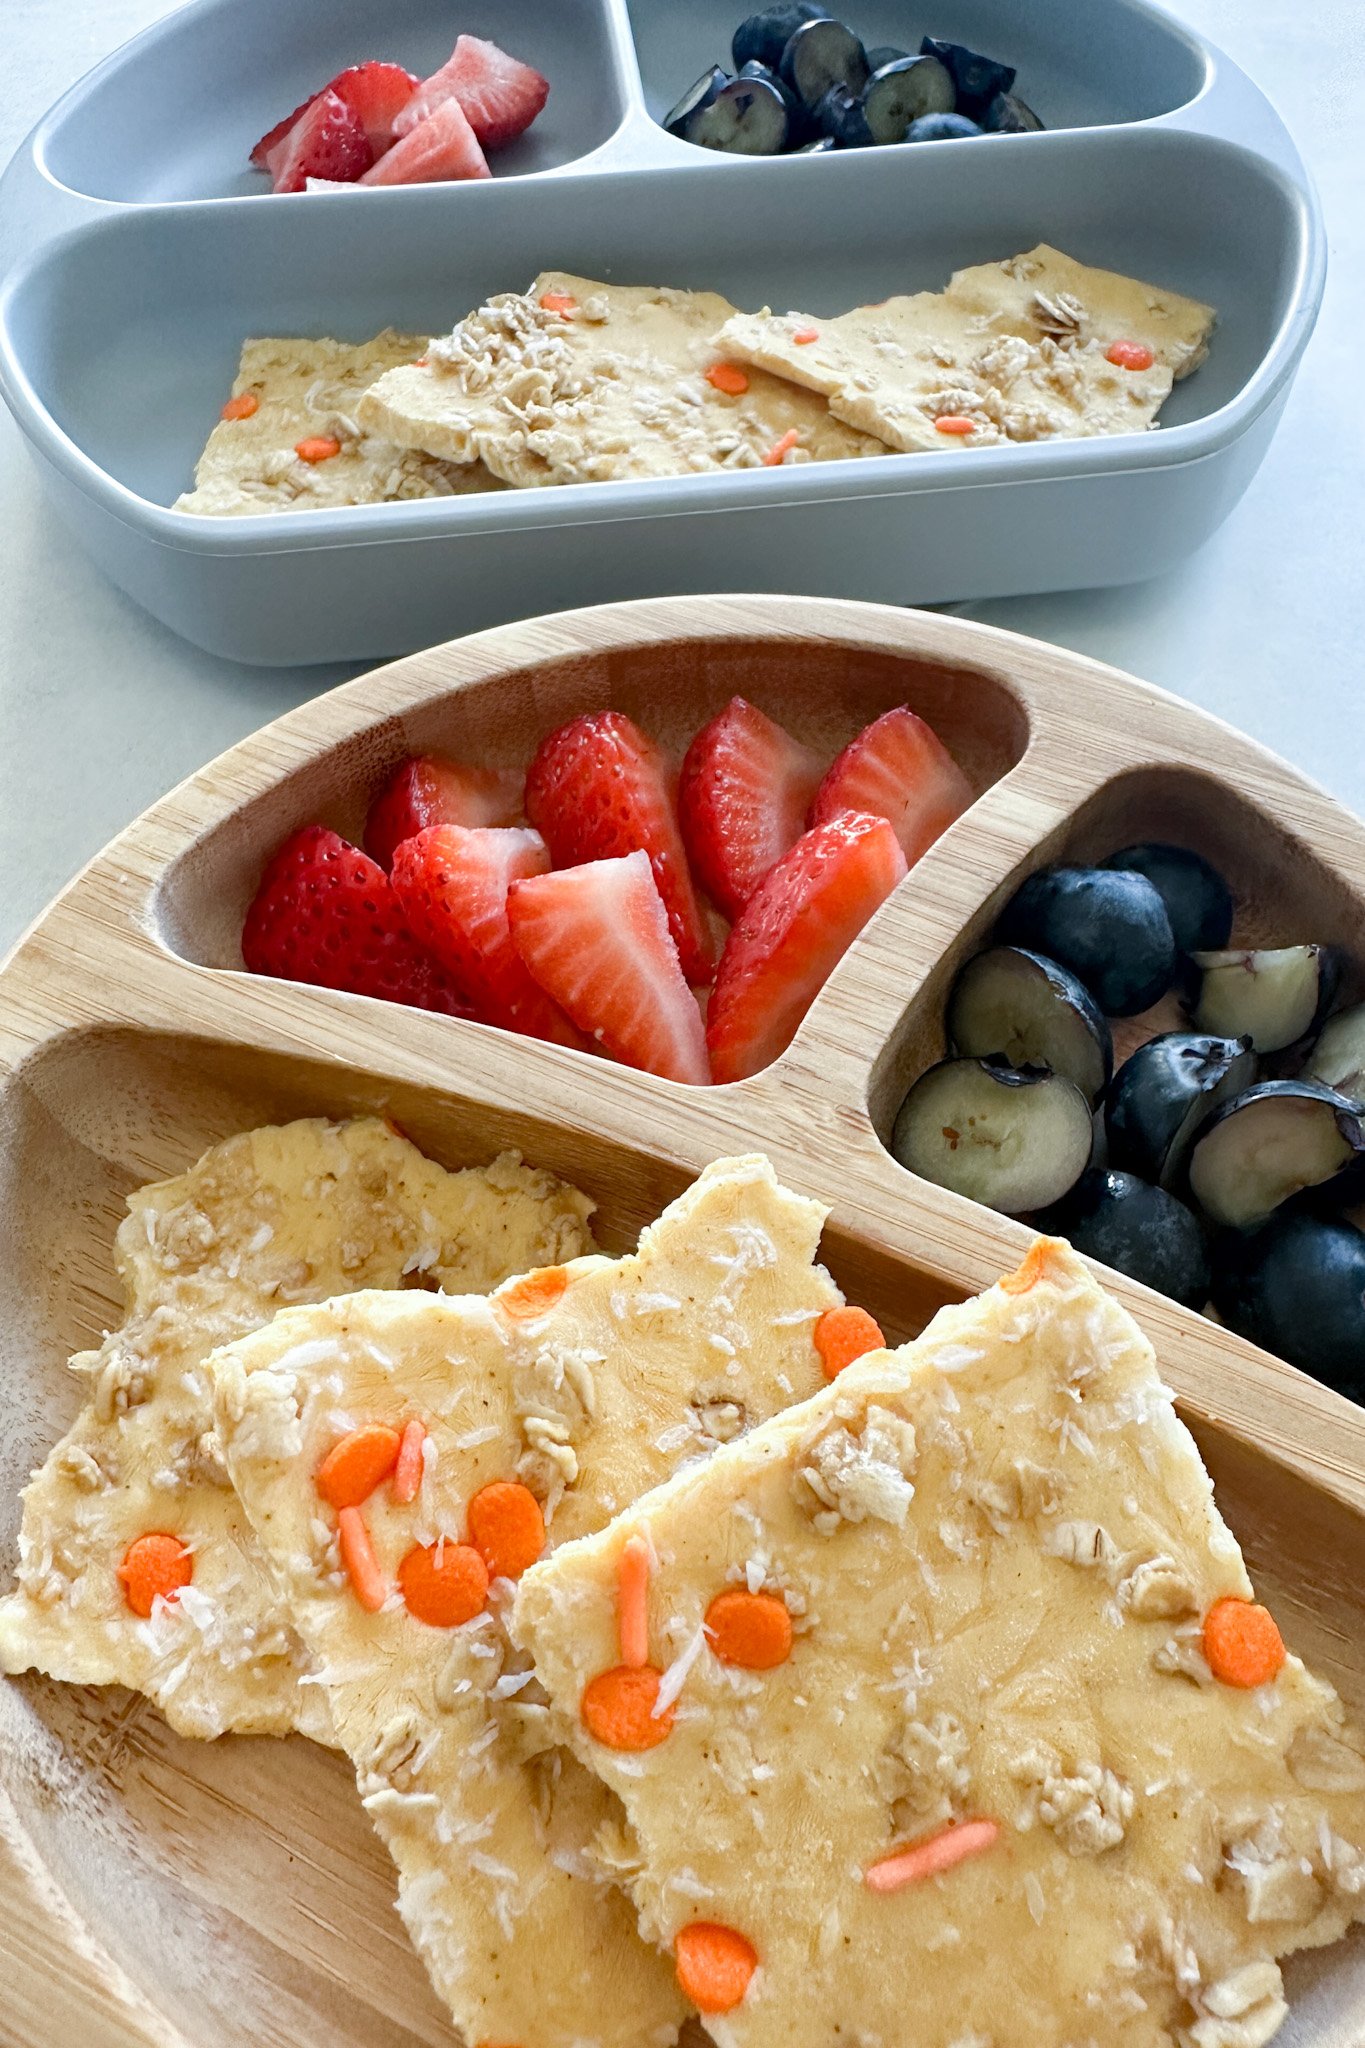
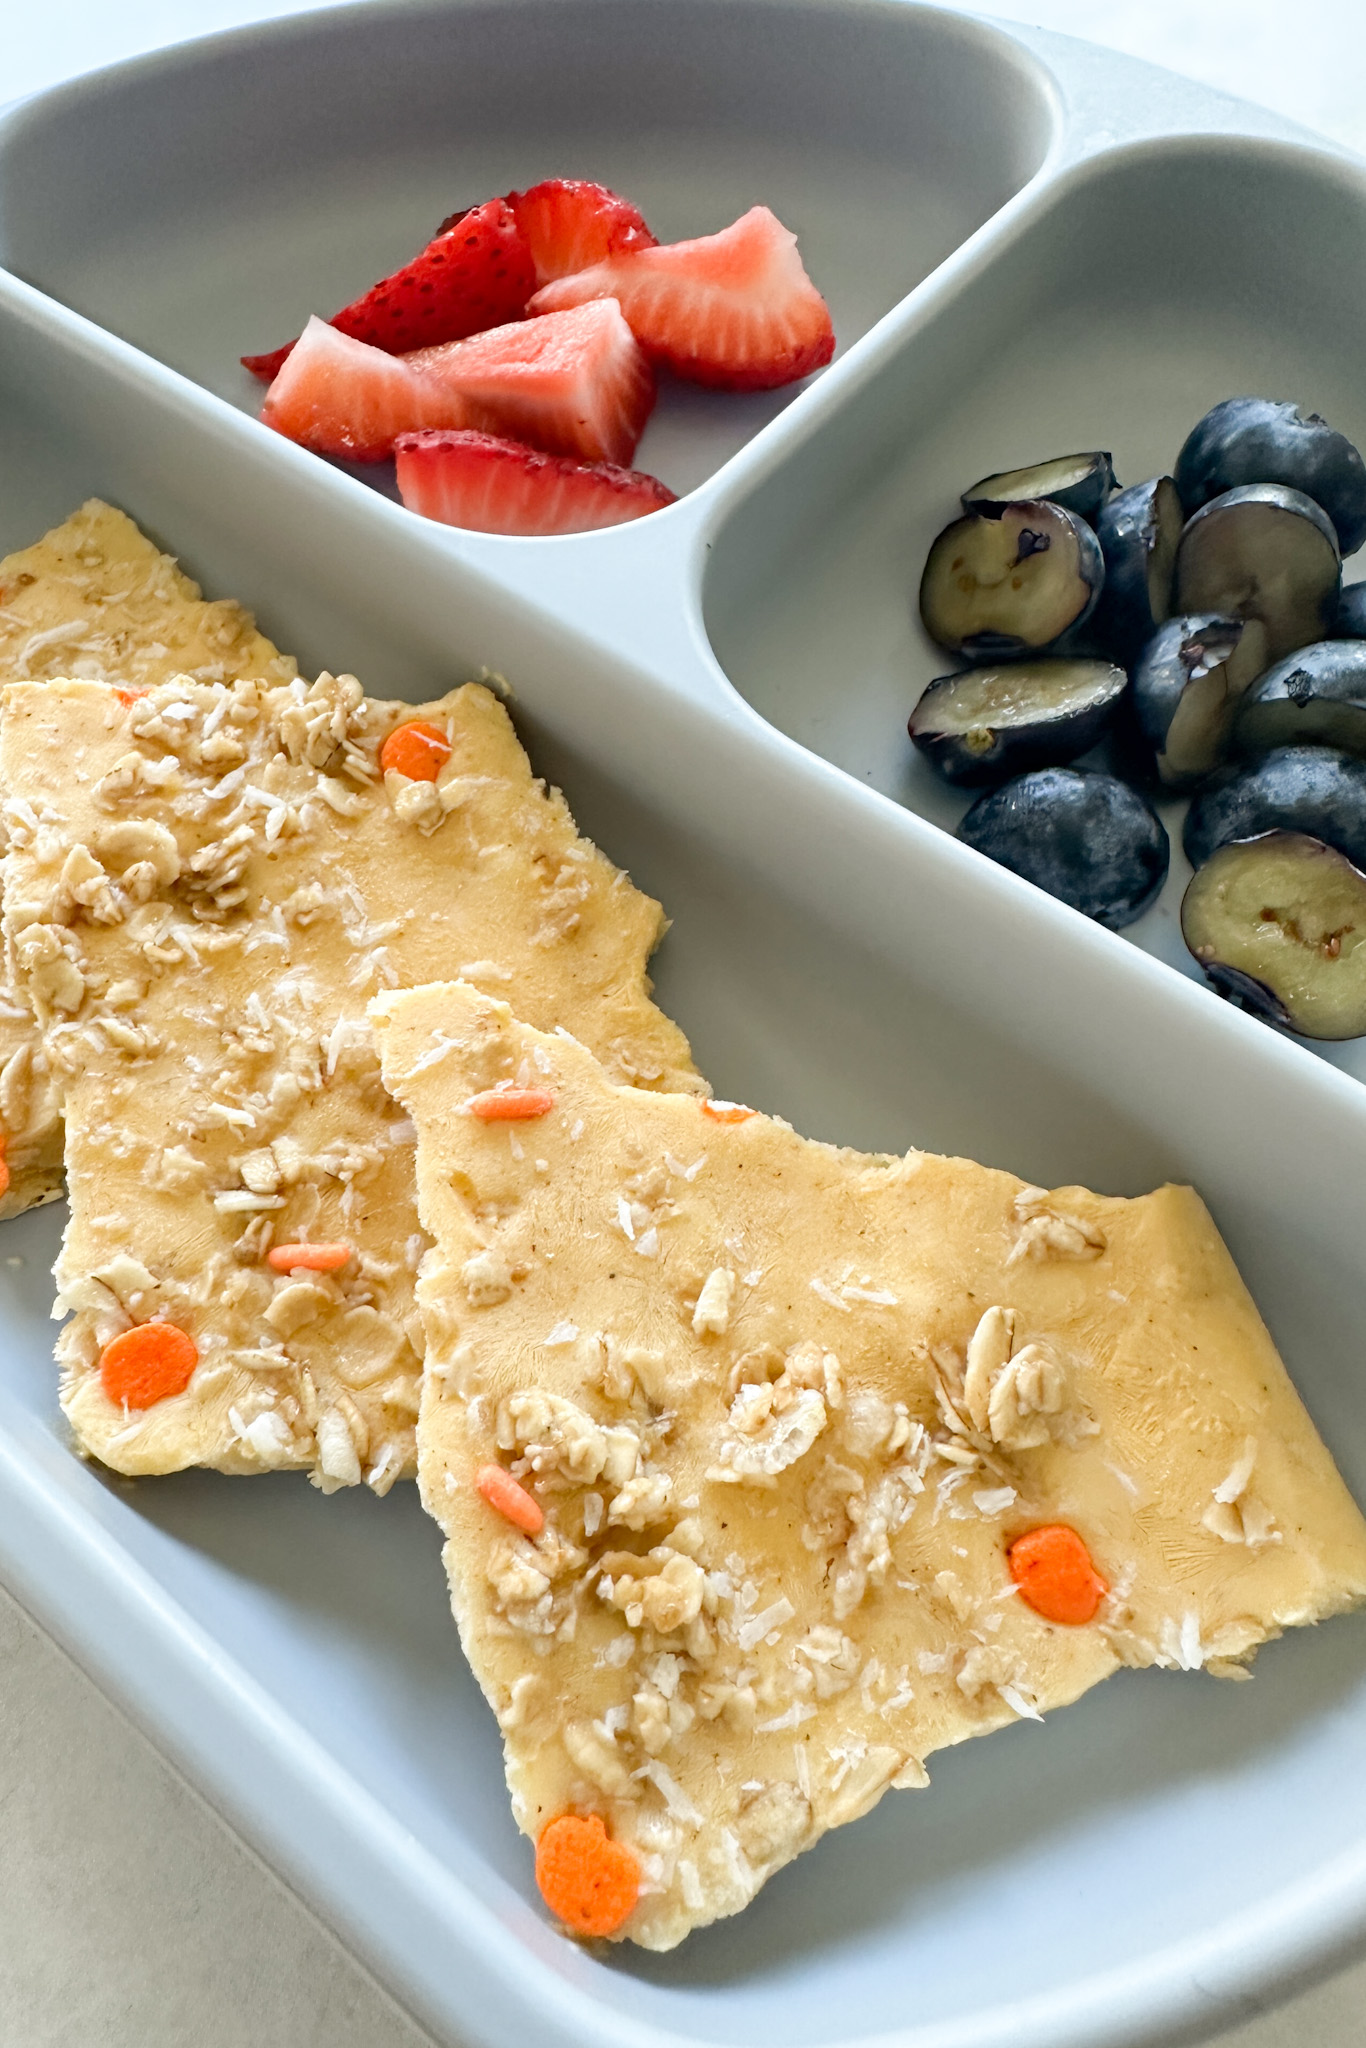
For Yogurt Bark:
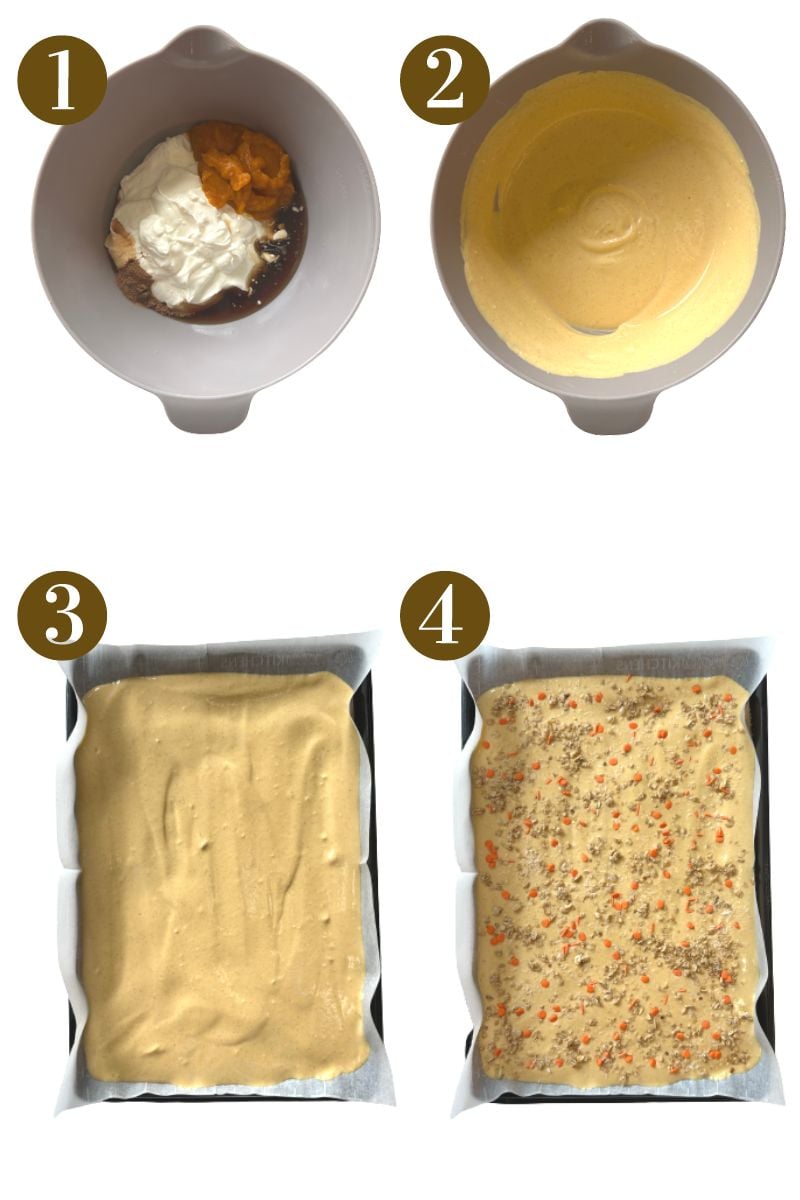
- In a bowl, stir together the pumpkin puree, yogurt, maple syrup, and vanilla extract until smooth. Once combined, spread the mixture into an even layer on a parchment paper-lined baking pan into a rectangular shape.
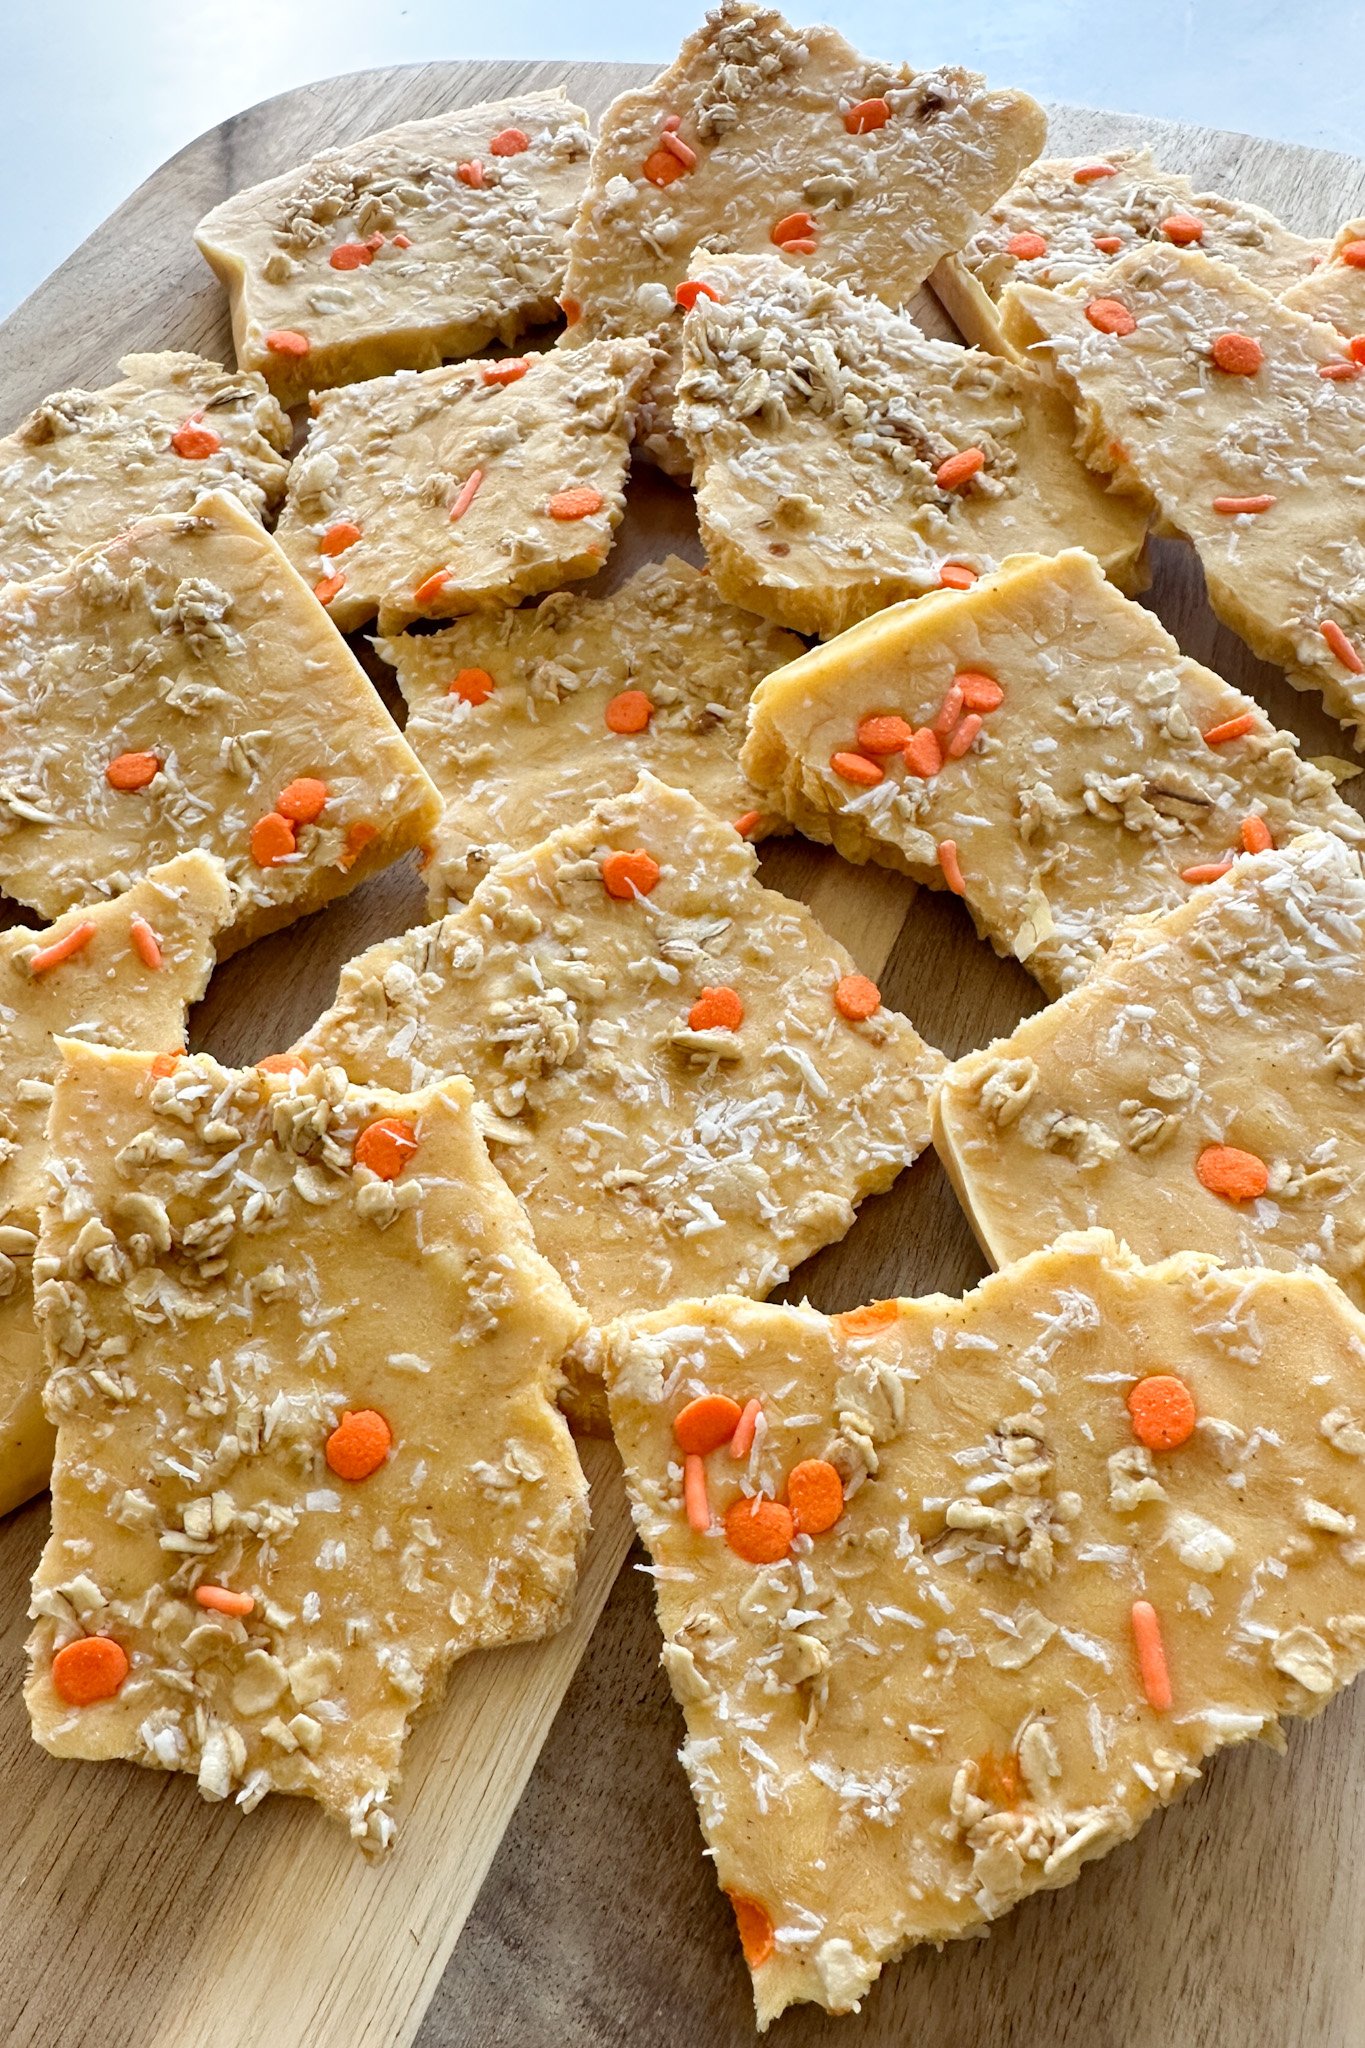
- Sprinkle the granola and sprinkles evenly across the top of the yogurt mixture. Feel free to add on any of your favorite toppings.
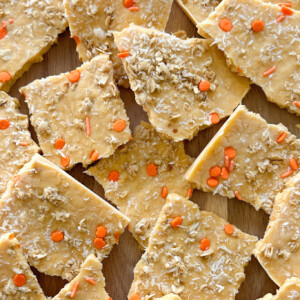
- Place the pan in a freezer for 2 hours.
- After 2 hours, break the bark into small servings and transfer the pieces to a freezer safe ziploc bag or container to store!
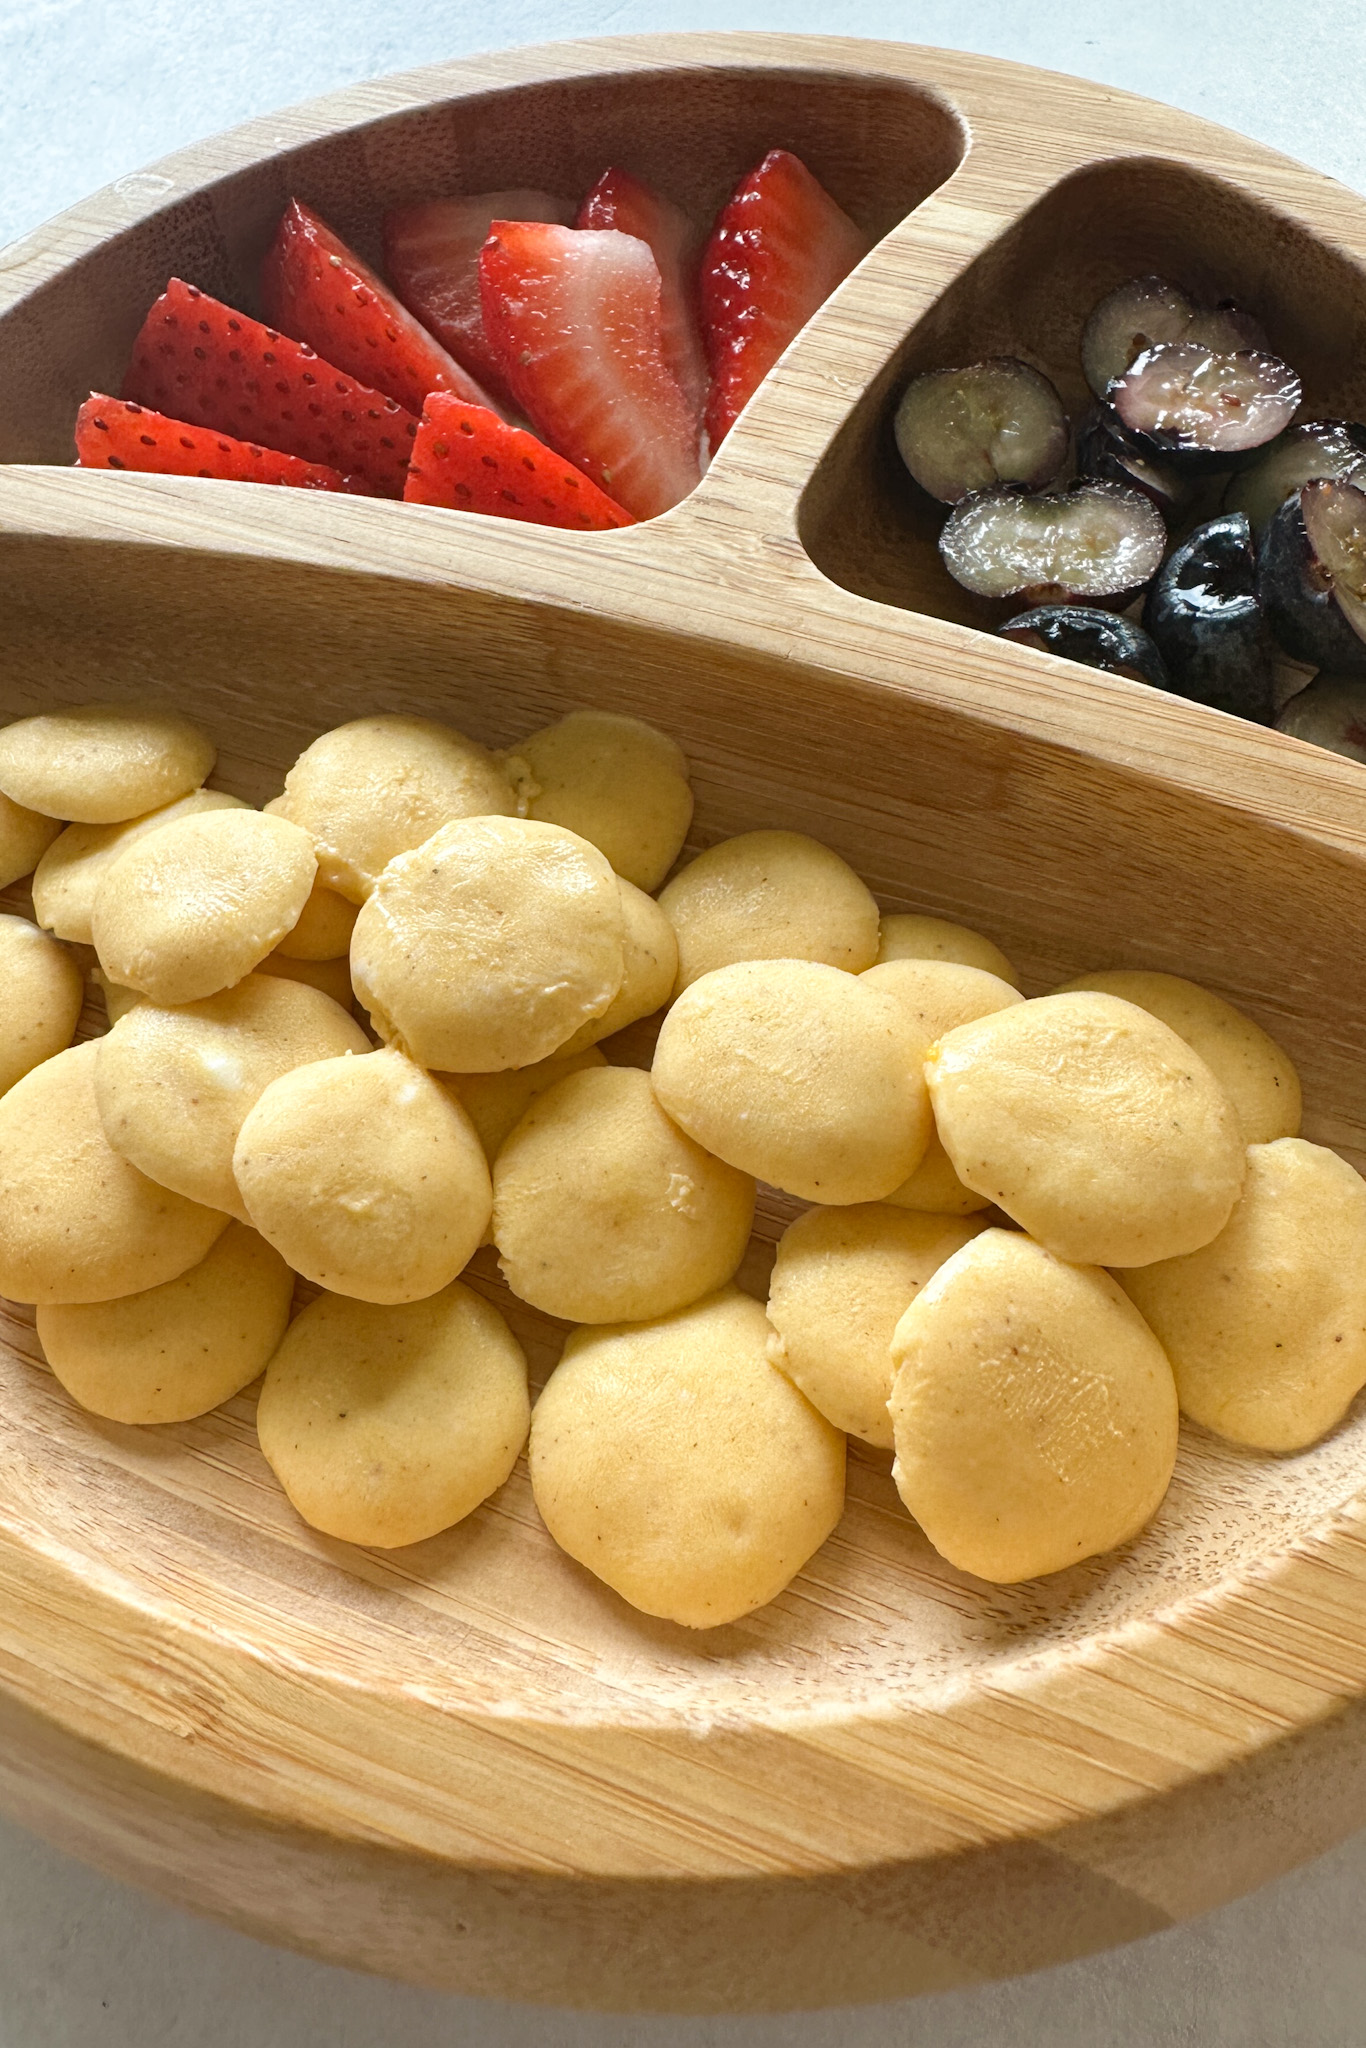
For Yogurt Melts:
- In a bowl, stir together the pumpkin puree, yogurt, maple syrup, and vanilla extract until smooth.
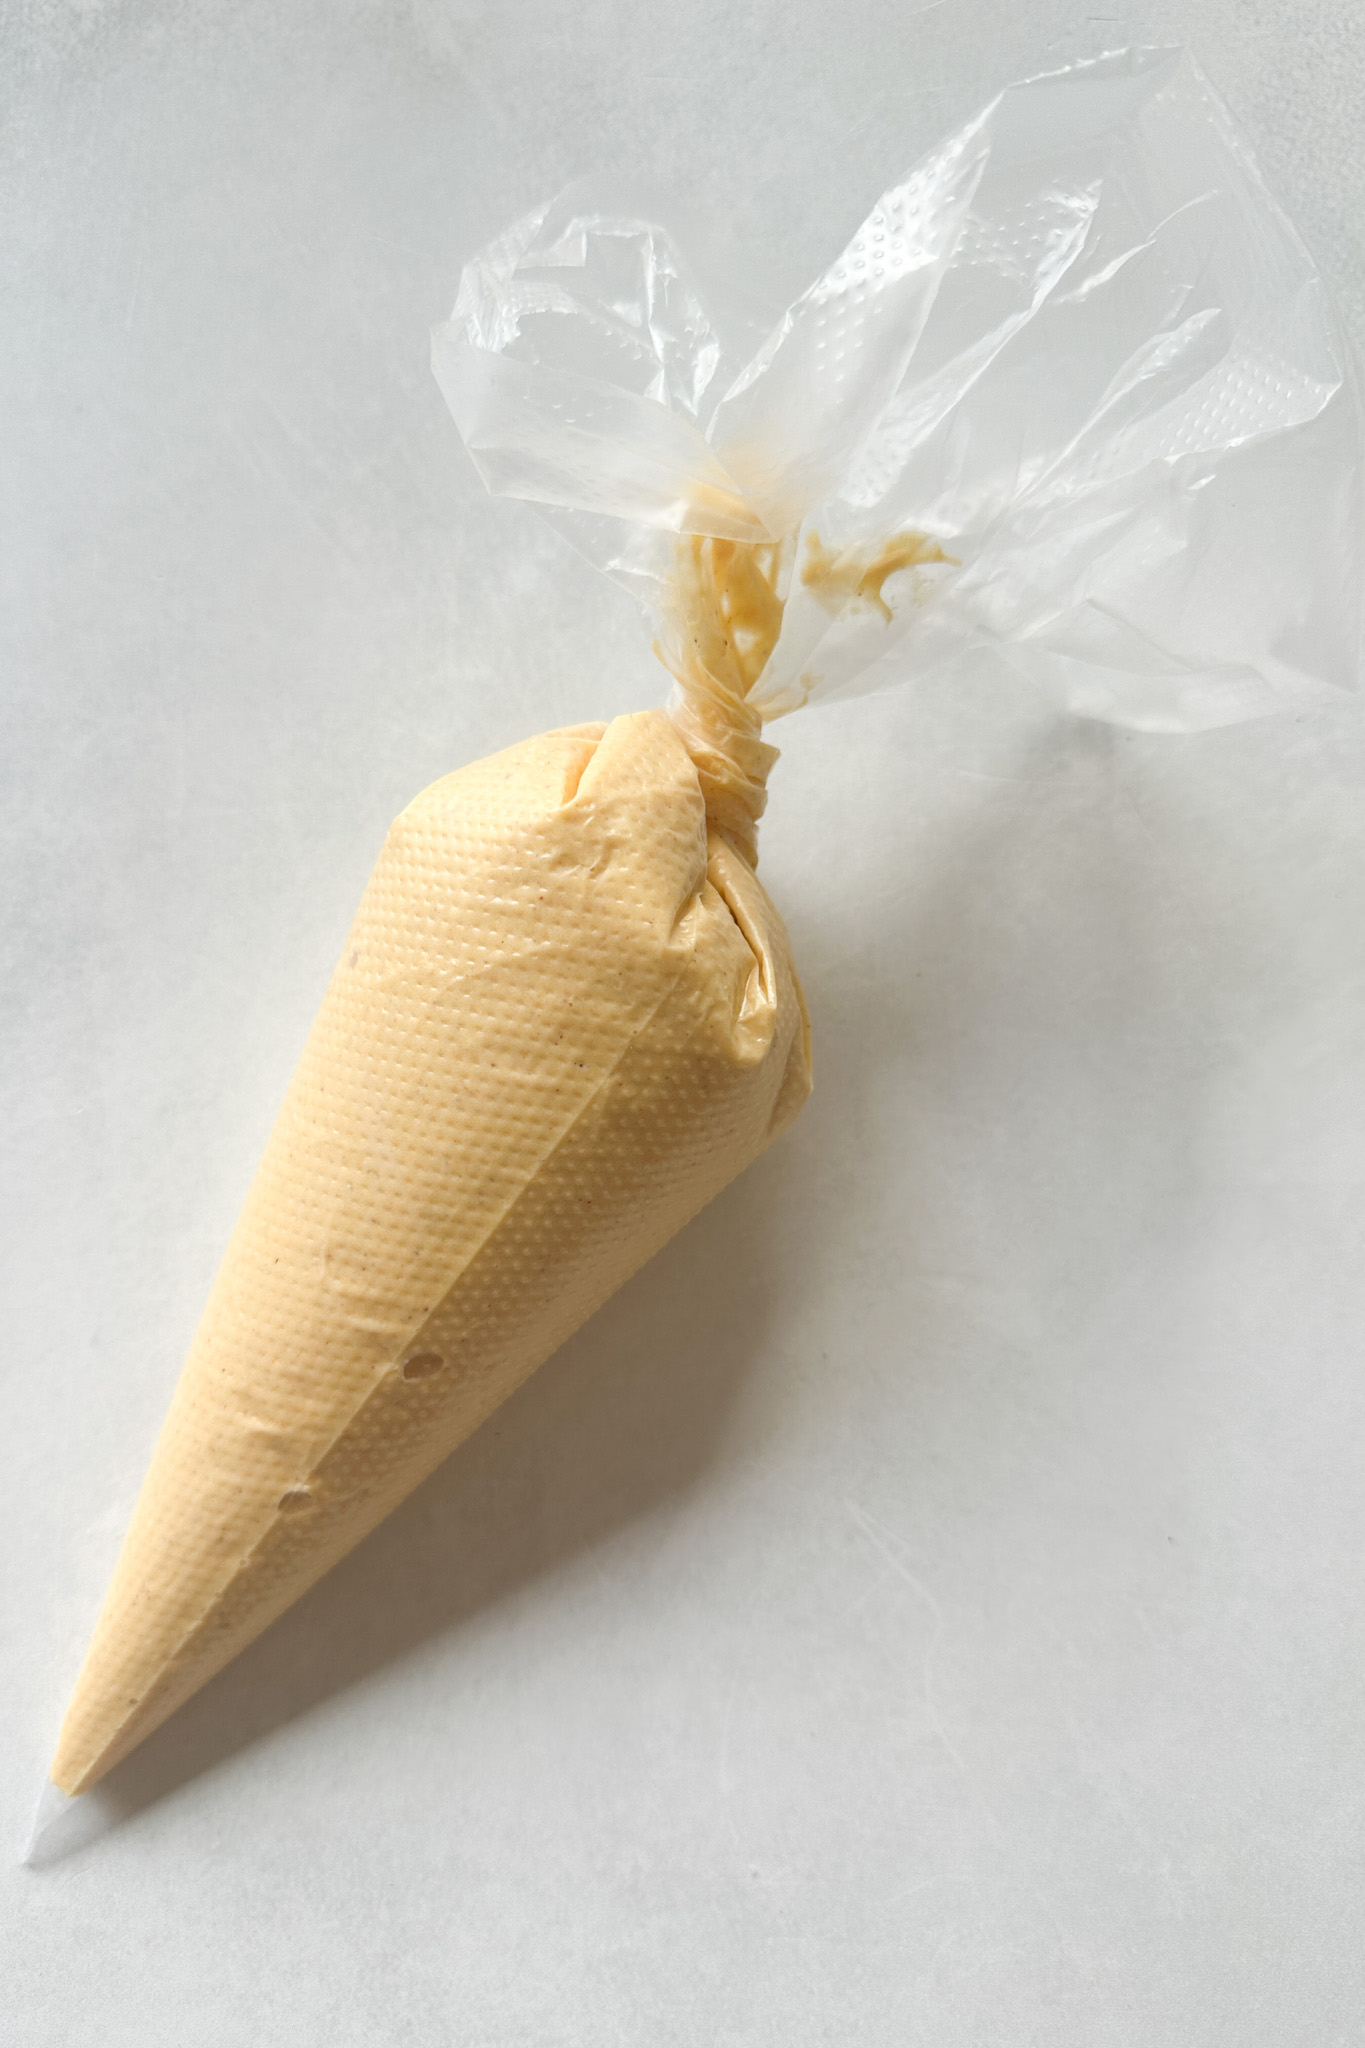
- Pour the mixture into a piping bag or Ziploc bag with a very small cut at the tip and pipe out small dime-sized circles onto a parchment paper-lined pan. (You will want to make sure that the hole at the tip is very small since the yogurt mixture is a little runny. If your hole size is too large, it will be hard to pipe the circles).
- Place the pan in a freezer for 2 hours.
- After 2 hours, transfer the melts to a freezer-safe ziploc bag or container to store!
Topping Ideas For Yogurt Bark
I topped my yogurt bark with granola and sprinkles, but you can completely customize it to your taste! Here are some other topping ideas for the bark:
- Chopped berries
- Sliced bananas
- Ground nuts
- Shredded coconut
- Drizzled peanut butter
- Crushed freeze-dried fruits
- Flax seeds/Chia seeds (for added nutrition!)
Ingredient Substitutions
- Greek Yogurt: You may substitute the Greek yogurt with a dairy-free alternative, like coconut yogurt. Be mindful that coconut yogurt is not as thick, but it still hardens and freezes well.
- Maple Syrup: The maple syrup adds sweetness to the bark and helps balance the tartness from the yogurt. If you prefer a natural sweetener, you may replace it with 2-3 tablespoons of powdered freeze dried bananas.
- Pumpkin Pie Spice: Pumpkin pie spice may be replaced with a mixture of ground cinnamon and ground nutmeg.
Storage Instructions
Once the yogurt bark/yogurt melts harden for at least 2 hours, immediately transfer them to a freezer-safe Ziploc bag or container to prevent freezer burn. Store them in the freezer for up to 1 month. If serving as normal yogurt, store the mixture in an airtight container in the refrigerator.
Recipe Notes
- This is a great snack for teething babies and soothing little gums! I recommend using full fat whole milk Greek yogurt.
- Do not leave the yogurt bark/yogurt melts at room temperature for too long because they will melt. Store the bark pieces in the freezer.
- Make sure to transfer the yogurt bark/melts to a freezer safe ziploc bag or container as soon as they fully harden. This will help prevent them from getting freezer burnt.
- Feel free to adjust the amount of maple syrup used to your liking. You can add in more or less maple syrup as needed. Taste the yogurt after mixing it with the maple syrup and adjust the sweetness level as needed.
- If you choose to add granola, make sure to avoid granola that contains honey for babies under the age of 1.
- If you are making yogurt melts, you will want to make sure that the hole at the tip is very small since the yogurt mixture is a little runny. If your hole size is too large, it will be hard to pipe the circles.
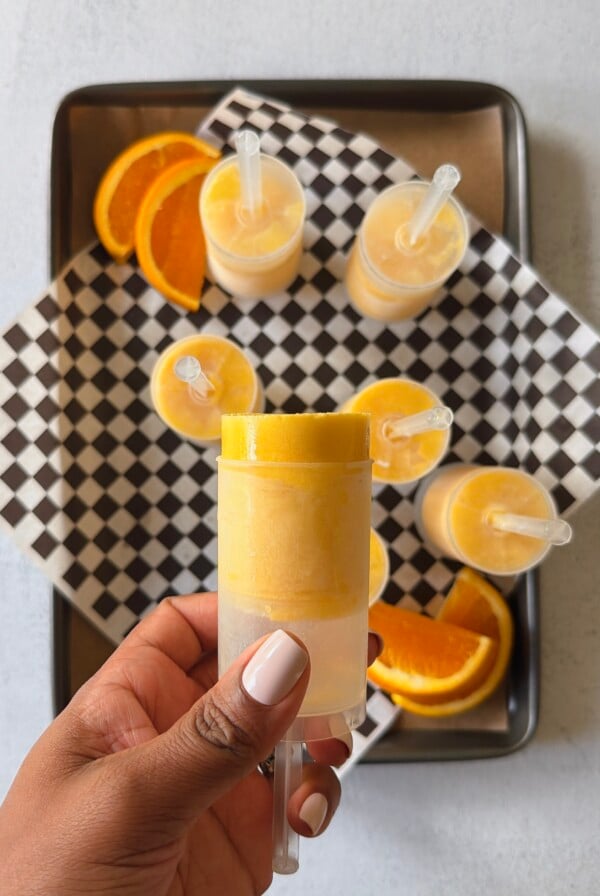
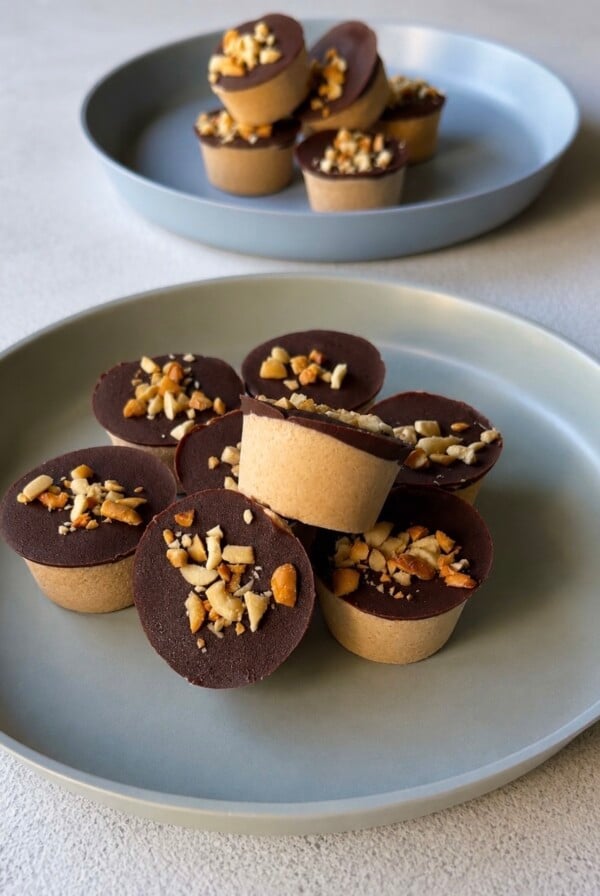
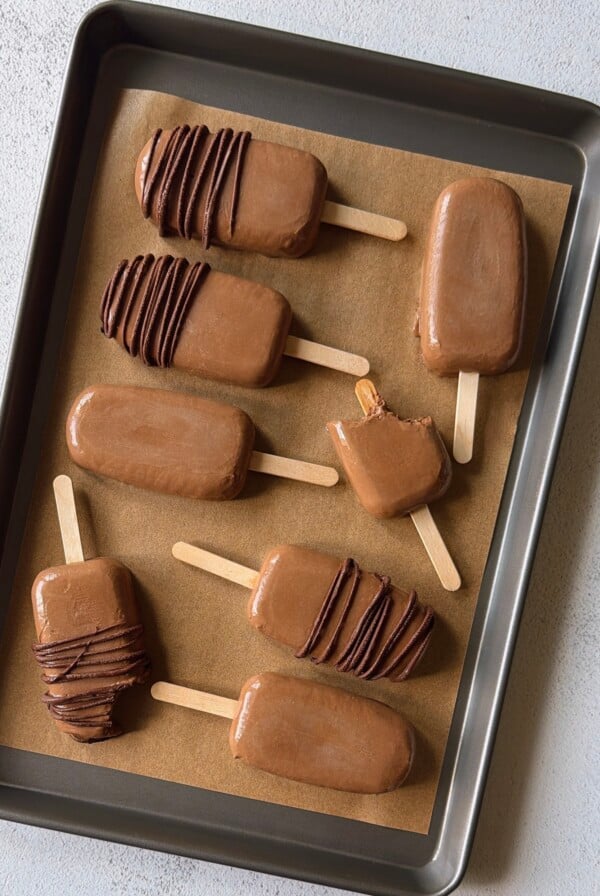
Here are some other frozen sweet treats that you may like!
Pumpkin Yogurt (Yogurt Bark And Yogurt Melts)
Ingredients
- 2 cups full fat whole milk Greek yogurt
- ½ cup pumpkin puree
- ¼ cup maple syrup
- ½ tsp pumpkin pie spice
- ¼ tsp vanilla extract
- ¼ cup finely chopped granola
- 2 tbsp sprinkles, optional
Instructions
For Yogurt Bark
- In a bowl, stir together the pumpkin puree, yogurt, maple syrup, and vanilla extract until smooth. Once combined, spread the mixture into an even layer on a parchment paper lined baking pan into a rectangular shape.
- Sprinkle the granola and sprinkles evenly across the top of the yogurt mixture. Feel free to add on any of your favorite toppings.
- Place the pan in a freezer for 2 hours.
- After 2 hours, break the bark into small servings and transfer the pieces to a freezer safe ziploc bag or container to store!
For Yogurt Melts
- In a bowl, stir together the pumpkin puree, yogurt, maple syrup, and vanilla extract until smooth.
- Pour the mixture into a piping bag or Ziploc bag with a very small cut at the tip and pipe out small dime-sized circles onto a parchment paper-lined pan. (You will want to make sure that the hole at the tip is very small since the yogurt mixture is a little runny. If your hole size is too large, it will be hard to pipe the circles).
- Place the pan in a freezer for 2 hours.
- After 2 hours, transfer the melts to a freezer safe ziploc bag or container to store!
Notes
- This is a great snack for teething babies and soothing little gums! I recommend using full fat whole milk Greek yogurt.
- Do not leave the yogurt bark/yogurt melts at room temperature for too long because they will melt. Store the bark pieces in the freezer.
- Make sure to transfer the yogurt bark/melts to a freezer safe ziploc bag or container as soon as they fully harden. This will help prevent them from getting freezer burnt.
- Feel free to adjust the amount of maple syrup used to your liking. You can add in more or less maple syrup as needed. Taste the yogurt after mixing it with the maple syrup and adjust the sweetness level as needed.
- If you choose to add granola, make sure to avoid granola that contains honey for babies under the age of 1.
- If you are making yogurt melts, you will want to make sure that the hole at the tip is very small since the yogurt mixture is a little runny. If your hole size is too large, it will be hard to pipe the circles.