Animal Crackers Recipe (Egg Free)
on Jan 15, 2024, Updated Mar 17, 2024
This post may contain affiliate links. Please read our disclosure policy.
This animal crackers recipe is so simple to make with only 6 ingredients you likely already have on hand! They are egg-free and nut-free and lightly sweetened with maple syrup for a crunchy treat you won’t be able to stop snacking on!
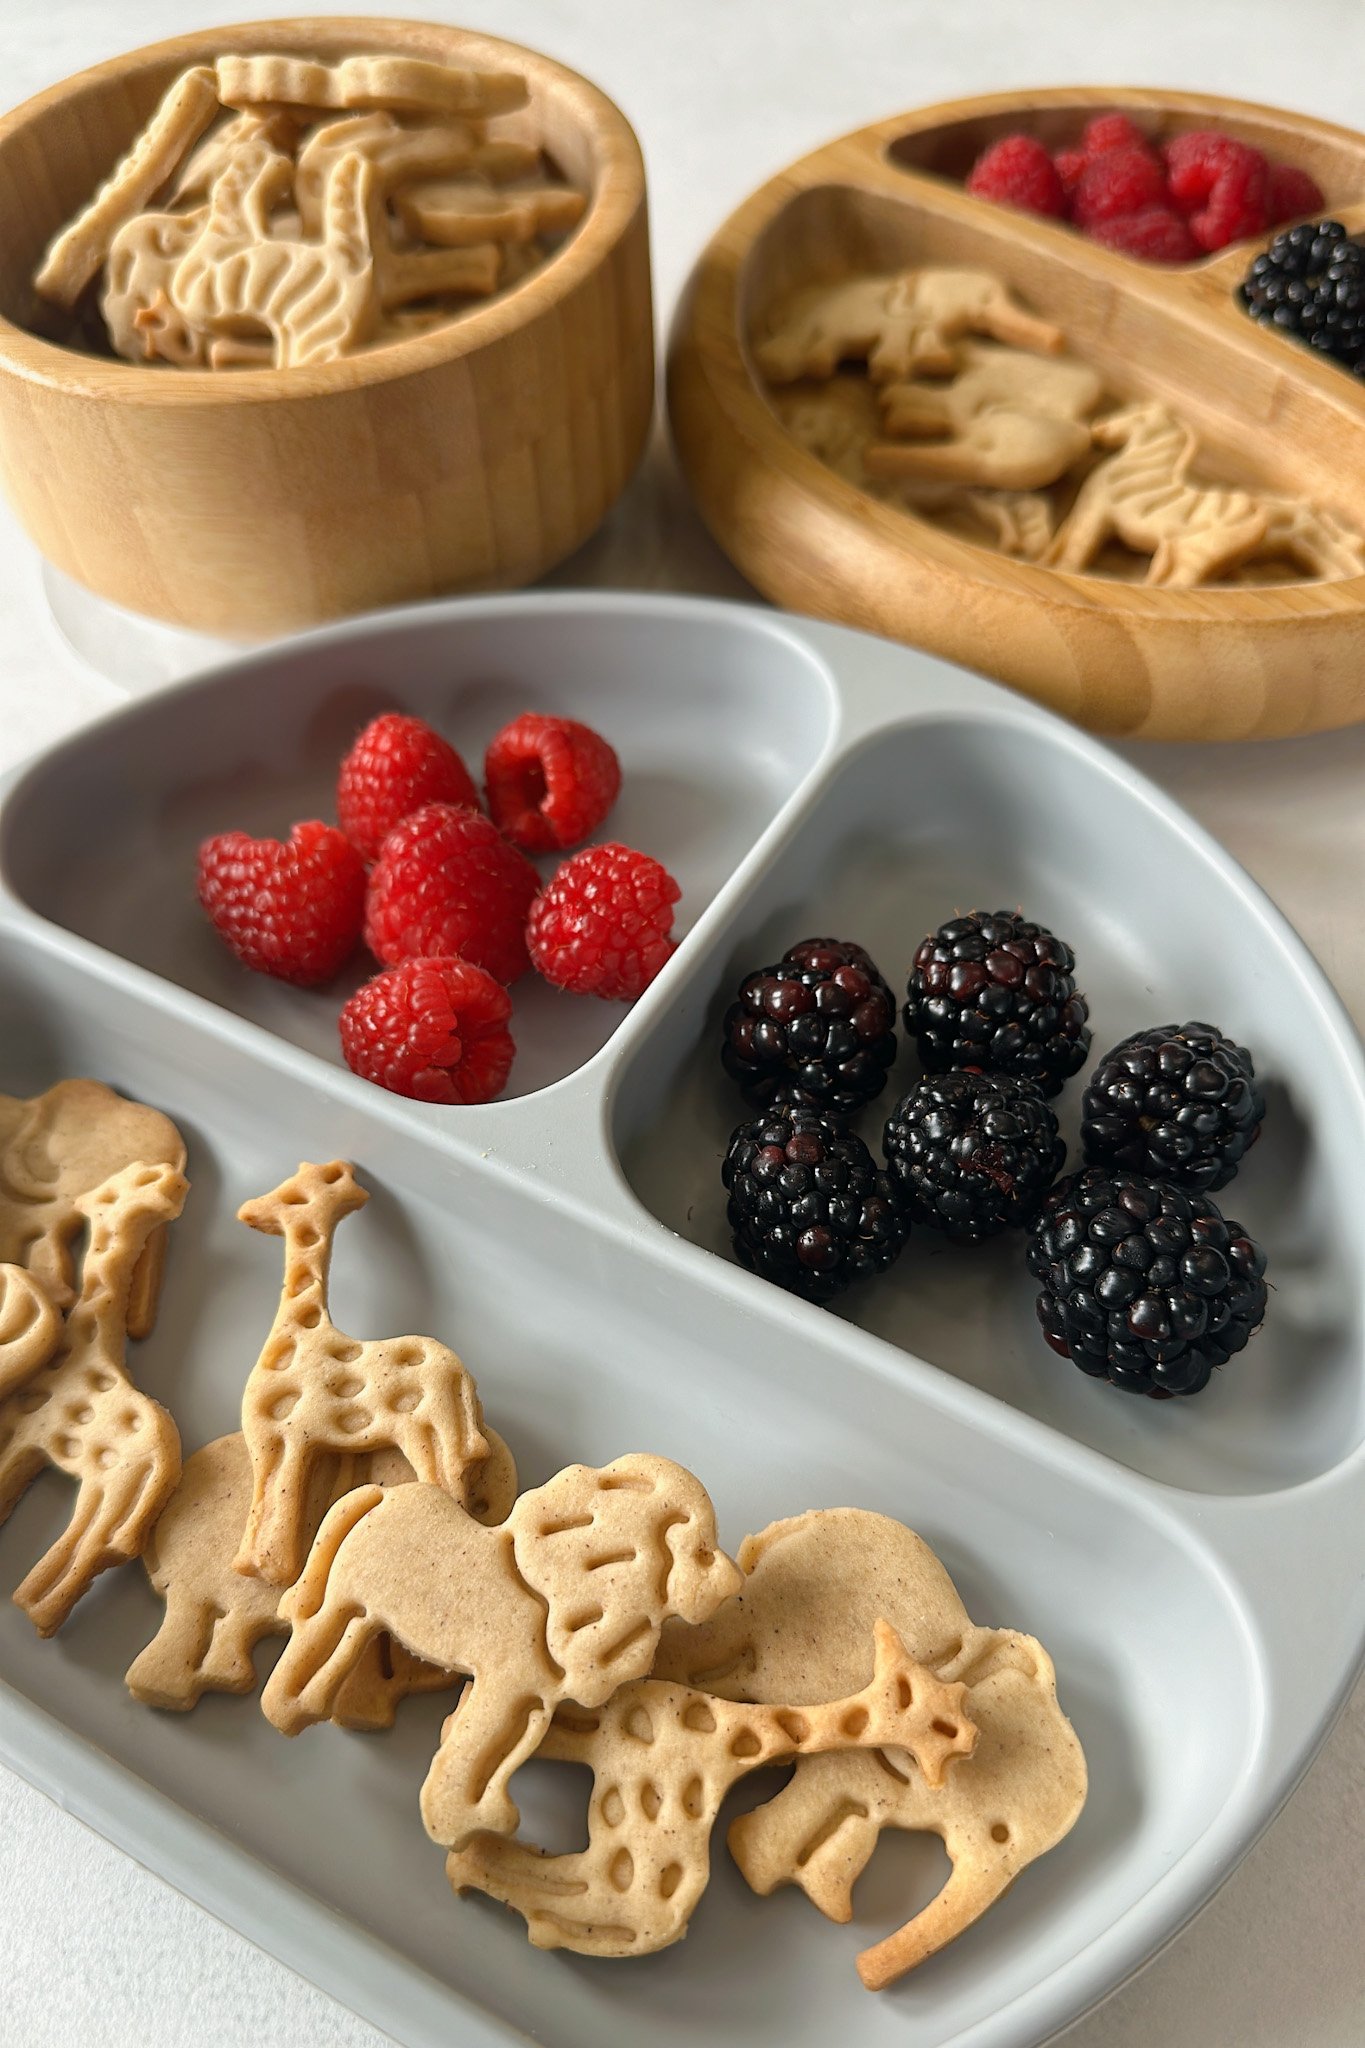
I promise it doesn’t get easier than these 6-ingredient animal crackers! They’re a simple snack you can feel good about giving to your little ones that are refined sugar-free and free of additives. This fun-shaped animal cookie cutter makes them look and feel like the real deal, but you can use any small-shaped cookie cutters you have on hand. Get those little ones involved in making these crackers with you for a hands-on activity and snack in one!
If you love these homemade animal crackers and are looking for some other nostalgic snacks, you’ll love these homemade goldfish crackers, homemade cocoa puffs, and homemade Cheez-it crackers as well!
Table of Contents
What You’ll Need
Here is what you’ll need to make this animal crackers recipe:
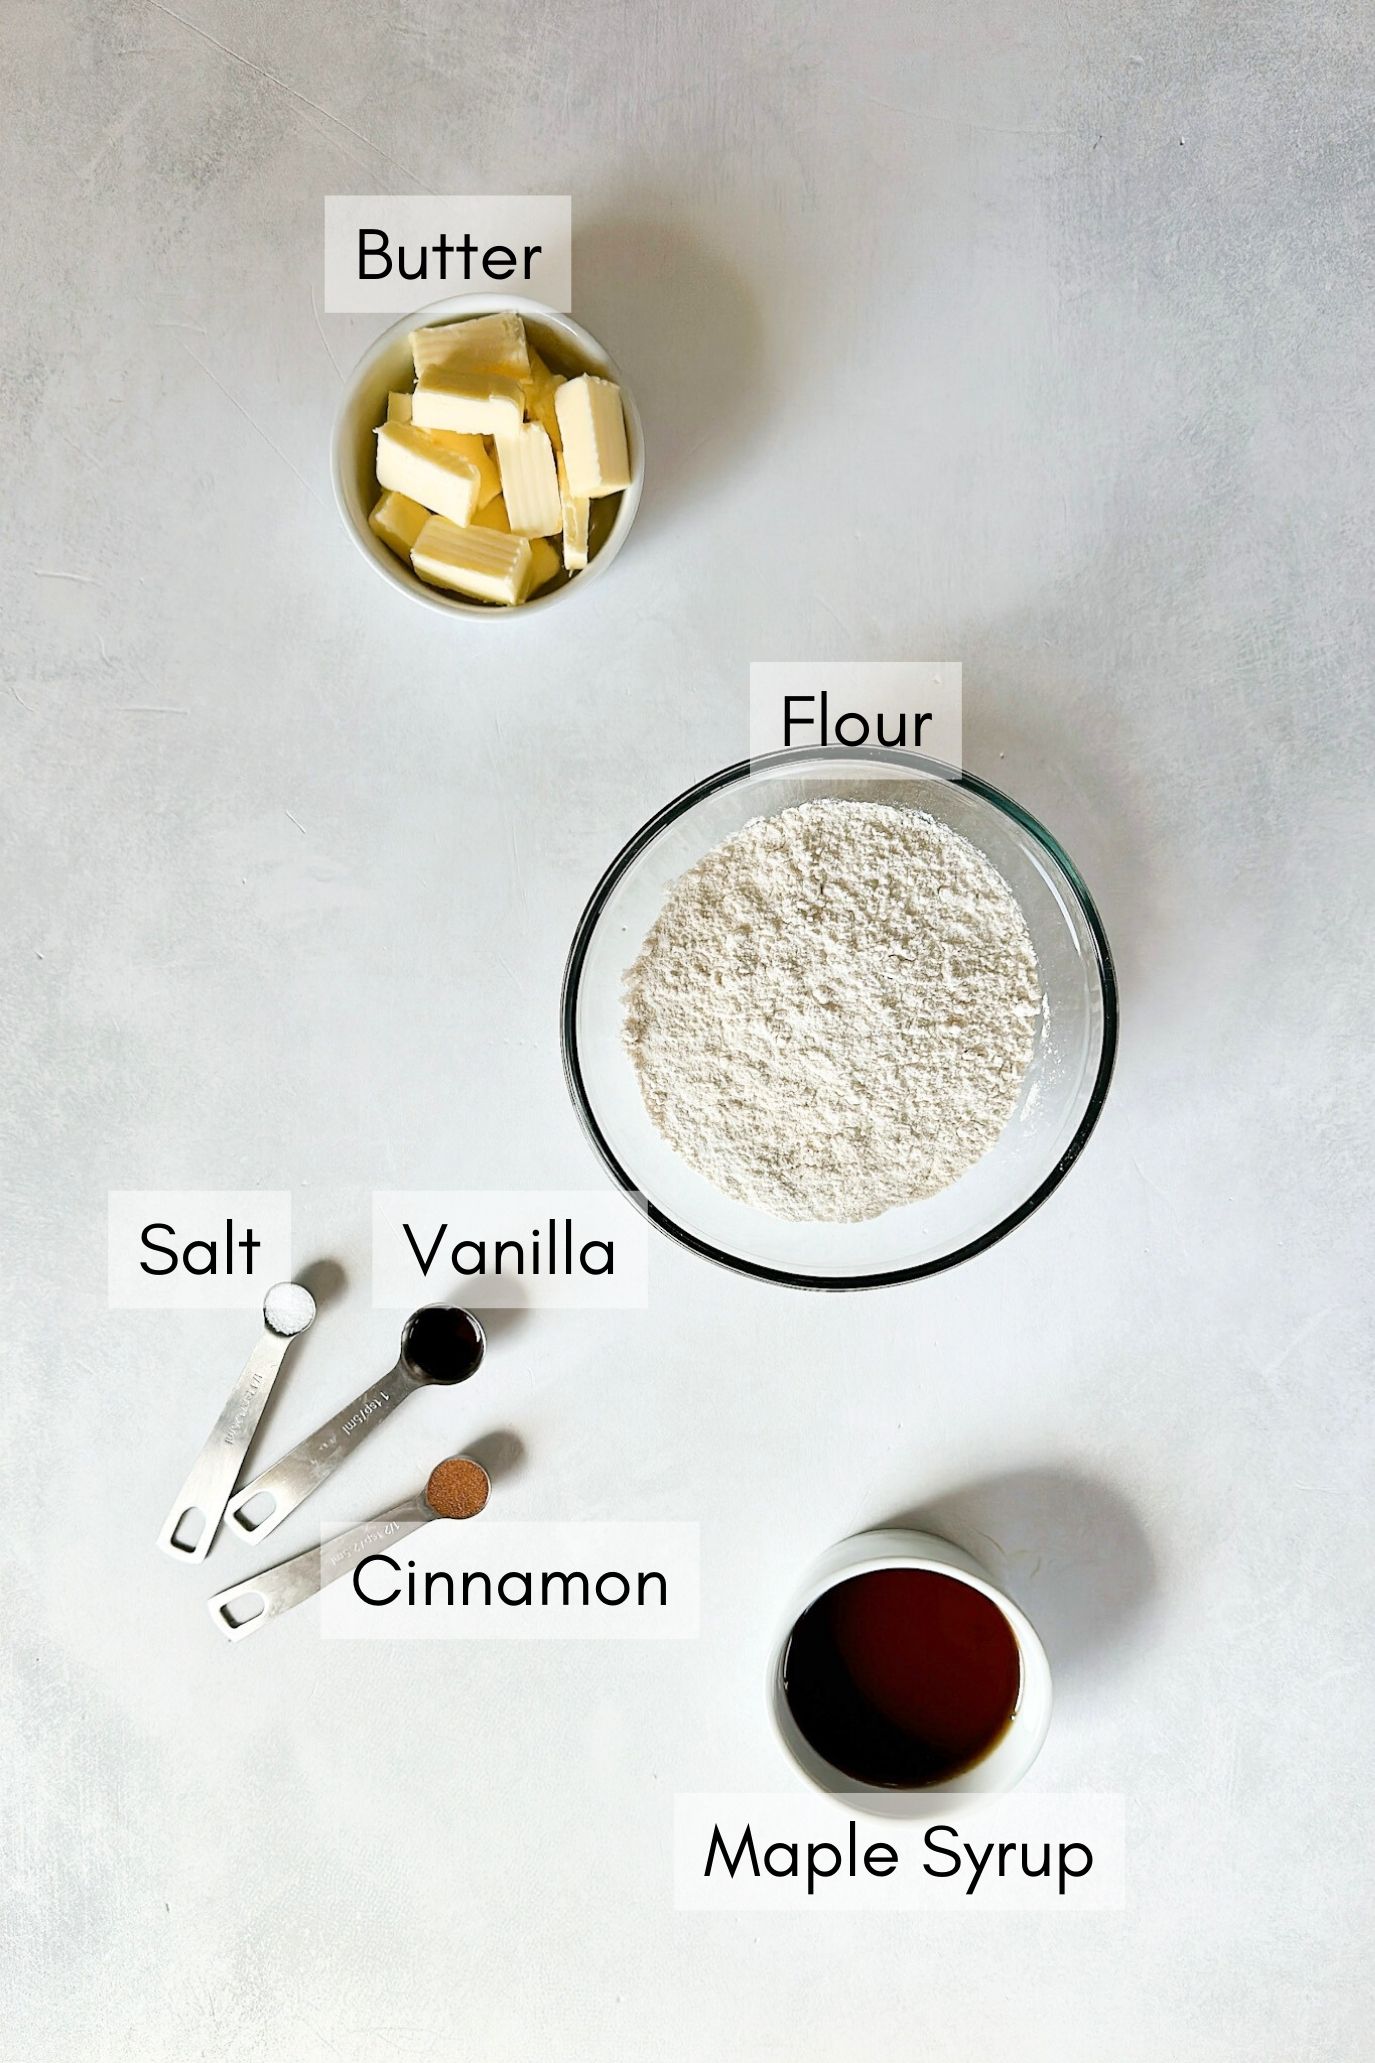
- Butter: I used unsalted butter for these crackers. If you only have salted butter on hand, just omit the salt from the recipe. Make sure that the butter is softened to room temperature beforehand.
- Maple Syrup: The main source of sweetness for these crackers.
- All-Purpose Flour: Make sure to measure your flour correctly. Scoop the flour into the measuring cup and use a knife to level it out.
- Ground Cinnamon: Warm spice for added flavor and taste.
- Vanilla: To enhance the flavor of the crackers.
- Salt: To balance out the flavors of the dough.
See the recipe card below for full information on ingredients and quantities.
Recipe Substitutions & Additions
- Butter: For a dairy-free option, swap the butter with dairy-free butter like these olive oil plant-based butter sticks.
- Maple Syrup: You may replace the maple syrup with equal parts honey. Note – Honey should not be offered to babies under the age of 1 as per CDC guidelines.
- All-Purpose Flour: For a gluten-free option, swap the all-purpose flour with an equal part gluten-free flour blend. You may also use white whole wheat flour, but start with a smaller amount as whole wheat flour absorbs liquids a little differently than all-purpose.
Step By Step Instructions
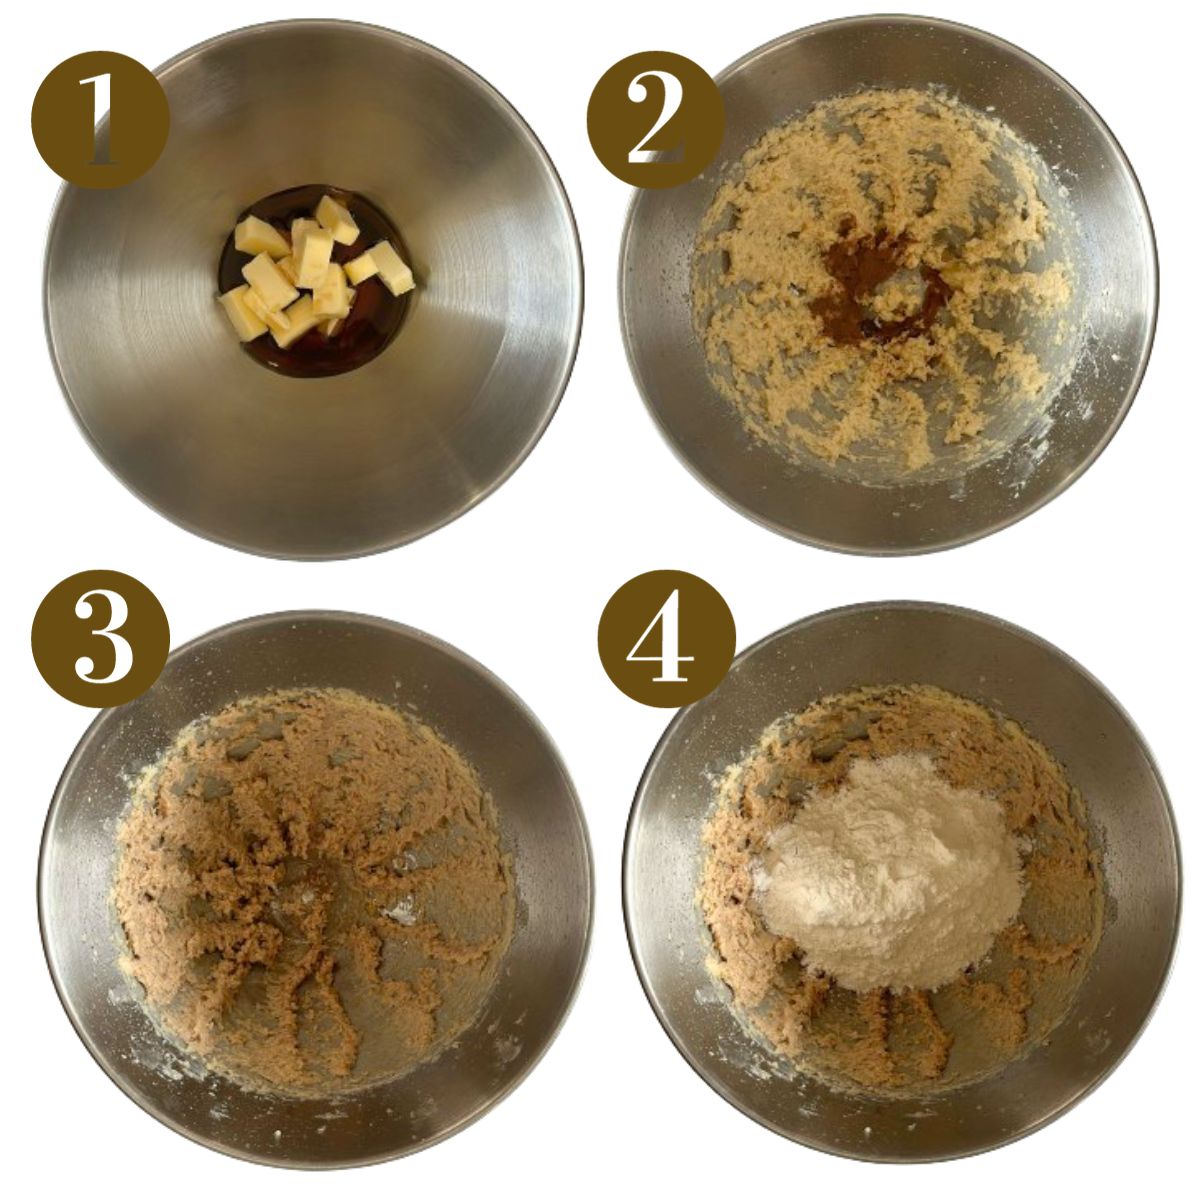
STEP 1: Add the softened butter and maple syrup to a bowl and use an electric hand mixer or stand mixer to cream them together on high speed until smooth, about 1 to 2 minutes (Images 1 & 2).
STEP 2: Add the ground cinnamon, vanilla, and to the bowl and mix on medium speed until incorporated, about 1 minute (Images 2 & 3).
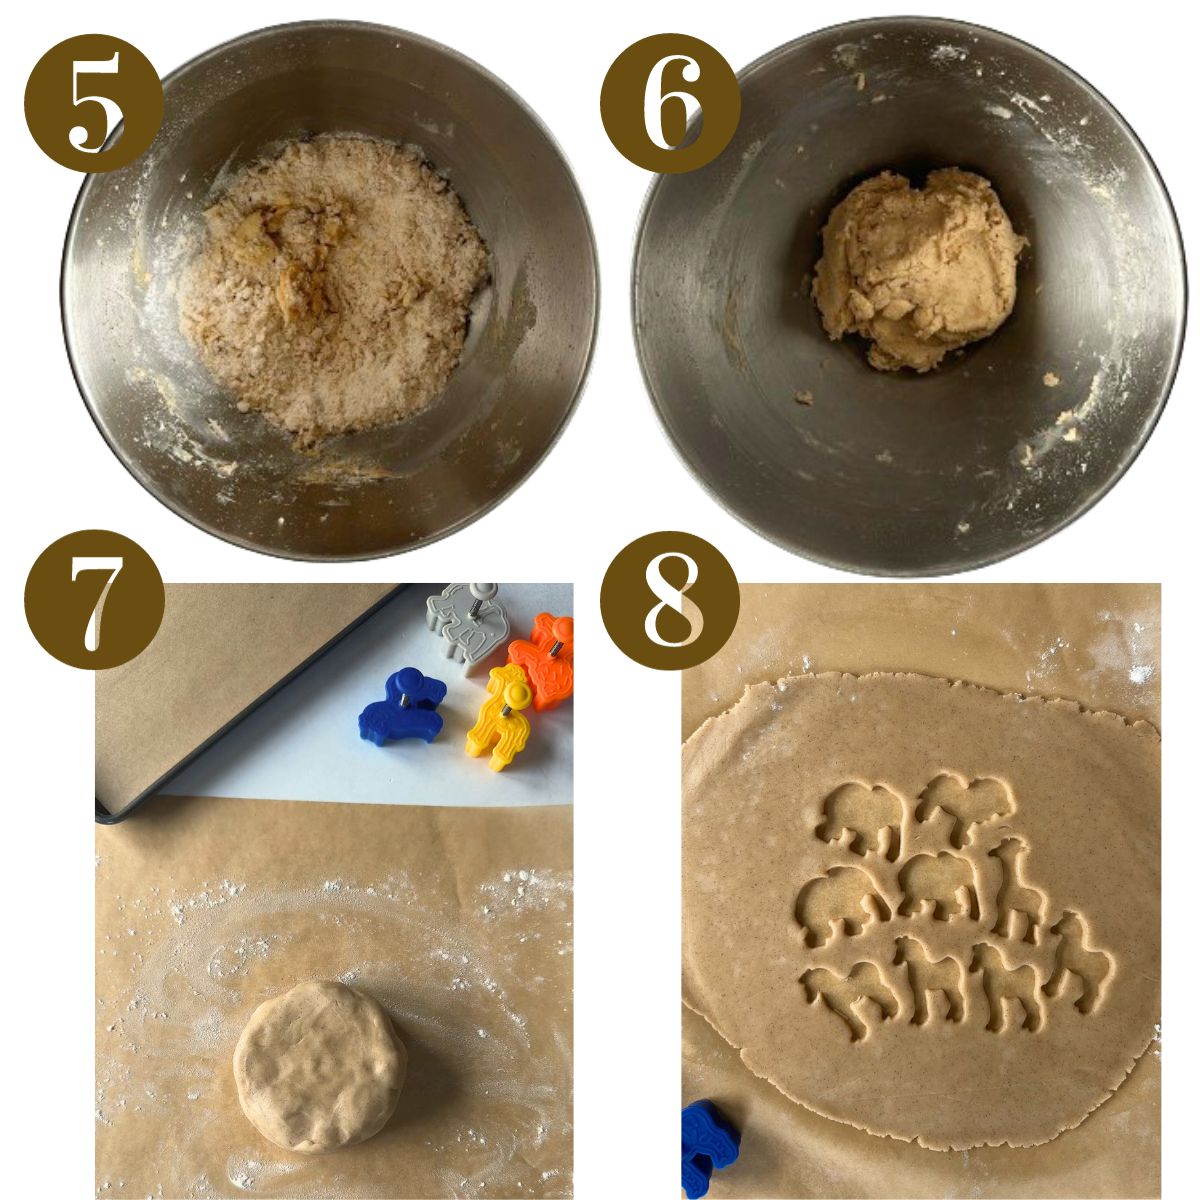
STEP 3: Add in the flour (Image 4) and mix on low speed until it forms a dough. It may seem crumbly at first (Image 5), but it will form into a soft dough (Image 6). Scrape down the sides as needed.
STEP 4: Shape the dough into a disk and wrap it tightly in plastic wrap. Place the dough in the fridge to allow the dough to chill for at least 1 hour or overnight. This step is important and it will allow the flour time to hydrate and make it easier to roll out. *Note: If you’re in a pinch, you can place the dough in the freezer for 15 minutes.
STEP 5: After at least an hour, place the chilled dough on the counter to allow it to slightly soften. Preheat the oven to 350 degrees F.
STEP 6: Sprinkle 1 to 2 tablespoons of flour on a surface or sheet of parchment paper and place the dough on top (Image 7). Flour a rolling pin and roll the dough out until it is about 1/4 to 1/8 of an inch thick. Use animal cracker-shaped cookie cutters (or any mini cookie cutter) to cut out shapes from the dough (Image 8).
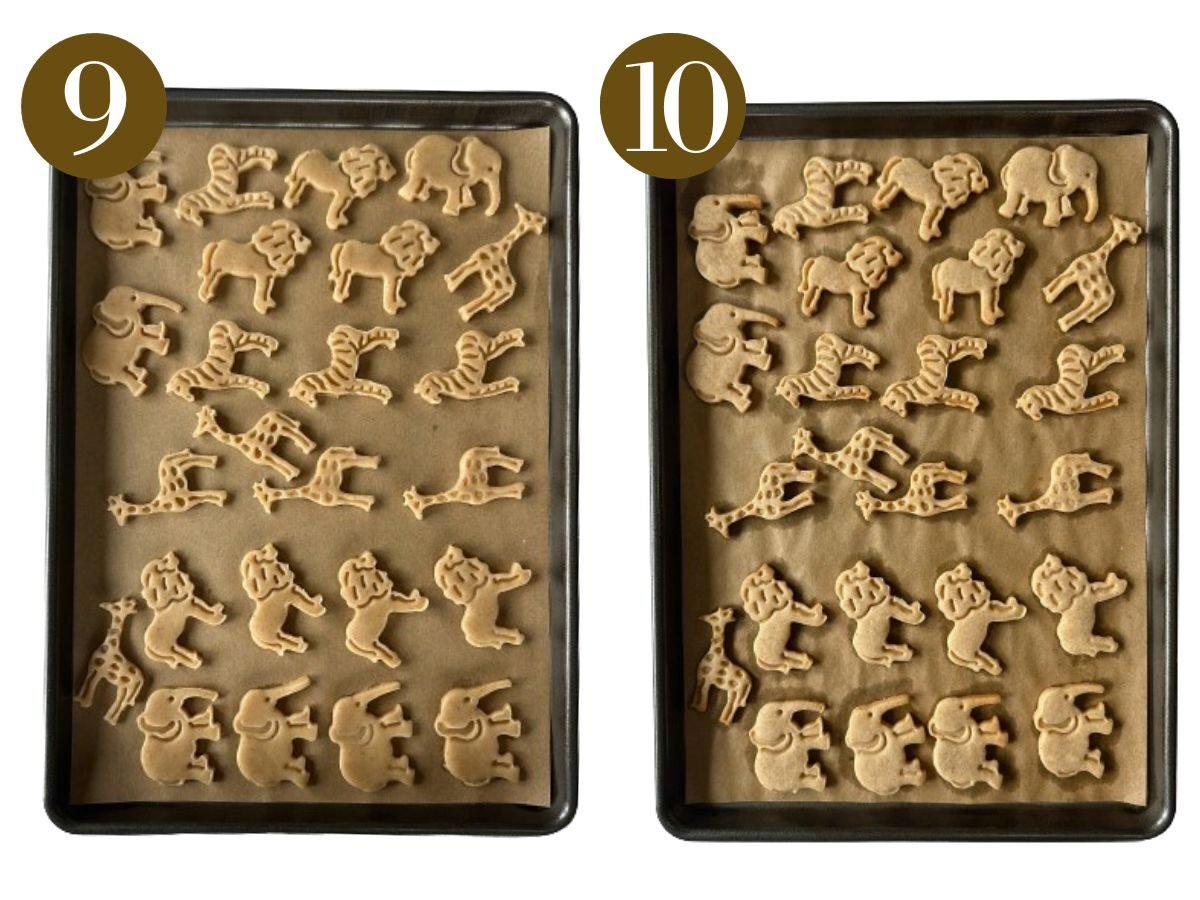
STEP 7: Transfer the shape cutouts to a parchment paper-lined pan (Image 9). Gather the scraps and reroll them out to cut out more shapes from the dough until all of the dough is used. Add additional flour on the surface as needed to prevent the dough from sticking. I was able to make two trays full of mini crackers using this dough.
STEP 8: Bake the crackers for 7 to 10 minutes until the edges are lightly golden brown (Image 10). Keep a very close eye on the crackers as they can burn easily. Allow the crackers to cool completely before removing them from the pan.
Storage Instructions
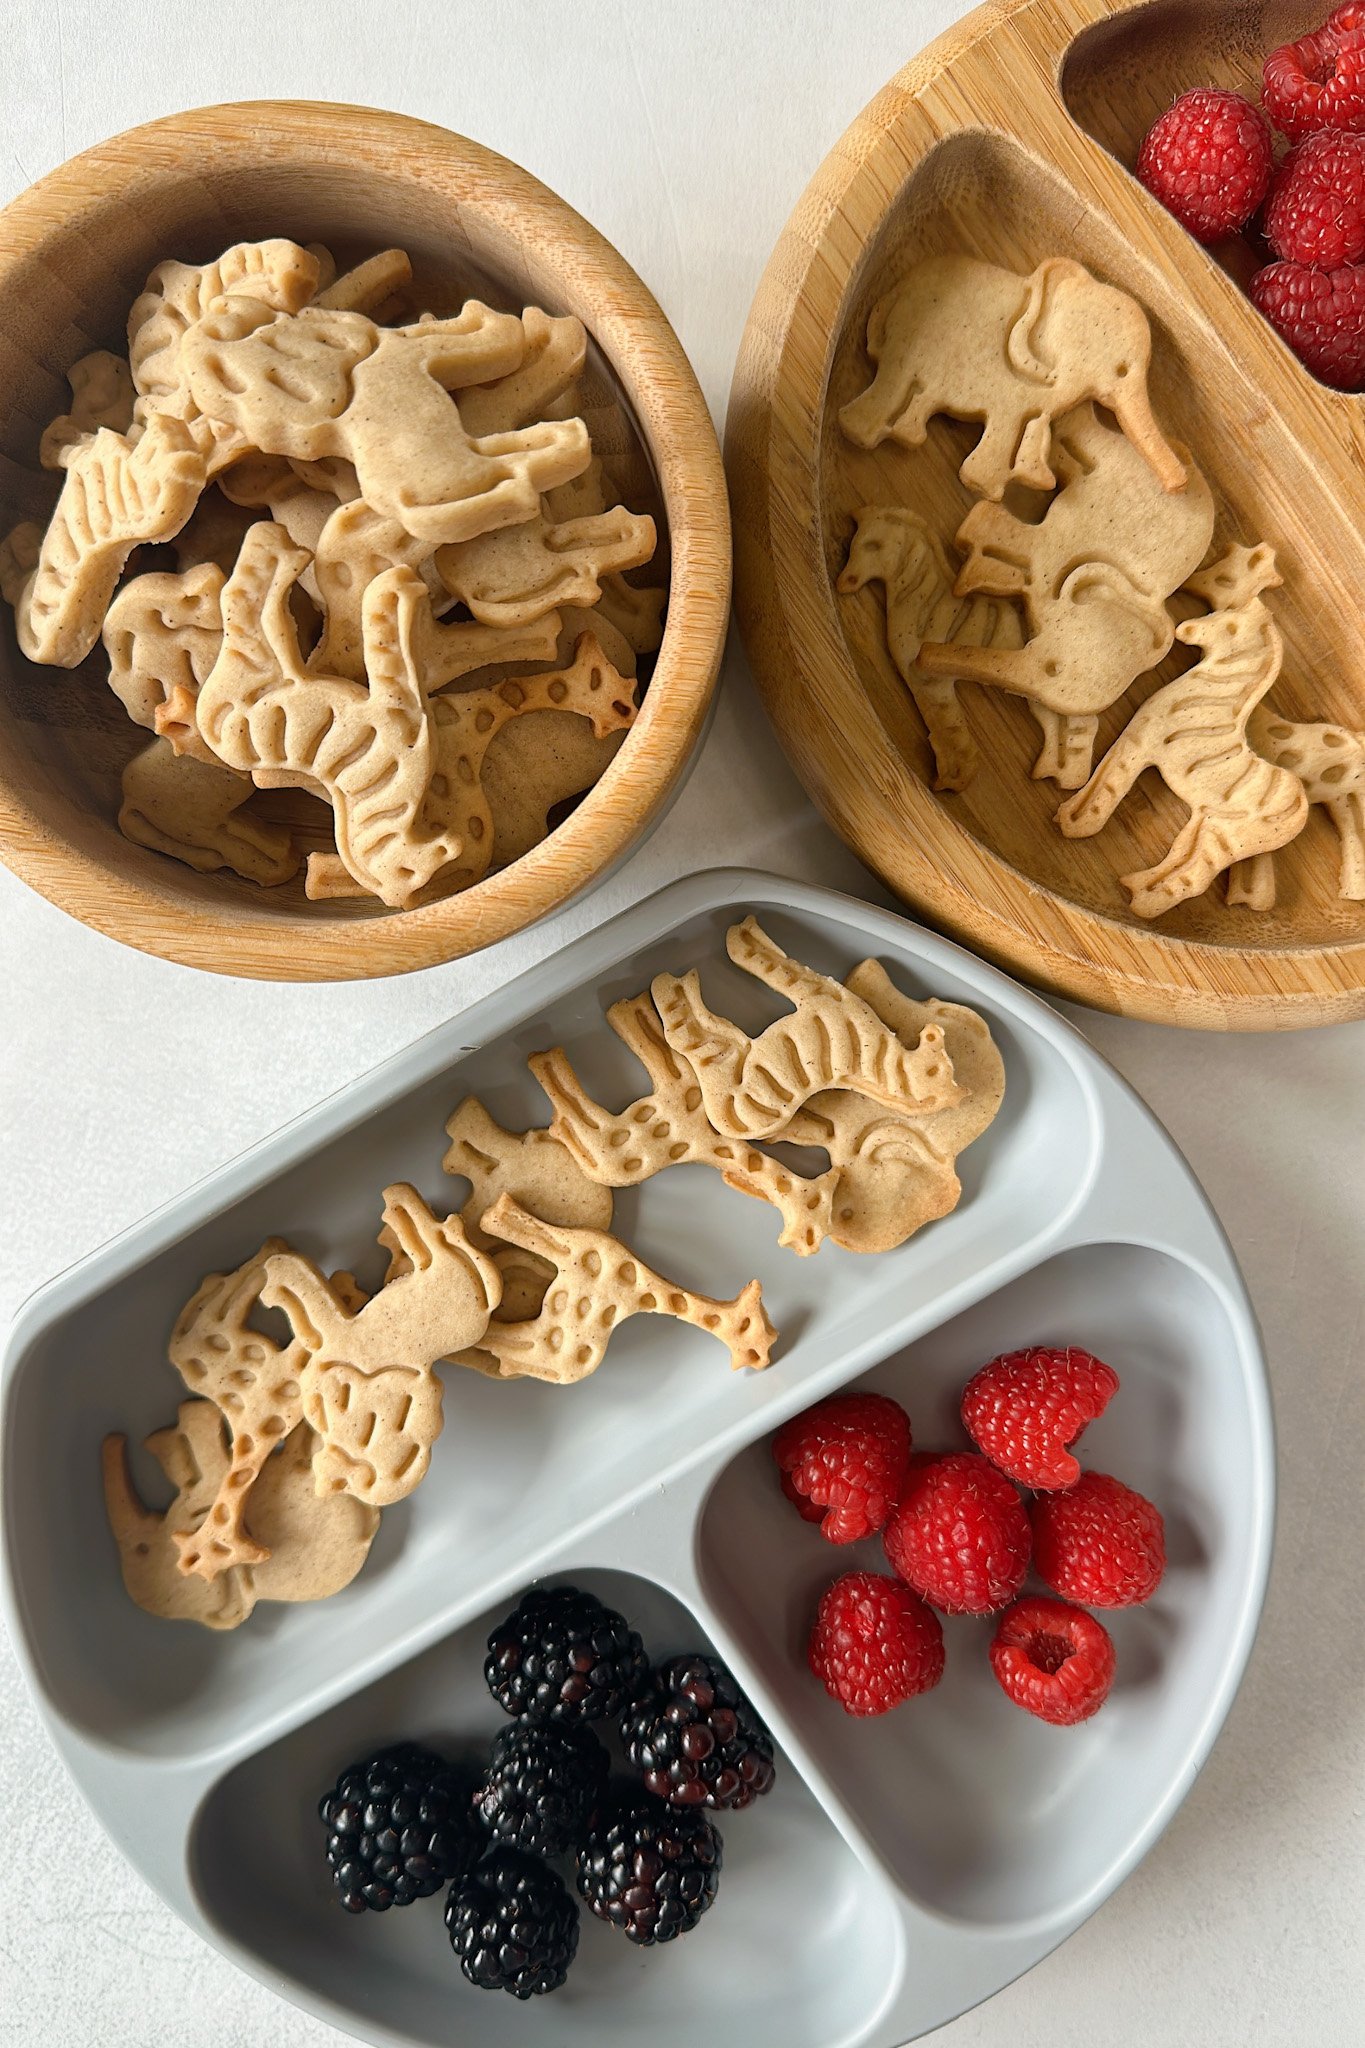
Once cooled, store the homemade animal crackers in an airtight container at room temperature for 3 to 4 days. They may also be frozen for up to 2 months in an air-tight, freezer-safe container. Thaw the crackers at room temperature.
Tips For Success
- If the dough seems crumbly after adding in the flour and mixing on low speed, add in 1 to 2 tablespoons of cold water and continue mixing on low speed until it moistens and forms into a dough.
- If the dough still seems sticky when you are rolling it out, add a little more flour to the surface/rolling pin to prevent it from sticking, or roll it out between two sheets of parchment paper.
- I like to use these spring button animal cracker cutters because they make it so easy to cut out the cracker shapes! The spring button helps the dough shapes pop right out without distorting their shape.
- Make sure to let the crackers cool completely before serving. They will be soft at first right out of the oven but will firm up as they cool.
- Make sure that your butter is softened to room temperature beforehand. Cutting butter up into cubes will help it come to room temperature quickly. Using cold butter may result in the mixture curdling, so make sure to let it fully soften.
Recipe FAQs
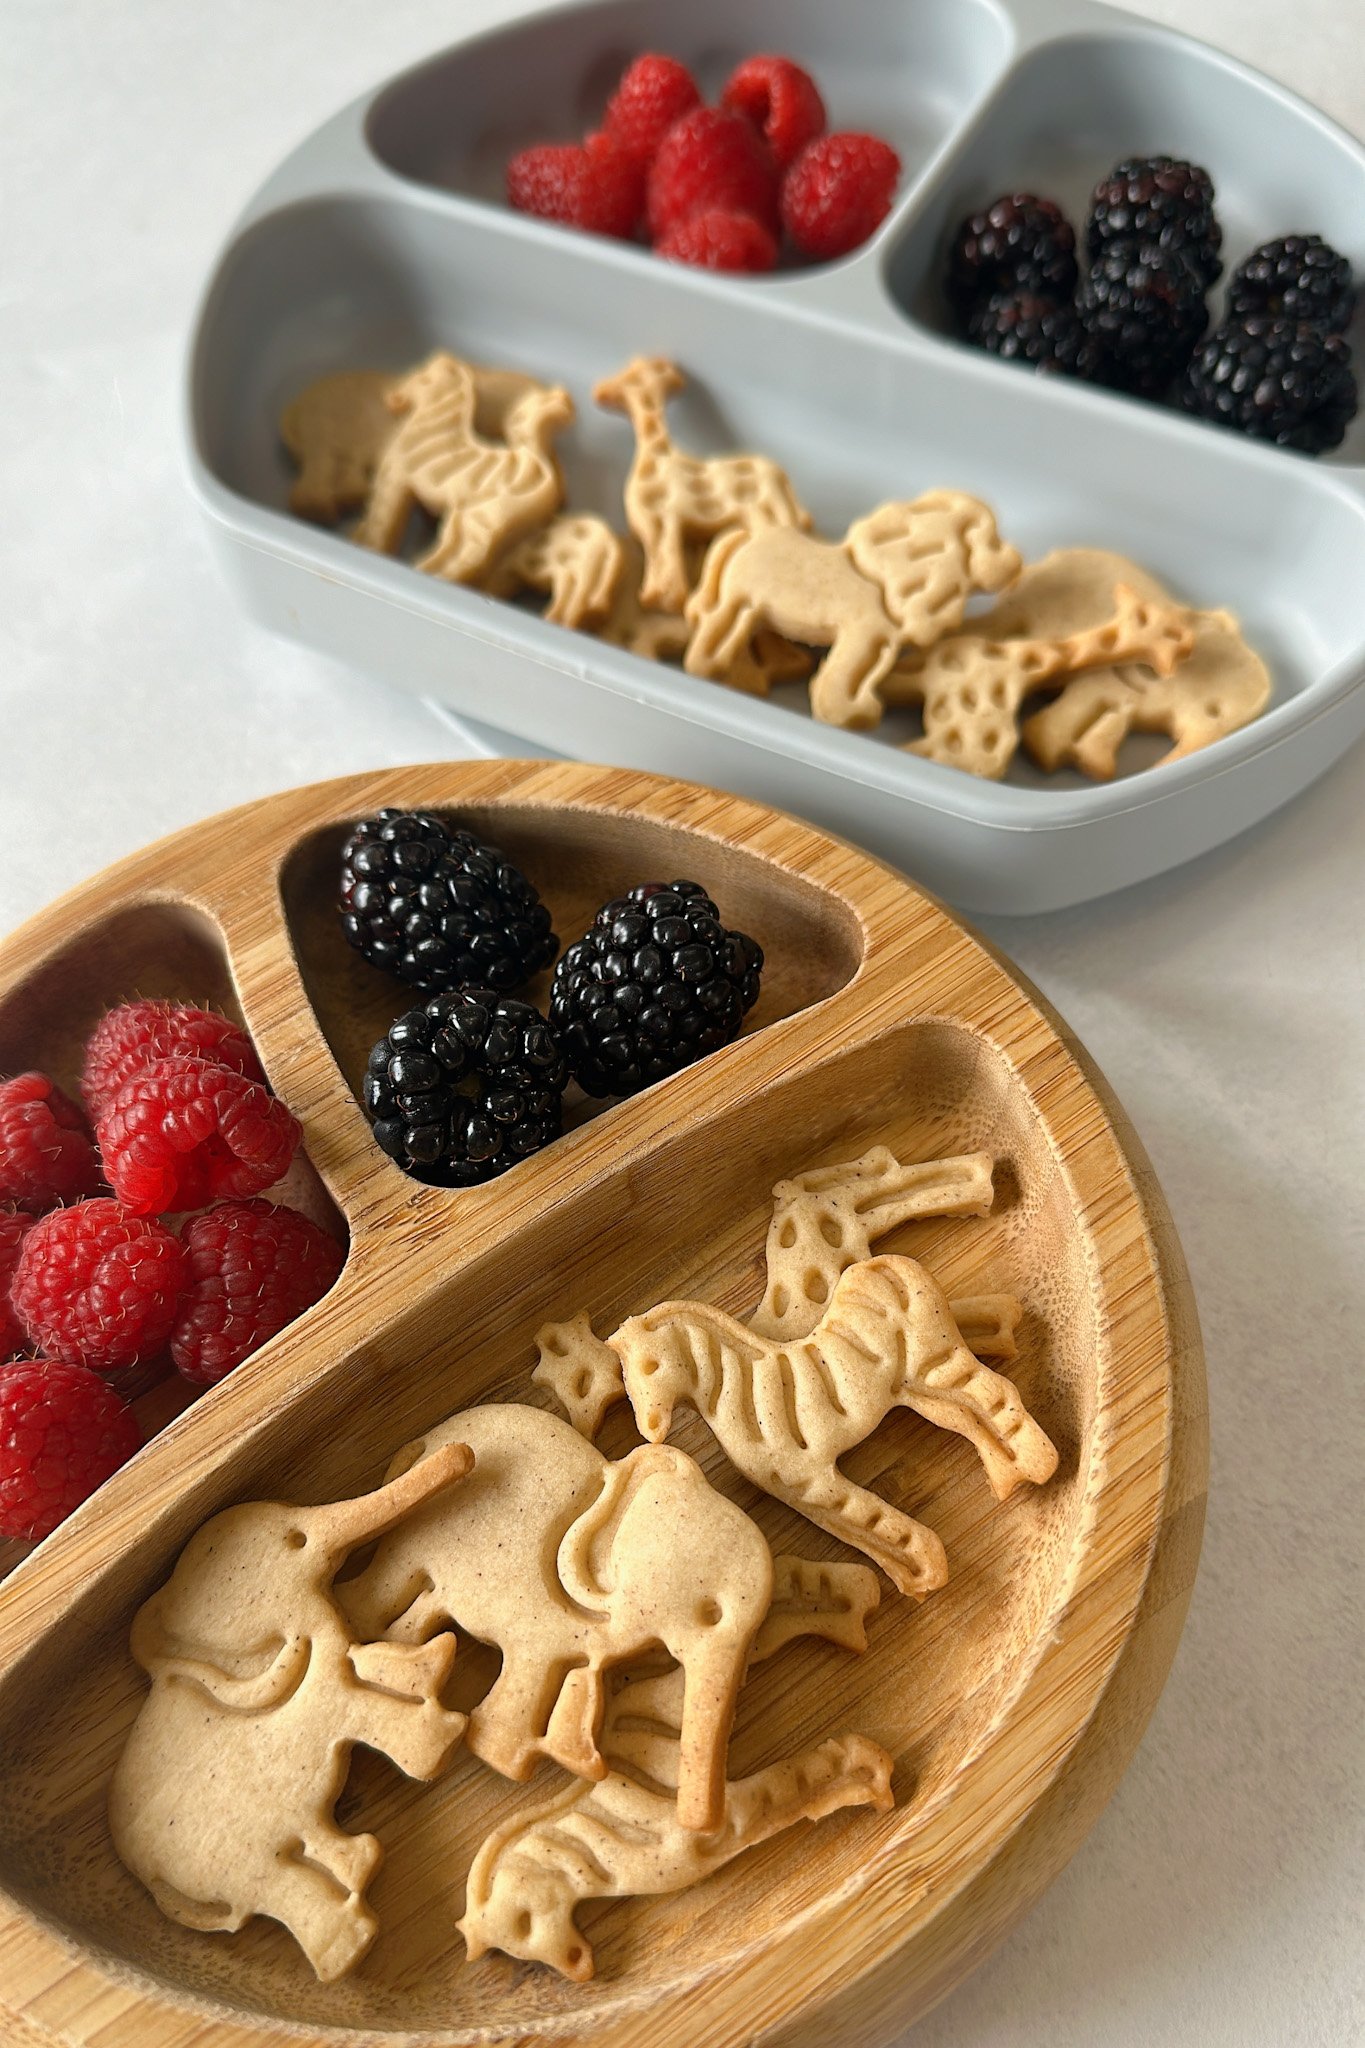
This recipe makes approximately 70 animal crackers using the spring button animal-shaped cutters. Make sure to gather the scraps and reroll the dough to get the most cracker shapes out of your dough.
If the dough is sticky, add some extra flour to the surface and the rolling pin to help prevent it from sticking and make it easier to roll out the dough. If the cracker cutouts are sticking to the dough, try dipping the cutter in some flour before pressing it into the dough.
You can prep this dough 3 to 4 days in advance and store it in an airtight container in the fridge. The dough will need to sit out at room temperature for a few minutes to soften before rolling out.
Other Homemade Snacks You’ll Love
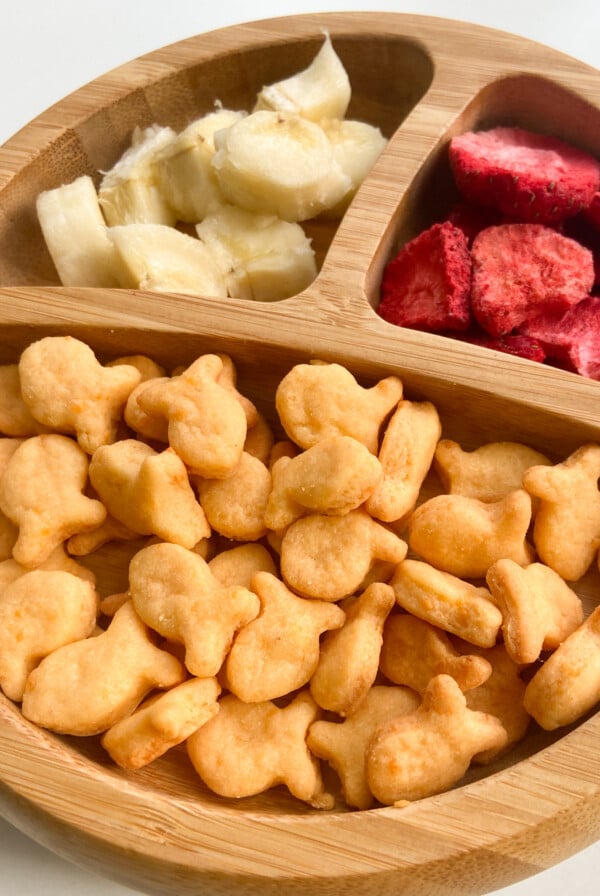
Homemade Healthy Goldfish Crackers
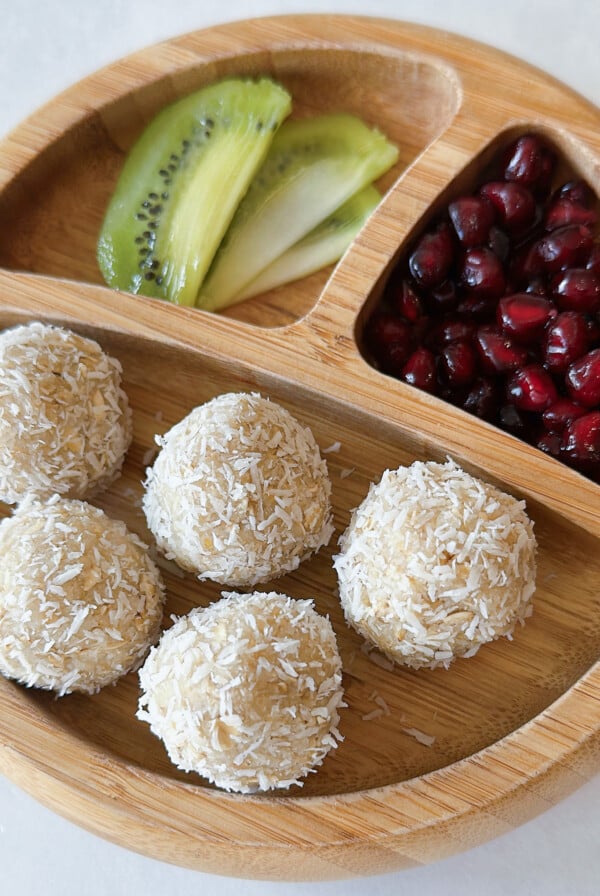
Coconut Balls
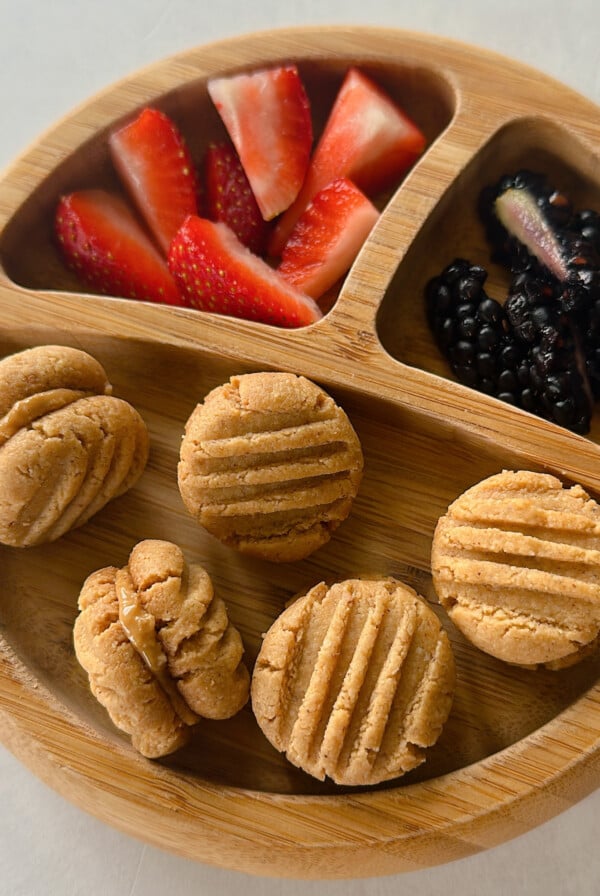
4 Ingredient Peanut Butter Cookies
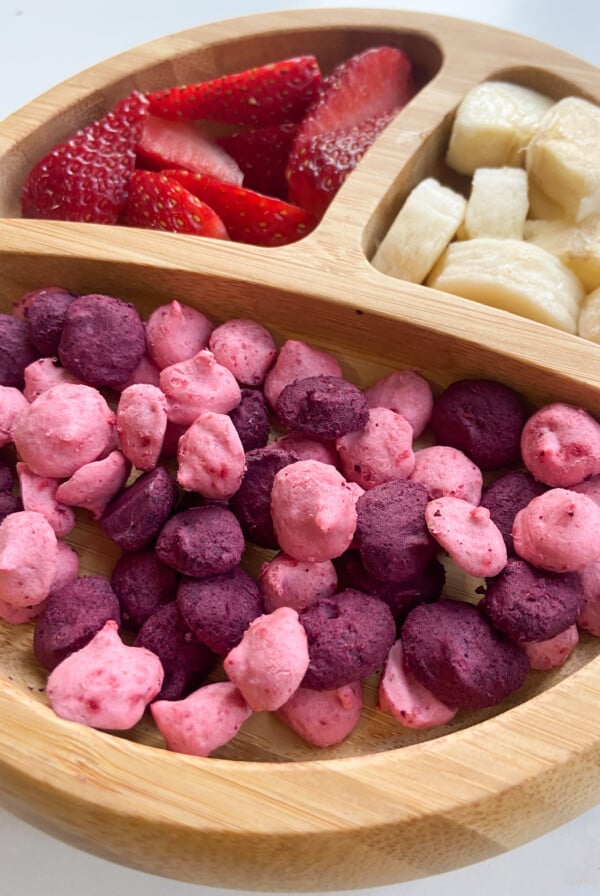
Baby Yogurt Melts (With Freeze-Dried Fruits!)
If you tried this Animal Crackers Recipe please leave a ⭐ star rating and let me know how it went in the comments below! I love hearing from you!
Animal Crackers Recipe (Egg Free)
Ingredients
- 6 tbsp unsalted butter, softened to room temperature
- ¼ cup pure maple syrup
- ½ tsp ground cinnamon
- ½ tsp vanilla extract
- ¼ tsp salt
- 1 ½ cups all purpose flour
Instructions
- Add the softened butter and maple syrup to a bowl and use an electric hand mixer or stand mixer to cream them together on high speed until smooth, about 1 to 2 minutes. Make sure that the butter is fully softened to room temperature and that you can easily put a dent in it if you press your finger into it.
- Add the ground cinnamon, vanilla, and salt to the bowl and mix on medium speed until incorporated, about 1 minute.
- Add in the flour and mix on low speed until it forms a dough. It may seem crumbly at first, but it will form into a soft dough. Scrape down the sides as needed.
- Shape the dough into a disk and wrap it tightly in plastic wrap. Place the dough in the fridge to allow the dough to chill for at least 1 hour or overnight. This step is important and it will allow the flour time to hydrate and make it easier to roll out. *Note: If you're in a pinch, you can place the dough in the freezer for 15 minutes.
- After at least an hour, place the chilled dough on the counter to allow it to slightly soften. Preheat the oven to 350 degrees F.
- Sprinkle 1 to 2 tablespoons of flour on a surface or sheet of parchment paper and place the dough on top. Flour a rolling pin and roll the dough out until it is about 1/4 to 1/8 of an inch thick. Use animal cracker-shaped cookie cutters (or any mini cookie cutter) to cut out shapes from the dough.
- Transfer the shape cutouts to a parchment paper-lined pan. Gather the scraps and reroll them out to cut out more shapes from the dough until all of the dough is used. Add additional flour on the surface as needed to prevent the dough from sticking. I was able to make two trays full of mini crackers using this dough.
- Bake the crackers for 7 to 10 minutes until the edges are lightly golden brown. Keep a very close eye on the crackers as they can burn easily. Allow the crackers to cool completely before removing them from the pan.
Notes
-
- If the dough seems crumbly after adding in the flour and mixing on low speed, add in 1 to 2 tablespoons of cold water and continue mixing on low speed until it moistens and forms into a dough.
- If the dough still seems sticky when you are rolling it out, add a little more flour to the surface/rolling pin to prevent it from sticking, or roll it out between two sheets of parchment paper.
- I like to use these spring button animal cracker cutters because they make it so easy to cut out the cracker shapes! The spring button helps the dough shapes pop right out without distorting their shape.
- Make sure to let the crackers cool completely before serving. They will be soft at first right out of the oven but will firm up as they cool.
- Make sure that your butter is softened to room temperature beforehand. Cutting butter up into cubes will help it come to room temperature quickly. Using cold butter may result in the mixture curdling, so make sure to let it fully soften.





Love these, great recipe! I just rolled the dough out and cooked it like that and once I pulled them it out of the oven I used a pizza cutter to cut them into cracker sizes. Question, I put these in a jar, should I store these in the fridge or on the counter?
Hi Daphne! I love that idea of cutting them into crackers afterwards! They can be stored at room temperature in an airtight container for up to 5 days😊
Made these with my seven year old for her little brother and sister. We had so much fun making them and all of us loved these! Never buying from the store again! We love your recipe’s been whipping up snacks all weekend!
Hi Malaika! I’m so glad to hear that you and your little ones enjoyed these crackers! I love that you got them all involved in making them together!😊
The dough never formed. I kept mixing and
the dough was still crumbly. At that point I felt I was over mixing. The butter was very soft so I know that was correct!
Hi Linda! I’m so sorry that happened! Are you using an electric hand mixer or stand mixer? Did your photos look like any of the photos I have above during any of the numbered steps? You can try adding in a tiny bit of water to see if that helps!
Can we make these with almond flour?
Hi Karen! I haven’t tested these crackers with almond flour myself, but another reader shared that she tried them out with almond flour and and had to almost double the amount of almond flour since it absorbs moisture differently. She shared that it was a little difficult to cut out the shapes but that it still worked out well for her! Let me know if you give it a shot!
Just made these today and they were a hit! All six of my kids enjoyed them but I may have liked them the most! Tomorrow we are going to make more along with the goldfish! Thank for sharing something so great!
I’m so glad to hear that you enjoyed this recipe, Alexandrea!😊
absolute hit with the kiddos (and the adults I might add). super easy to make and it freezes well too!
I’m so glad to hear that you enjoyed these crackers, Ilana!😊
Question, i see the nutritional facts. Is the serving size the entire batch? Or a specific number of cookies?
The nutritional facts are calculated based on one serving (about 5 to 6) crackers😊
These were a huge hit with my little guy! So fun to make together!!
We’ve been enjoying your recipes since he was 6 months and now he’s a little over 3. I share your page with everyone! Thank you for all you do!
Hi Lori! I’m so happy to hear that you enjoyed these crackers and have been enjoying other recipes so far! I’m so glad that you’ve been finding the website helpful!😊
I do have a question….these do taste a bit “floury” if that makes sense. Is there any way to get ride of that taste? More of something else?
Hi Lori! There are a few options that you could take if you want less of a prominent flour taste: 1. You can try rolling the dough out thinner to make the crackers a little crispier in texture and that may help the dough texture feel a little lighter, 2. You can reduce the amount of flour to 1 cup (the dough will be more moist and not easy to form into a disk, but you can refrigerate it in a covered bowl and it will be a little easier to roll out, or 3. You can try baking the crackers for a few minutes longer for a deeper flavor and color (being careful not to burn). I hope that helps!😊
How long does it take to form a dough? I’m following the directions step by step and it will not form into a dough. Stays crumbly the entire time. What am I missing?
Hi Rachel! Are you using a hand mixer or an electric mixer? The dough will seem dry and crumbly at first, but it should form into a dough after 1 to 2 minutes with a stand mixer and a few more minutes with an electric mixer. You can continue allowing it to mix on low speed until it comes together. Did you use butter that was softened to room temperature? Let me know if it works out!
baked them twice in 3 days! not only my toddler, the whole family enjoyed these little cookies 😊
Hi Seda! I’m so glad to hear that you enjoyed this recipe!😊