
Easy Homemade Oreos
on Feb 19, 2026
This post may contain affiliate links. Please read our disclosure policy.
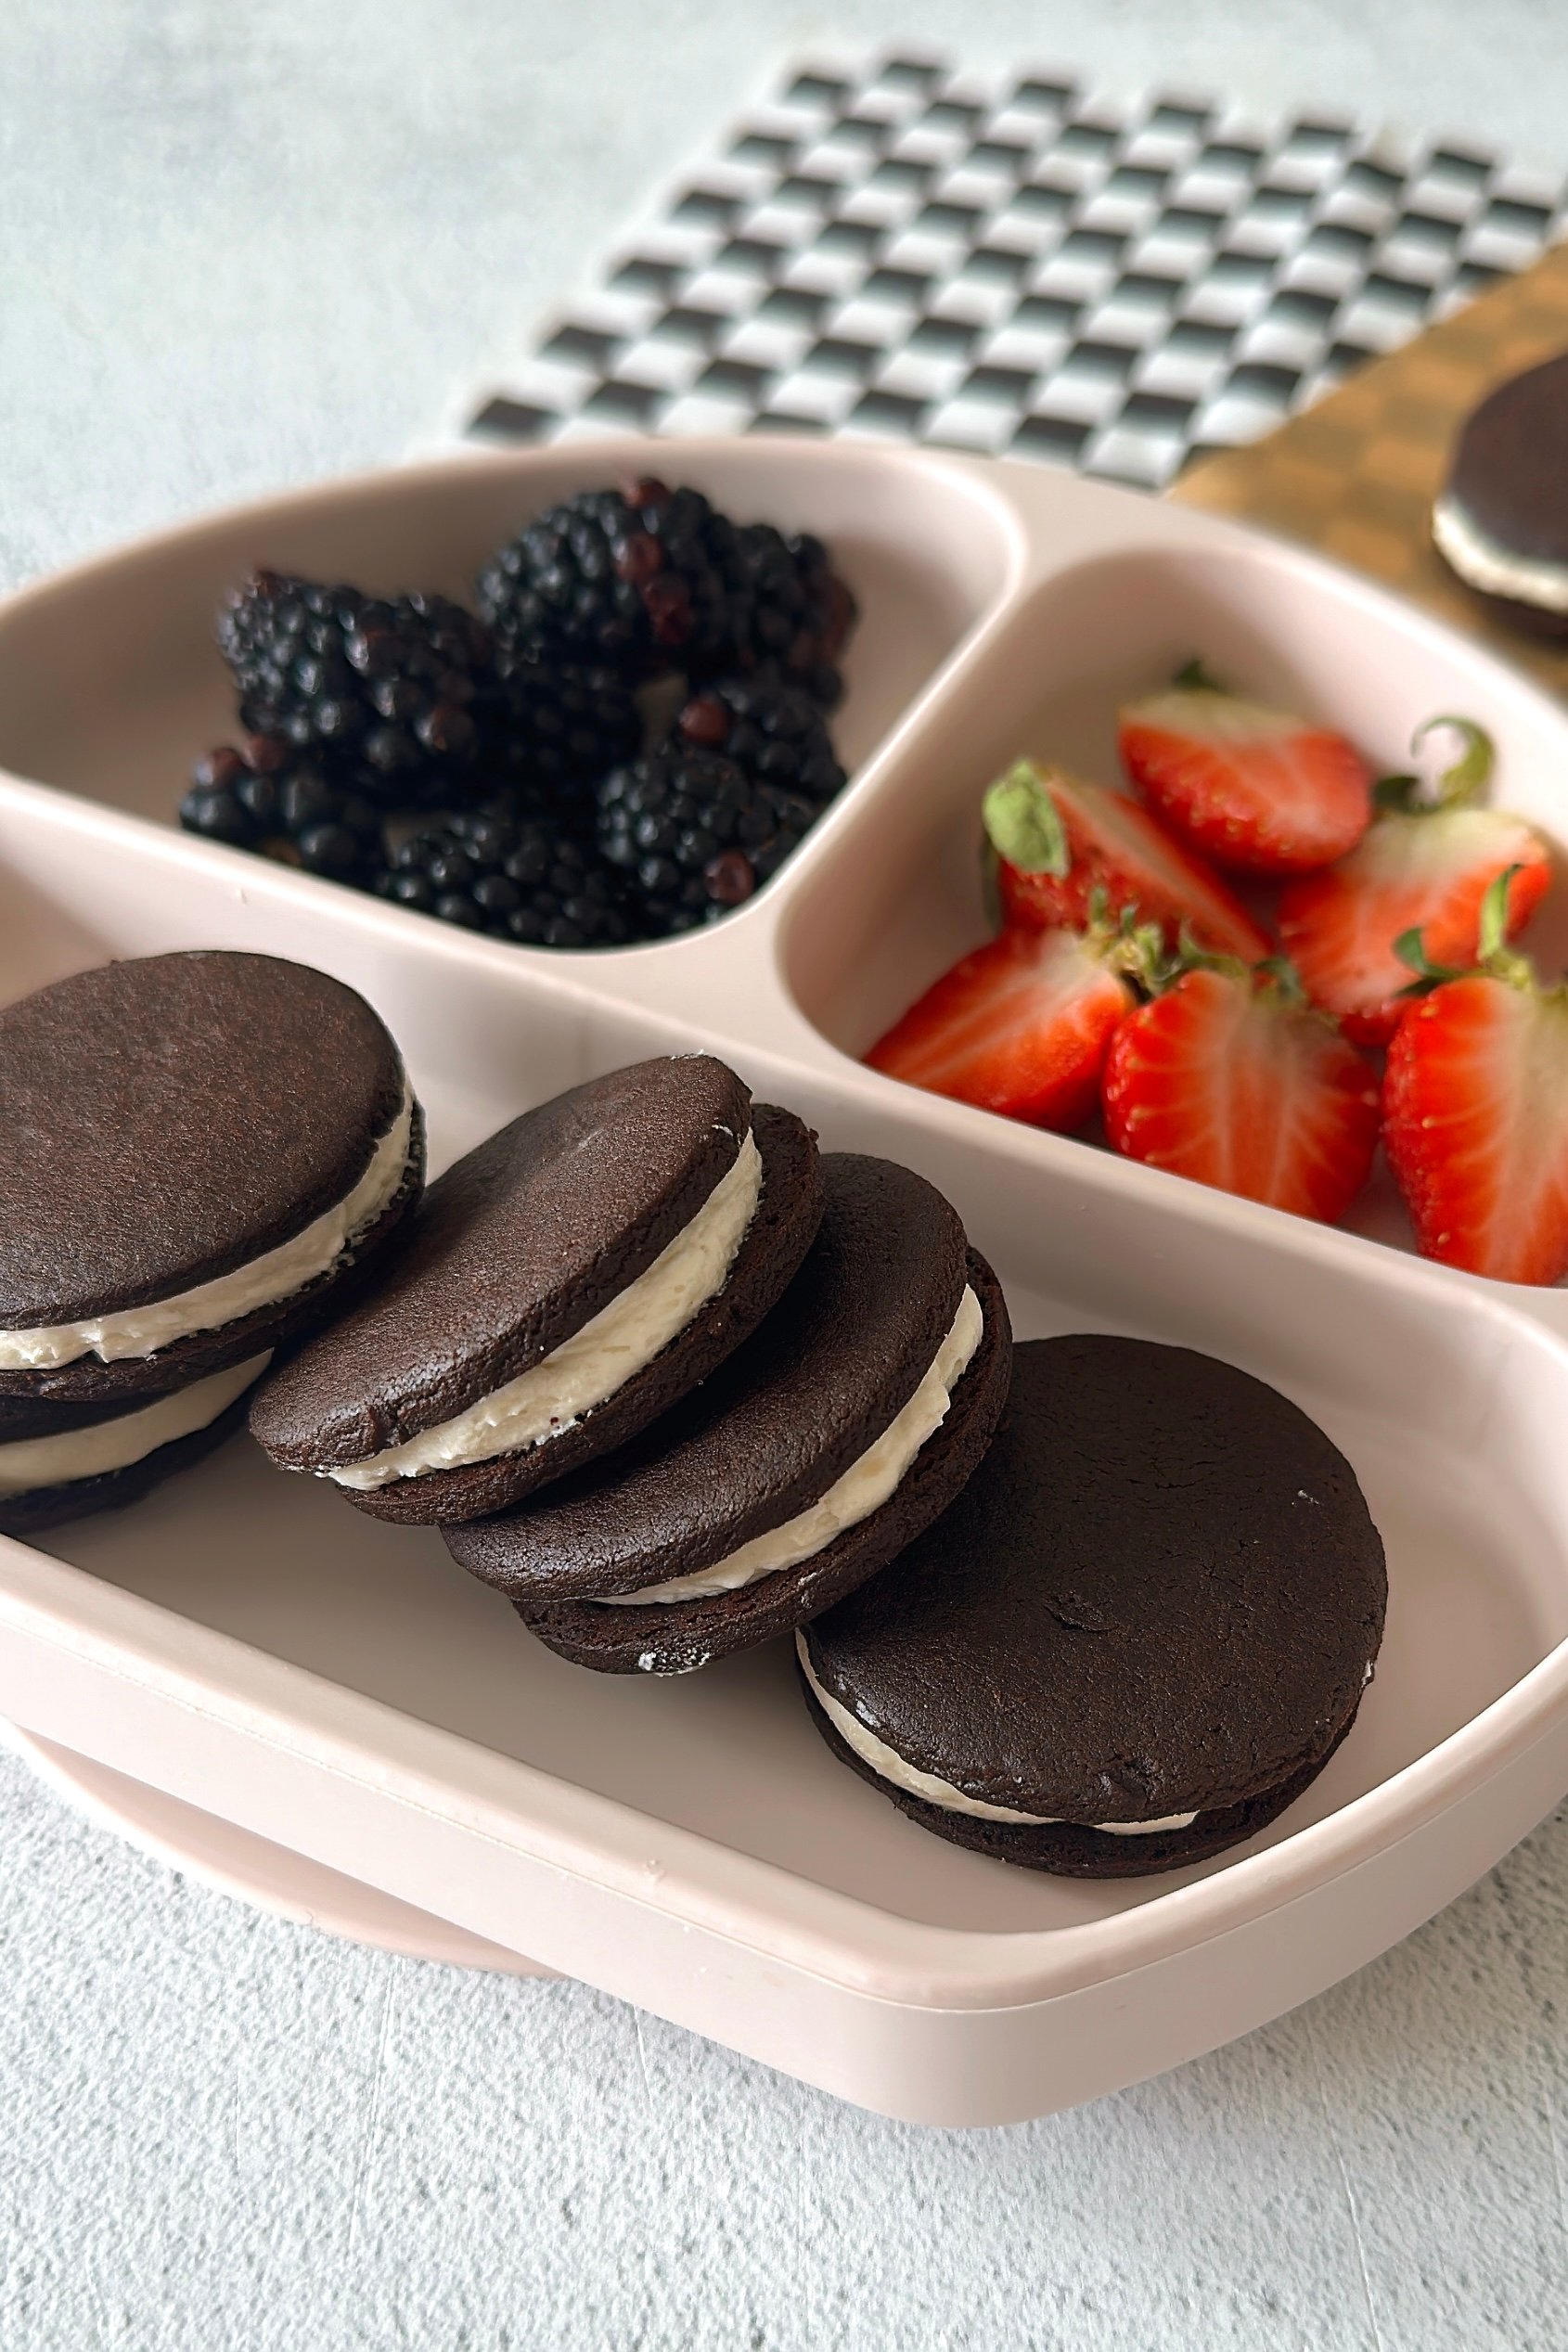
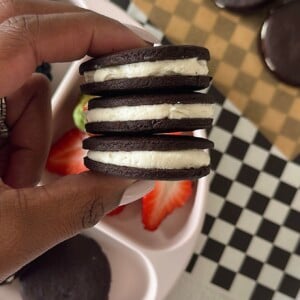
These homemade Oreo sandwich cookies are crisp, chocolatey, and filled with the sweetest creamy center, just like the classic you grew up loving. The cookie base is egg-free, sweetened with maple syrup, and an easy homemade version of a store-bought favorite. They’re perfect for lunchboxes, after-school snacks, or a fun weekend baking project with the kids.
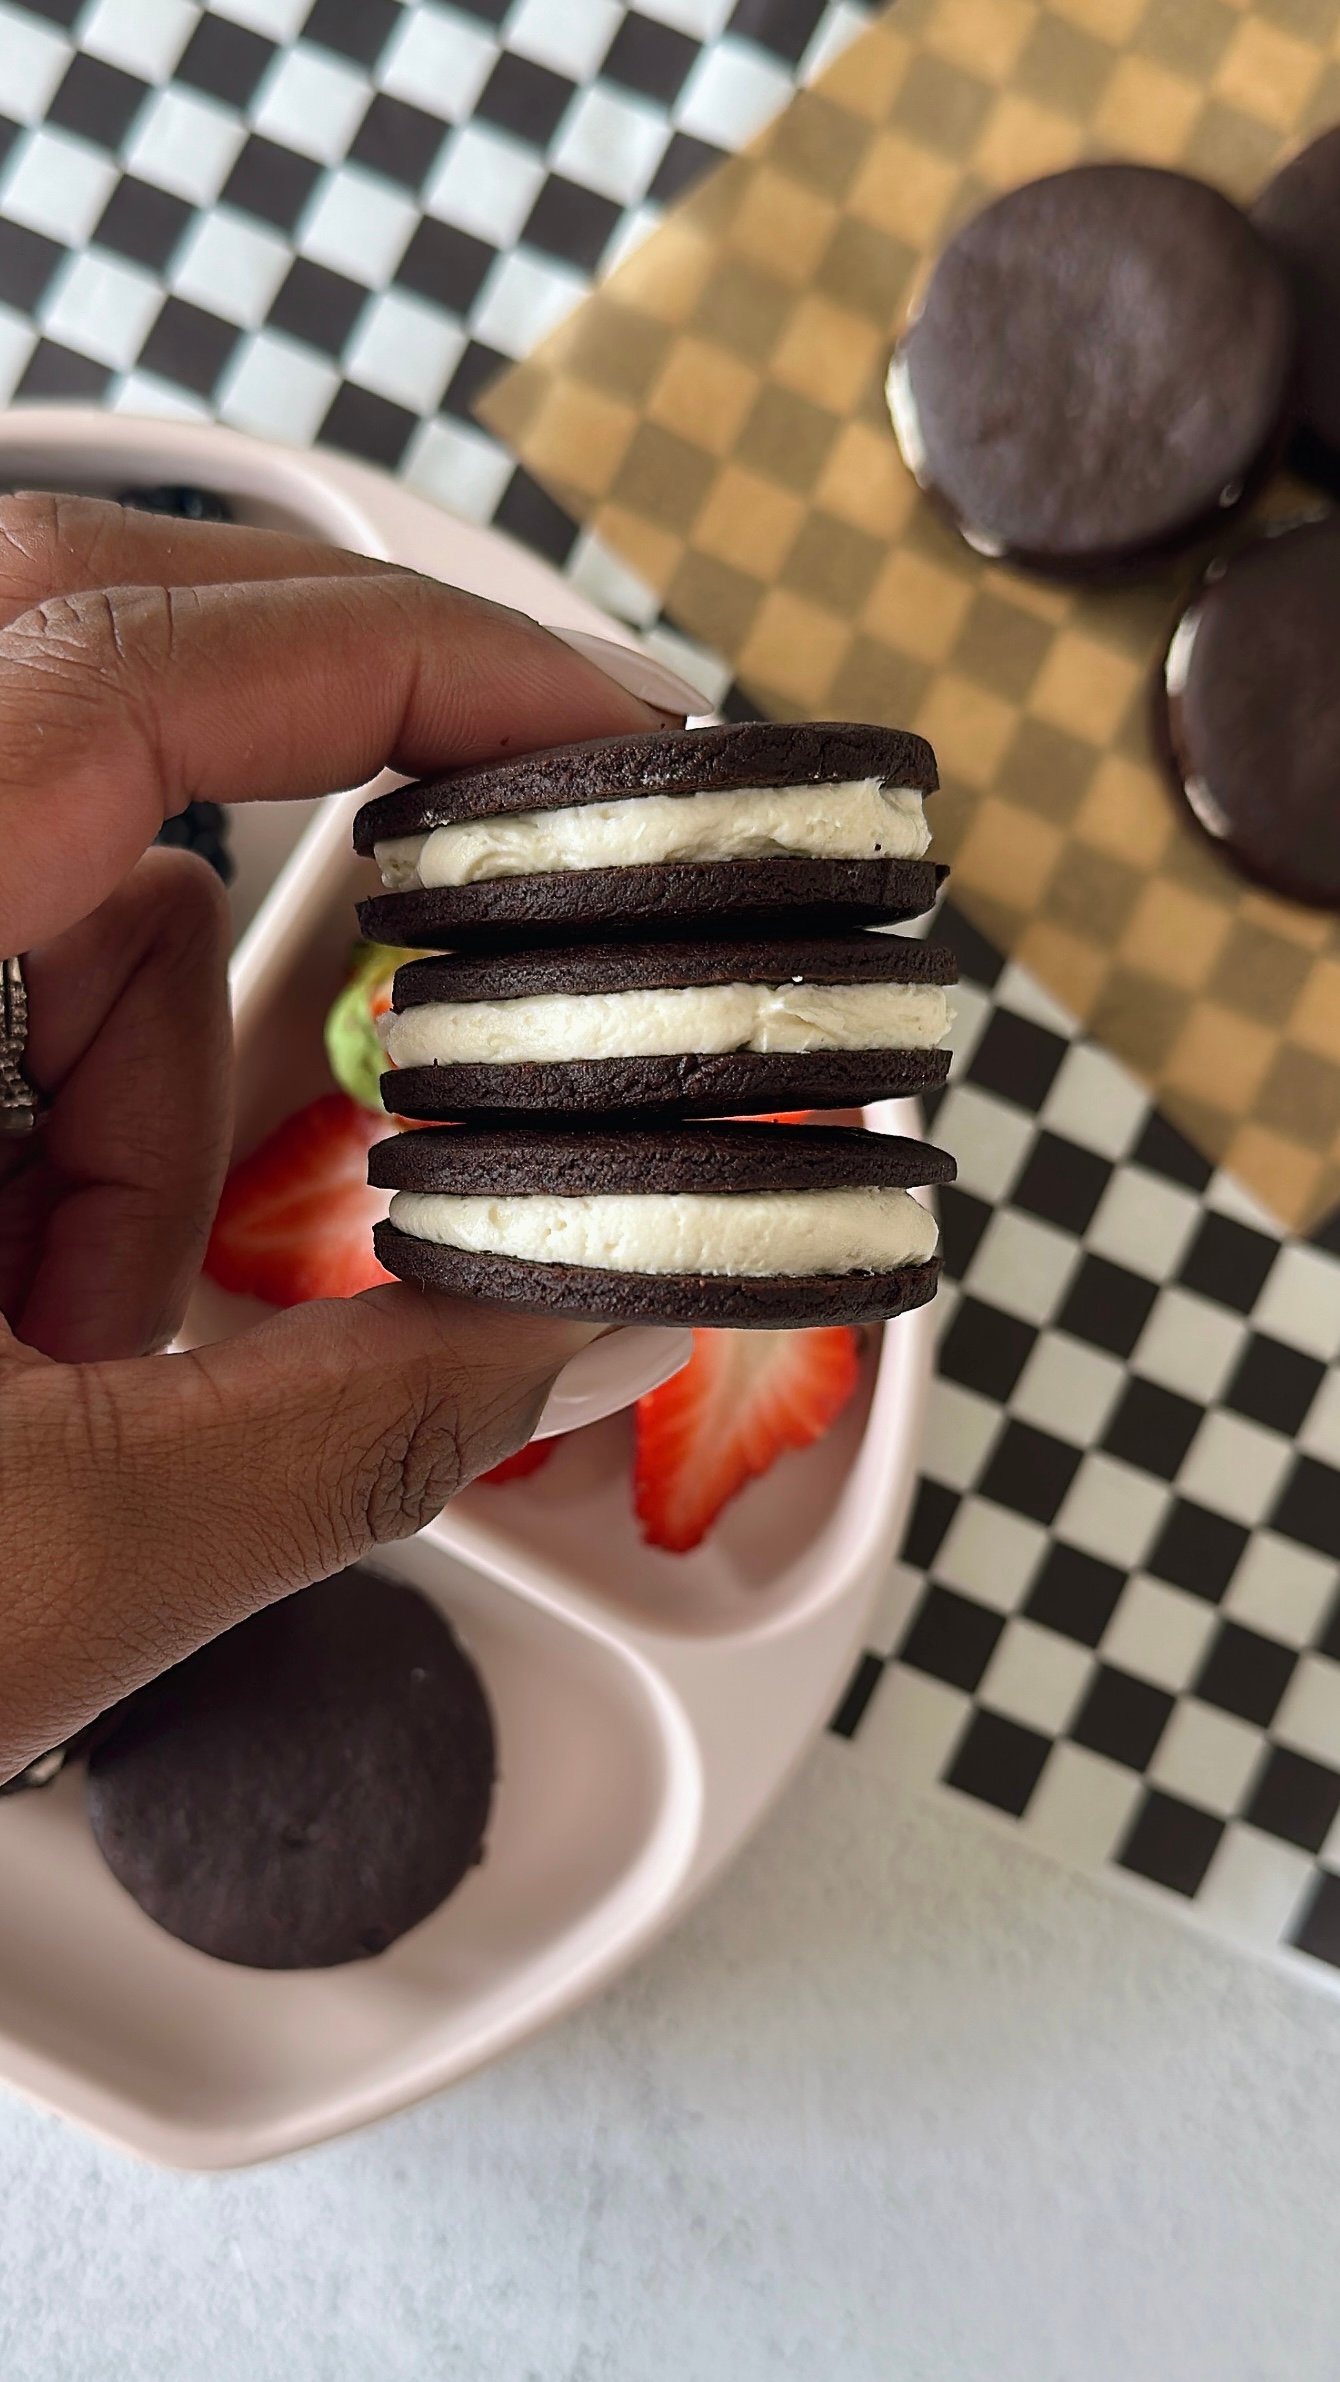
I grew up loving Oreos as a kid…twisting them open, licking the creamy center first, then dunking the chocolate cookies into a cold glass of milk. What’s not to love about sweet, fluffy icing sandwiched between crisp, chocolatey cookies? They were the ultimate treat, and they’re surprisingly easy to recreate at home using simple pantry staples you probably already have on hand. The same crisp cookie, the same creamy center, just made fresh in your own kitchen!
If you love these homemade oreo cookies and are looking for some other nostalgic snacks, you’ll love these homemade goldfish crackers, homemade cocoa puffs, and homemade Cheez-it crackers as well!
Table of Contents
What You’ll Need
Here is what you’ll need to make these homemade Oreos:
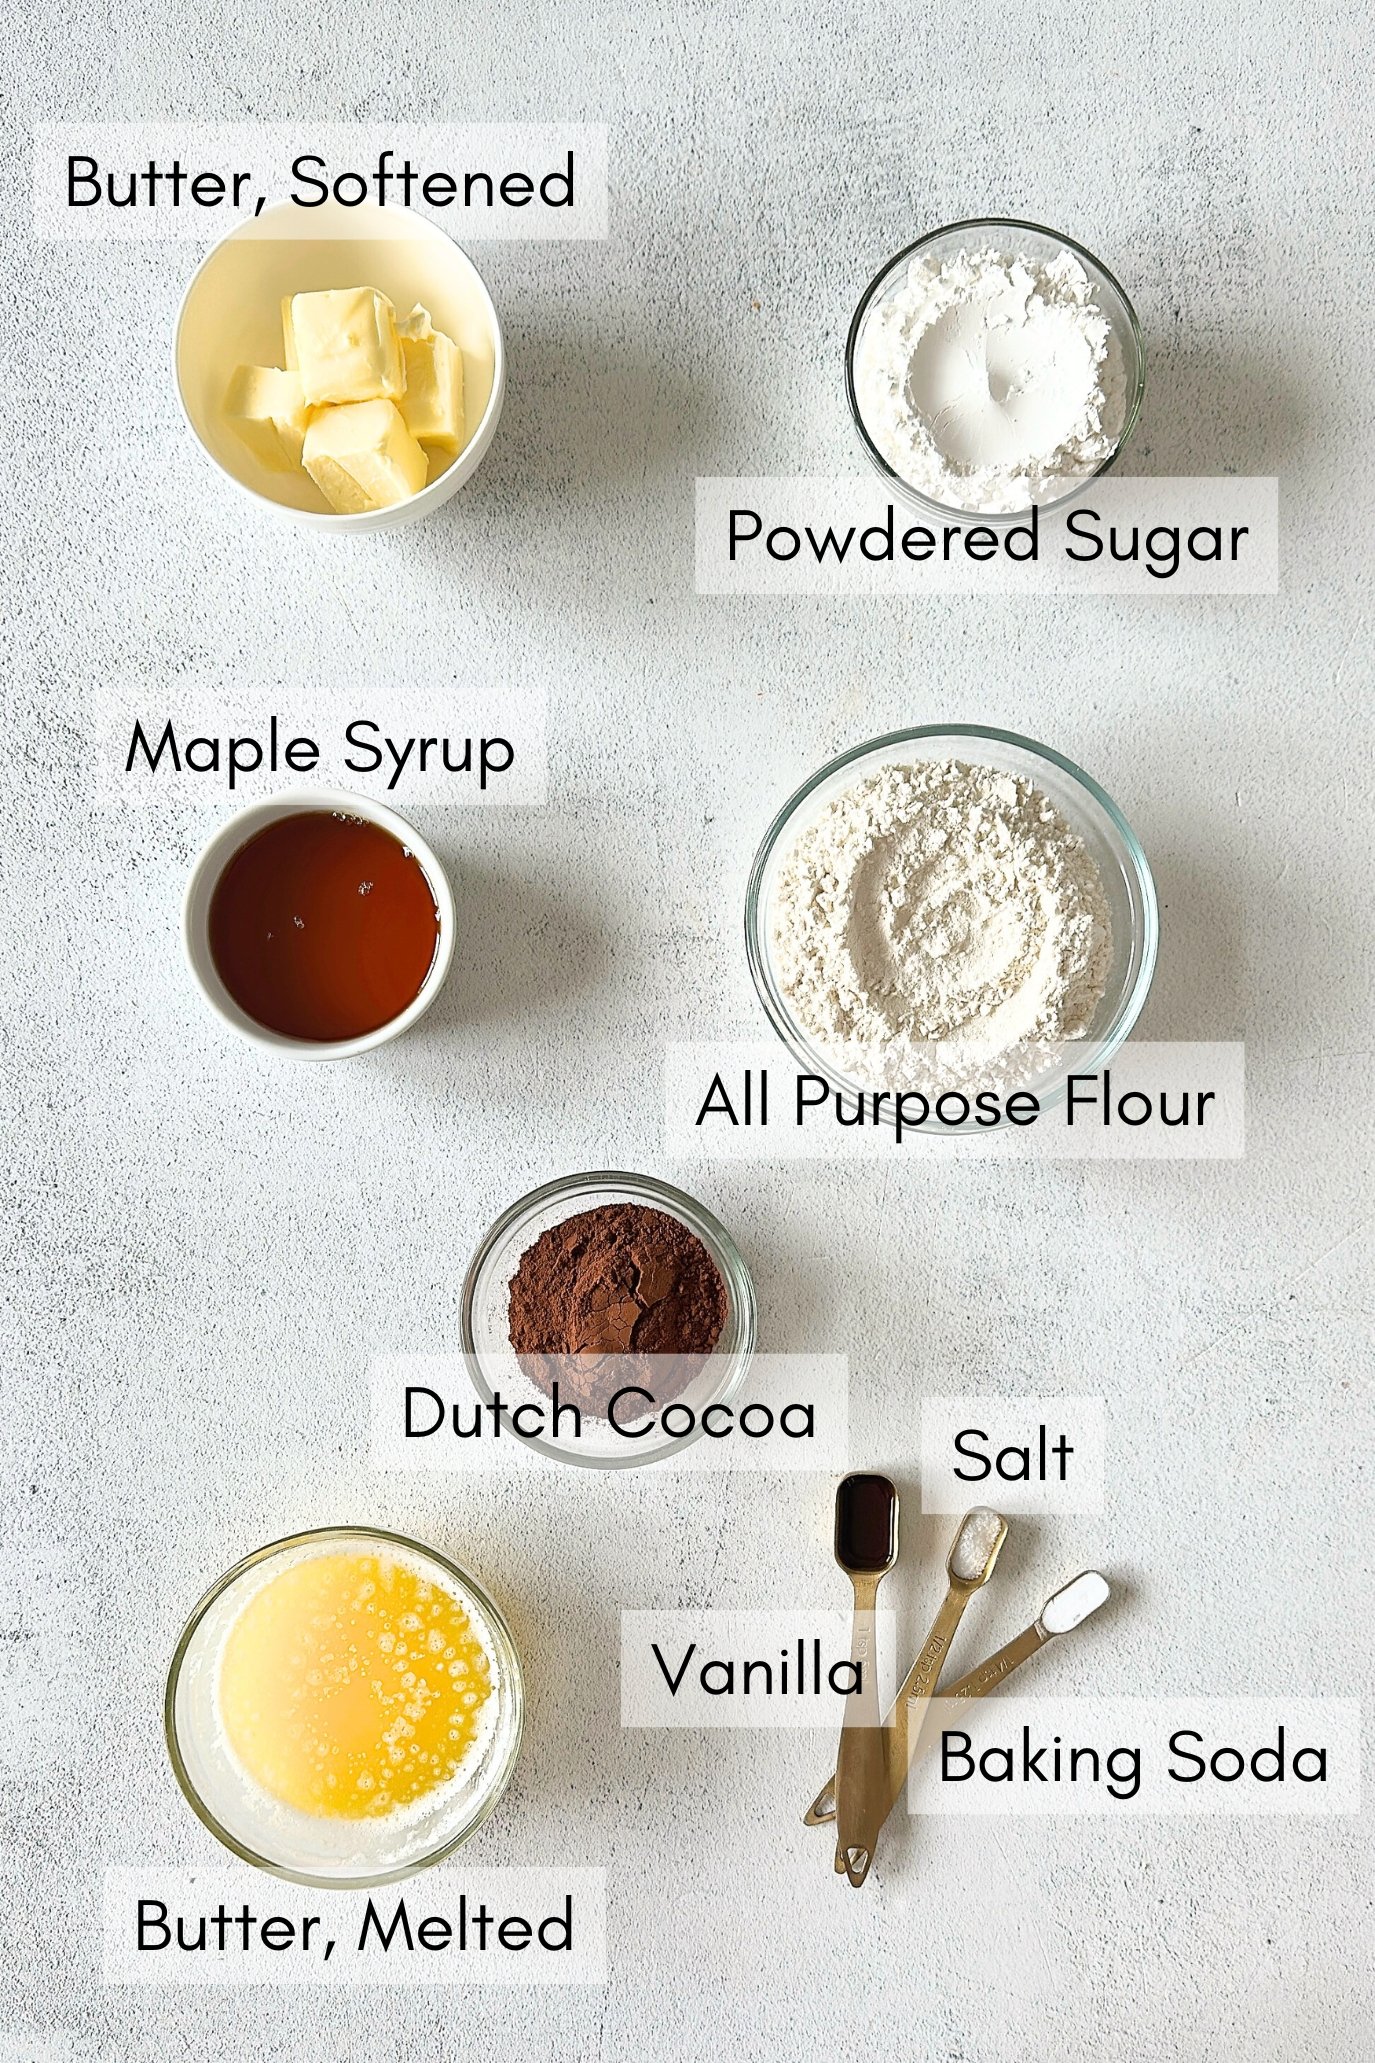
- All-Purpose Flour: Gives structure to the cookies and helps them bake up crisp. Make sure to measure your flour correctly. Scoop the flour into the measuring cup and use a knife to level it out.
- Dutch-Processed Cocoa Powder: Provides a deep, rich chocolate flavor and that classic dark Oreo color. Dutch cocoa is smoother and less acidic than natural cocoa powder.
- Baking Soda: Helps the cookies spread slightly and bake evenly.
- Salt: Balances the sweetness and enhances the chocolate flavor.
- Butter: Adds richness and helps create a crisp texture once cooled. Also created a smooth, creamy base for the filling.
- Maple Syrup: Naturally sweetens the cookies and keeps them slightly tender before they crisp up.
- Vanilla Extract: Adds warmth and enhances the chocolate flavor.
- For the Filling:
- Powdered Sugar: Sweetens and thickens the filling for that classic Oreo-style center.
See the recipe card below for full information on ingredients and quantities.
Recipe Substitutions & Additions
- Butter: For a dairy-free option, swap the butter in the dough mixture with refined coconut oil and the butter in the cream filling with dairy-free butter like these olive oil plant-based butter sticks.
- Maple Syrup: You may replace the maple syrup with equal parts honey, but the flavor of the cookies will change. Note – Honey should not be offered to babies under the age of 1 as per CDC guidelines.
- All-Purpose Flour: For a gluten-free option, use a 1:1 gluten-free baking flour blend in place of the all-purpose flour.
- Powdered Sugar: If you prefer to keep this recipe completely refined sugar-free, use date powder in place of the powdered sugar for the cream filling.
Step-by-Step Instructions
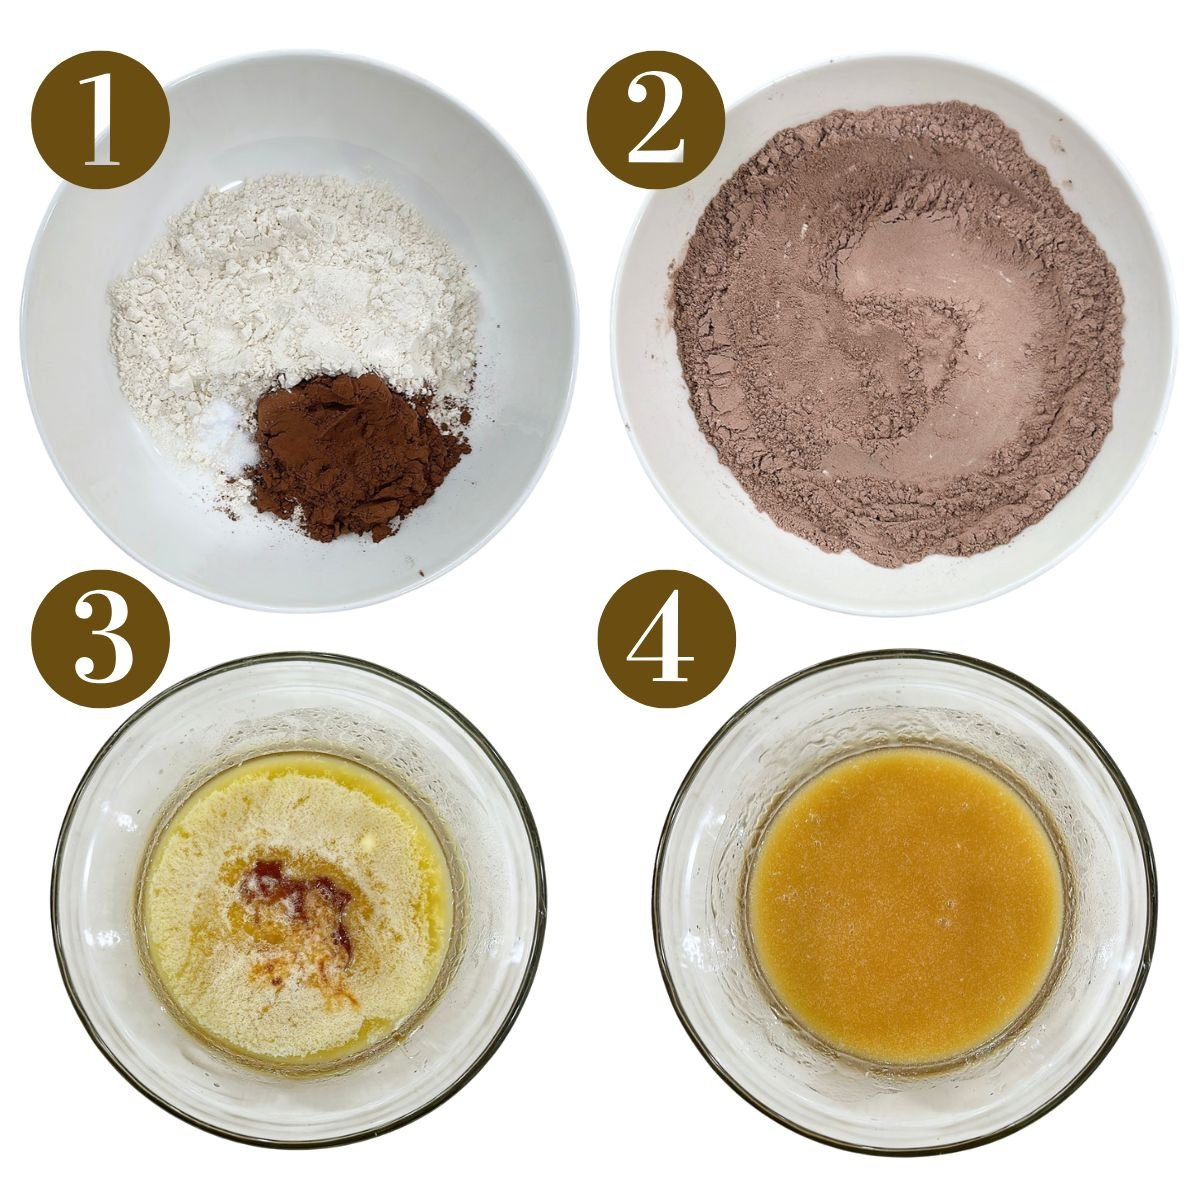
STEP 1: In a bowl, whisk together the all-purpose flour, Dutch cocoa powder, salt, and baking soda until well combined (Images 1 & 2).
STEP 2: In another bowl, combine the melted and cooled butter, maple syrup, and vanilla extract. Whisk until smooth (Images 3 & 4).
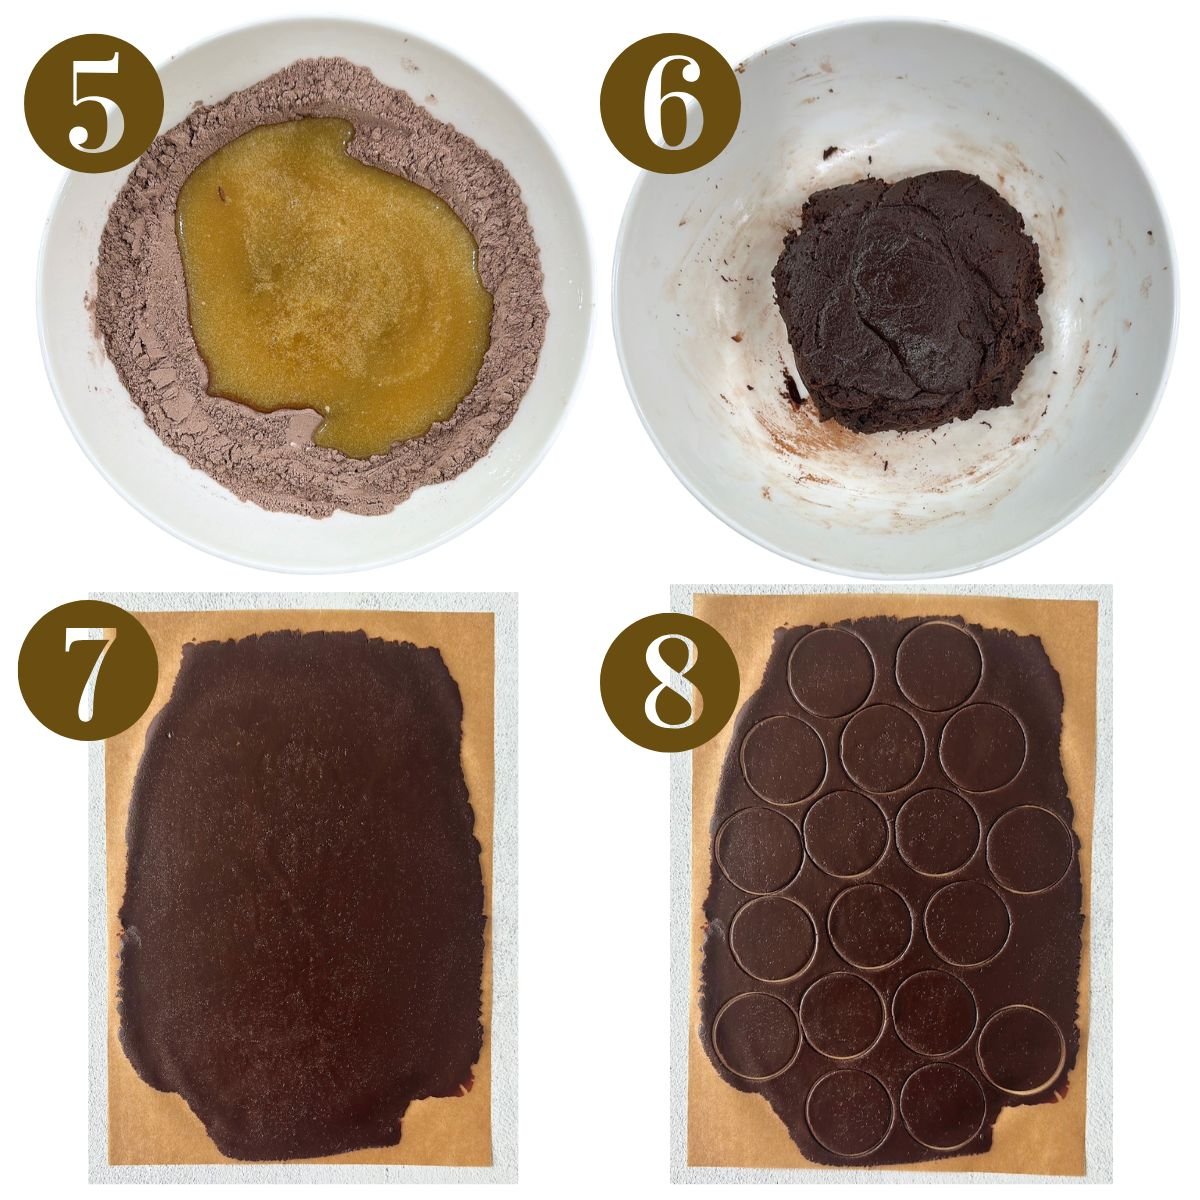
STEP 3: Pour the wet ingredients into the dry ingredients and stir until a soft dough forms (Images 5 & 6). Wrap the dough in plastic wrap and refrigerate it for 30 to 45 minutes (or place it in the freezer for 15 minutes for faster chilling).
STEP 4: Preheat the oven to 325°F (163°C). Once chilled, unwrap the dough and divide it in half. Between two sheets of parchment paper, roll each half to about 1/8-inch thickness (Image 7).
STEP 5: Use a small round cookie cutter (about 1½–2 inches) to cut out circles, peeling away excess dough between batches (Images 8 & 9). (You can also transfer the dough cutouts to another sheet of parchment paper, but I find it easiest to peel away excess dough. Transfer the parchment sheets with cut cookies to baking sheets (Image 9). Gather scraps, reroll, and repeat until all dough is used.
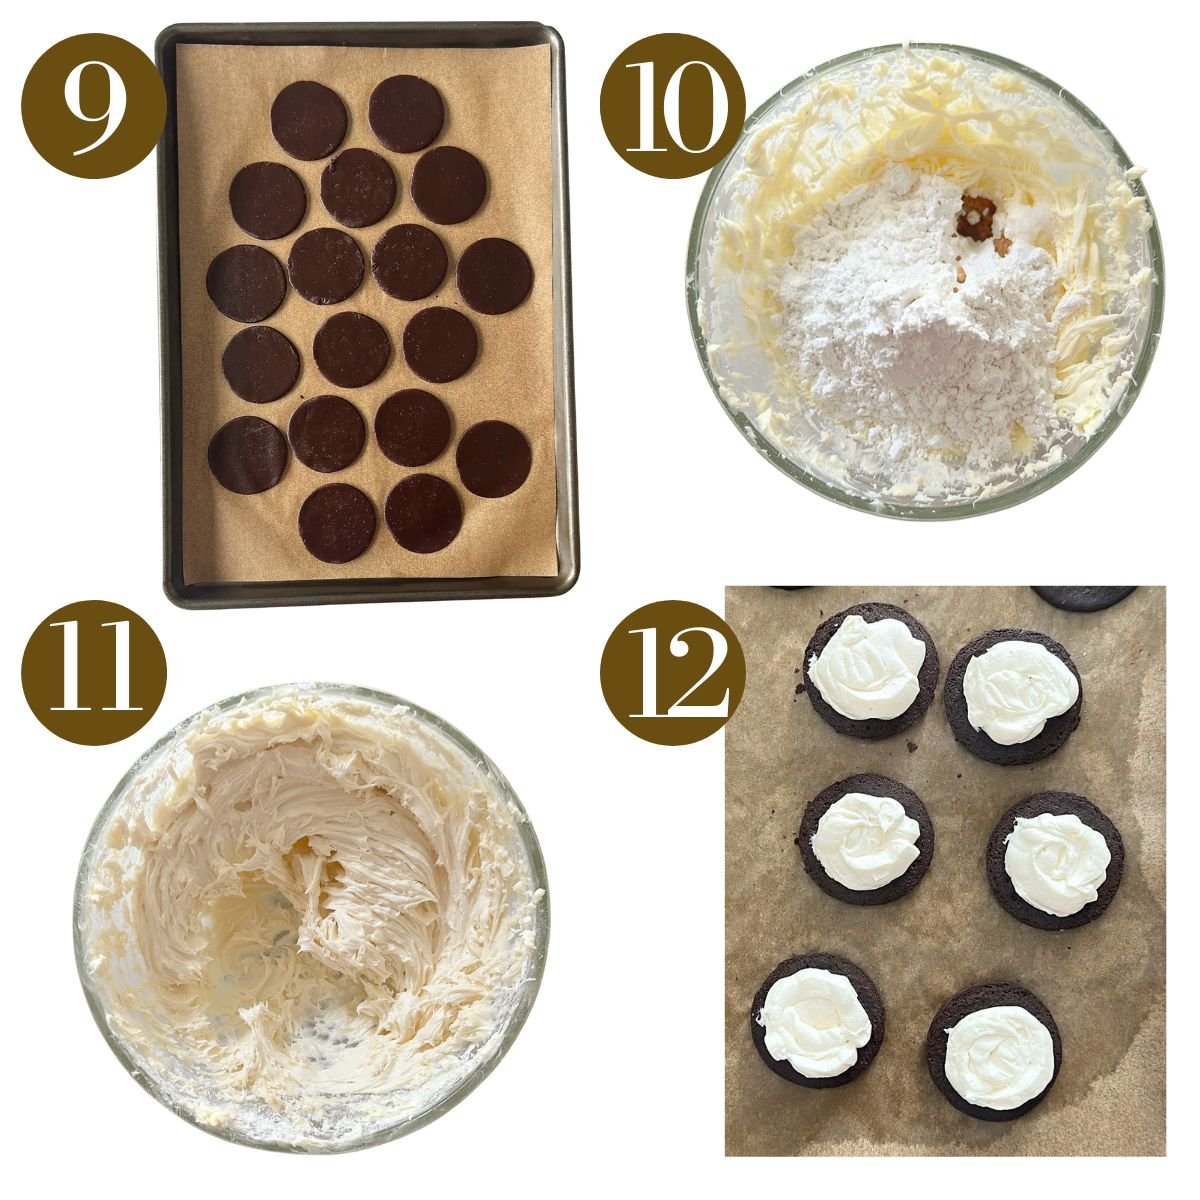
STEP 6: Bake the cookies for 12–14 minutes. Let the cookies cool completely on the pan. They will be slightly soft right out of the oven and will firm up and crisp as they cool.
STEP 7: While cookies cool, make the filling. Beat 6 tablespoons of softened butter on medium speed until smooth and creamy, about 2 to 3 minutes. Add the powdered sugar, vanilla, and salt until smooth and fluffy (Images 10 & 11). If you prefer a thicker consistency that is a little sturdier, you can stir in a little extra powdered sugar (or cornstarch).
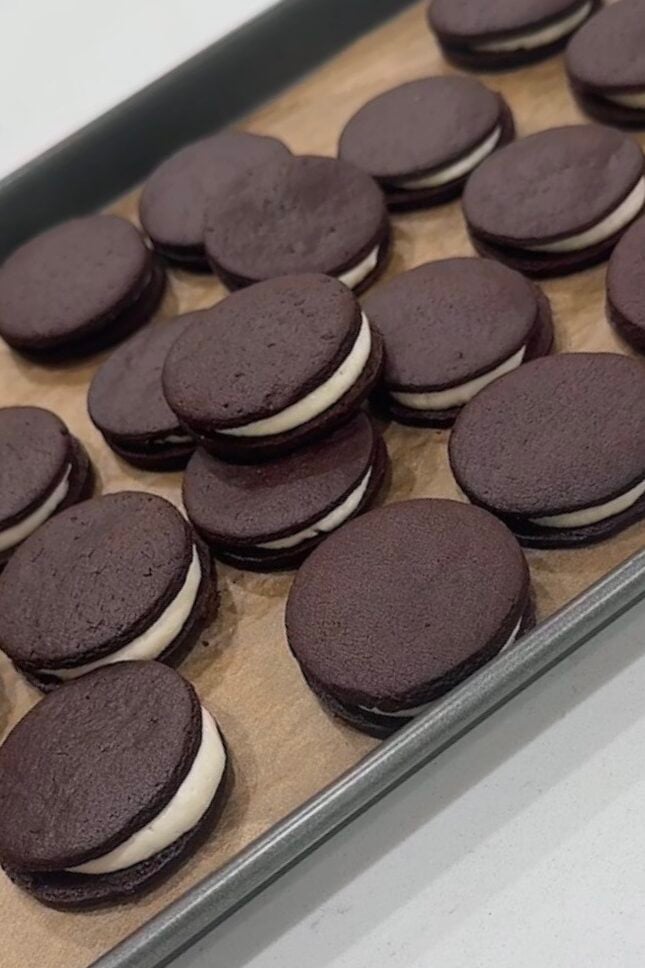
STEP 8: Spread or pipe a small amount of filling between two cookies to assemble the sandwiches (Image 12).
Storage Instructions
Once assembled, store the homemade Oreos in an airtight container at room temperature for up to 3 days or in the fridge for up to 1 week. You can also freeze the chocolate cookies unassembled in an airtight container for up to 2 months and add fresh filling after thawing.
Tips For Success
- For the best flavor and color, I highly recommend using Dutch-processed cocoa powder in this recipe. Dutch cocoa gives the cookies a smoother, deeper chocolate flavor and that classic dark Oreo-style color. If you only have natural cocoa powder on hand, you can use it, but the cookies may be lighter in color and slightly more bitter in flavor.
- Check on the cookies right at the 12-minute mark to see if they are set around the edges. Overbaking can make them bitter and too hard, while underbaking will leave them soft instead of crisp.
- Let the cookies cool completely. This is key! The cookies crisp up as they cool. If you try to fill them too soon, they will be soft and fragile and may break. If you try to add the filling while they’re still warm, the filling will melt instead of set.
- Sift the powdered sugar before adding it to the whipped butter to ensure that there are no lumps. If you prefer a naturally sweetened cream filling, replace the powdered sugar with date powder.
Recipe FAQs
Yes! If you prefer a thicker cookie, roll to about 1/4″ instead of 1/8.″ Note that the cookies will be slightly softer.
Depending on your cookie-cutter size, this recipe typically makes about 24 to 26 full sandwich cookies.
Yes. You can reduce the powdered sugar slightly, but keep in mind that it helps stabilize the filling. If reducing, start by decreasing by 2–3 tablespoons. You can also reduce the powdered sugar more and replace it with cornstarch, which won’t affect the taste.
Other Homemade Snacks You’ll Love
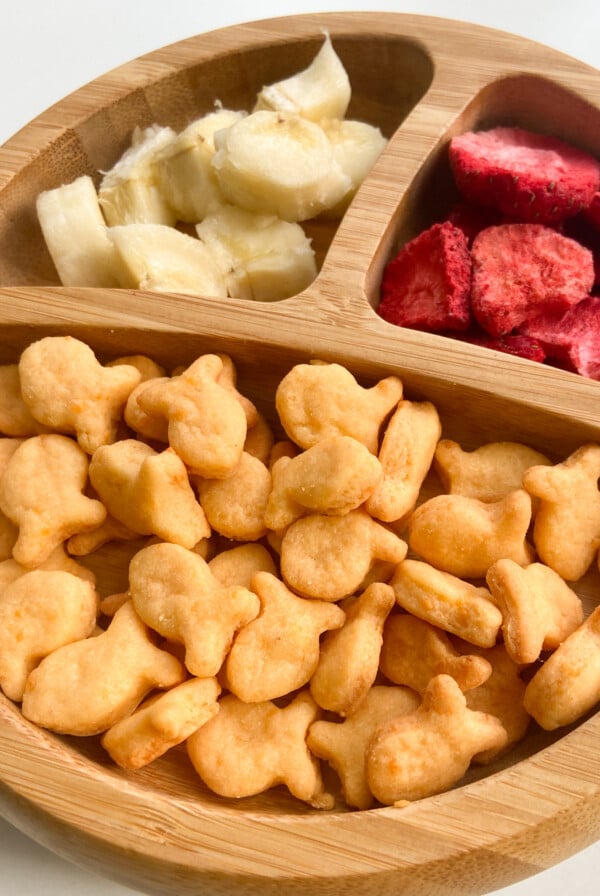
Homemade Healthy Goldfish Crackers
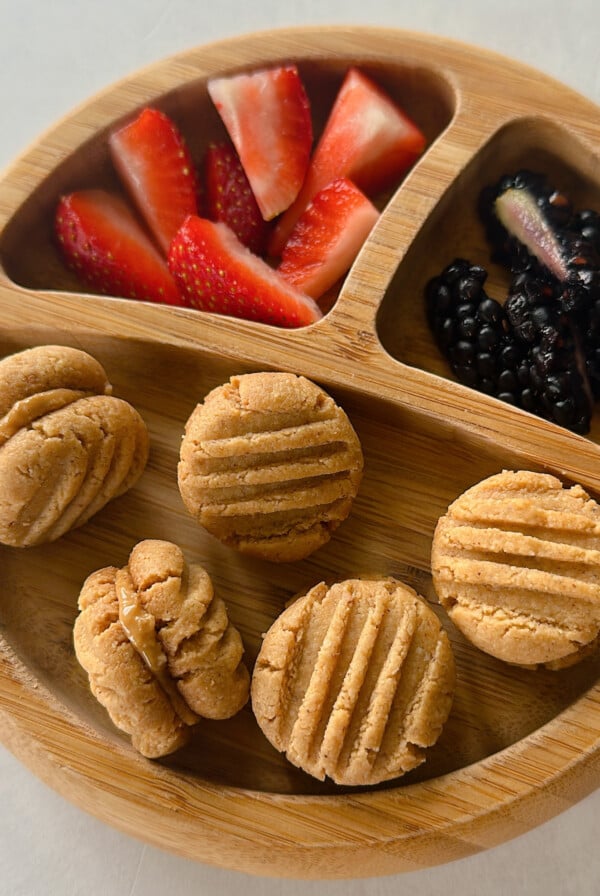
4 Ingredient Peanut Butter Cookies
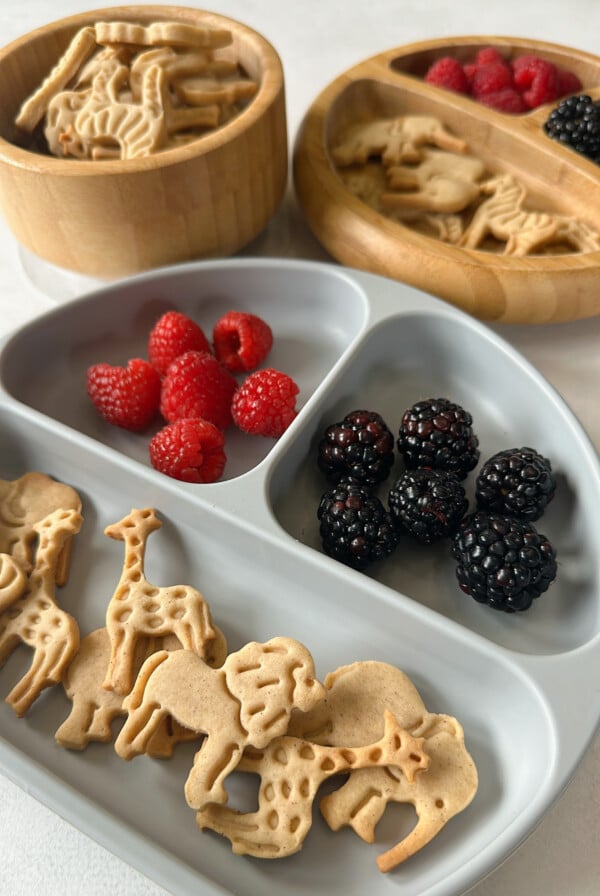
Animal Crackers Recipe (Egg Free)
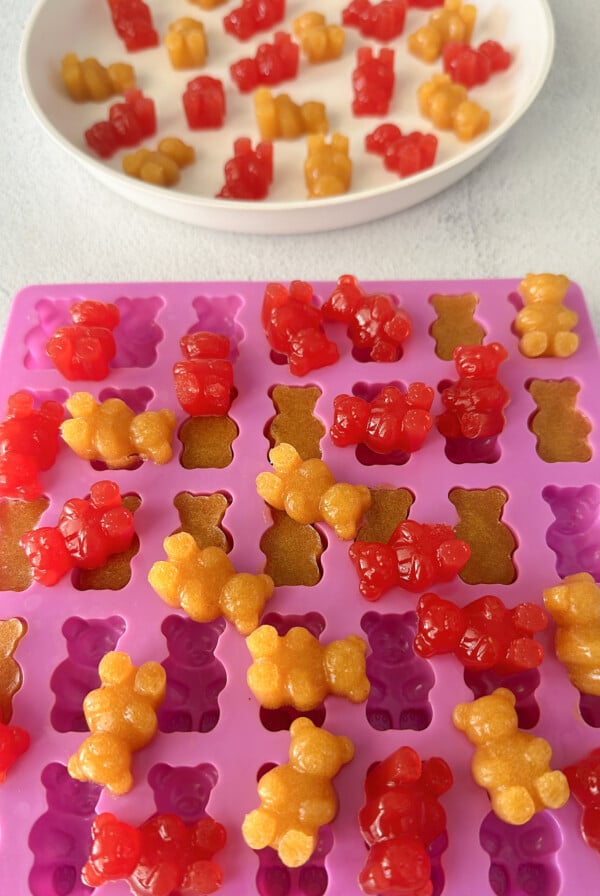
Homemade Gummy Bears
If you tried these Homemade Oreo Cookies, please leave a ⭐ star rating and let me know how it went in the comments below! I love hearing from you!
Easy Homemade Oreos
Ingredients
Chocolate Cookies
- 1 ¼ cups all purpose flour
- ⅓ cup Dutch-processed cocoa powder, see notes on cocoa powder
- ¼ tsp baking soda
- ¼ tsp salt
- ½ cup unsalted butter, melted and cooled
- ⅓ cup maple syrup
- 1 tsp vanilla extract
Cream Filling
- 6 tbps unsalted butter, softenend to room temperature
- 1 cup powdered sugar, adjust to taste and desired thickness
- ½ tsp vanilla extract
- ⅛ tsp salt
Instructions
- In a bowl, whisk together the all-purpose flour, Dutch cocoa powder, salt, and baking soda until well combined.
- In another bowl, combine the melted and cooled butter, maple syrup, and vanilla extract. Whisk until smooth.
- Pour the wet ingredients into the dry ingredients and stir until a soft dough forms. Wrap the dough in plastic wrap and refrigerate it for 30 to 45 minutes (or place it in the freezer for 15 minutes for faster chilling).
- Preheat the oven to 325°F (163°C). Once chilled, unwrap the dough and divide it in half. Between two sheets of parchment paper, roll each half to about 1/8-inch thickness.
- Use a small round cookie cutter (about 1½–2 inches) to cut out circles, peeling away excess dough between batches. (You can also transfer the dough cutouts to another sheet of parchment paper, but I find it easiest to peel away excess dough. Transfer the parchment sheets with cut cookies to baking sheets. Gather scraps, reroll, and repeat until all dough is used.
- Bake the cookies for 12–14 minutes. Let the cookies cool completely on the pan. They will be slightly soft right out of the oven and will firm up and crisp as they cool.
- While cookies cool, make the filling. Beat 6 tablespoons of softened butter on medium speed until smooth and creamy, about 2 to 3 minutes. Add the powdered sugar, vanilla, and salt until smooth and fluffy. If you prefer a thicker consistency that is a little sturdier, you can stir in a little extra powdered sugar (or cornstarch).
- Spread or pipe a small amount of filling between two cookies to assemble the sandwiches.
Notes
- For the best flavor and color, I highly recommend using Dutch-processed cocoa powder in this recipe. Dutch cocoa gives the cookies a smoother, deeper chocolate flavor and that classic dark Oreo-style color. If you only have natural cocoa powder on hand, you can use it, but the cookies may be lighter in color and slightly more bitter in flavor.
- Check on the cookies right at the 12-minute mark to see if they are set around the edges. Overbaking can make them bitter and too hard, while underbaking will leave them soft instead of crisp.
- Let the cookies cool completely. This is key! The cookies crisp up as they cool. If you try to fill them too soon, they will be soft and fragile and may break. If you try to add the filling while they’re still warm, the filling will melt instead of set.
- Sift the powdered sugar before adding it to the whipped butter to ensure that there are no lumps. If you prefer a naturally sweetened cream filling, replace the powdered sugar with date powder.


can you use gluten free flour for this?
Hi Ally! Yes you can use gluten-free flour, some readers have had success with the King Arthur brand😊
Made these over spring break, and they turned out amazing! My whole family loved them, and we think they’re even better than regular Oreos! We’ll definitely be making these regularly and recommending the recipe!
I’m so, SO glad to hear that you enjoyed these Ashley!😊