
Chicken Minis Recipe (Chick-Fil-A Copycat)

on Aug 26, 2026
This post may contain affiliate links. Please read our disclosure policy.
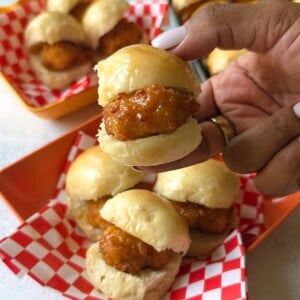
These chicken minis are made with soft and fluffy homemade rolls, crispy chicken nuggets, and a sweet honey butter brushed on top. This easy chicken minis recipe is inspired by Chick-fil-A chicken minis and makes the perfect bite-sized breakfast the whole family can enjoy!
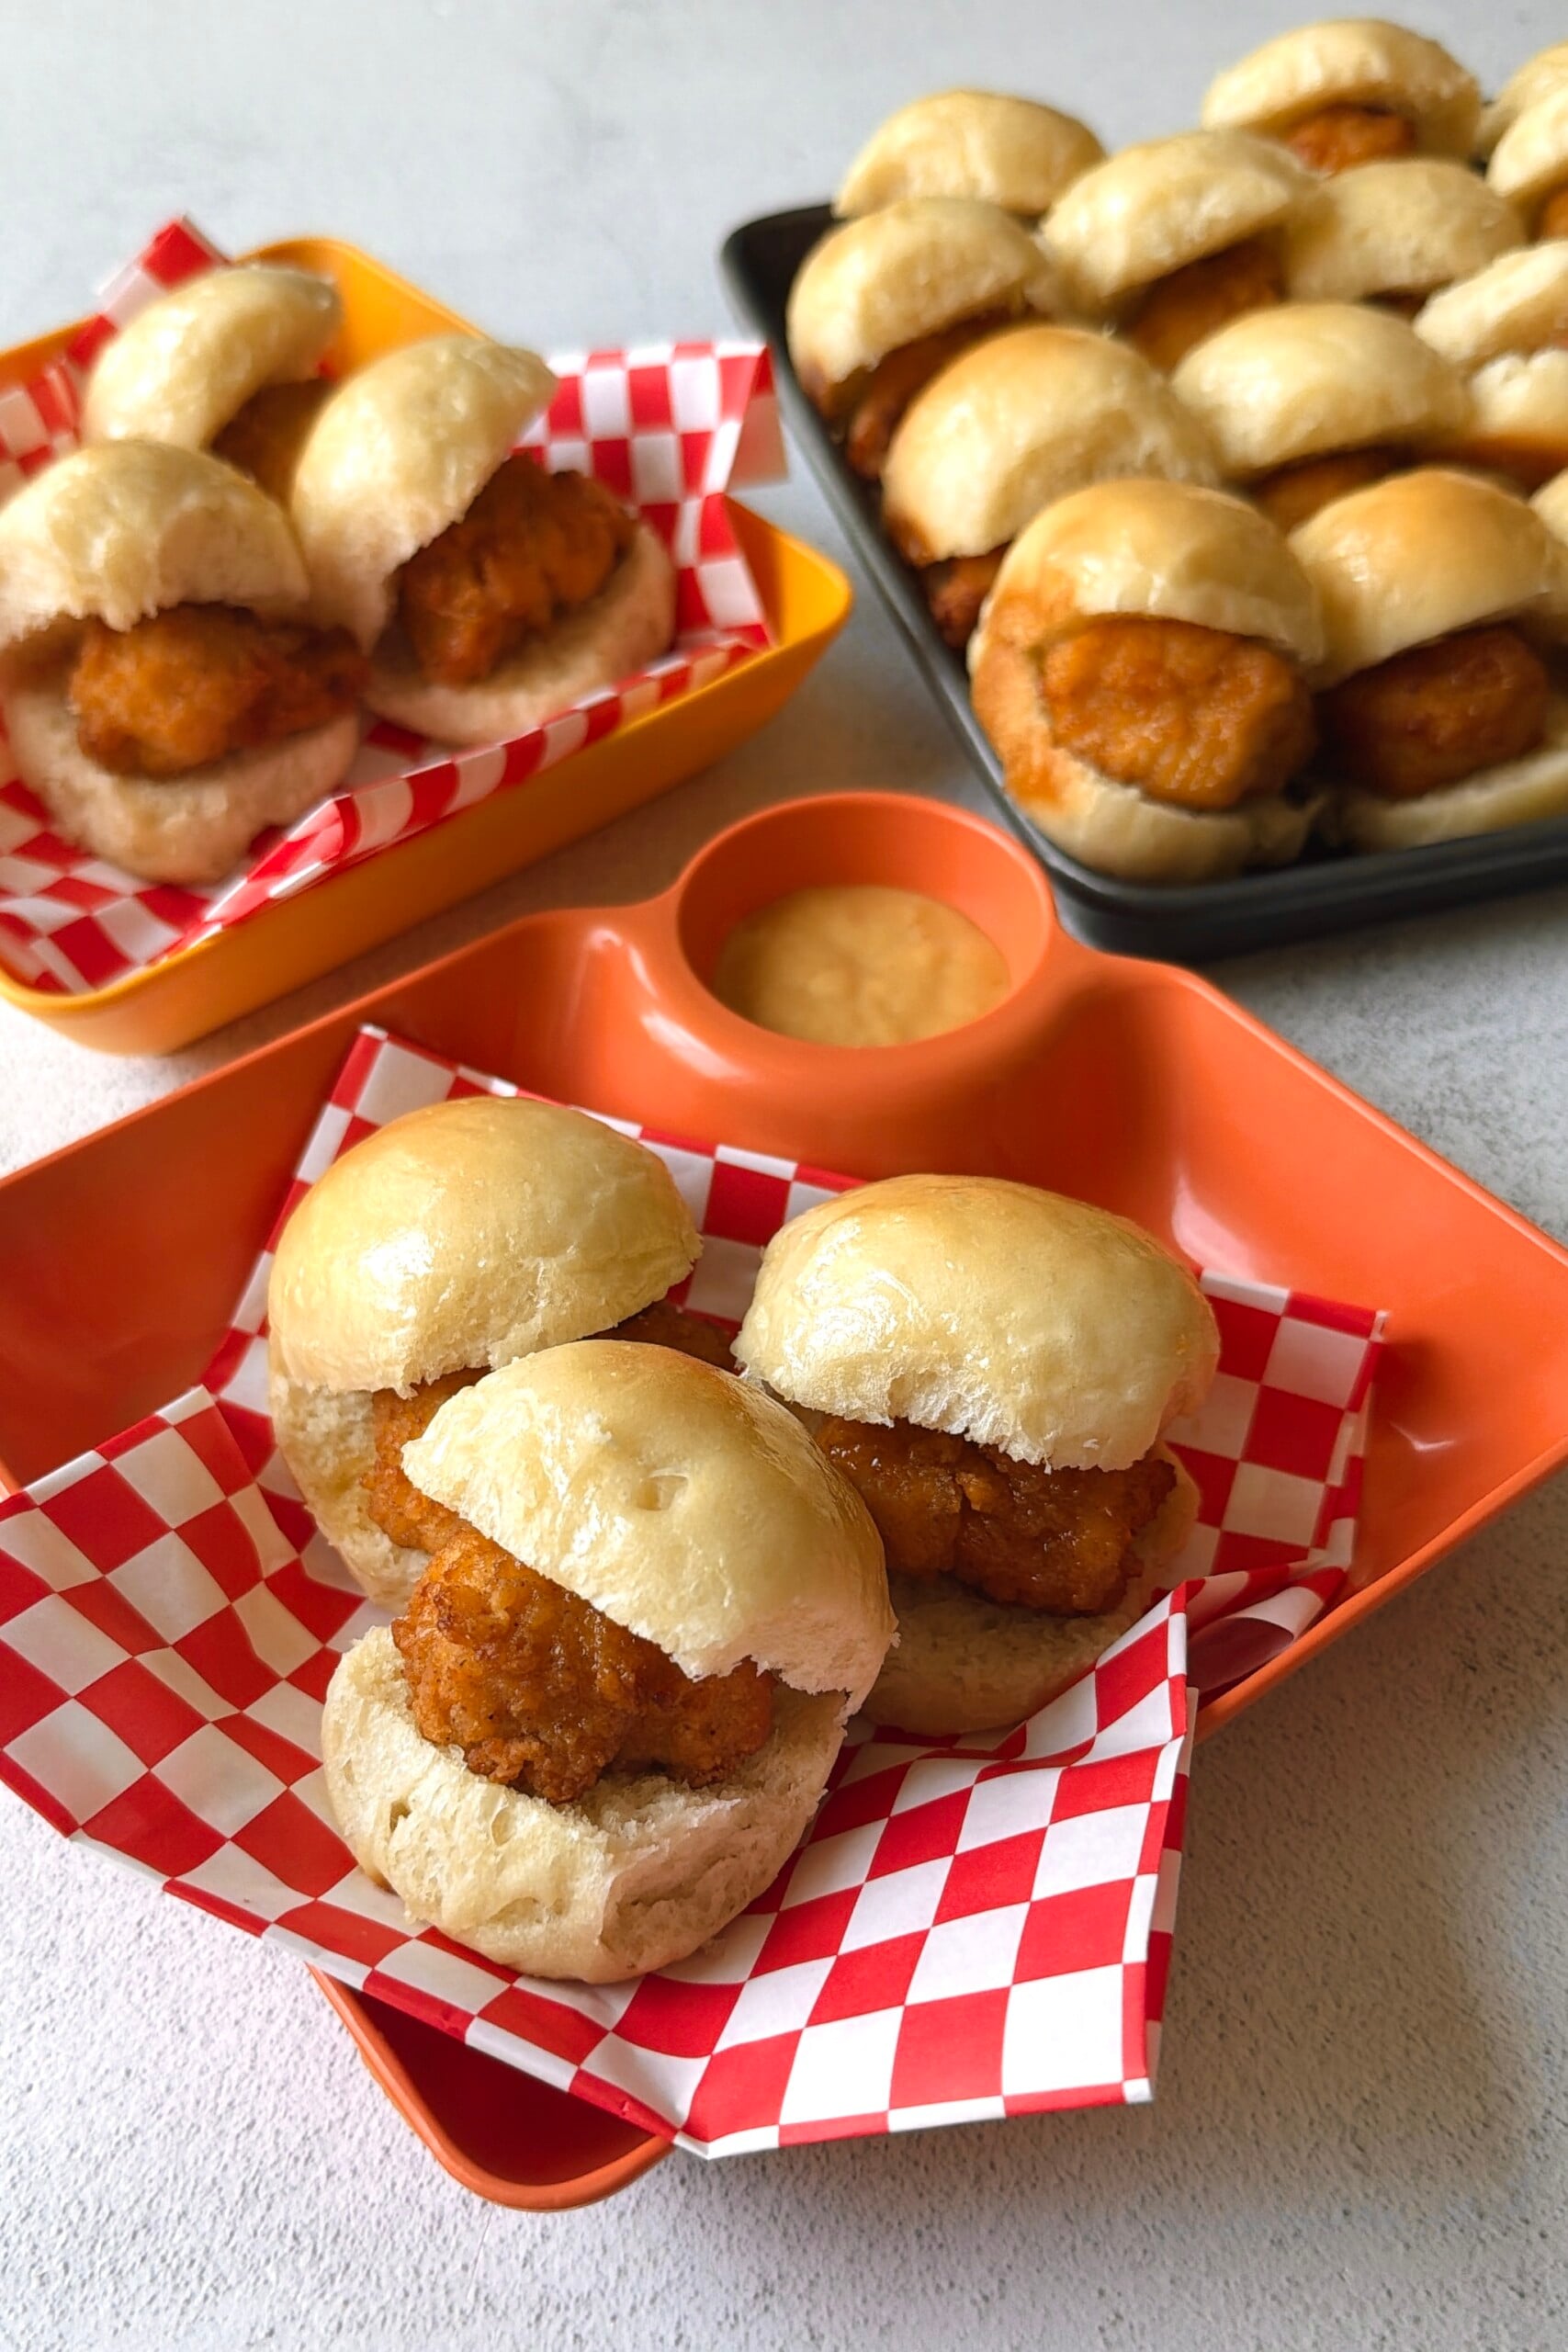
If you’re a fan of Chick-fil-A chicken minis, you’ll love how easy it is to make this homemade version! The soft homemade rolls are slightly sweetened with honey, baked until golden, and brushed with honey butter while they’re still warm. Using store-bought chicken nuggets keeps these homemade chicken minis simple while still giving you that perfect combo of crispy chicken and soft, buttery rolls.
These copycat Chick-fil-A chicken minis are perfect for breakfast, brunch, or even an easy lunch or dinner. The homemade rolls bake together in one pan for those signature soft, pull-apart sides, and the smaller size makes them perfect for little hands!
If you love making simple breads at home, make sure to also try this homemade honey wheat sandwich bread, these soft and fluffy cottage cheese bread rolls, these melt-in-your-mouth cottage cheese biscuits, and these easy homemade garlic knots!
Table of Contents
What You’ll Need
Here is what you’ll need to make this chicken minis recipe:
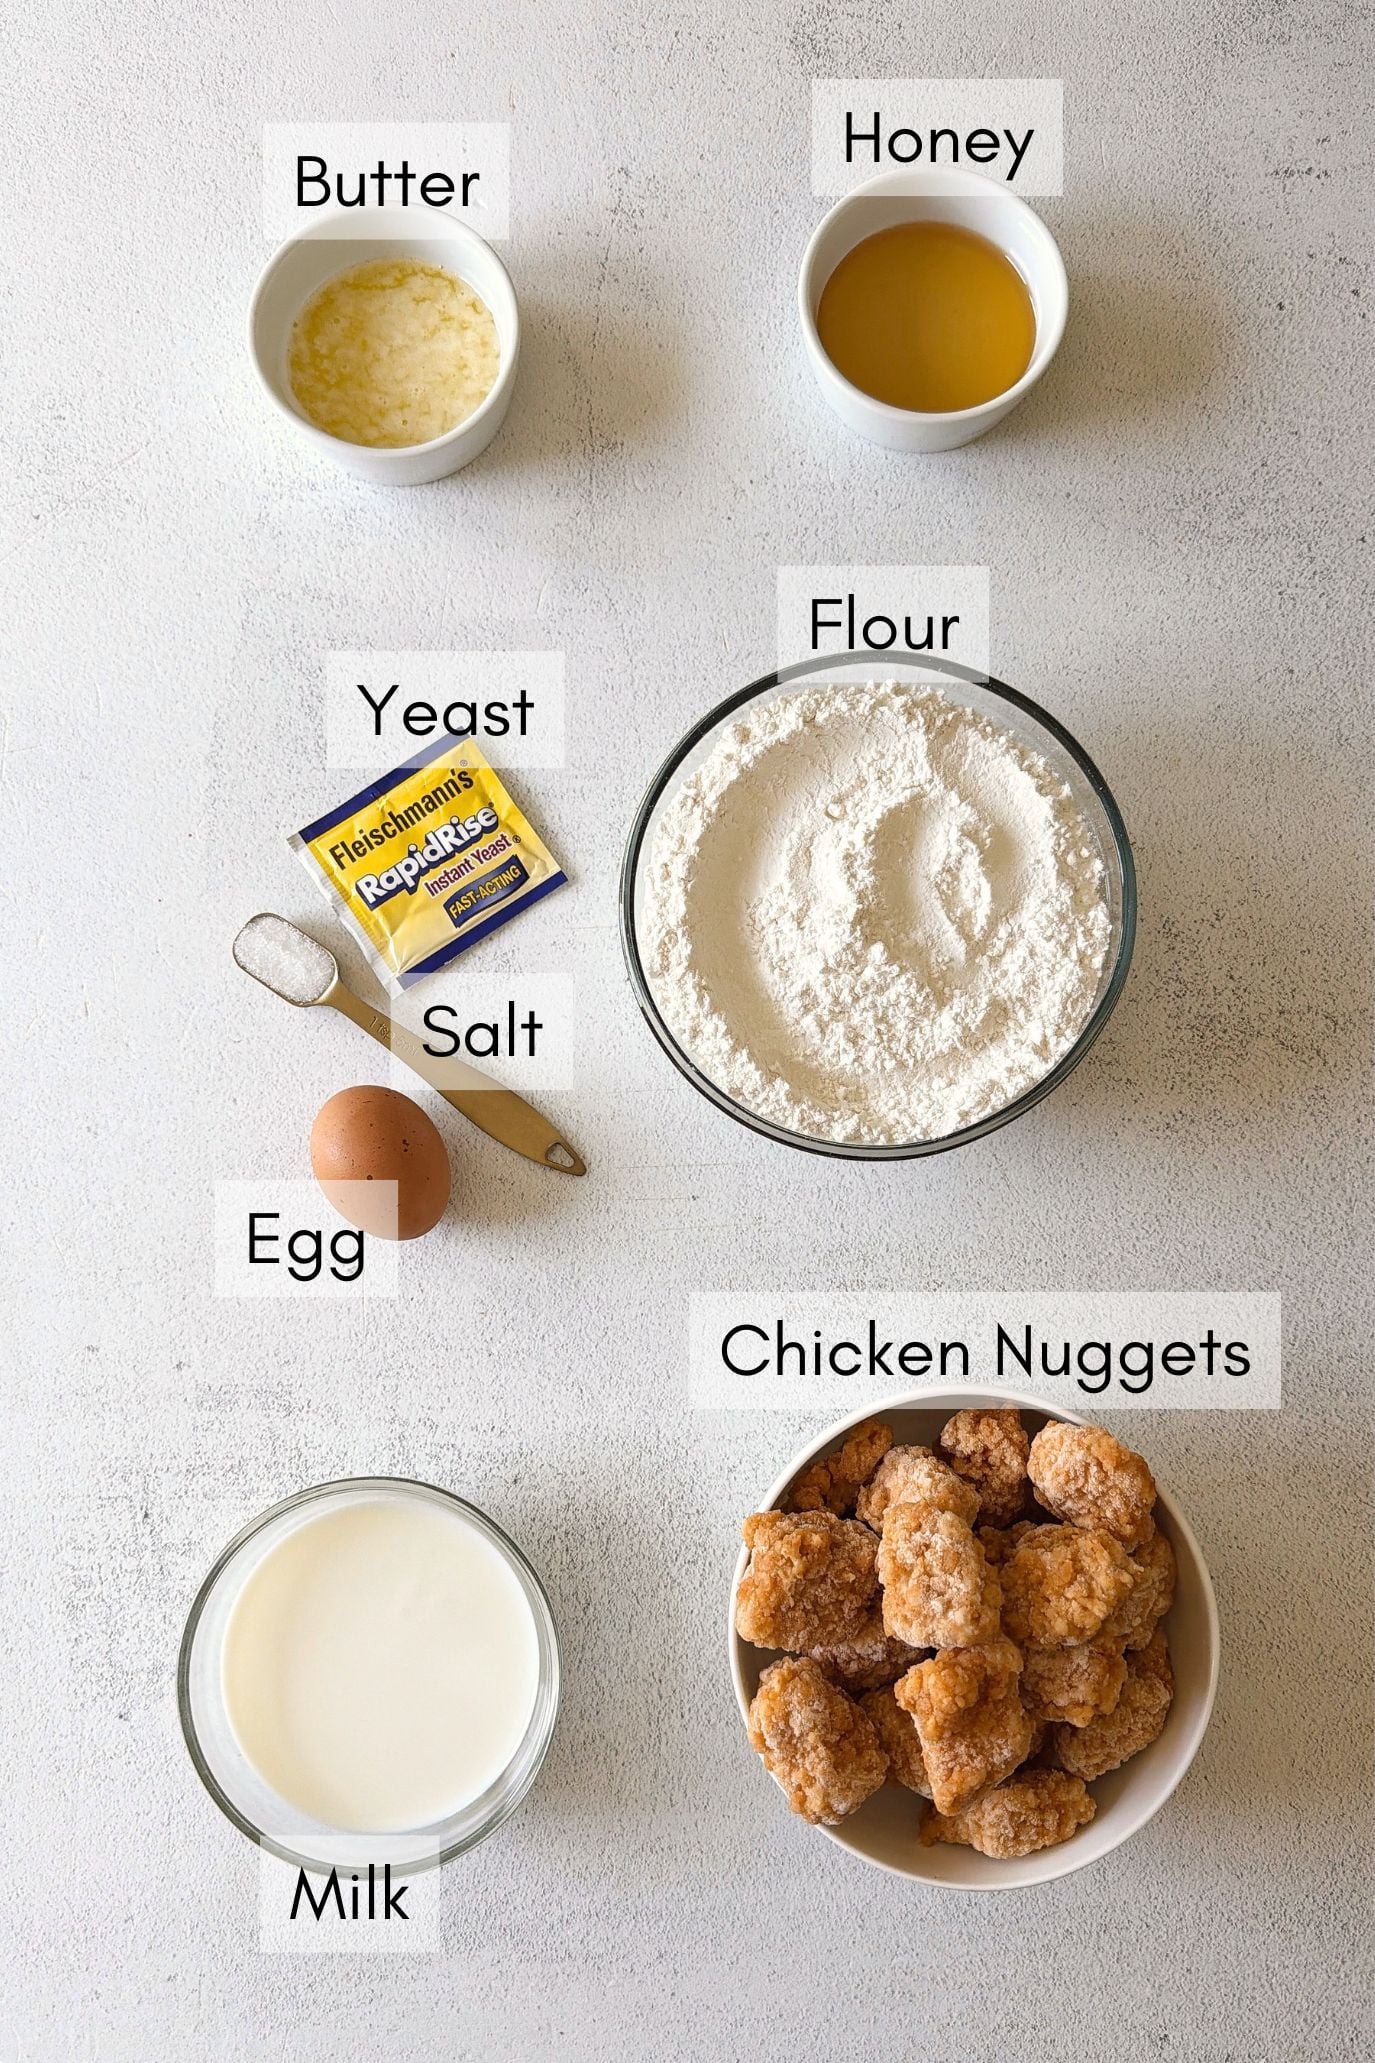
- Whole Milk: Adds moisture and richness to the dough for soft and fluffy rolls. Warm the milk to around 105–110°F before mixing it with the yeast.
- Instant Yeast: Helps the homemade rolls rise and gives them their light, fluffy texture.
- Honey: Adds a subtle sweetness to the roll dough and is also combined with melted butter for brushing onto the warm rolls (Note: these are not reccomended for little ones under the age of 1).
- Egg: Adds structure to the dough and helps keep the rolls soft.
- Butter: Melted butter adds richness to the dough. More butter is combined with honey to make the honey butter topping.
- All-Purpose Flour: Provides structure for the rolls while keeping them soft and fluffy.
- Salt: Enhances the flavor of the homemade rolls and balances the sweetness from the honey.
- Chicken Nuggets: Using store-bought chicken nuggets makes these chicken minis quick and easy to prepare. I like using Applegate chicken nuggets because I find that they taste the most similar to Chick-fil-A nuggets, but you can use any brand you prefer.
See the recipe card below for full information on ingredients and quantities.
Ingredient Substitutions & Additions
- Whole Milk: Another dairy milk may be used in place of whole milk, though whole milk provides the richest, softest rolls.
- Egg: For an egg-free option, replace the egg with 3 tablespoons of whole milk and 1 tablespoon of melted butter. Keep in mind that the rolls may be slightly less structured, but should still be soft and fluffy.
- Honey: Maple syrup may be used in the roll dough, but I recommend sticking with honey for the honey butter topping for that classic chicken minis flavor.
- All-Purpose Flour: I haven’t tested this recipe with gluten-free flour and don’t recommend a direct 1:1 substitution since gluten is important for the structure and rise of these rolls.
Step-by-Step Instructions
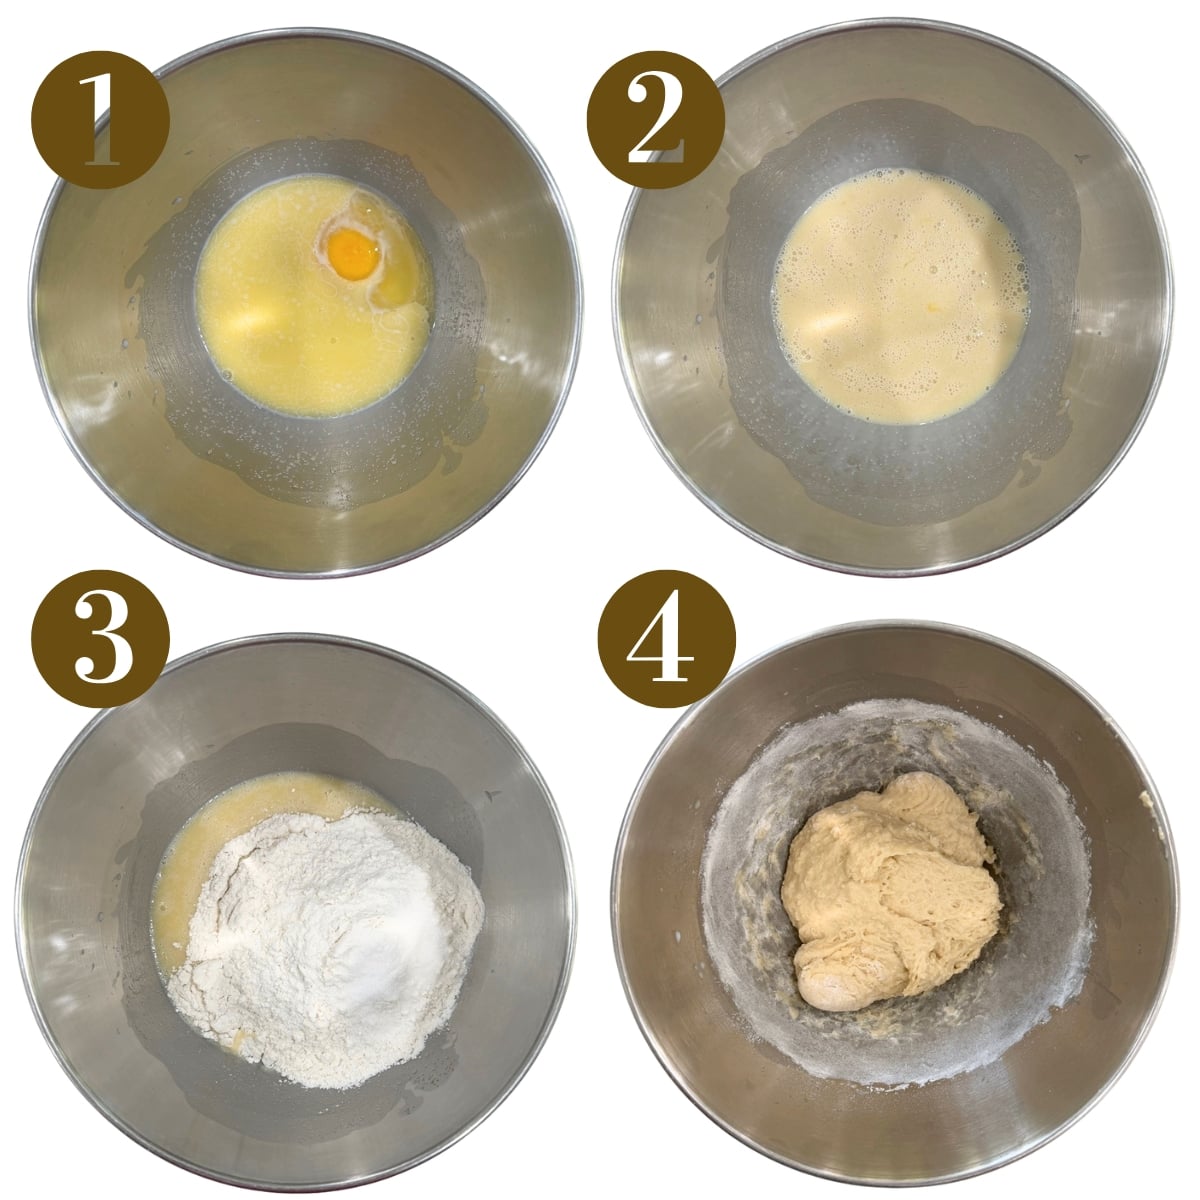
STEP 1: Add the warm milk, yeast, honey, egg, and melted butter to the bowl of a stand mixer (See the FAQs below for instructions on making the dough without a stand mixer). Whisk until combined (Images 1 & 2).
STEP 2: Attach the dough hook and add the flour and salt (Image 3). Mix on low speed for about 1 minute, until the flour is mostly incorporated (Image 4). Increase to speed 2 and knead for 7 to 8 minutes, until the dough is smooth, stretchy, and slightly tacky (Image 5). The dough will still be a bit sticky and will stick slightly to the bottom of the bowl, but it should pull together into a soft dough.
STEP 3: Scrape down the sides, remove the dough from the bowl, and lightly grease the bowl. Return the dough to the greased bowl (Image 6), cover, and let it rise in a warm place for about 1 hour or until roughly doubled in size (Image 7).
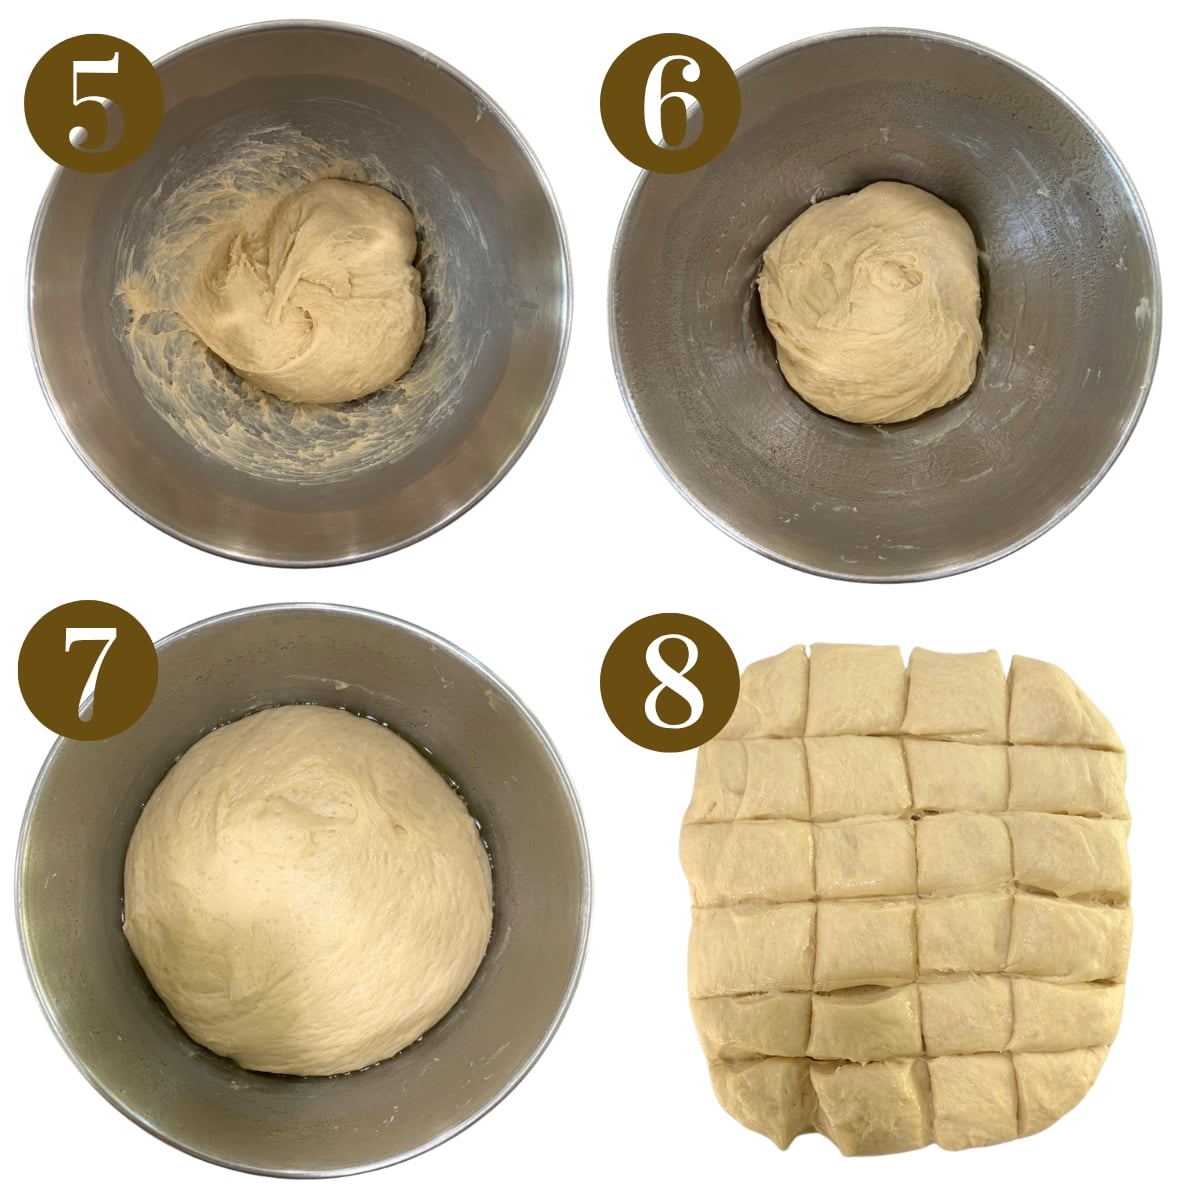
STEP 4: Lightly grease a work surface and your hands. Gently turn the risen dough out onto the greased surface without kneading it again. Divide the dough into 24 equal pieces. (For evenly sized rolls, weigh the entire dough and divide the total weight by 24. Each piece should be around 25 to 27 grams) (Image 8).
STEP 5: Shape each piece into a smooth ball by gently pulling the outer edges underneath and pinching the seam together on the bottom.
STEP 6: Grease a 9×13-inch baking dish and arrange the dough balls seam-side down in 6 rows of 4 (Image 9). Cover loosely and let the rolls rise for about 30 to 40 minutes (Image 10). Toward the end of the rise time, preheat the oven to 350°F.
STEP 7: Bake the rolls on the center rack for about 13 to 15 minutes, or until the tops are lightly golden brown.
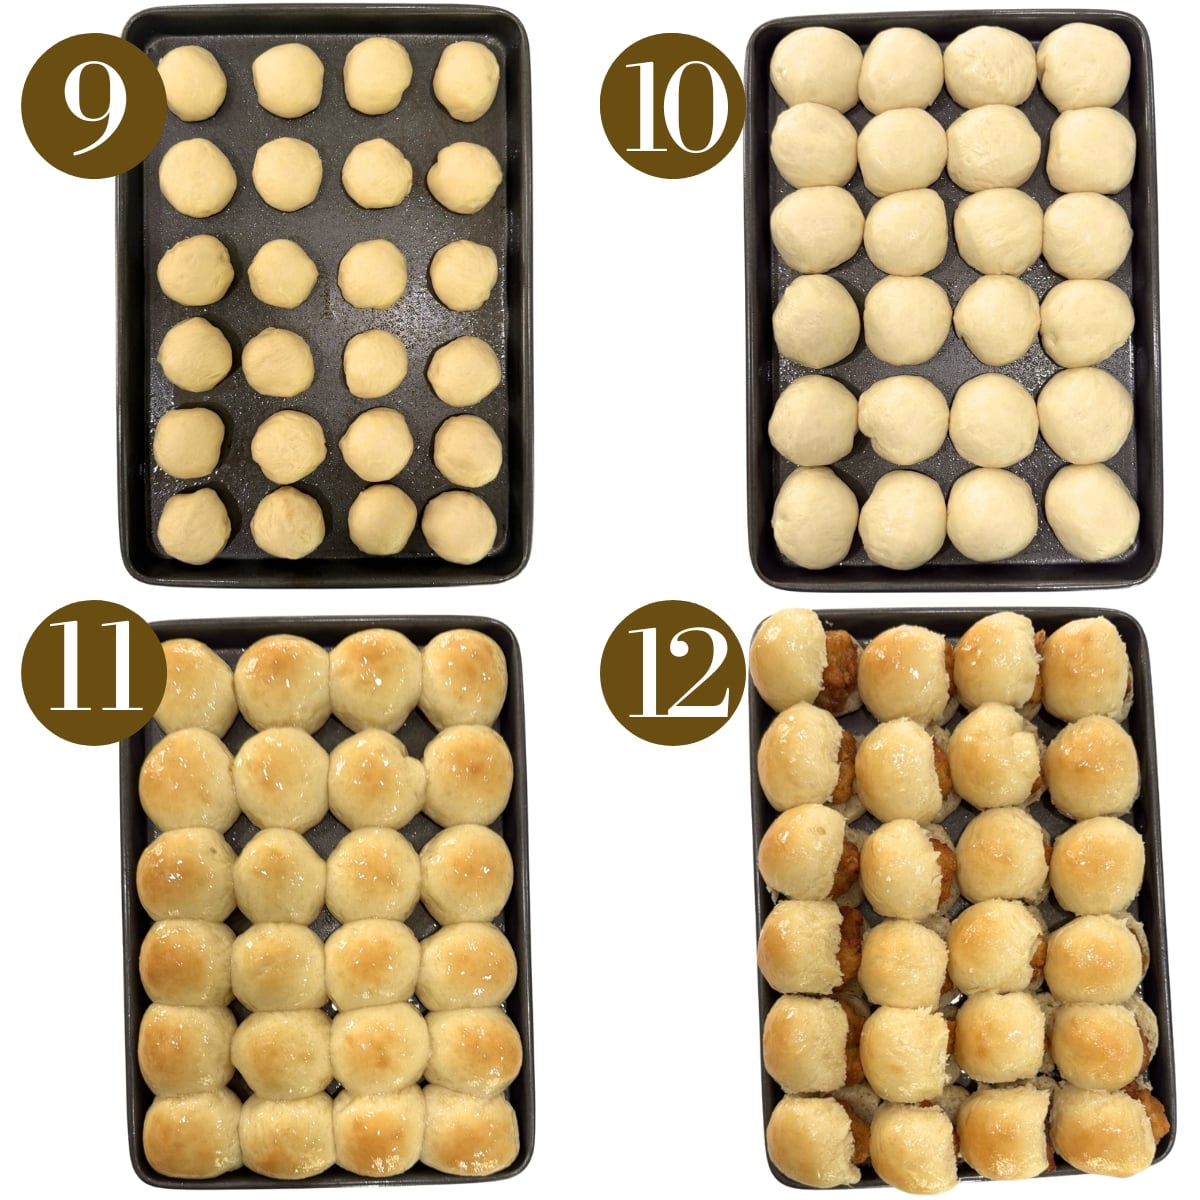
STEP 8: While the rolls bake, make the honey butter by whisking together the melted butter and honey until smooth and combined. As soon as the rolls come out of the oven, brush the tops generously with some of the honey butter (Image 11). Let the rolls rest together in the pan for about 10 minutes.
STEP 9: While the rolls are resting, cook the chicken nuggets. I prefer to air fry them for the crispiest texture. For Just Bare chicken nuggets, air fry at 400°F for 10 to 12 minutes, or until heated through and crispy.
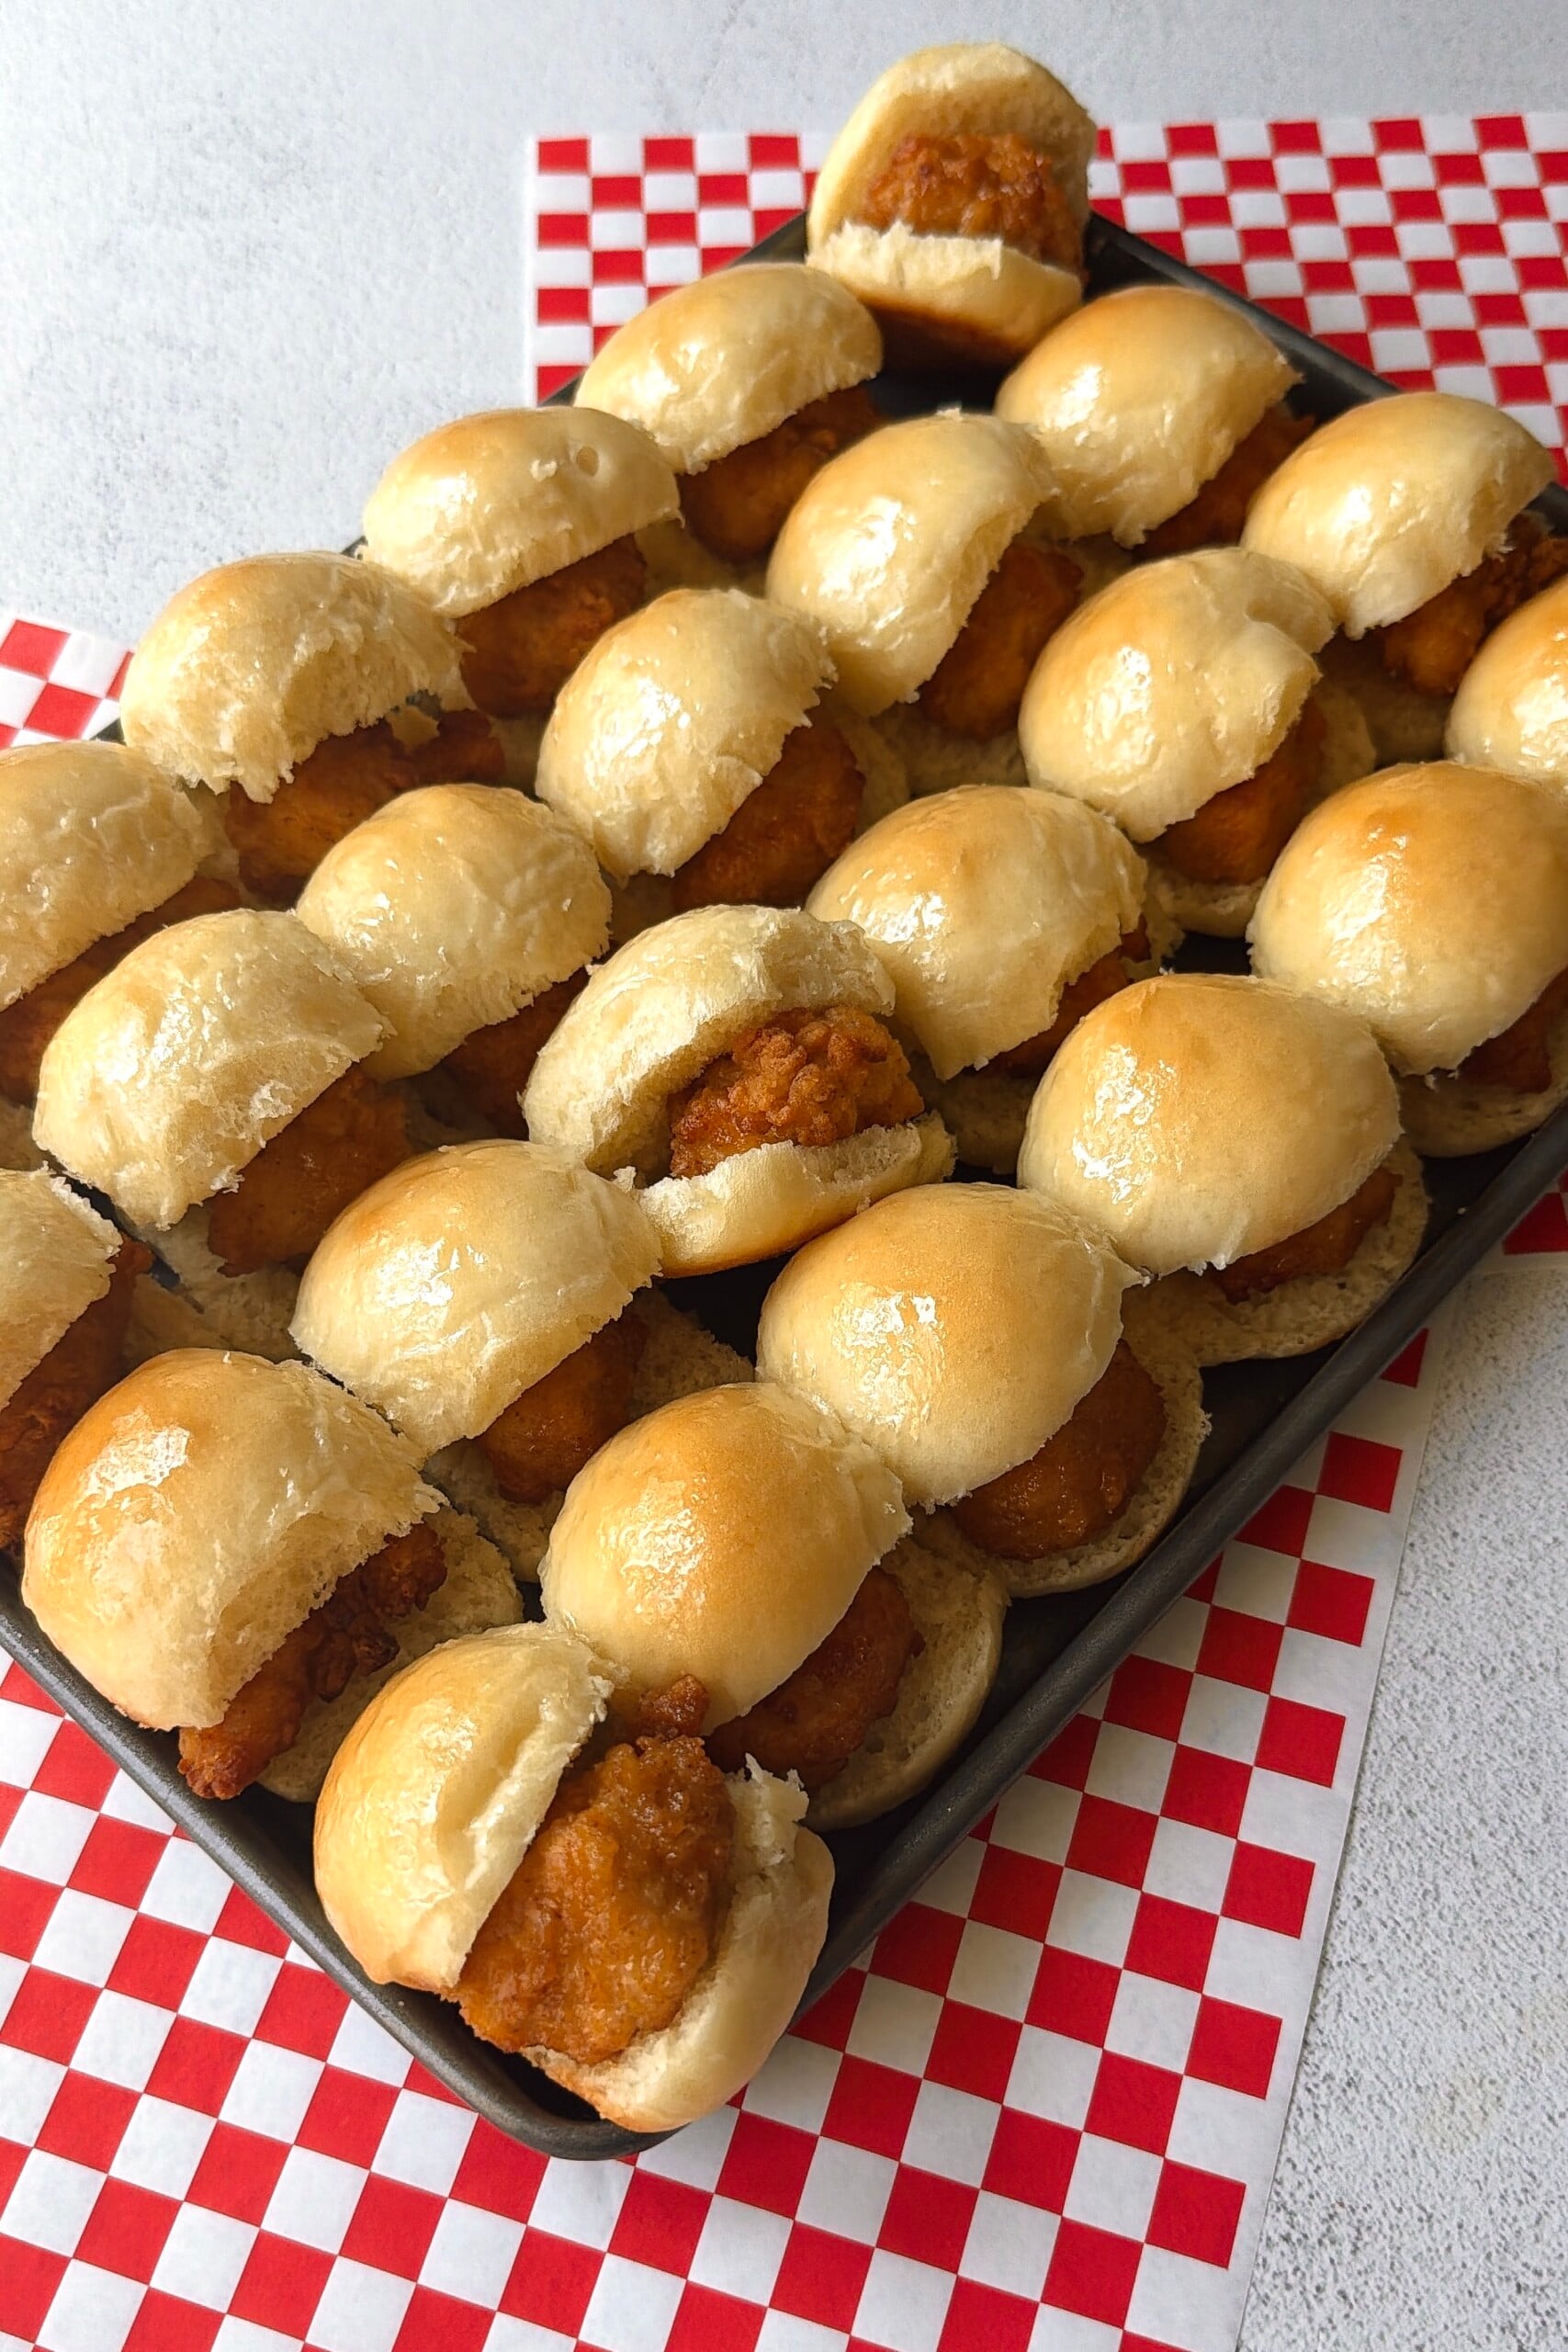
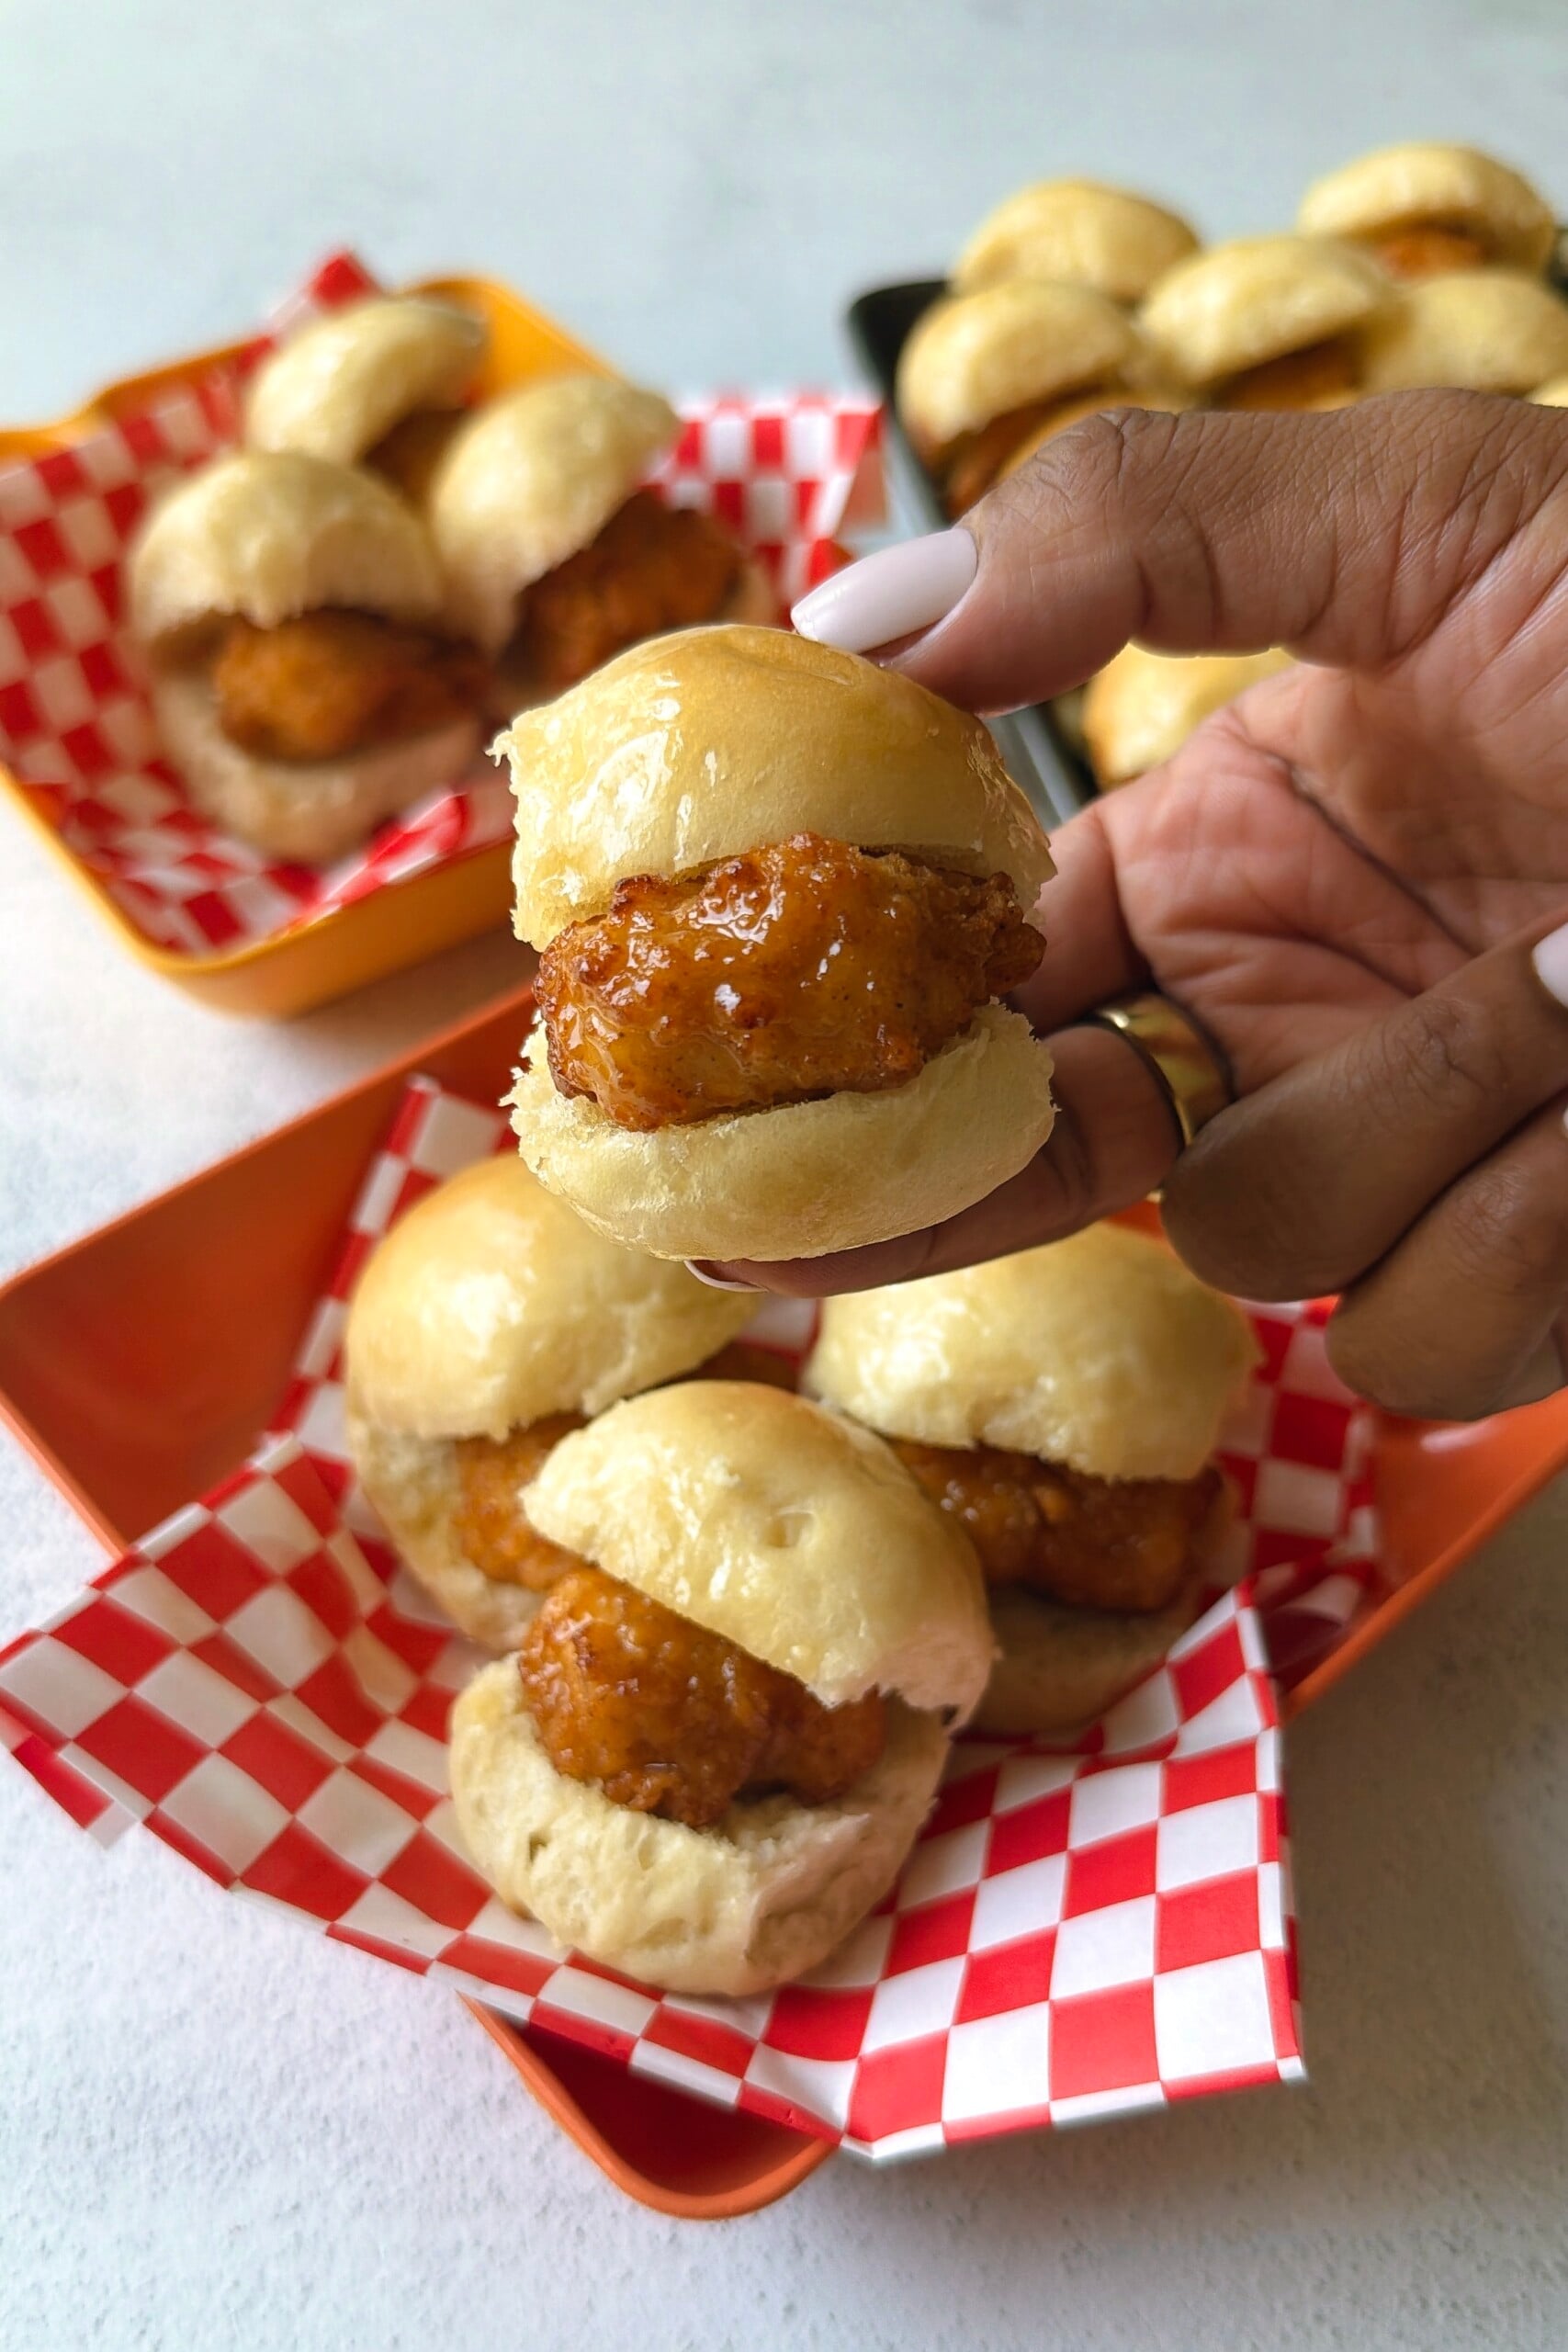
STEP 10: Gently separate the rolls and slice each one horizontally almost all the way through. Lightly brush the inside of each roll with the remaining honey butter, add one warm chicken nugget, and serve (Image 12).
Storage Instructions
Let the homemade chicken minis cool completely before storing them. Store assembled chicken minis in an airtight container in the fridge for up to 3 days. For the best texture, I prefer storing the homemade rolls and chicken nuggets separately when possible. Store the rolls in an airtight container at room temperature for up to 2 days or freeze them in a freezer-safe bag or container for up to 3 months. To reheat assembled chicken minis, warm them in the oven or air fryer until heated through.
Tips For Success
- Measure your flour correctly. This is SO important for getting the right dough texture. Instead of scooping the flour directly from the container with your measuring cup, spoon the flour into the cup and level off the top. The dough should be soft and slightly tacky. Adding too much flour can make the rolls dense and dry instead of light and fluffy.
- Don’t worry if the dough seems sticky at first. The dough will be soft, moist, and slightly sticky after kneading. Try not to add extra flour, it should become much easier to handle after the first rise.
- Use the dough as your guide for rising. Rise times can vary depending on the temperature of your kitchen. For the first rise, look for the dough to be about double in size. During the second rise, the individual rolls should become puffier and begin touching one another.
- If you have a kitchen scale, I recommend using it to divide the dough into equal portions. This is optional, but it helps the rolls bake evenly and ensures they’re all a similar size.
- Don’t overbake the rolls. You want the tops to be lightly golden while the centers stay soft and fluffy. Start checking them around the 13-minute mark.
- Brush the rolls while they’re warm. Brush the honey butter onto the rolls as soon as they come out of the oven. The warm rolls will soak up some of the honey butter for that sweet, buttery finish.
- Let the rolls rest before slicing. Let them cool for about 10 minutes before pulling them apart and slicing. This gives the soft centers time to set and makes them easier to slice without squishing.
Recipe FAQs
Yes! Add the warm milk, yeast, honey, egg, and melted butter to a large bowl and whisk to combine. Add the flour and salt and stir with a wooden spoon or sturdy spatula until a shaggy dough forms. Transfer the dough to a lightly greased surface and knead by hand for about 8 to 10 minutes, or until the dough is smooth, stretchy, and slightly tacky. Avoid adding extra flour unless absolutely necessary, since too much flour can make the rolls dense and dry. Continue with the first rise as directed above.
Yes. You can bake the rolls ahead of time and store them in an airtight container once completely cooled. Warm them briefly before assembling with the chicken nuggets so they’re soft and warm when served.
This dough is meant to be soft and slightly tacky. That extra moisture helps give the homemade rolls their fluffy texture. After kneading, the dough should be smooth and stretchy and should hold together, but it doesn’t need to completely release from the bottom of the mixing bowl. Avoid adding extra flour unless the dough is super wet and difficult to handle after it has been fully kneaded.
Other Chicken Recipes You’ll Love
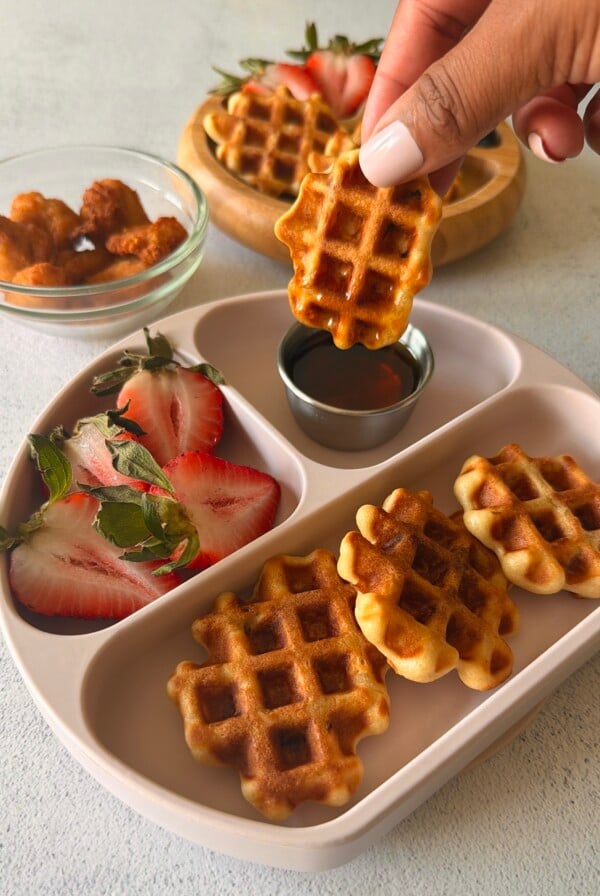
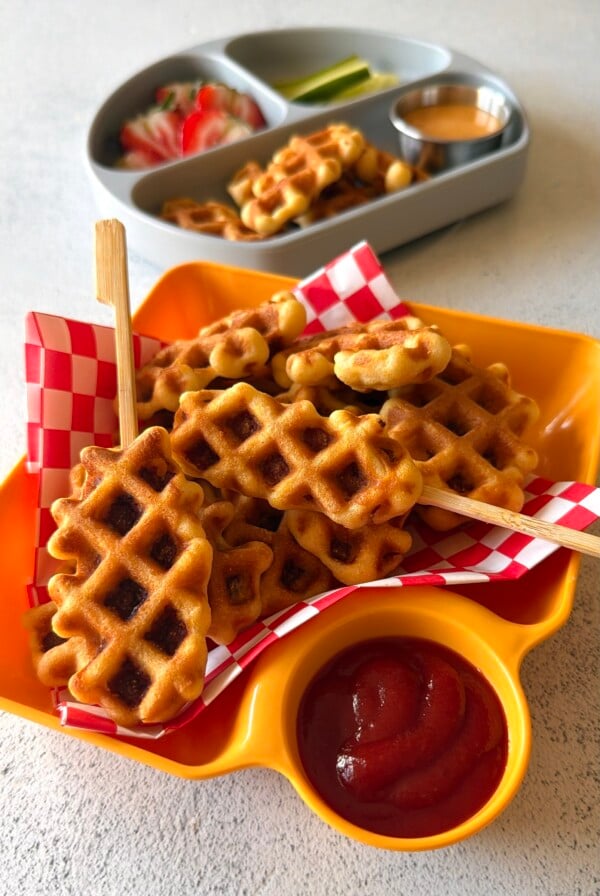
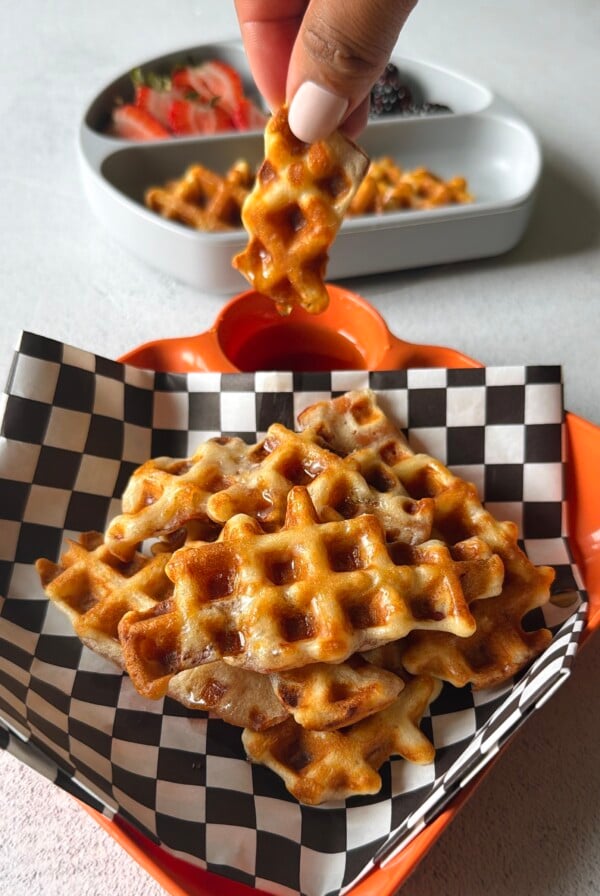
Chicken Waffle Bites
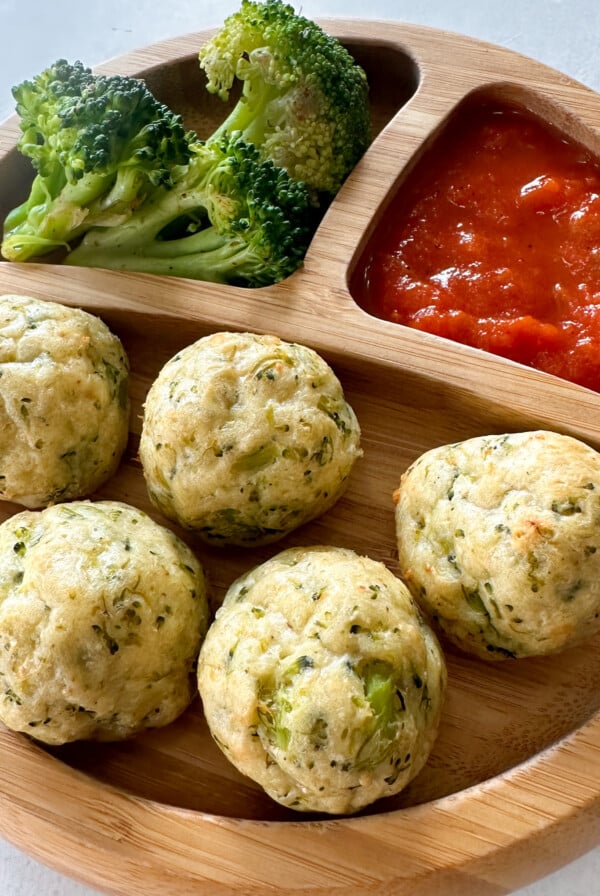
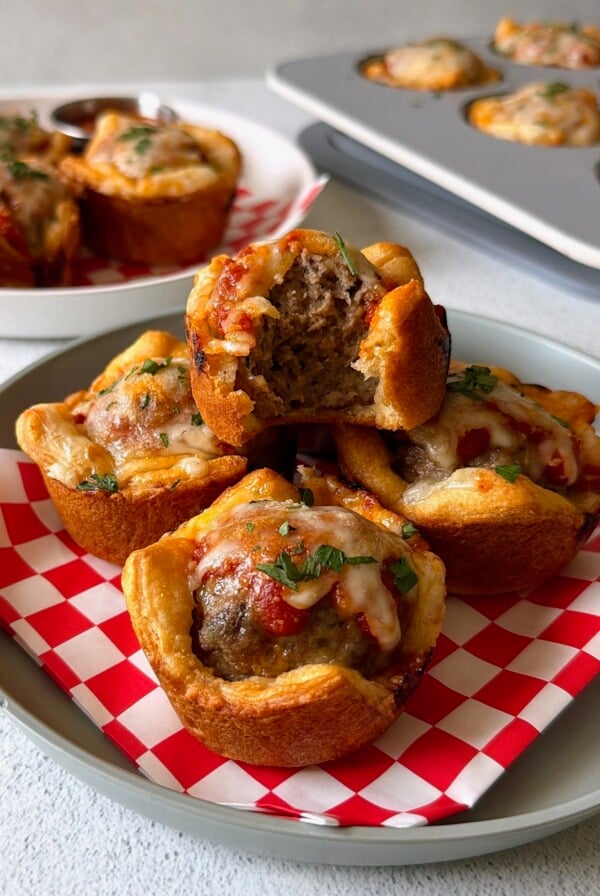
Chicken And Broccoli Meatballs
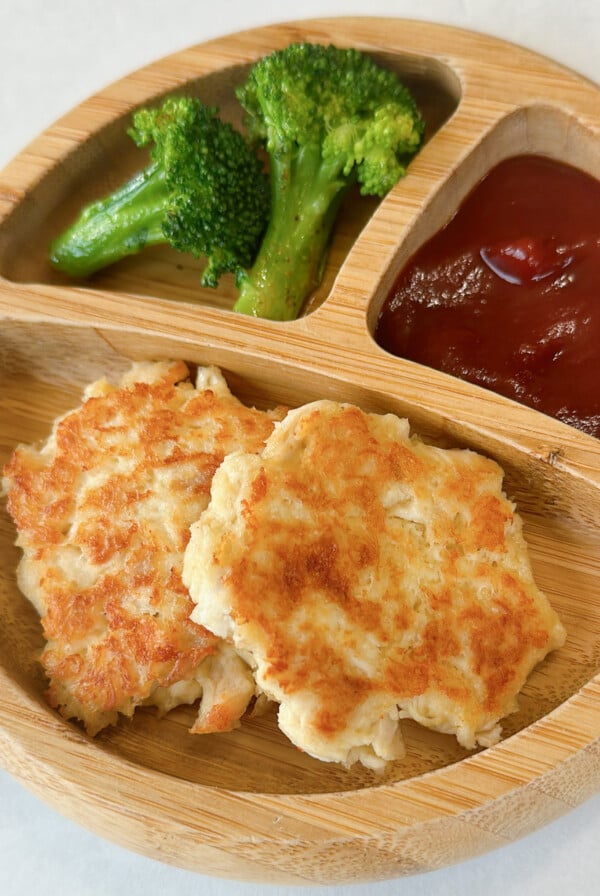
Chicken Fritters (With Leftover Chicken)
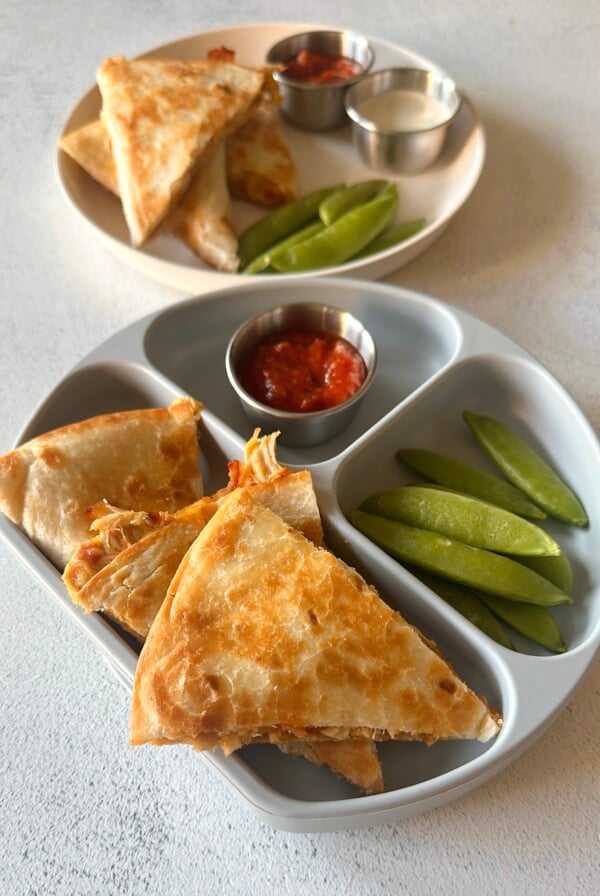
Chicken Bacon Ranch Quesadillas
If you tried this Chicken Minis Recipe, please leave a ⭐ star rating and let me know how it went in the comments below! I love hearing from you!
Chicken Minis Recipe (Chick-Fil-A) Copycat
Equipment
Ingredients
For The Rolls
- ¾ cup whole milk, warmed to 105–110°F
- 2 ¼ tsp instant yeast (1 packet)
- 2 tbsp honey
- 1 large egg, room temp
- 3 tbsp unsalted butter, melted and slightly cooled
- 2 ¾ cups all-purpose flour, see notes for measuring flour correctly
- ¾ tsp salt
For The Honey Butter
- 3 tbsp unsalted butter, melted
- 1 ½ tbsp honey
For Assembly
Instructions
- Add the warm milk, yeast, honey, egg, and melted butter to the bowl of a stand mixer (See the FAQs below for instructions on making the dough without a stand mixer). Whisk until combined
- Attach the dough hook and add the flour and salt. Mix on low speed for about 1 minute, until the flour is mostly incorporated. Increase to speed 2 and knead for 7 to 8 minutes, until the dough is smooth, stretchy, and slightly tacky. The dough will still be a bit sticky and will stick slightly to the bottom of the bowl, but it should pull together into a soft dough.
- Scrape down the sides, remove the dough from the bowl, and lightly grease the bowl. Return the dough to the greased bowl, cover, and let it rise in a warm place for about 1 hour or until roughly doubled in size
- Lightly grease a work surface and your hands. Gently turn the risen dough out onto the greased surface without kneading it again. Divide the dough into 24 equal pieces (or 30 pieces for smaller-sized minis). (For evenly sized rolls, weigh the entire dough and divide the total weight by 24 (or 30). Each piece should be around 25 to 27 grams (or 20 to 22 grams for smaller rolls).
- Shape each piece into a smooth ball by gently pulling the outer edges underneath and pinching the seam together on the bottom.
- Grease a 9×13-inch baking dish and arrange the dough balls seam-side down in 6 rows of 4 (or 6 rows of 5 if you split the rolls into 30). Cover loosely and let the rolls rise for about 30 to 40 minutes. Toward the end of the rise time, preheat the oven to 350°F.
- Bake the rolls on the center rack for about 13 to 15 minutes, or until the tops are lightly golden brown.
- While the rolls bake, make the honey butter by whisking together the melted butter and honey until smooth and combined. As soon as the rolls come out of the oven, brush the tops generously with some of the honey butter. Let the rolls rest together in the pan for about 10 minutes.
- While the rolls are resting, cook the chicken nuggets. I prefer to air fry them for the crispiest texture. For Just Bare chicken nuggets, air fry at 400°F for 10 to 12 minutes, or until heated through and crispy.
- Gently separate the rolls and slice each one horizontally almost all the way through. Lightly brush the inside of each roll with the remaining honey butter, add one warm chicken nugget, and serve
Notes
- Measure your flour correctly. This is SO important for getting the right dough texture. Instead of scooping the flour directly from the container with your measuring cup, spoon the flour into the cup and level off the top. The dough should be soft and slightly tacky. Adding too much flour can make the rolls dense and dry instead of light and fluffy.
- Don’t worry if the dough seems sticky at first. The dough will be soft, moist, and slightly sticky after kneading. Try not to add extra flour, it should become much easier to handle after the first rise.
- Use the dough as your guide for rising. Rise times can vary depending on the temperature of your kitchen. For the first rise, look for the dough to be about double in size. During the second rise, the individual rolls should become puffier and begin touching one another.
- If you have a kitchen scale, I recommend using it to divide the dough into equal portions. This is optional, but it helps the rolls bake evenly and ensures they’re all a similar size.
- Don’t overbake the rolls. You want the tops to be lightly golden while the centers stay soft and fluffy. Start checking them around the 13-minute mark.
- Brush the rolls while they’re warm. Brush the honey butter onto the rolls as soon as they come out of the oven. The warm rolls will soak up some of the honey butter for that sweet, buttery finish.
- Let the rolls rest before slicing. Let them cool for about 10 minutes before pulling them apart and slicing. This gives the soft centers time to set and makes them easier to slice without squishing.







wow !! it’s GREAT !! Your recipes are soo good … Thank you 🙂
Thank you for your feedback Viktoria, I’m so glad you liked them!😊
Made these for my kids and they were fantastic!
I’m so glad to hear that you enjoyed them, Myra!😊
Do you think I can use my bread machine to mix the dough? Since I don’t have a stand mixer.
Hi Vanessa! Yes! You should be able to use the dough setting on your bread machine to mix and knead the dough. Once the dough cycle is finished, you can remove it and continue with the recipe as written😊
What if you don’t have a mixer can you use a hand mixer?
Yes, you can use a hand mixer! It’ll take a little more time, but it will work. To use a hand mixer, add the warm milk, yeast, honey, egg, and melted butter to a large bowl and whisk to combine. Add the flour and salt and stir with a wooden spoon or sturdy spatula until a shaggy dough forms. Transfer the dough to a lightly greased surface and knead by hand for about 8 to 10 minutes, or until the dough is smooth, stretchy, and slightly tacky. Avoid adding extra flour unless absolutely necessary, since too much flour can make the rolls dense and dry. Then, with the first rise as directed in the recipe😊
How would I alter this if I don’t have instant yeast and just have active yeast?
Hi Stephanie! Active dry yeast will work, it’ll just take longer for the dough to rise. You can dissolve it in the warm milk first with a little of the honey and let it sit for about 5–10 minutes, until foamy. Then continue with the recipe as written. As far as time for rising, I’d go by when it has doubled in size each time😊
These were SO GOOD. The texture was just like chick fila but the taste was even better. I’ll be making these once a week for sure. Your recipes never fail me.
I’m so so glad to hear that you enjoyed them!! Thank you for taking the time to share your feedback😊