3-Ingredient Peanut Butter Rice Crispy Treats
on Dec 15, 2021, Updated Sep 27, 2023
This post may contain affiliate links. Please read our disclosure policy.
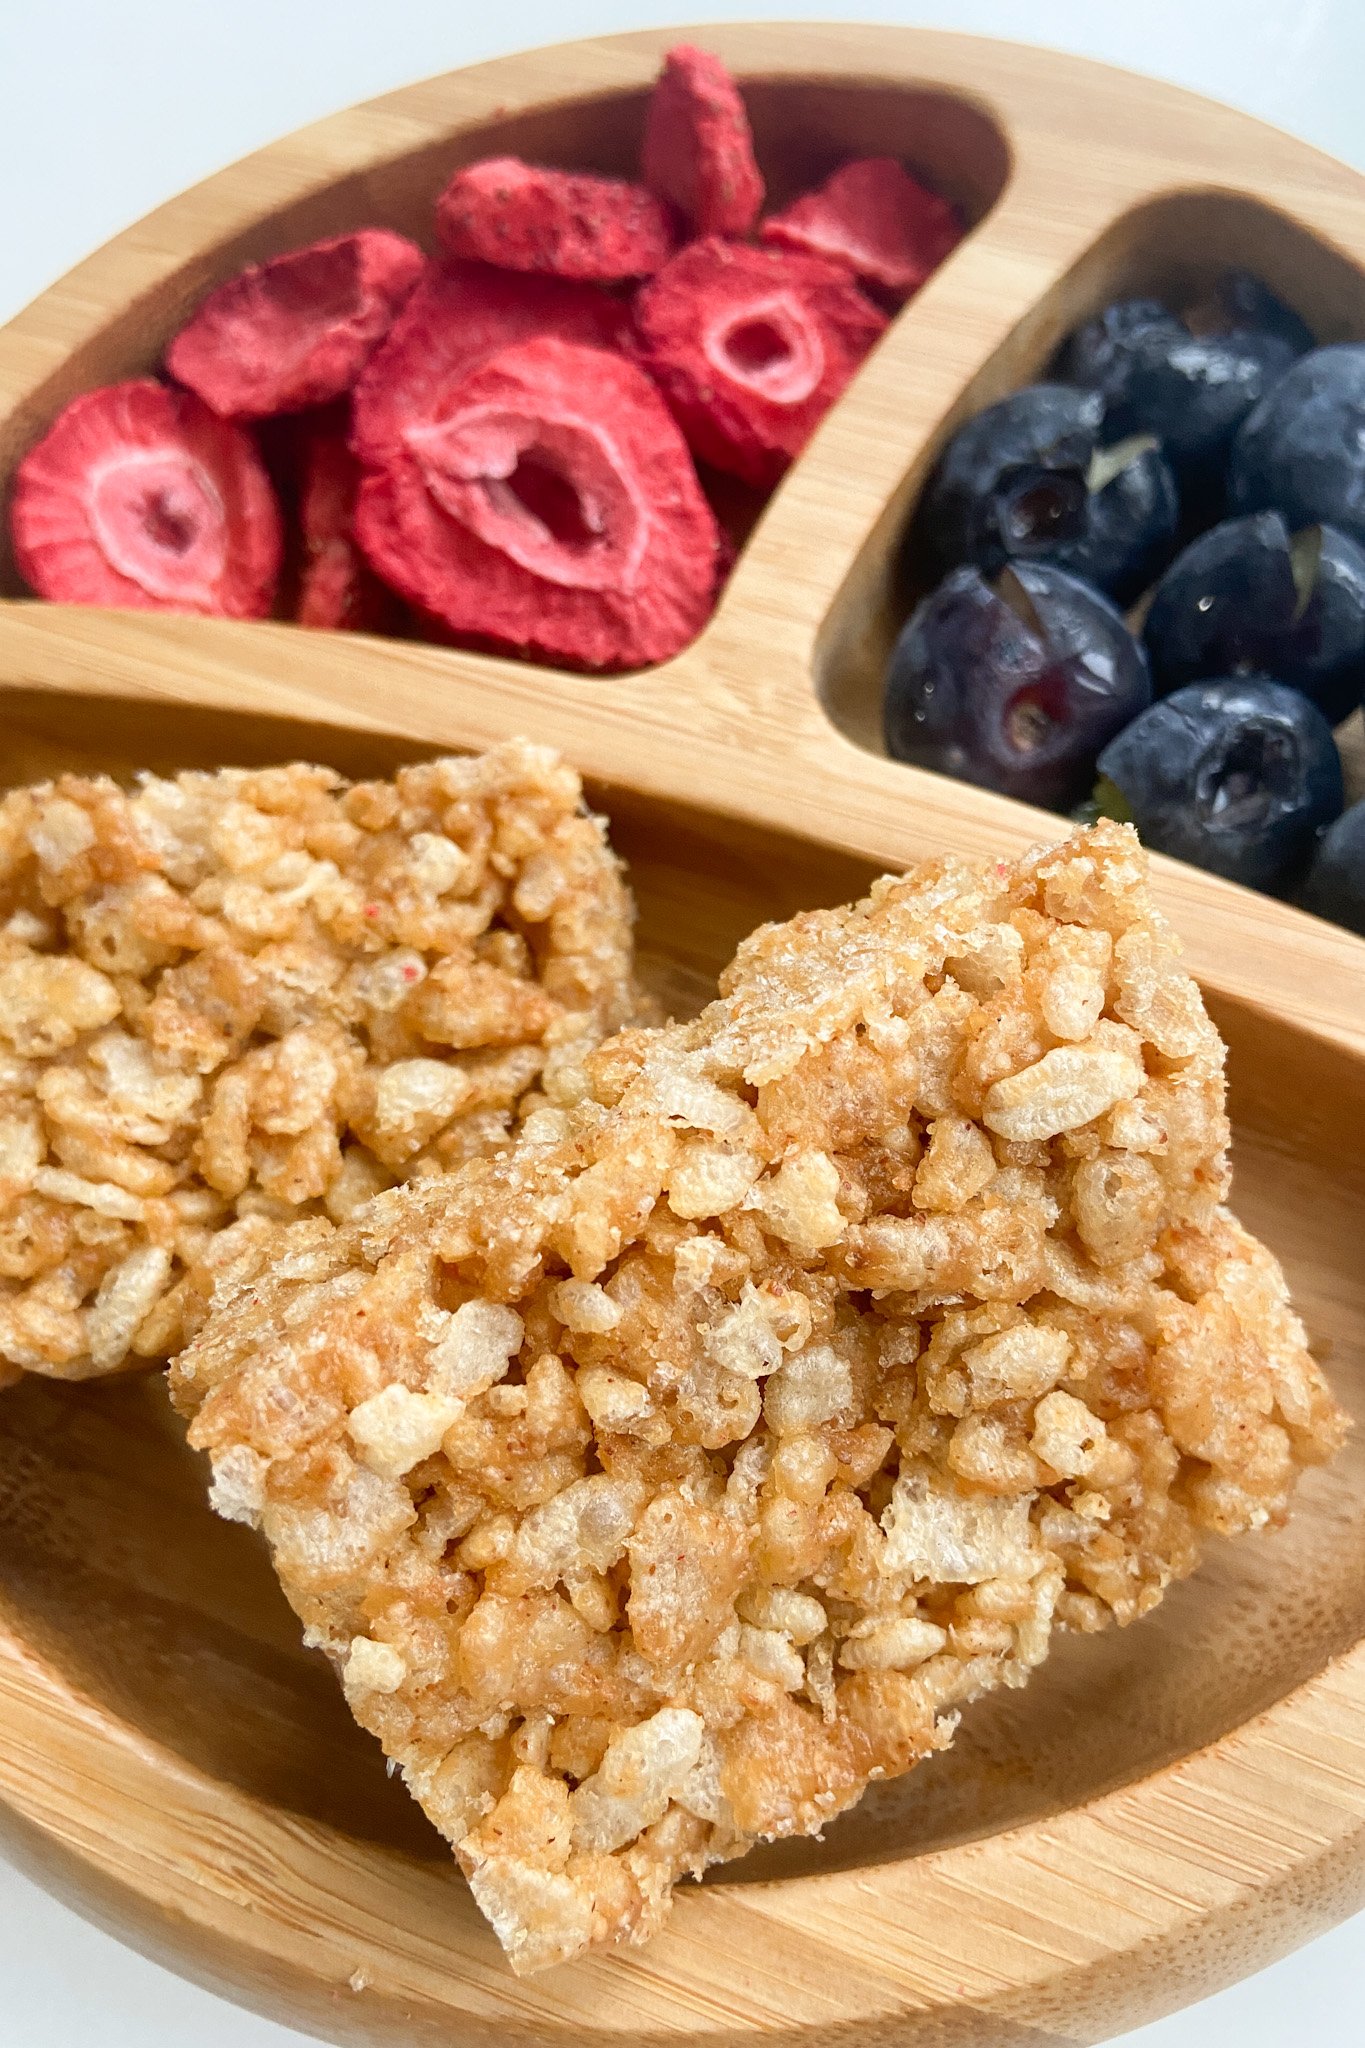
These peanut butter rice crispy treats are so simple to make and don’t contain any marshmallows. They come together in only a few minutes and are the perfect sweet treat!
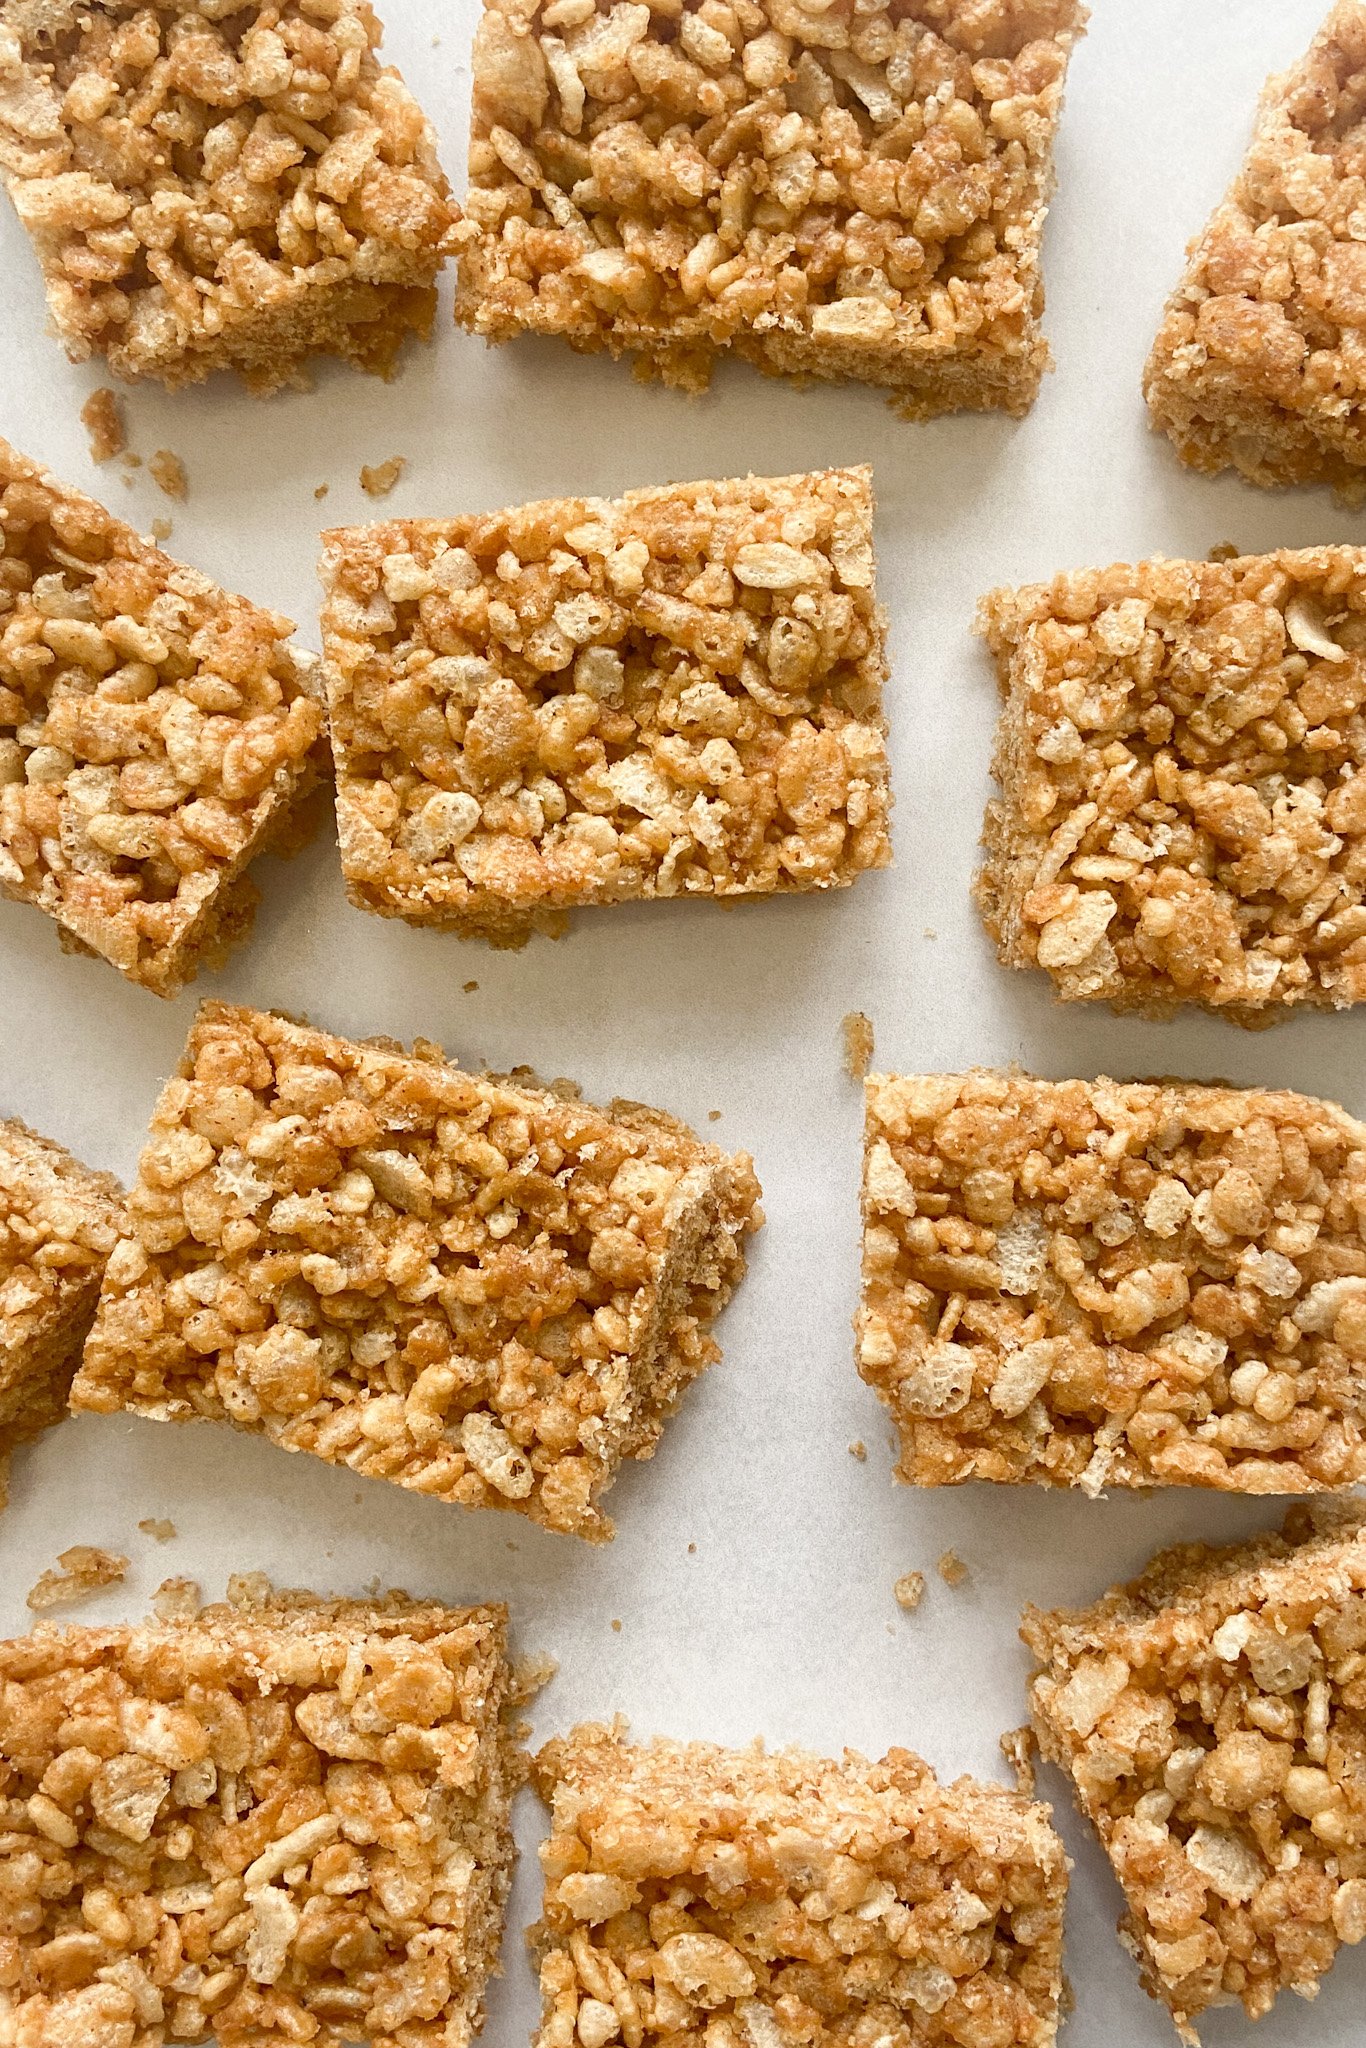
I used to eat rice krispies all the time as a kid (and let’s be honest, as an adult too), but I was never excited about the excessive amount of corn syrup in them. I think they’re fine as a once in a while treat but wanted to see if I could come up with a sweet alternative that I could make for my boys. These peanut butter rice crispy treats are made with only three ingredients and are just as crispy as the standard ones! They are a fun treat to make with your little ones and are a great snack or dessert!
WHAT YOU’LL NEED
Here is what you’ll need to make these peanut butter rice crispy treats:
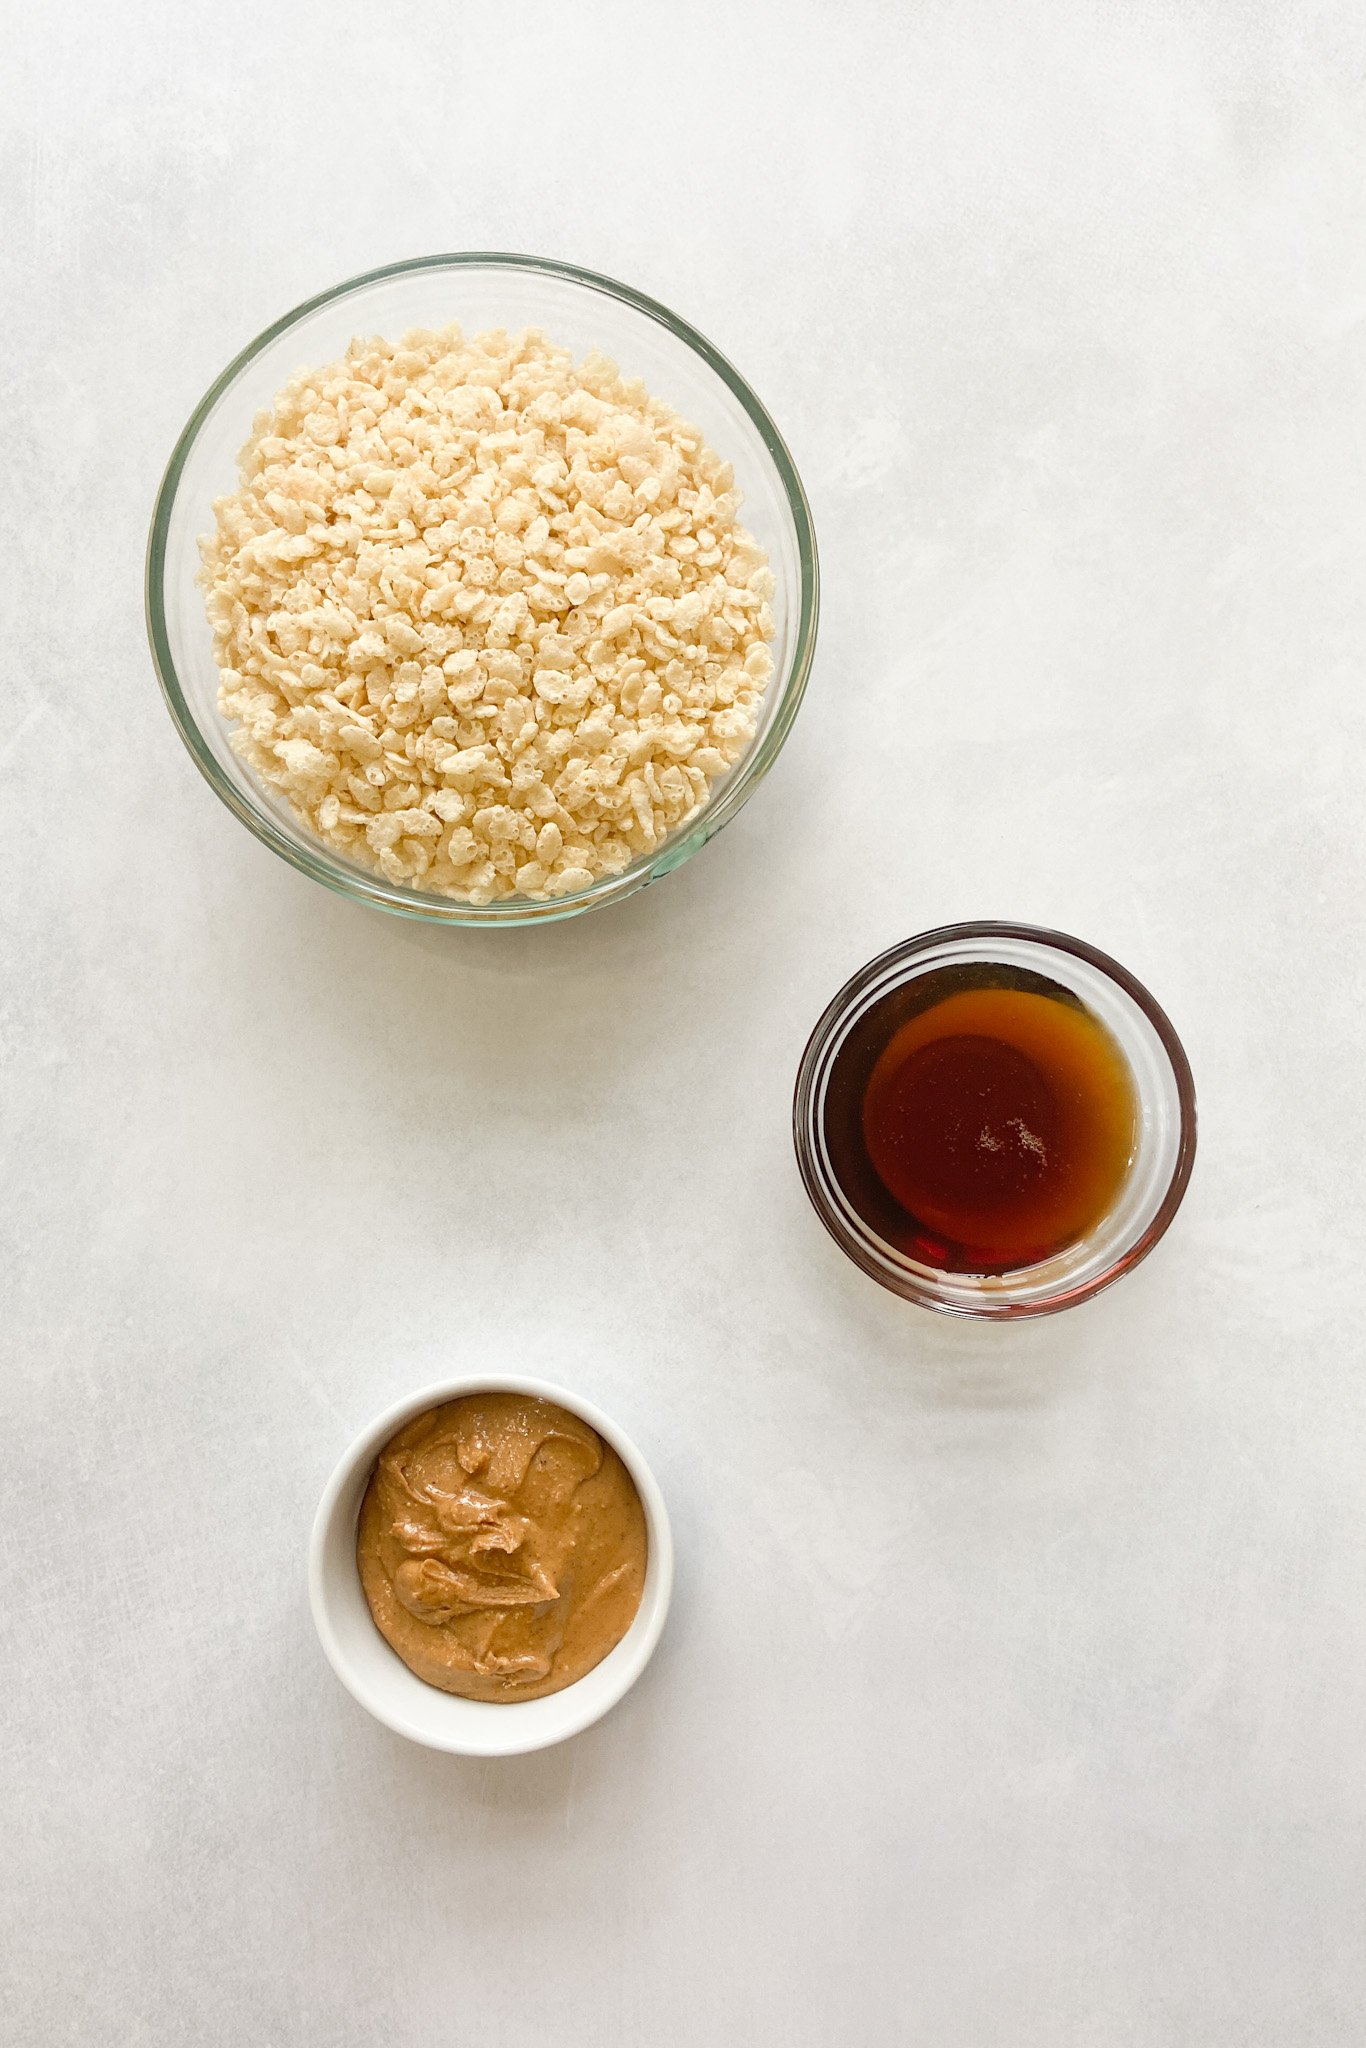
- Peanut Butter: The main ingredient that helps bind and hold these rice crispies together.
- Maple Syrup: The main source of sweetness for these treats.
- Rice Crispy Cereal: You may use normal or gluten free brown rice cereal.
PROCESS
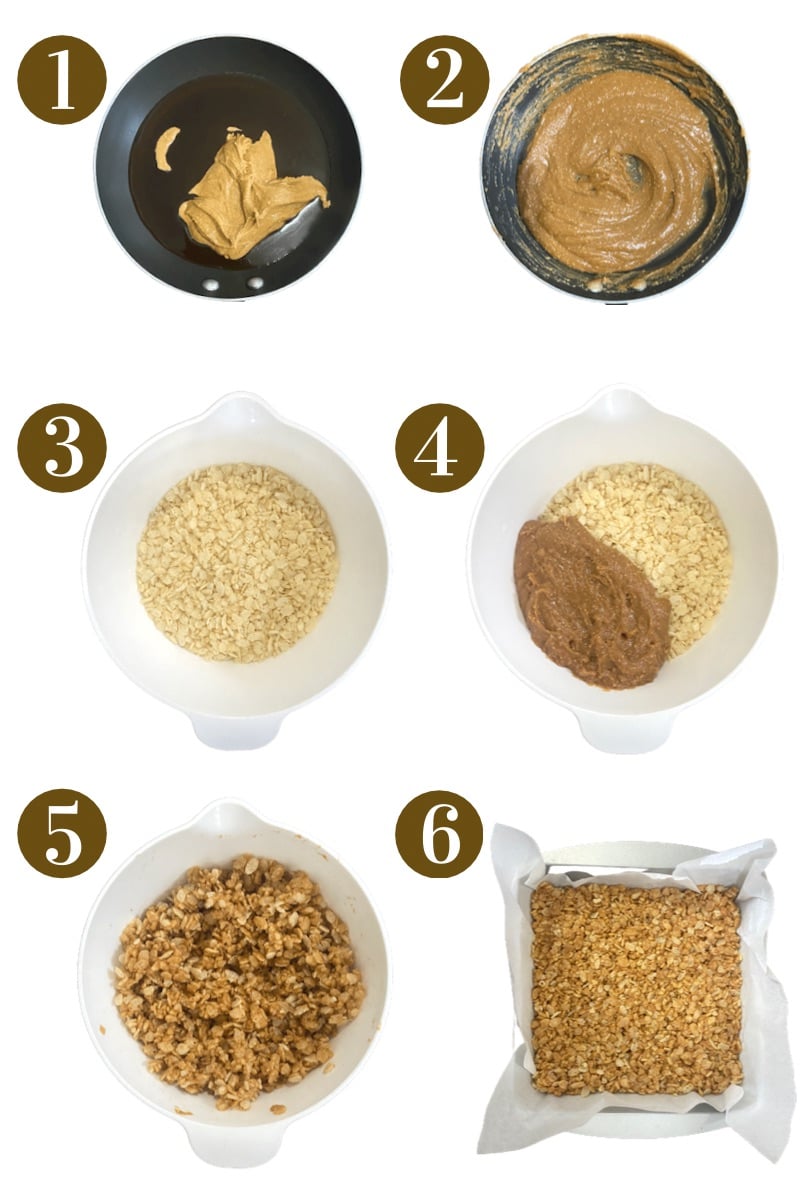
- Add the rice crispy cereal to a bowl.
- Add the maple syrup and peanut butter to a small pan on low heat. Stir together until they are combined and remove it from the heat.
- Pour the peanut butter mixture on top of the rice crispy cereal and mix well until it is fully combined and all of the cereal pieces are well coated.
- Line an 8 by 8 or 9 by 5 pan with parchment paper and add the cereal mixture to the pan. Use a spoon to press the cereal mixture firmly into the pan until it is well packed.
- Refrigerate for about an hour, or until firm. Once firm, slice into bars to serve.
STORAGE INSTRUCTIONS
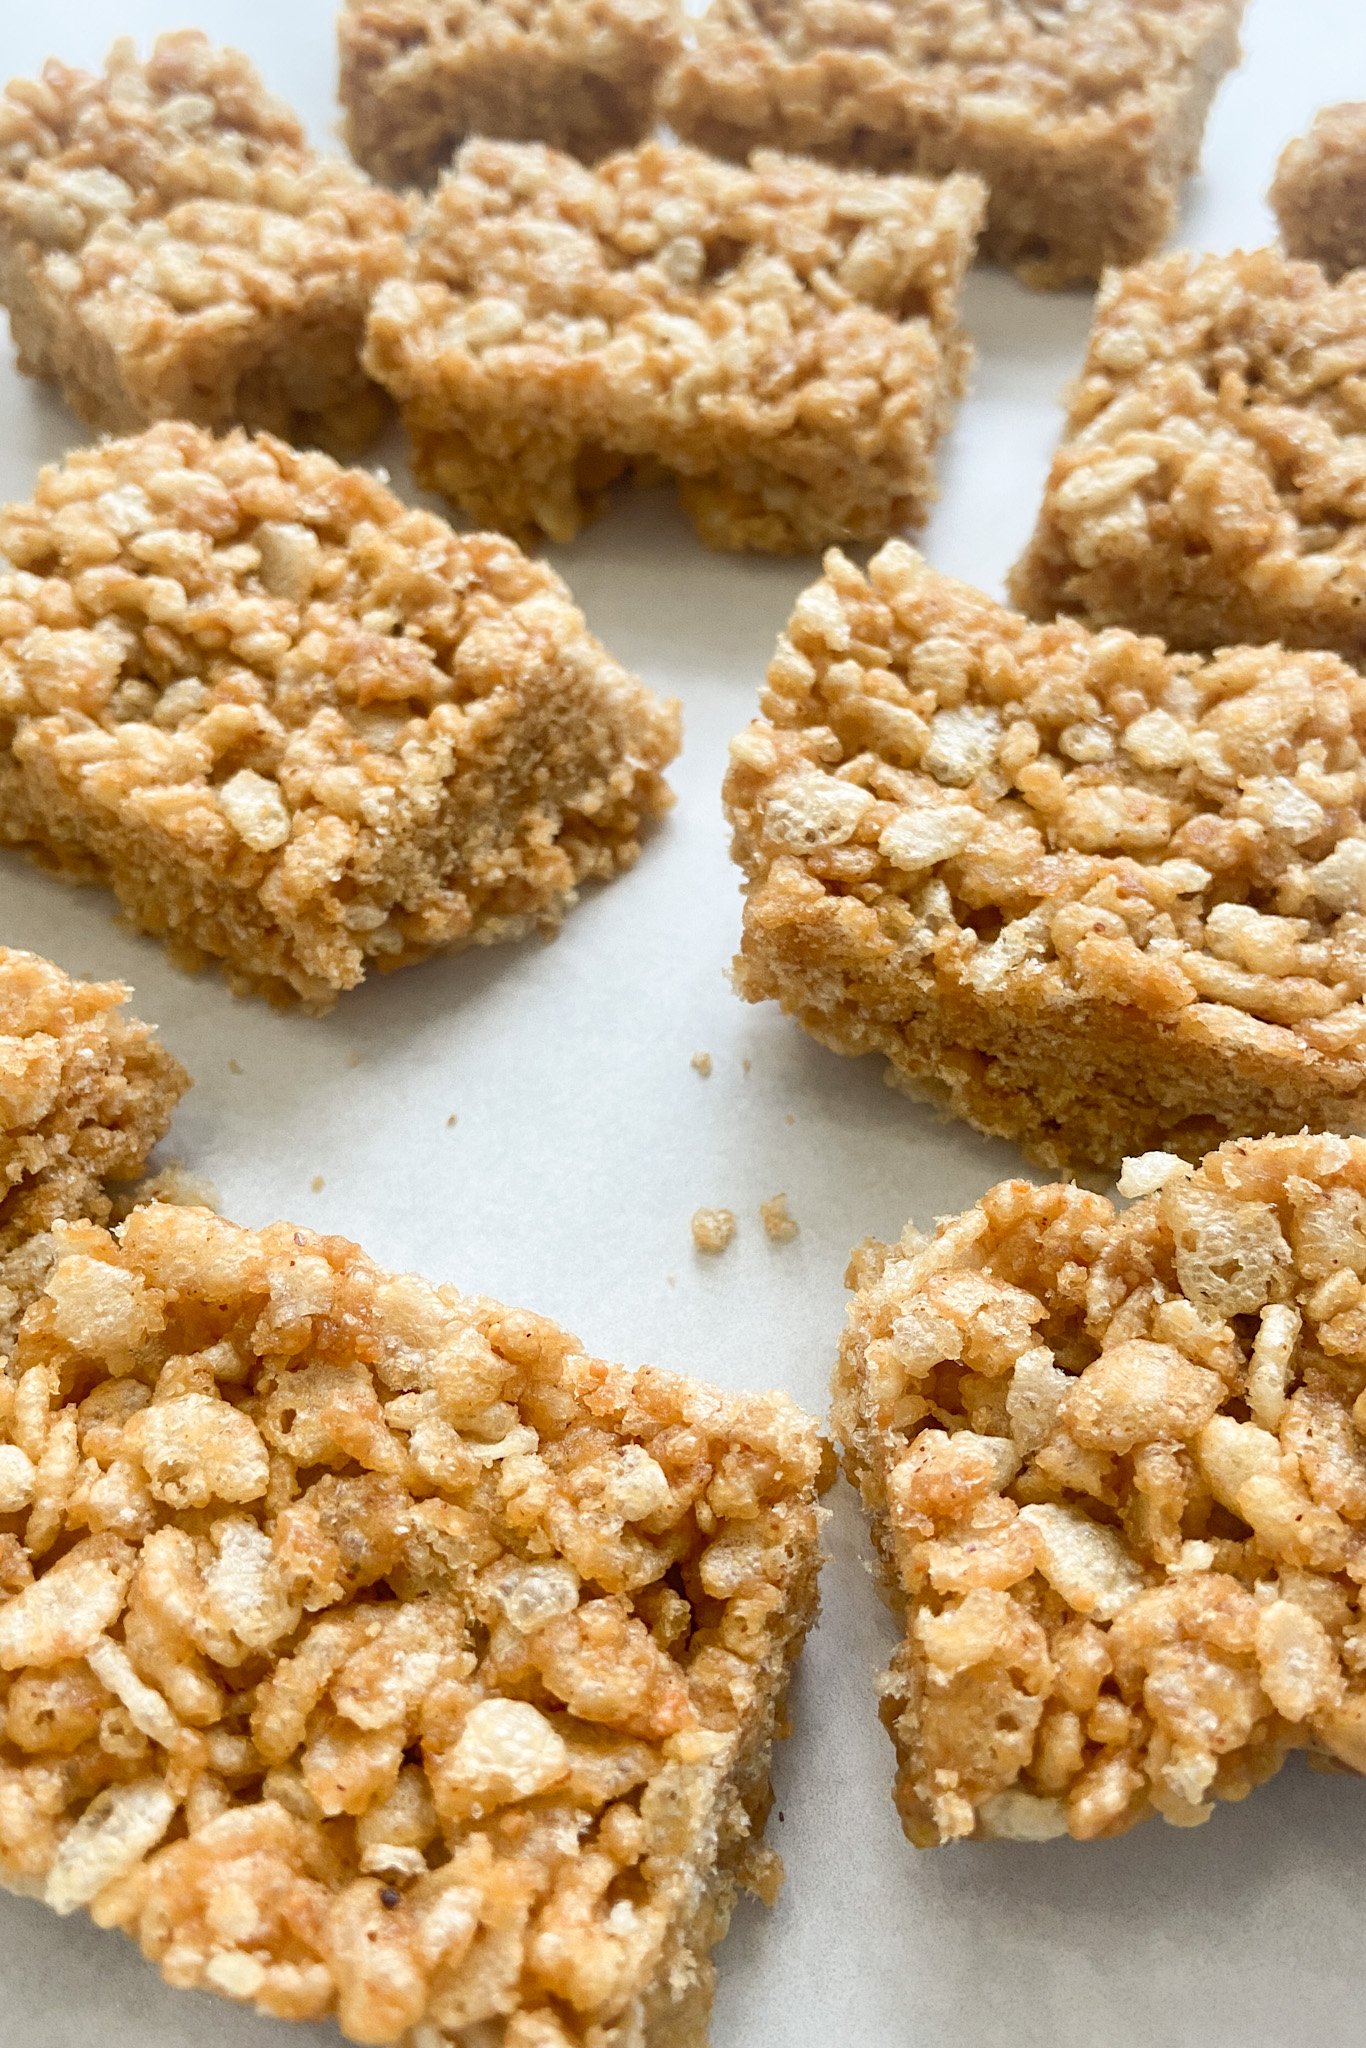
Once cooled, store the rice crispy treats in an airtight container in the refrigerator for up to 5 days. These treats may also be frozen in an airtight container for up to 2 months.
SUBSTITUTIONS
- Peanut Butter: The peanut butter may be replaced with another type of natural butter like almond butter. It may also be replaced with a seed-based butter like sunflower seed butter.
- Maple Syrup: The maple syrup may be replaced with equal parts honey. Just be sure that if using honey, you are only serving this to little ones over the age of 1.
- Rice Crispy Cereal: You may replace the rice crispy cereal with equal parts of another cereal type!
RECIPE NOTES
- I used natural peanut butter for this recipe which only contains peanuts and salt.
- I used 3 tablespoons of maple syrup for these treats, but you can use a little less if you prefer them to be less sweet.
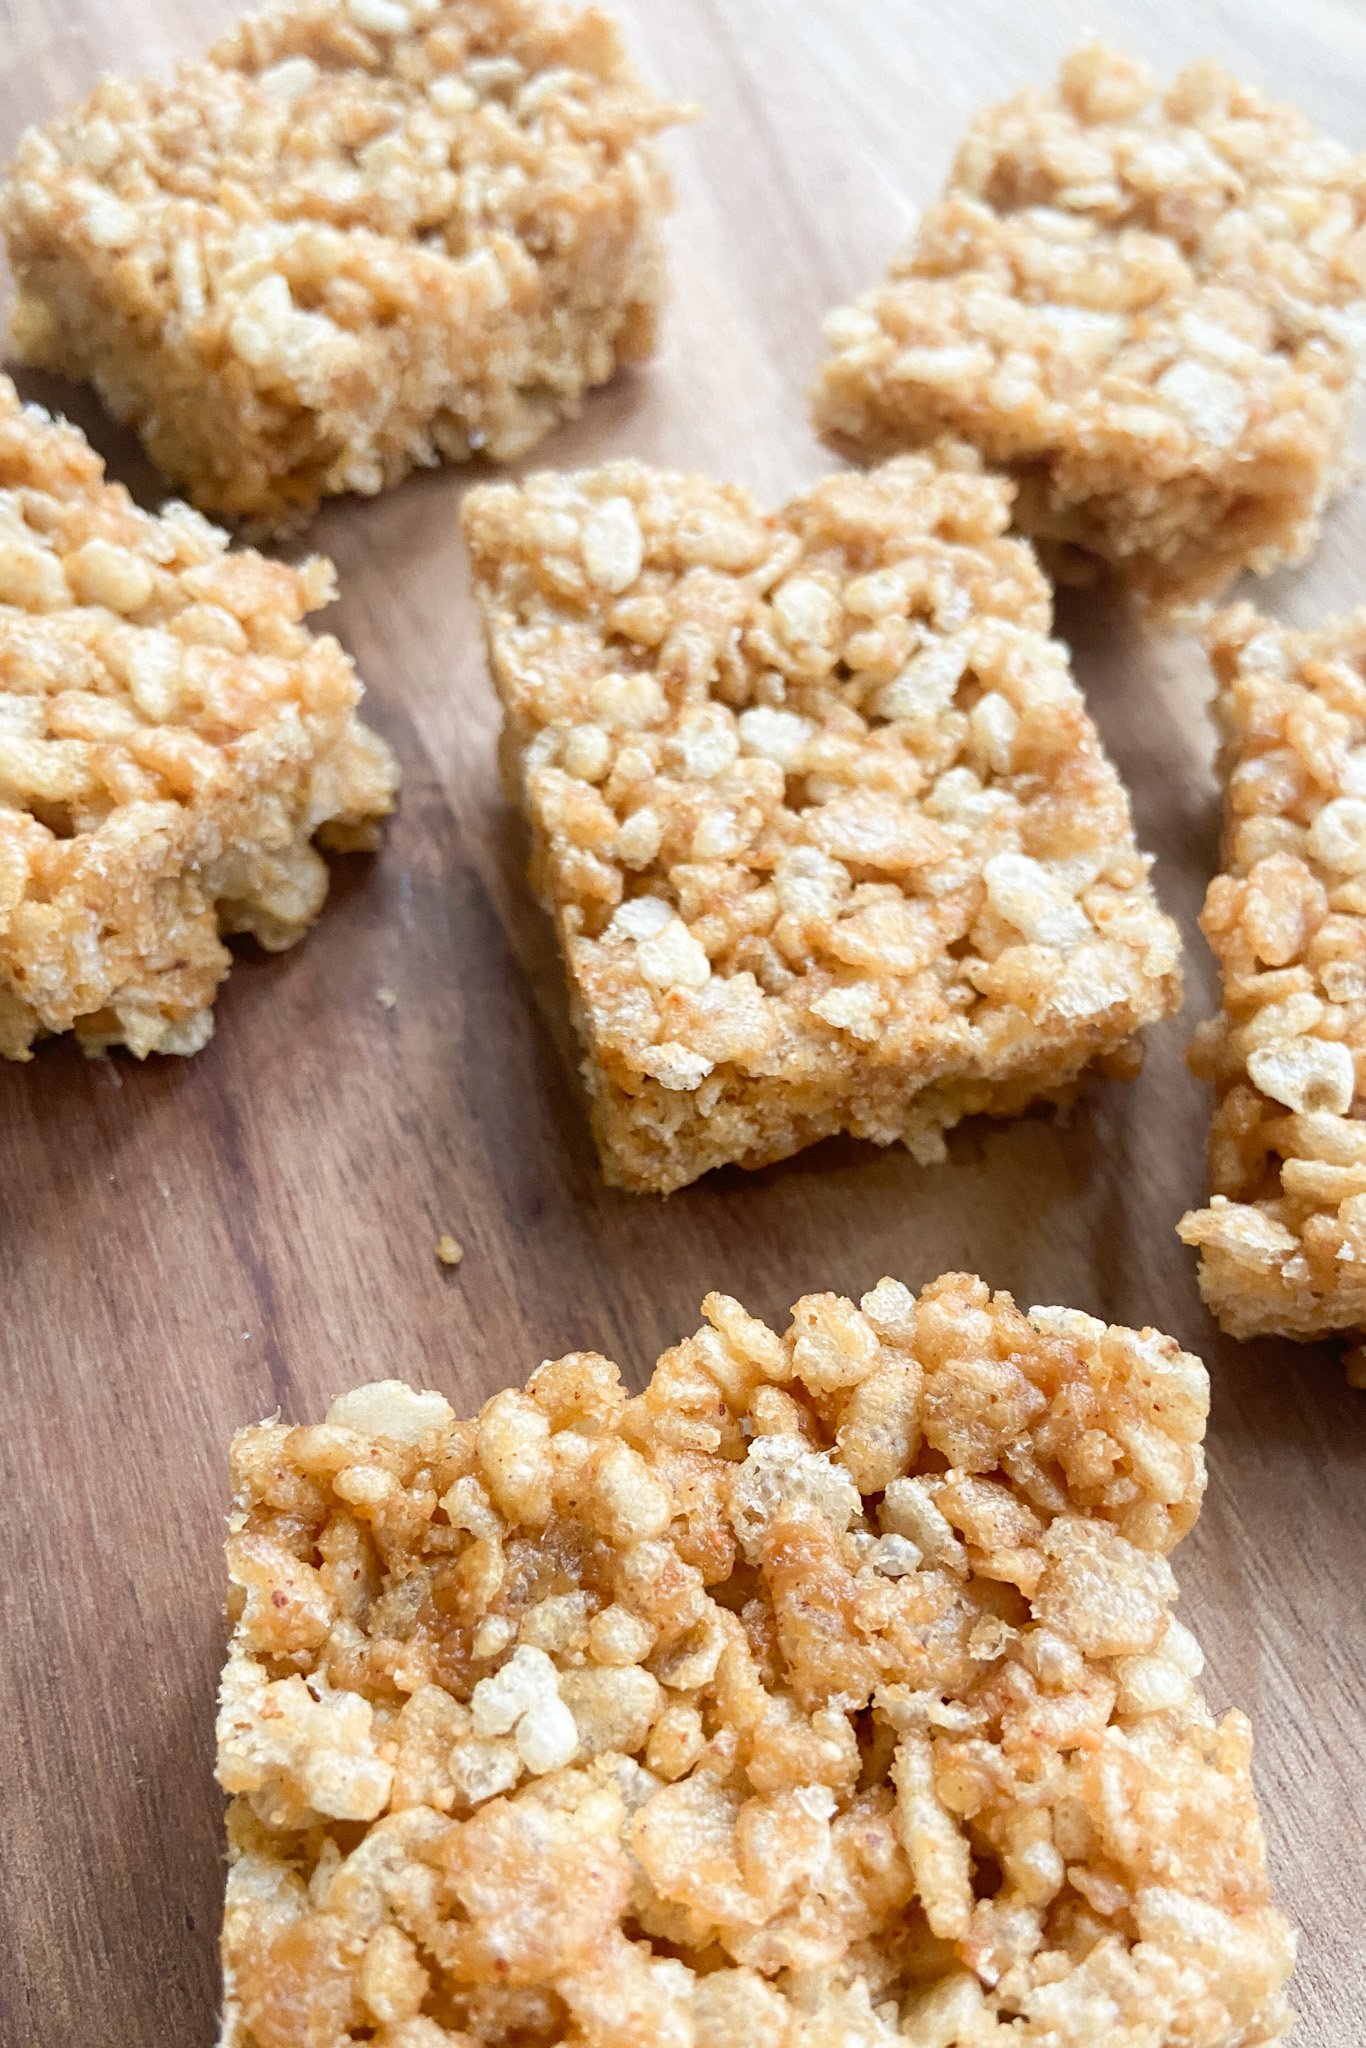
- In the photos above, I used an 8 by 8 pan, but I prefer to make them in a 9 by 5 loaf pan for slightly thicker pieces.
- I usually refrigerate the bars for about 1 hour for them to harden, but if you have a super impatient mini baking assistant like I do, you can flash-freeze them for a few minutes 😉
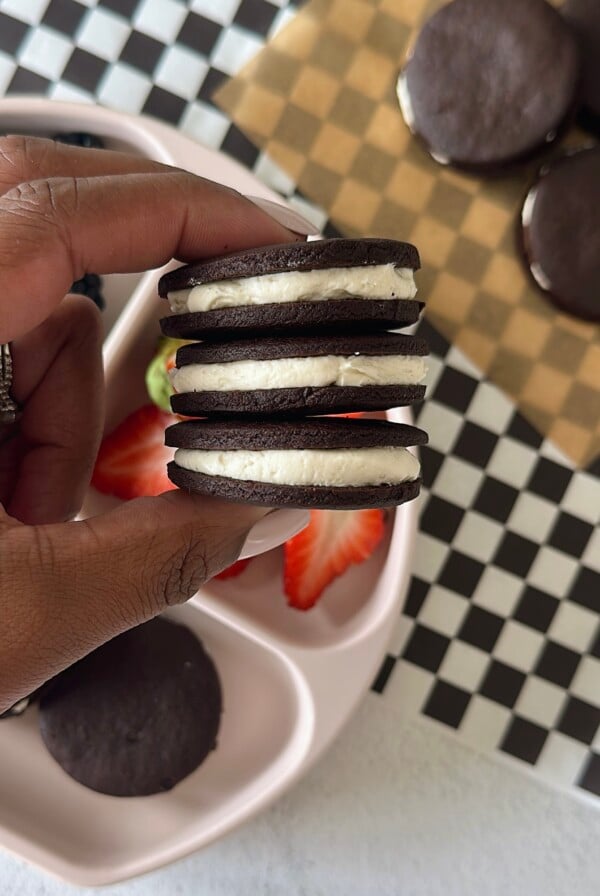
Here are some other sweet treats you may like:
Peanut Butter Rice Crispy Treats
Ingredients
- 2 cups rice crispy cereal
- ½ cup natural peanut butter
- ¼ cup maple syrup
Instructions
- Add the rice crispy cereal to a bowl.
- Add the maple syrup and peanut butter to a small pan on low heat. Stir together until they are combined and remove it from the heat.
- Pour the peanut butter mixture on top of the rice crispy cereal and mix well until it is fully combined and all of the cereal pieces are well coated.
- Line an 8 by 8 or 9 by 5 pan with parchment paper and add the cereal mixture to the pan. Use a spoon to press the cereal mixture firmly into the pan until it is well packed. Make sure to press down so that it will hold as bars.
- Refrigerate for about an hour, or until firm. Once firm, slice into bars to serve.
Notes
- I used natural peanut butter for this recipe which only contains peanuts and salt. The smuckers brand and trader joes brand peanut butter are my personal favorites.
- I used 3 tablespoons of maple syrup for these treats, but you can use a little less if you prefer them to be less sweet.
- In the photos above, I used an 8 by 8 pan, but I prefer to make them in a 9 by 5 loaf pan for slightly thicker pieces.
- I usually refrigerate the bars for about 1 hour for them to harden, but if you have a super impatient mini baking assistant like I do, you can flash freeze them for a few minutes 😉




So easy and so tasty! 😍