
Pancake Puffs

on Sep 17, 2026, Updated Oct 07, 2026
This post may contain affiliate links. Please read our disclosure policy.
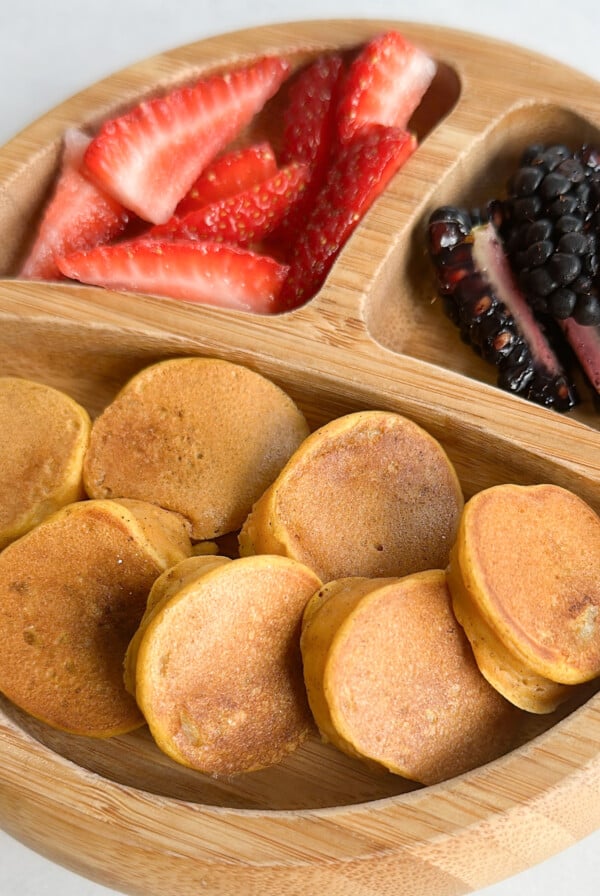
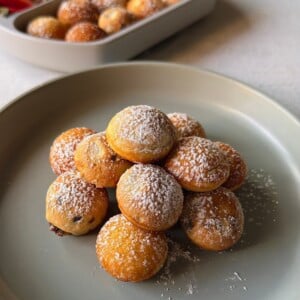
These pancake puffs are a fun bite-sized twist on classic pancakes! They’re soft and fluffy on the inside, lightly golden on the outside, and naturally sweetened with maple syrup. This simple pancake puffs recipe is perfect for breakfast, snacking, and lunchboxes!
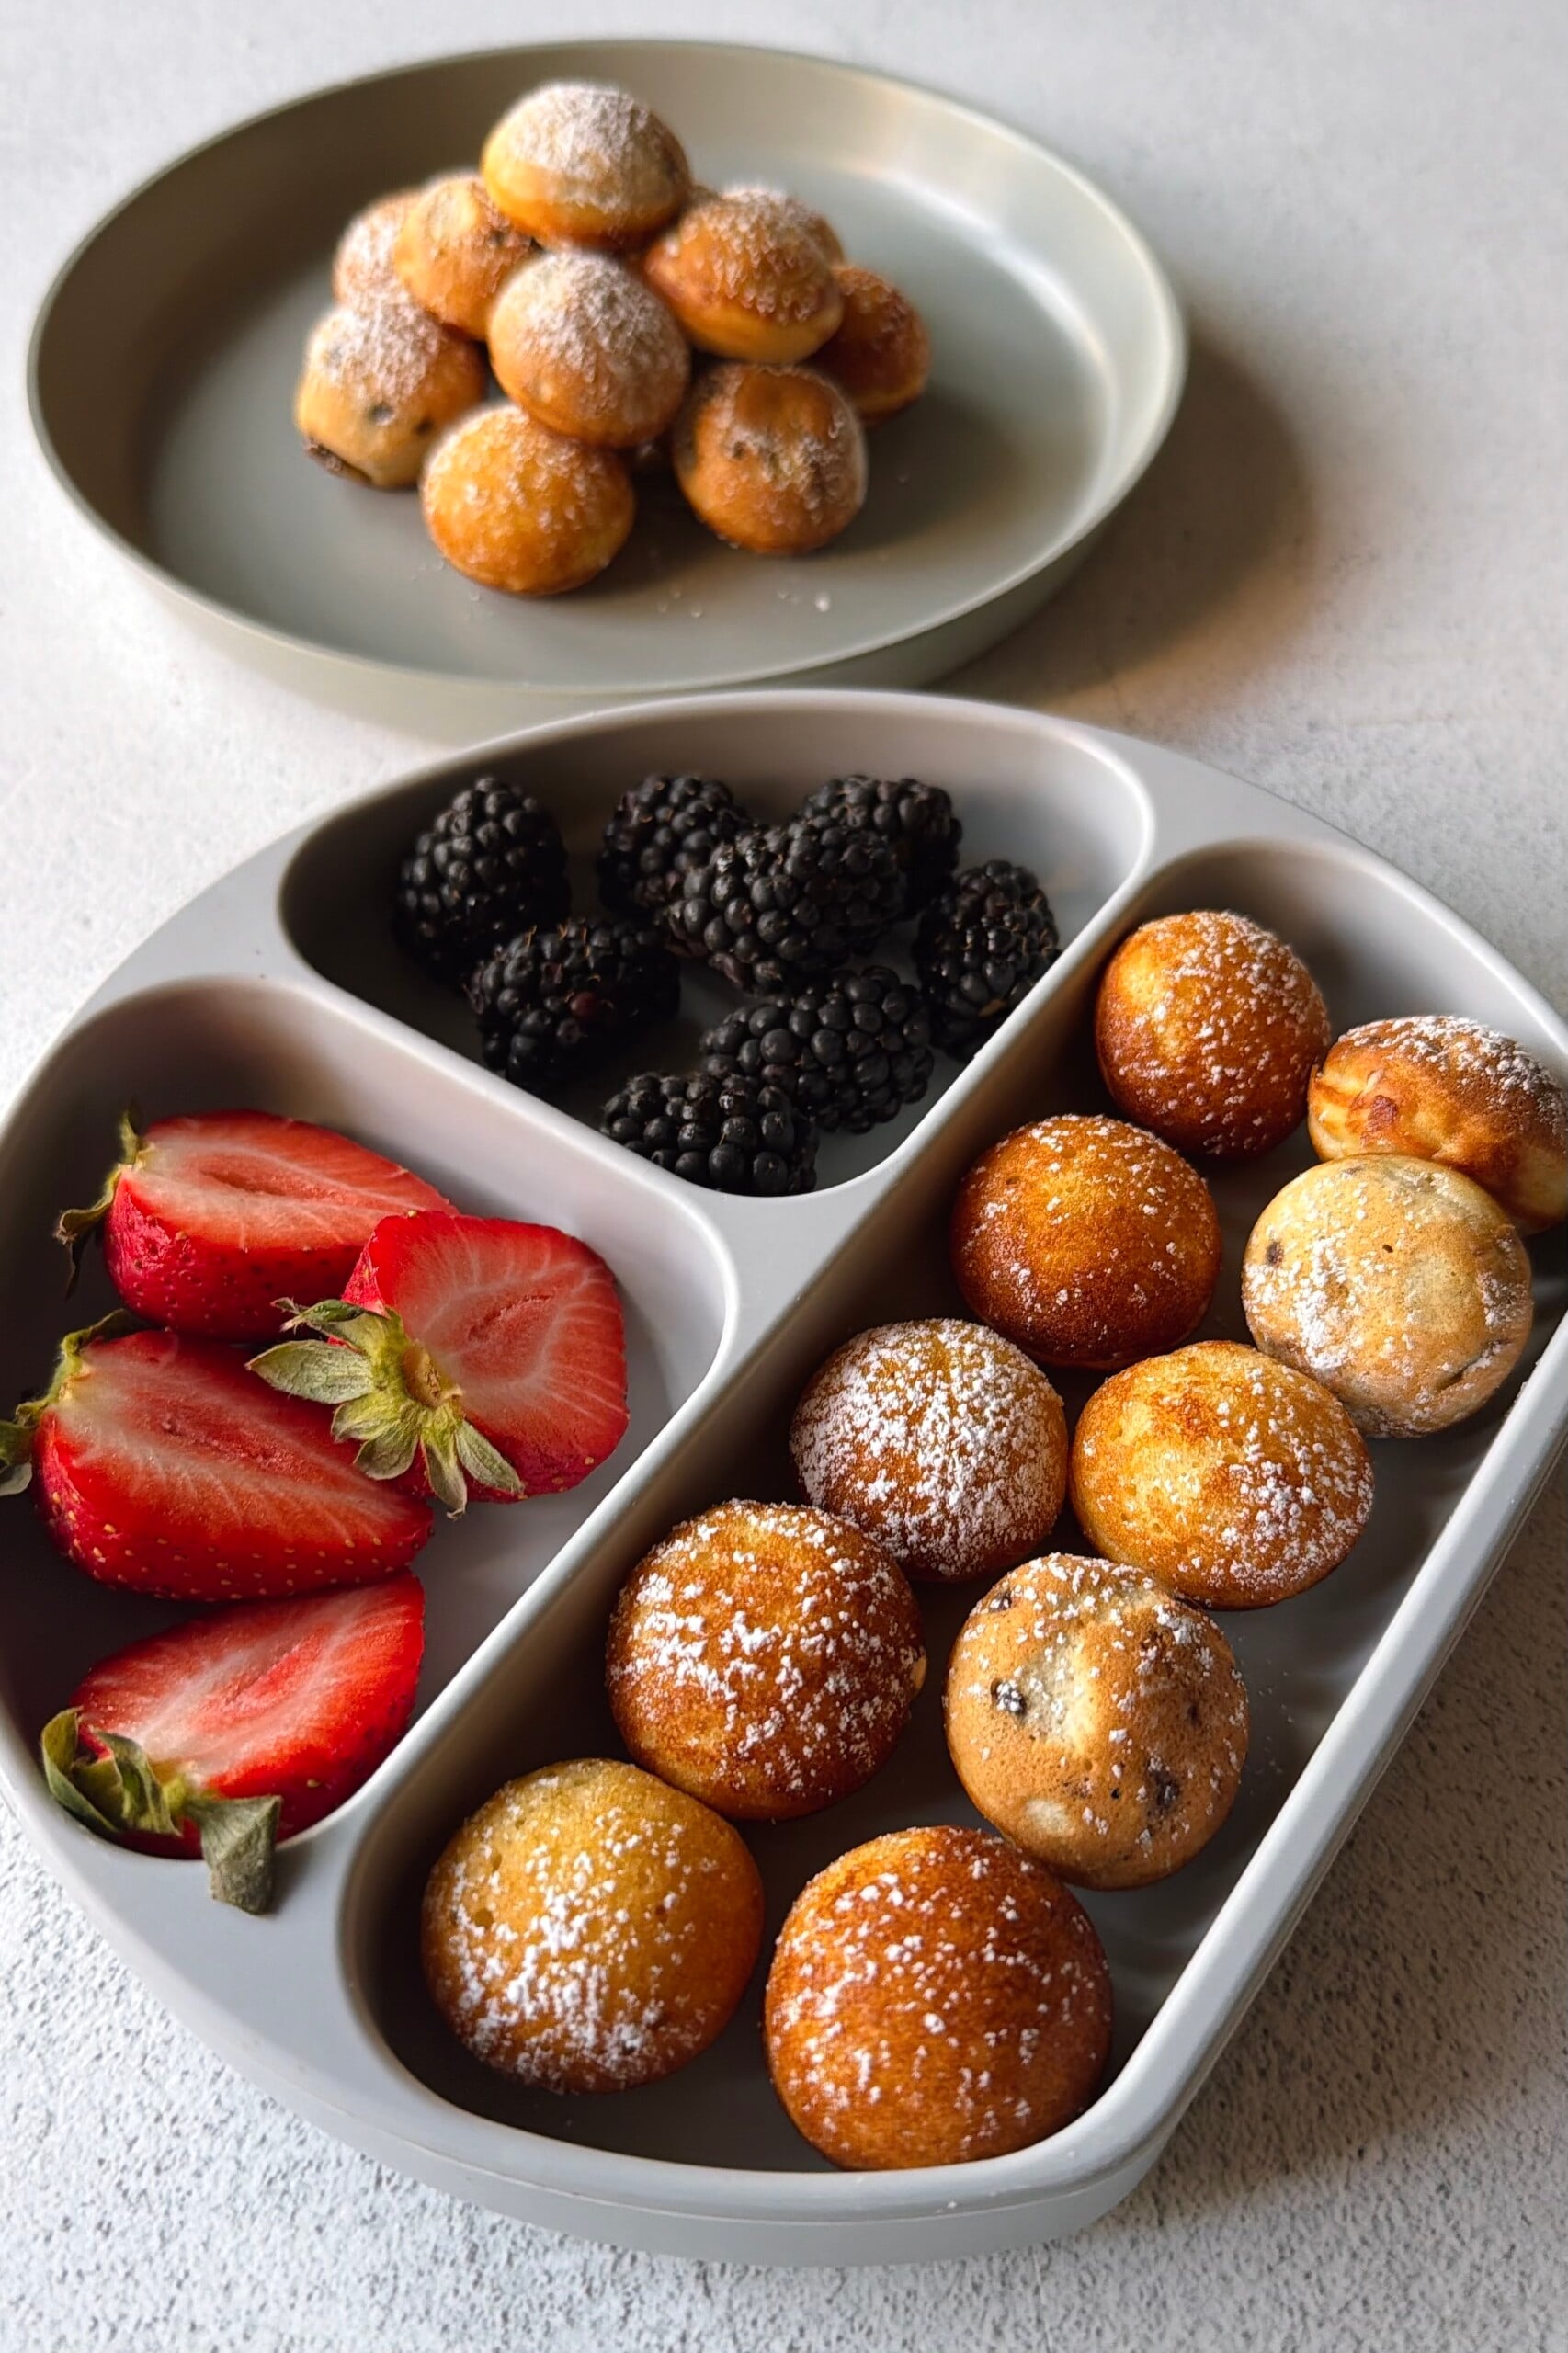
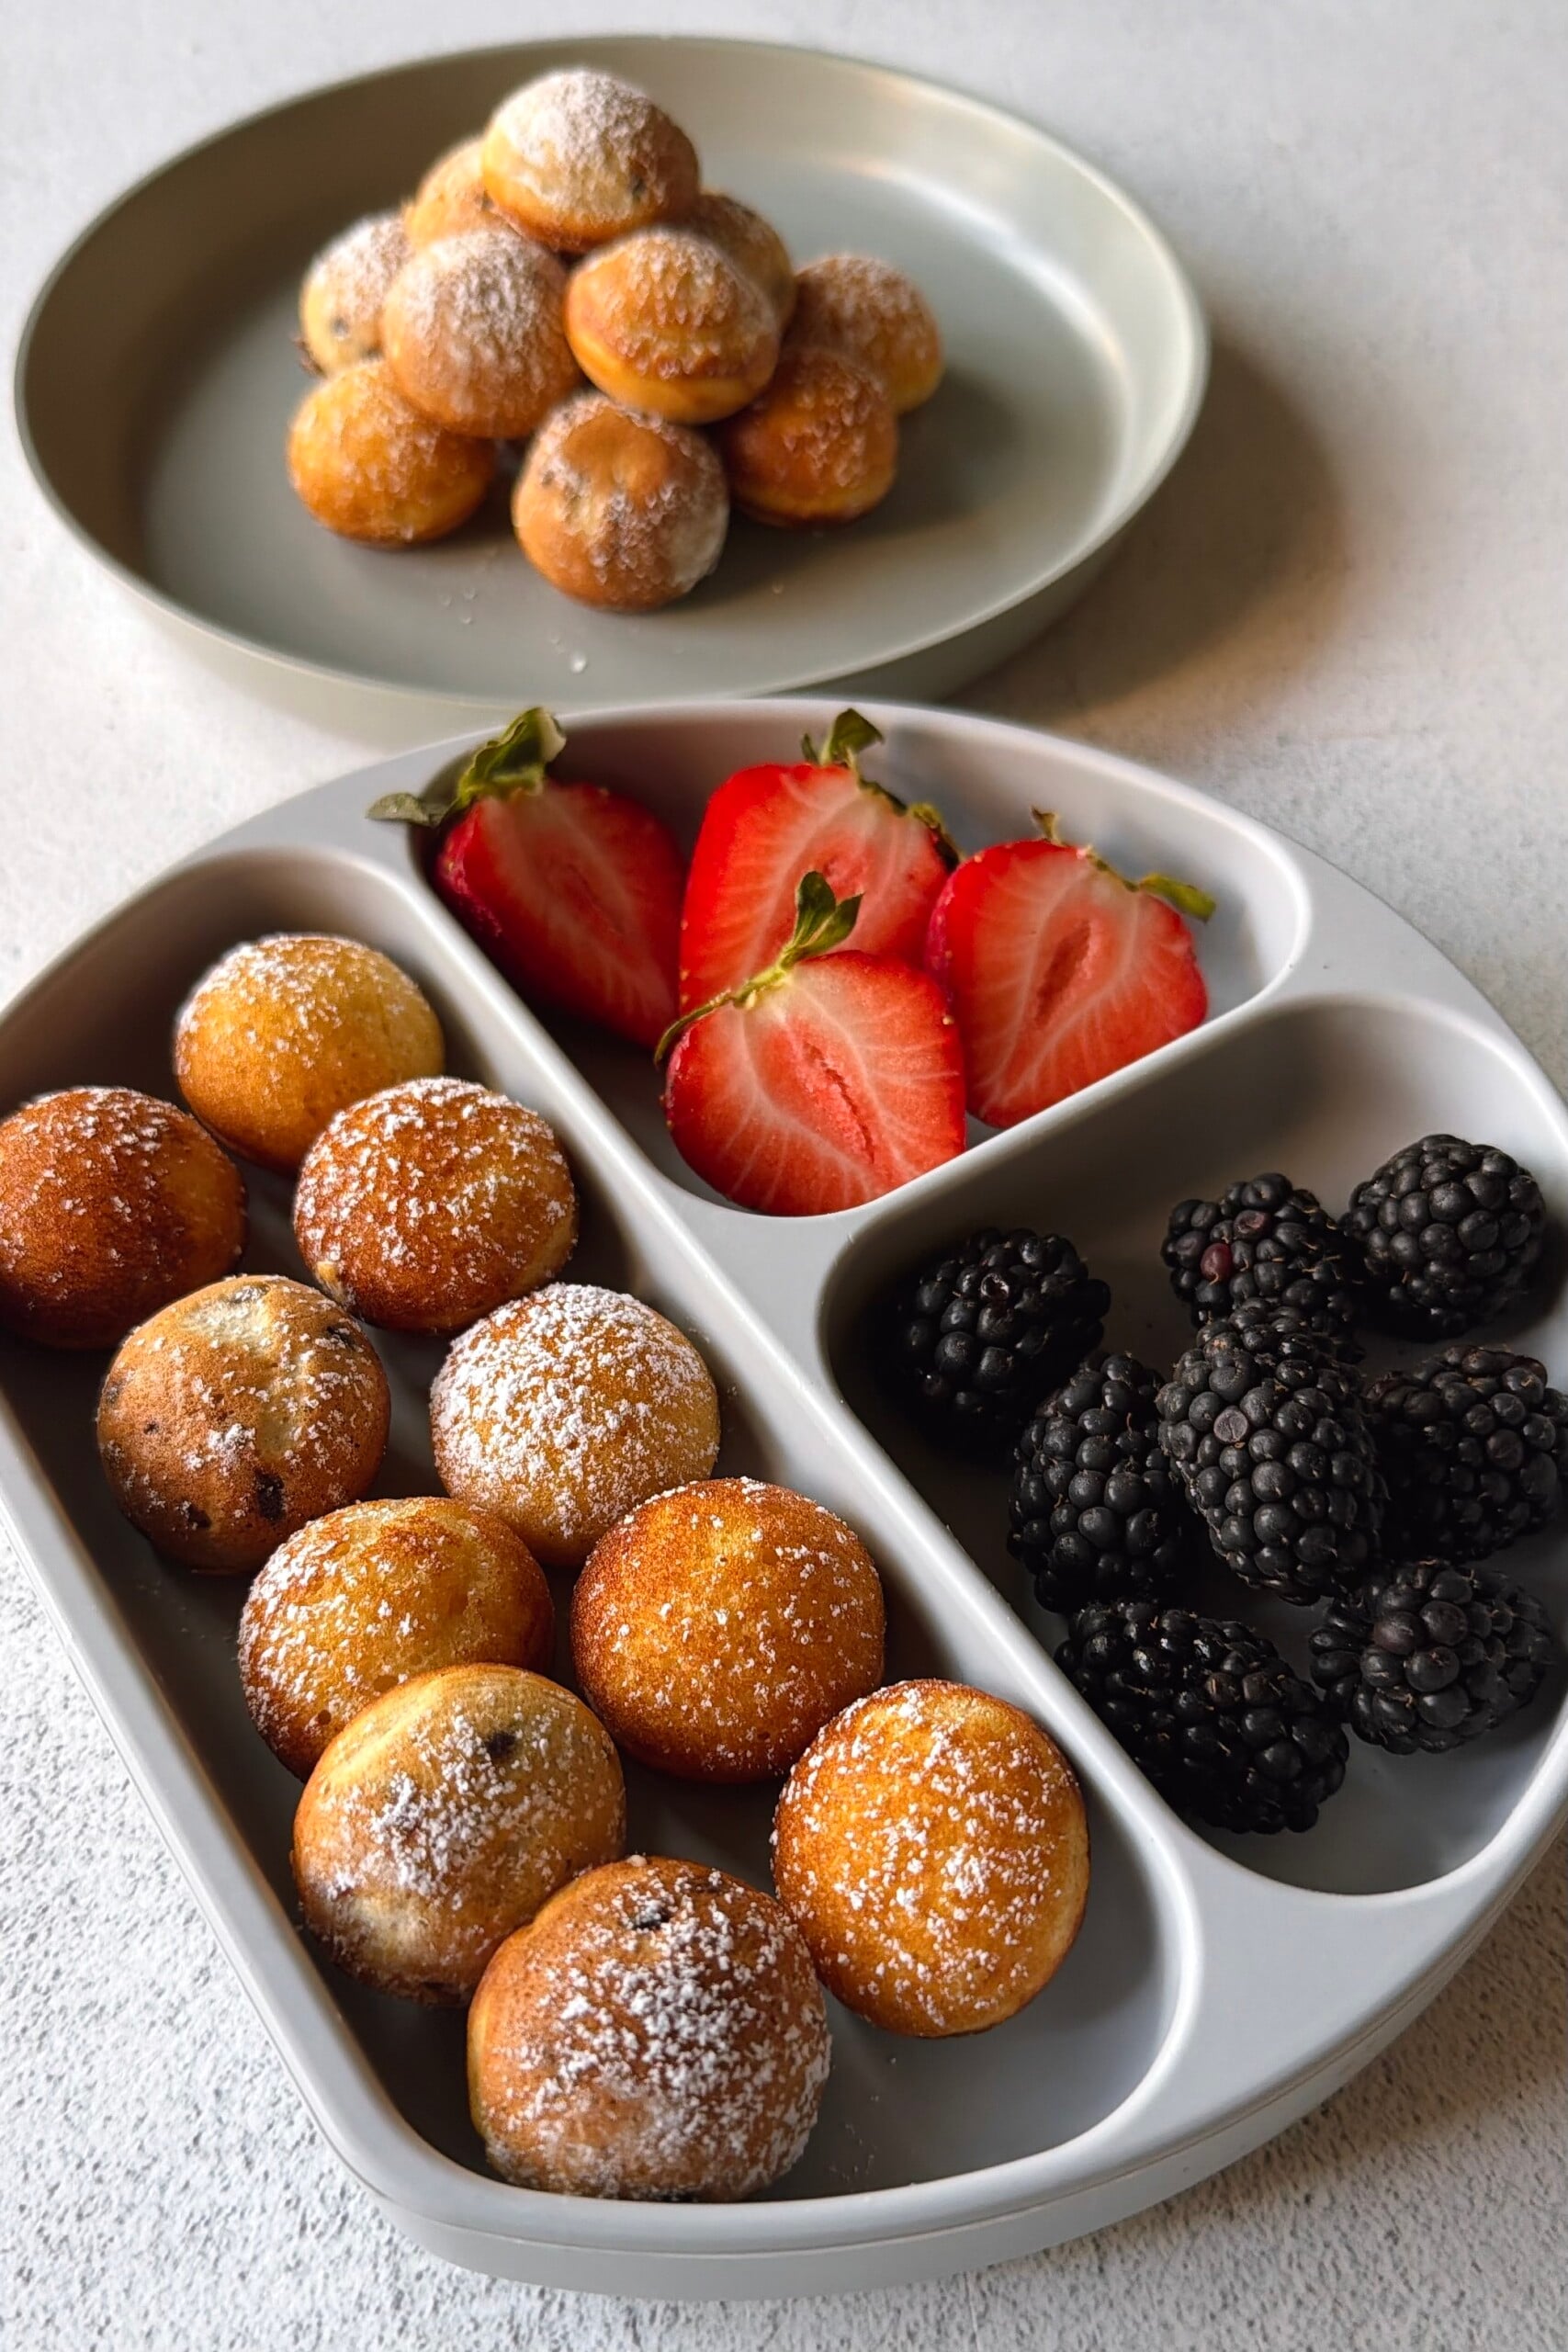
If your kids love those little pancake bites from the grocery store, you’ll love how easy these are to make at home. They’re made with a simple pancake batter and cooked in a pan with deep wells to give them that thick, puffy shape. I love making these for breakfast, but they’re also great for an easy snack or packed in a lunchbox. They’re great served plain, but you can also add mini chocolate chips for a fun variation. Pair them with fresh fruit or yogurt, or serve them with a little maple syrup for dipping!
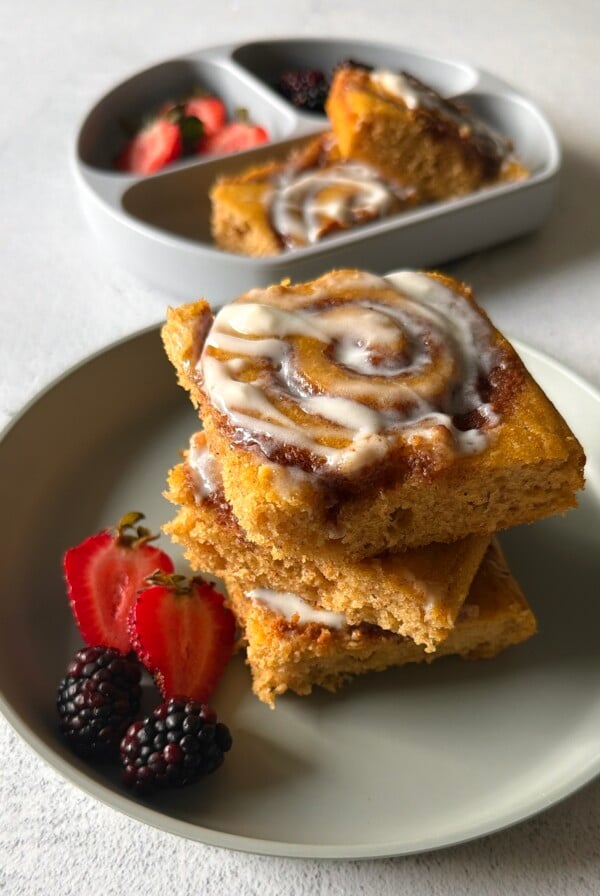
Looking for more fun pancake recipes to switch up your breakfast routine? You’ll love these almond croissant sheet pan pancakes, cinnamon roll sheet pan pancakes, and mini apple pancakes. And if you’re looking for more easy breakfast ideas for the kids, try these Greek yogurt waffles or baked ham and cheese croissants!
Table of Contents
What You’ll Need
Here is what you’ll need to make this pancake puffs recipe:
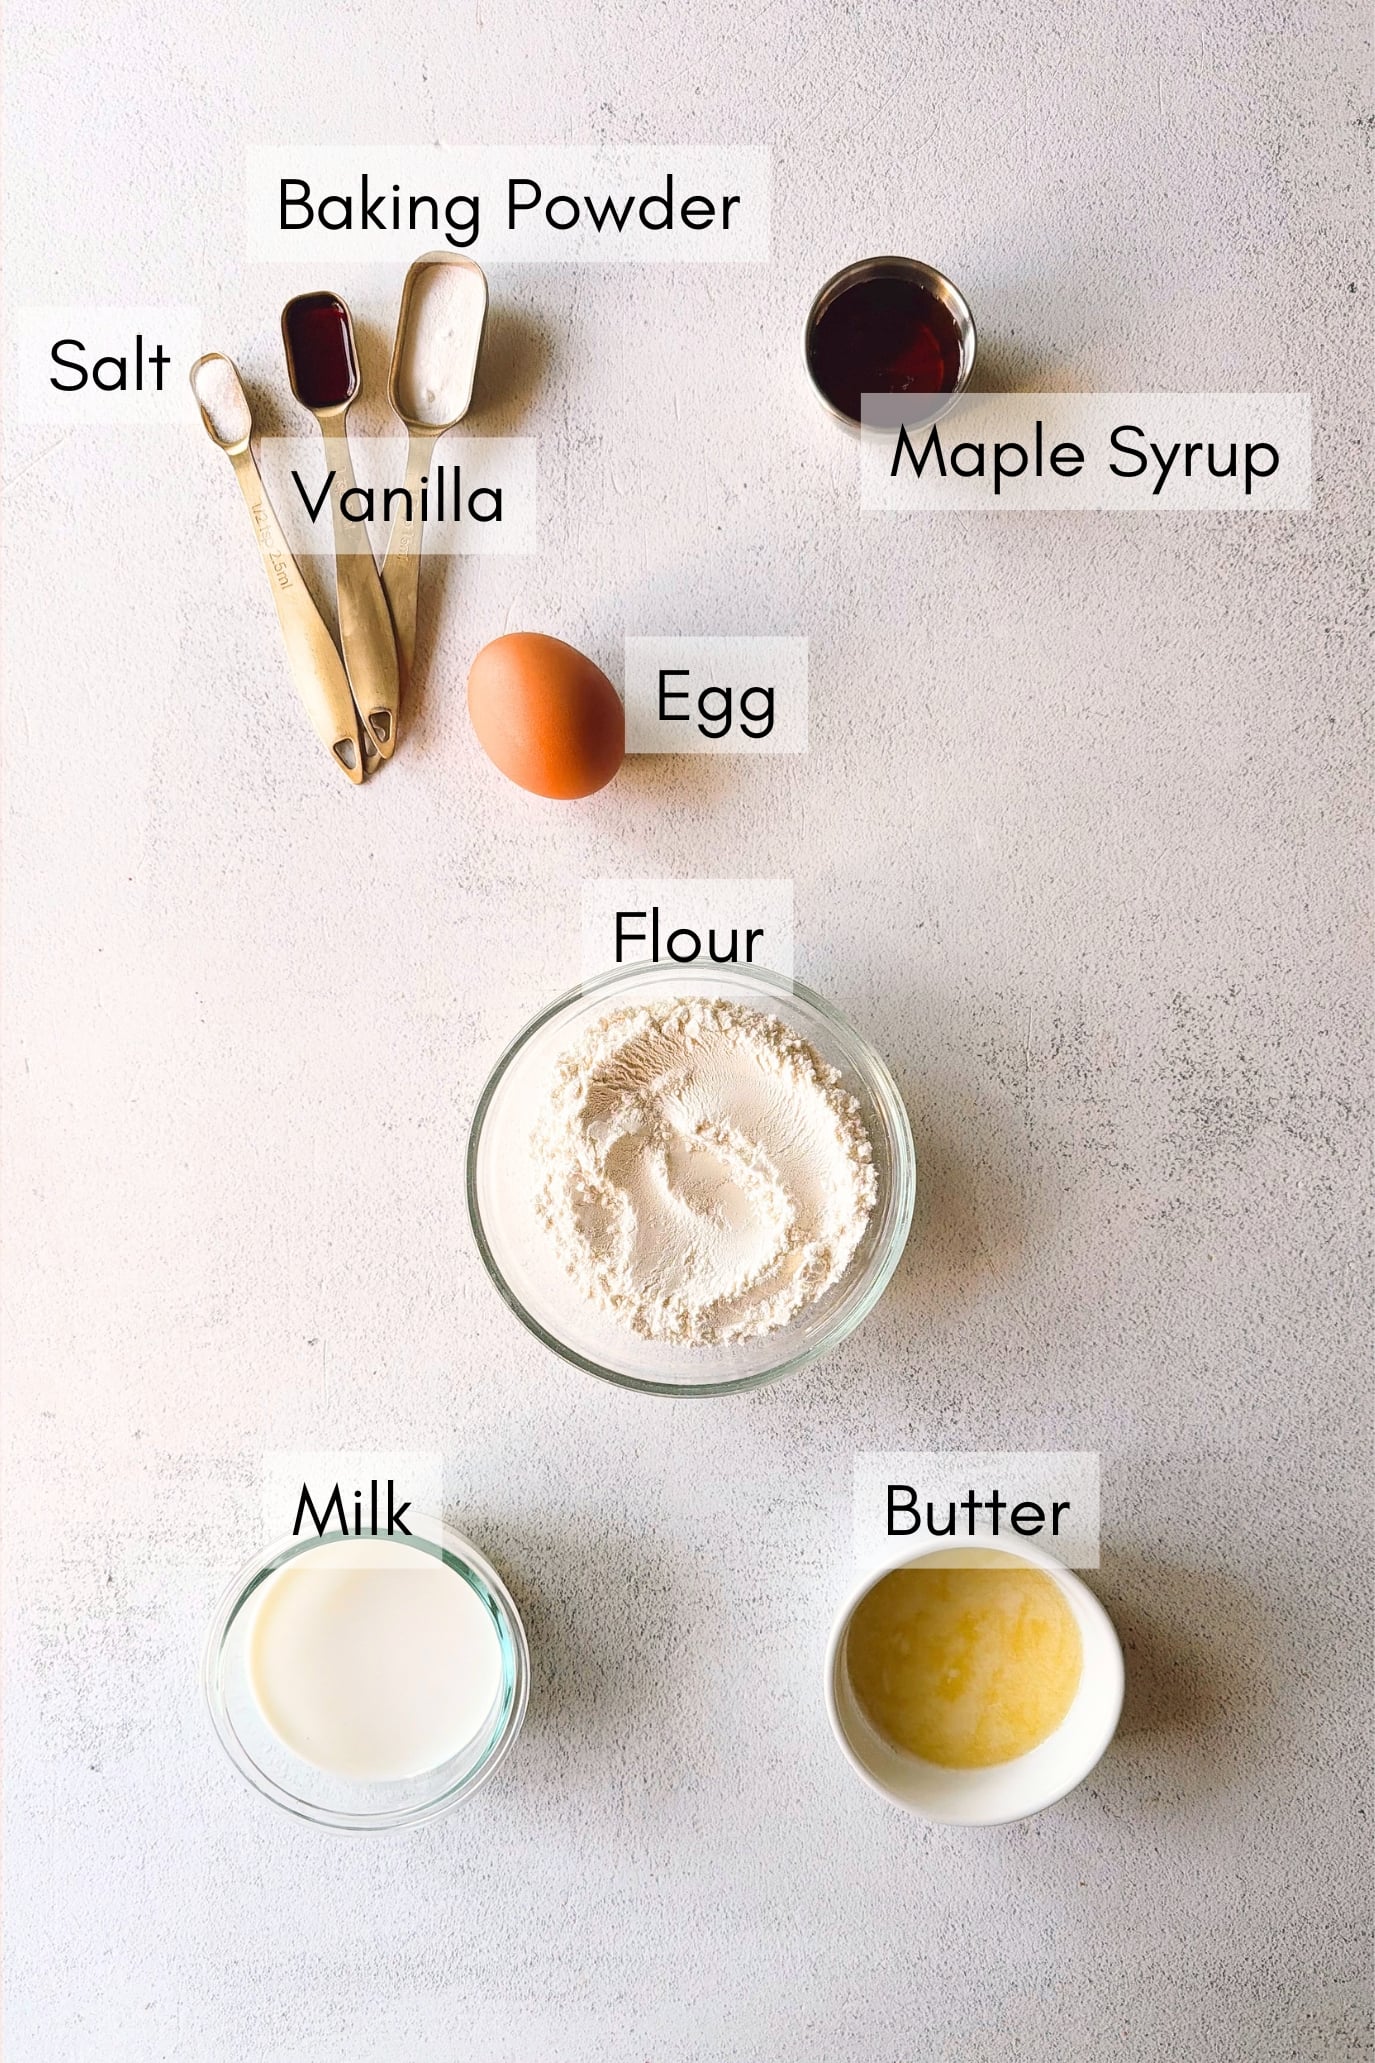
- All-Purpose Flour: Provides structure while keeping the pancake puffs soft and fluffy.
- Baking Powder: The main leavening agent that helps the batter rise and puff up as it cooks.
- Salt: Balances the sweetness and enhances the other flavors.
- Egg: Helps bind the ingredients together and gives the pancake bites structure.
- Milk: Adds moisture to the batter. I prefer whole milk for a soft, rich texture.
- Maple Syrup: Naturally sweetens the pancake batter.
- Butter: Adds richness and buttery flavor while keeping the centers tender.
- Vanilla Extract: Adds a little extra flavor.
See the recipe card below for full information on ingredients and quantities.
Ingredient Substitutions & Additions
- Milk: You can replace the whole milk with your favorite dairy-free milk.
- Butter: Replace with an equal amount of a neutral oil or melted dairy-free butter if needed.
- Maple Syrup: You can replace the maple syrup with honey if serving to children over the age of 1.
- Chocolate Chips: If adding chocolate chips, fold in ¼ cup mini chocolate chips after the batter has rested. I prefer mini chocolate chips because they distribute more evenly throughout the small pancake puffs. You can experiment with other small add-ins, but avoid adding too much since larger or heavy mix-ins can make the pancake puffs harder to flip and cook evenly.
- Egg: Replace with a flax egg (1 tablespoon ground flaxseed mixed with 3 tablespoons water). Let the mixture sit for 5–10 minutes to thicken before adding it to the batter.
Step-by-Step Instructions
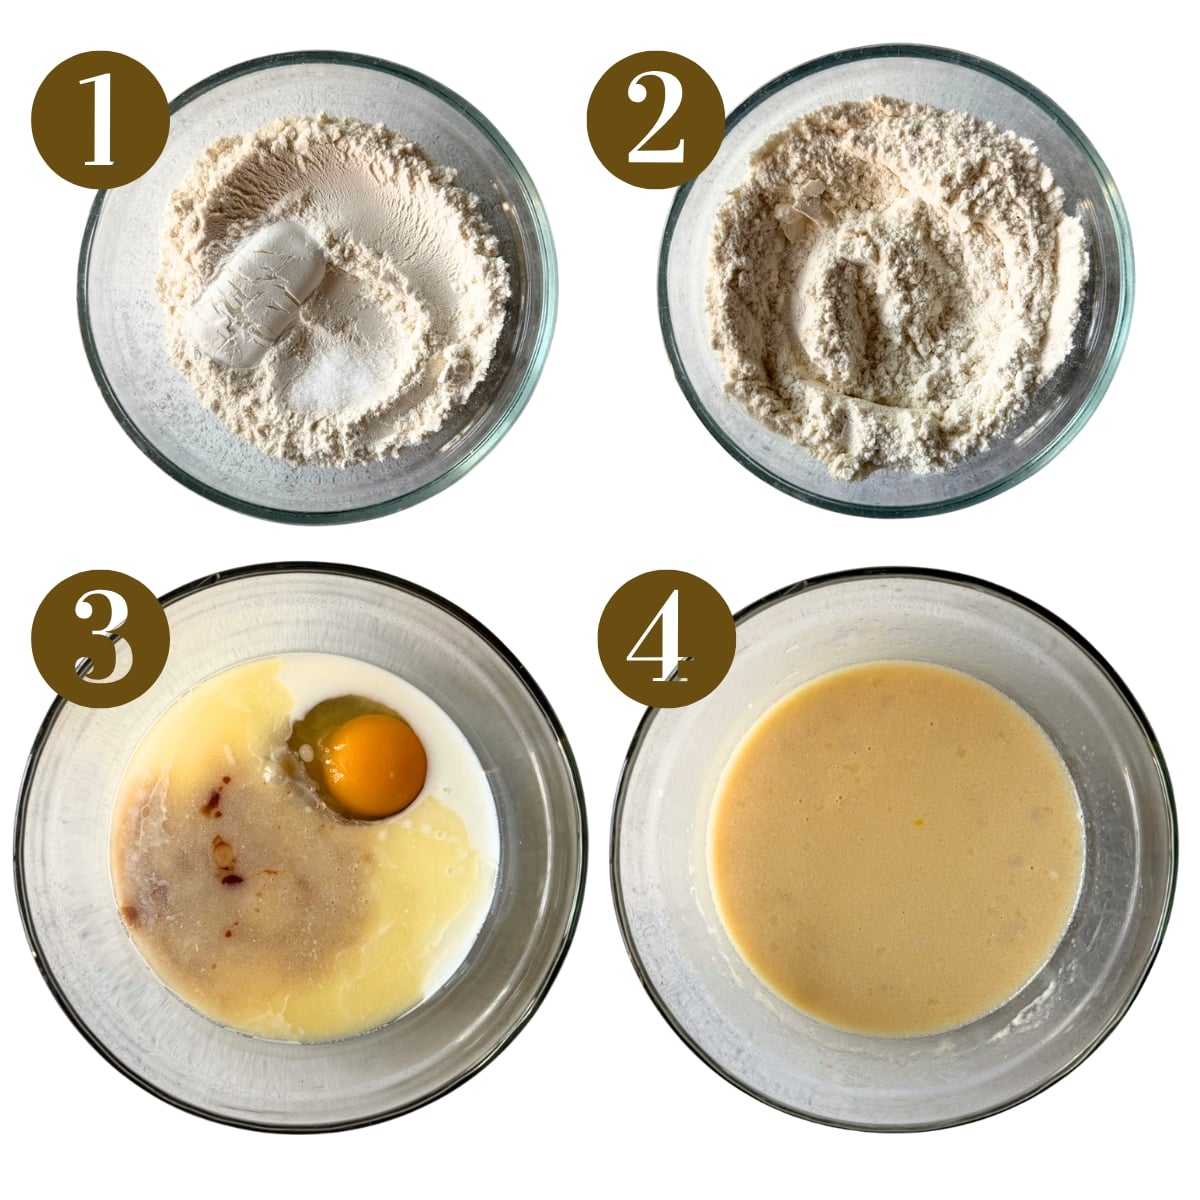
STEP 1: In a medium bowl, whisk together the flour, baking powder, and salt (Images 1 & 2).
STEP 2: In a separate bowl, whisk together the egg, milk, maple syrup, melted and slightly cooled butter, and vanilla extract until well combined (Images 3 & 4).
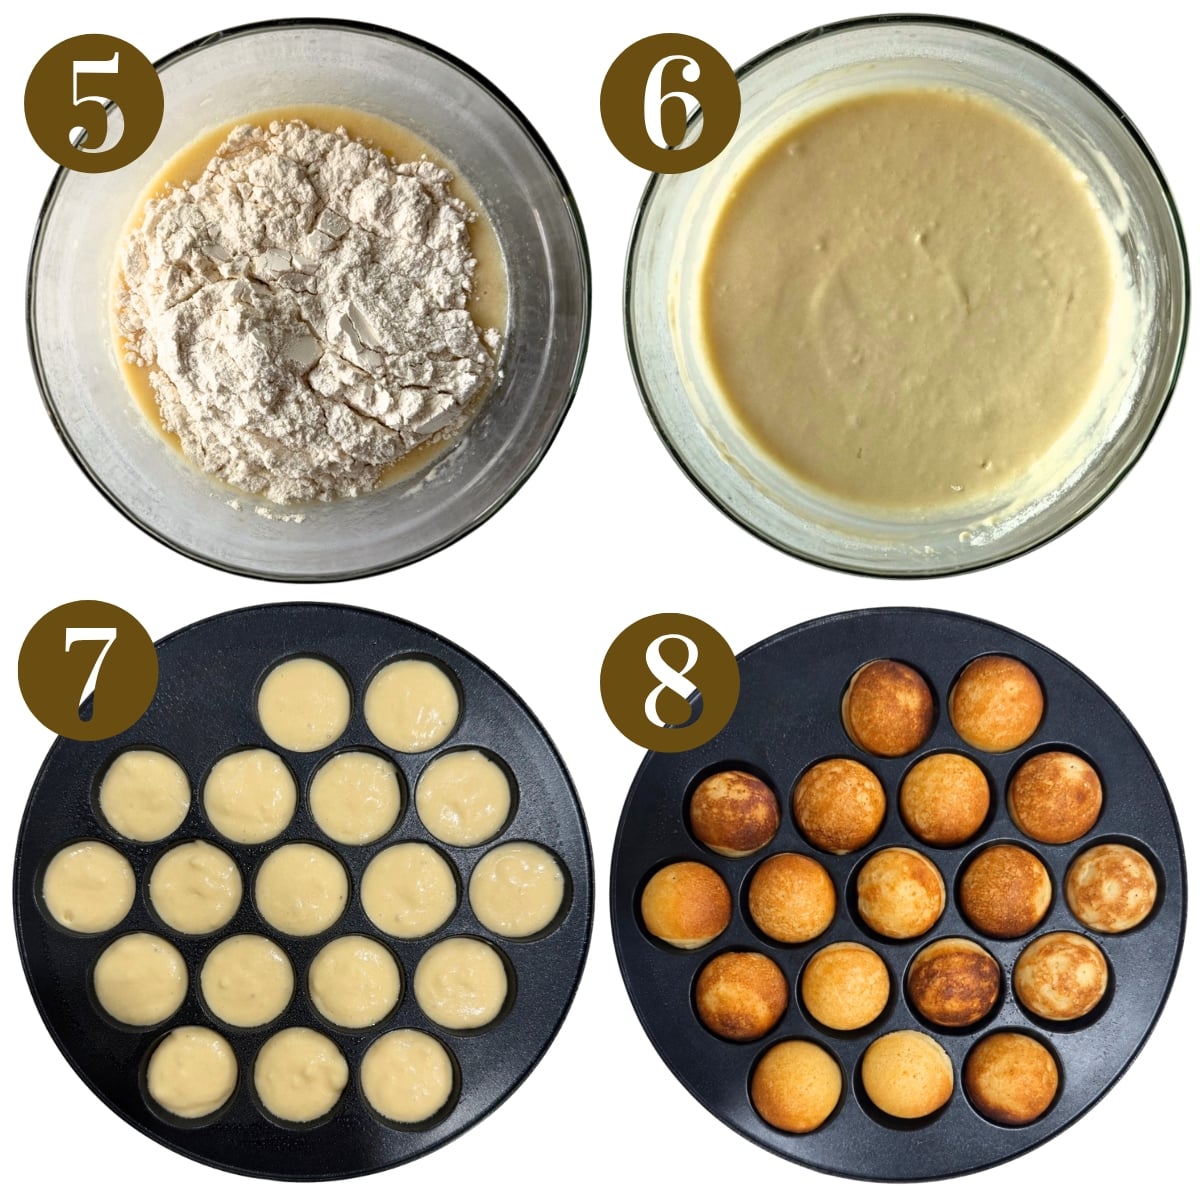
STEP 3: Add the dry ingredients to the wet ingredients and mix until just combined. Be careful not to overmix the batter (Images 5 & 6). Let the pancake batter rest for 5 minutes. If you are adding mini chocolate chips, gently fold them in after the batter has rested.
STEP 4: While the batter rests, preheat your pancake puff maker to medium heat. Lightly grease each well with a light layer of avocado oil.
STEP 5: Spoon about 1 teaspoon of batter into each of the preheated wells, being careful not to overfill them (Image 7). Cook the first side for about 1½ to 2 minutes, or until the bottoms are golden and the edges are set enough to flip.
STEP 6: Carefully flip each pancake puff and cook for another 1 to 2 minutes, or until golden on both sides and completely cooked through (Image 8). The pancake puffs should feel soft and springy when lightly pressed.
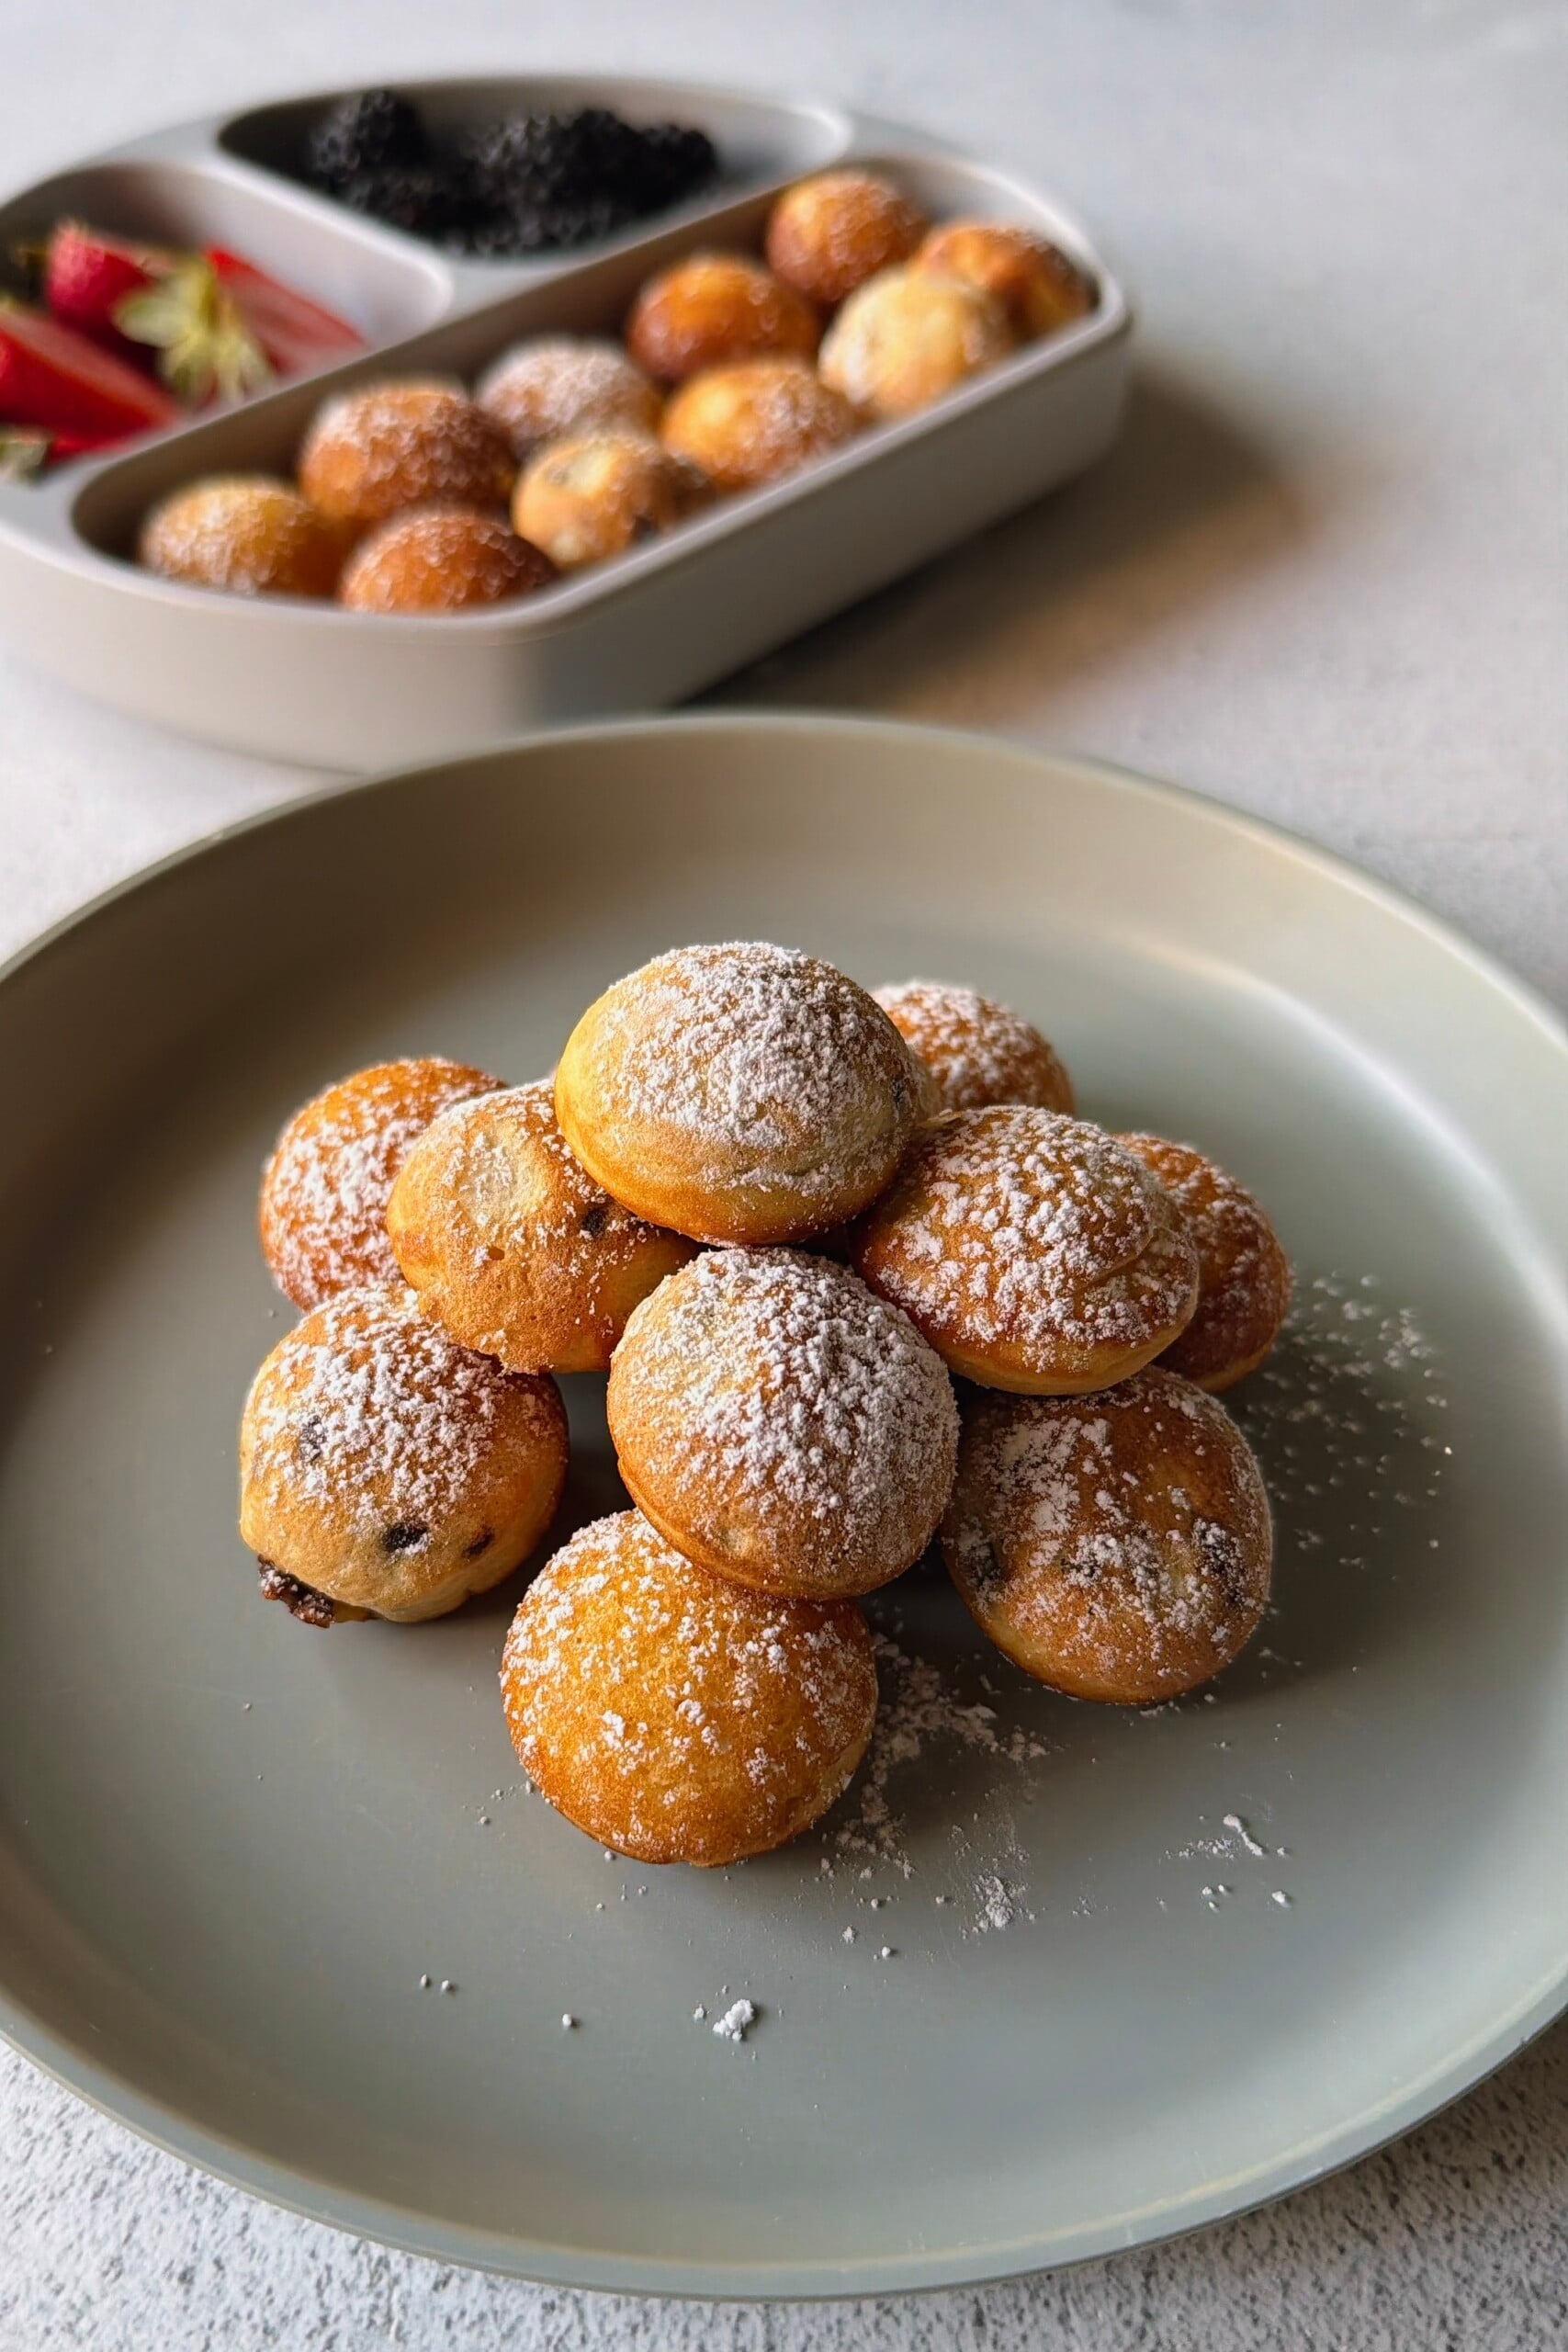
STEP 7: Let them cool slightly before serving. Serve as is or with maple syrup or a dusting of powdered sugar.
Storage Instructions
Let the pancake puffs cool completely before storing them in an airtight container in the refrigerator for up to 3 days. For longer storage, freeze the cooled pancake puffs in a freezer-safe container or bag for up to 3 months.
To reheat, air fry at 300°F for 2–3 minutes, or microwave for 15–20 seconds, adding a few additional seconds as needed until warmed through. You can also warm them in a frying pan over medium-low heat. Melt a small amount of butter in the pan first, add the pancake puffs, and gently toss them in the melted butter for 2–3 minutes, or until warmed through. This is one of my favorite ways to reheat them because the butter adds a little extra flavor while warming the outside without drying out the soft centers.
Tips For Success
- Let the batter rest for 5 minutes. This gives the flour a chance to hydrate and allows the batter to thicken slightly before cooking.
- Use a deep-well pancake puff maker. I used this Takoyaki Maker because the size is closest to actual store-bought pancake puffs and gives the pancakes their thick, rounded, puffed shape.
- Lightly grease the wells. You don’t want oil pooling in the wells, just enough to help with browning and make the puffs easier to flip.
- Don’t overfill the wells. The batter expands as it cooks, so leave some room for the pancake puffs to rise.
- Wait until the first side is set before flipping. Check one of the puffs in the middle of the tray first to make sure the heat isn’t too high or too low.
- If you’re adding chocolate chips, use mini chocolate chips instead of regular-sized chips. They’re a much better size for these small pancake bites and distribute more evenly throughout the batter.
Recipe FAQs
For the puffed shape shown here, you’ll need a pancake puff pan or similar pan or machine with deeper wells. If you don’t have one, you can still use this batter to make mini pancake bites in a regular skillet! Drop small spoonfuls of batter onto a lightly greased skillet over medium-low heat and cook until bubbles form and the edges begin to set. Flip and cook the other side until golden and cooked through. They won’t have the same rounded, puffed shape, but they’ll still be soft and fluffy with the same taste.
The outside should be lightly golden and the center should be completely cooked through. They should also spring back slightly when gently pressed. Mine generally take around 4 to 5 minutes total, depending on the heat of the machine.
My favorite way to reheat pancake puffs is in the air fryer at 300°F for 2–3 minutes. This warms them through while keeping the centers soft and fluffy. You can also microwave them for 15–20 seconds, adding a few extra seconds as needed. For a little extra buttery flavor, melt a small amount of butter in a frying pan over medium-low heat, add the pancake puffs, and gently toss them in the butter for 2–3 minutes, or until warmed through.
Other Pancake Recipes You’ll Love
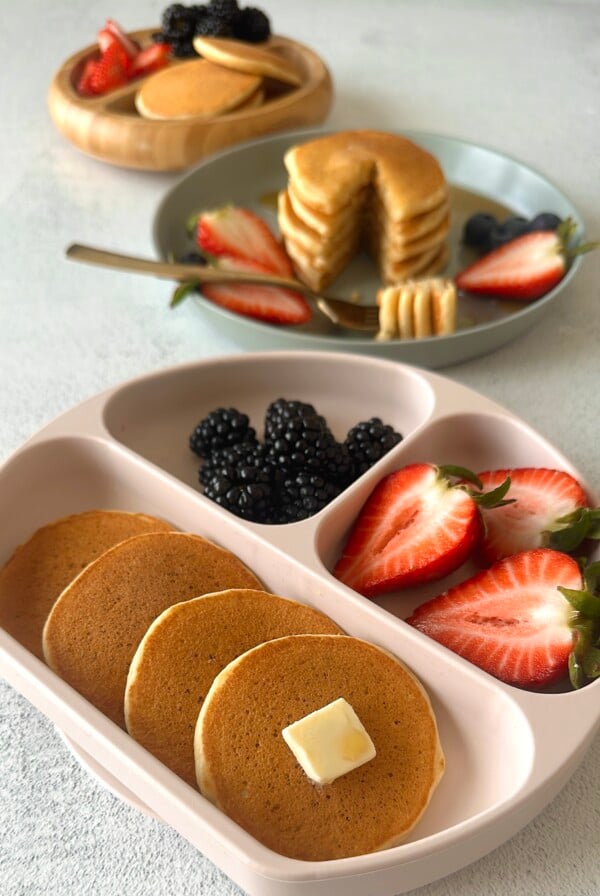
Fluffiest Mini Pancakes
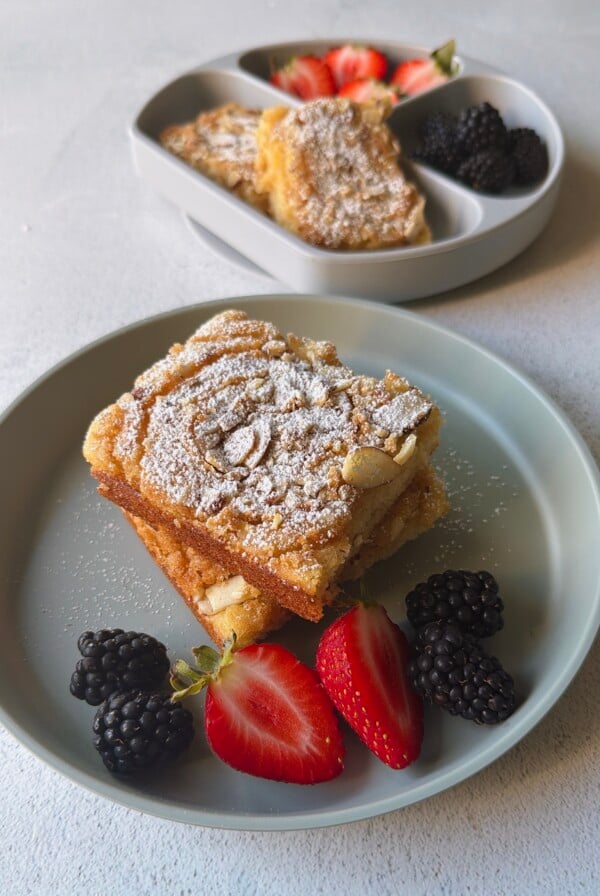
Almond Croissant Sheet Pan Pancakes
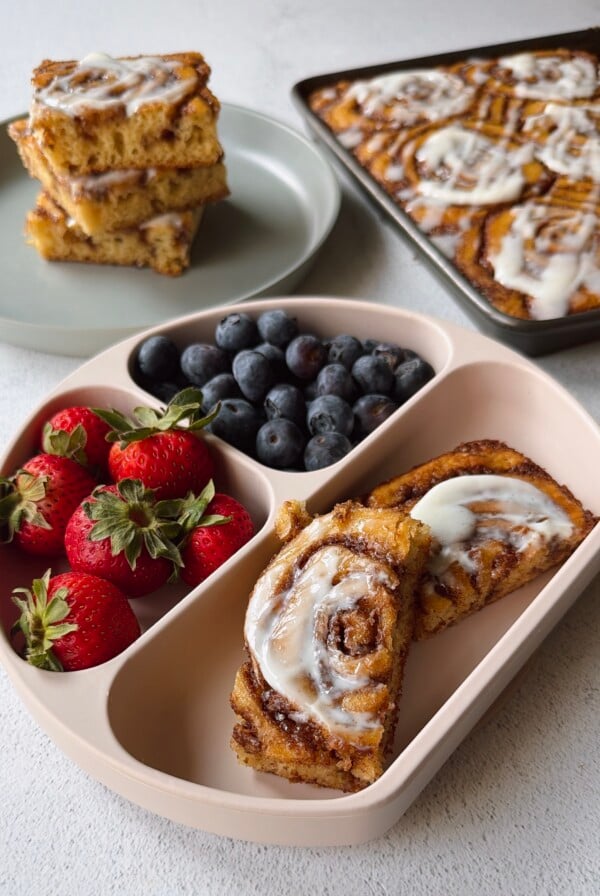
Cinnamon Roll Sheet Pan Pancakes
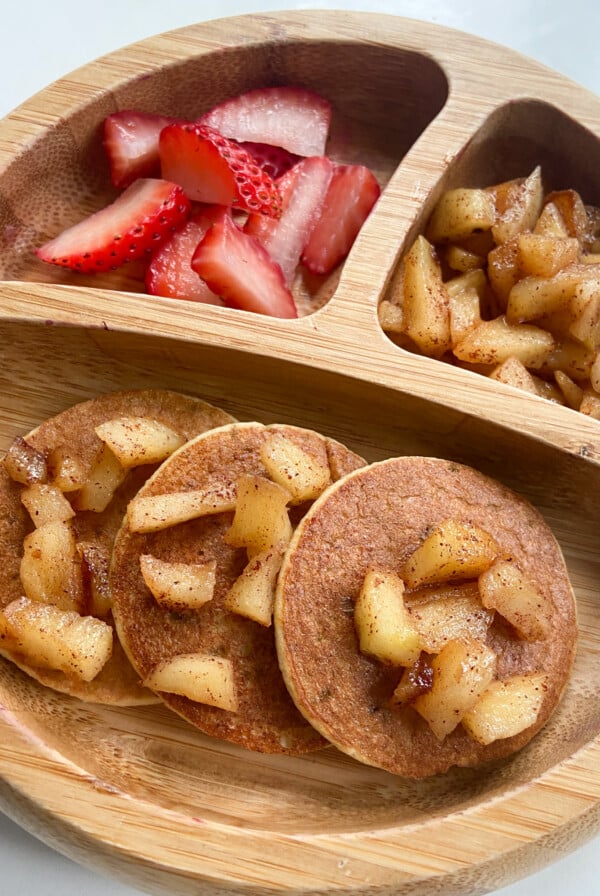
Cinnamon Apple Pancakes
If you tried this Pancake Puffs recipe, please leave a ⭐ star rating and let me know how it went in the comments below! I love hearing from you!
Homemade Pancake Puffs
Equipment
Ingredients
- ¾ cup all-purpose flour
- 1 ½ tsp baking powder
- ¼ tsp salt
- 1 large egg
- ½ cup whole milk
- 2 tbsp maple syrup
- 2 tbsp unsalted butter, melted and slightly cooled
- 1 tsp vanilla extract
- ¼ cup mini chocolate chips, optional
Instructions
- In a medium bowl, whisk together the flour, baking powder, and salt
- In a separate bowl, whisk together the egg, milk, maple syrup, melted and slightly cooled butter, and vanilla extract until well combined.
- Add the dry ingredients to the wet ingredients and mix until just combined. Be careful not to overmix the batter. Let the pancake batter rest for 5 minutes. If you are adding in mini chocolate chips, gently fold them in after the batter has rested.
- While the batter rests, preheat your pancake puff maker to medium heat. Lightly grease each well with a light layer of avocado oil.
- Spoon about 1 teapoon of batter into each of the preheated wells, being careful not to overfill them. Cook the first side for about 1½ to 2 minutes, or until the bottoms are golden and the edges are set enough to flip.
- Carefully flip each pancake puff and cook for another 1 to 2 minutes, or until golden on both sides and completely cooked through. The pancake puffs should feel soft and springy when lightly pressed.
- Let them cool slightly before serving. Serve as is or with maple syrup or a dusting of powdered sugar.
Notes
- Let the batter rest for 5 minutes. This gives the flour a chance to hydrate and allows the batter to thicken slightly before cooking.
- Use a deep-well pancake puff maker. I used this Takoyaki Maker because the size is closest to actual store-bought pancake puffs and gives the pancakes their thick, rounded, puffed shape.
- Lightly grease the wells. You don’t want oil pooling in the wells, just enough to help with browning and make the puffs easier to flip.
- Don’t overfill the wells. The batter expands as it cooks, so leave some room for the pancake puffs to rise.
- Wait until the first side is set before flipping. Check one of the puffs in the middle of the tray first to make sure the heat isn’t too high or too low.
- If you’re adding chocolate chips, use mini chocolate chips instead of regular-sized chips. They’re a much better size for these small pancake bites and distribute more evenly throughout the batter.