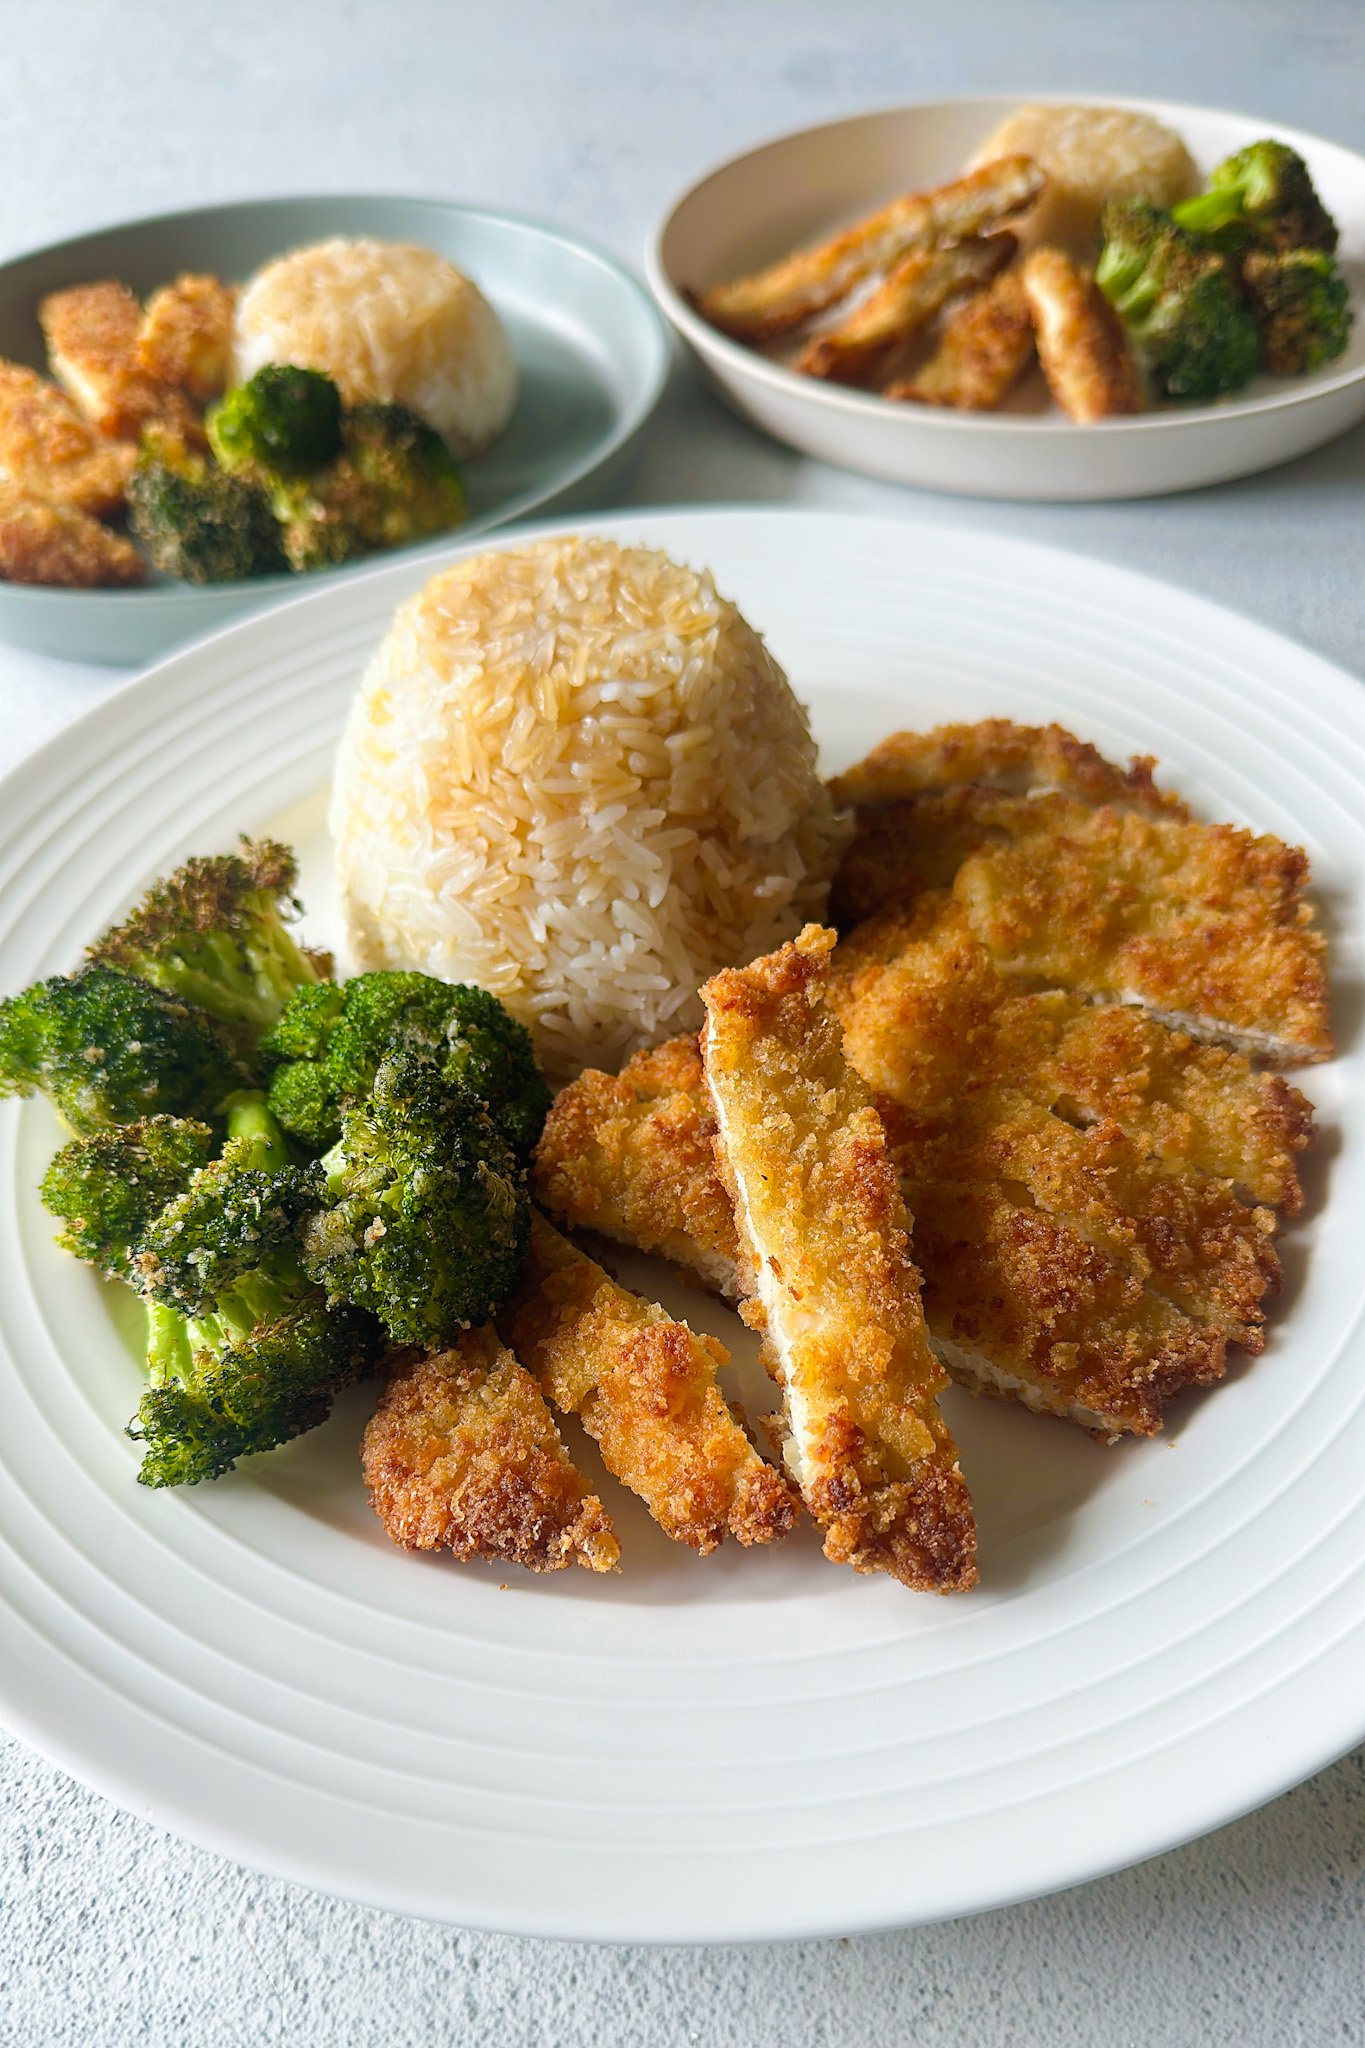
Easy Crispy Panko Chicken
on Jul 09, 2025
This post may contain affiliate links. Please read our disclosure policy.
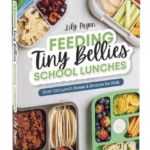
These crispy panko chicken breasts are an easy, kid-friendly dinner that’s perfect for busy weeknights. They’re juicy on the inside, coated in a crunchy golden crust, and made with simple pantry ingredients. Ready in under 30 minutes, this recipe is a go-to meal the whole family will love.
When it comes to quick and easy dinners, it’s hard to beat crispy panko chicken breasts. They’re simple to prep, cook up fast, and have that perfect crunch that both kids and adults love. Whether you’re making a weeknight meal or prepping ahead for lunches, this recipe is one you’ll come back to again and again. Panko breadcrumbs are the secret to that super crispy coating; they’re crispier than regular breadcrumbs, and they pair perfectly with the juicy, tender chicken inside. Serve them with veggies, rice, pasta, or slice them up for salads and sandwiches.
Looking for more kid-friendly chicken recipes? You and your little ones will love these homemade chicken nuggets with veggies, creamy mushroom chicken, and crispy chicken parmesan. Have leftover cooked chicken you want to use up? Make sure to try these super-easy leftover chicken fritters as well!
Table of Contents
What You’ll Need
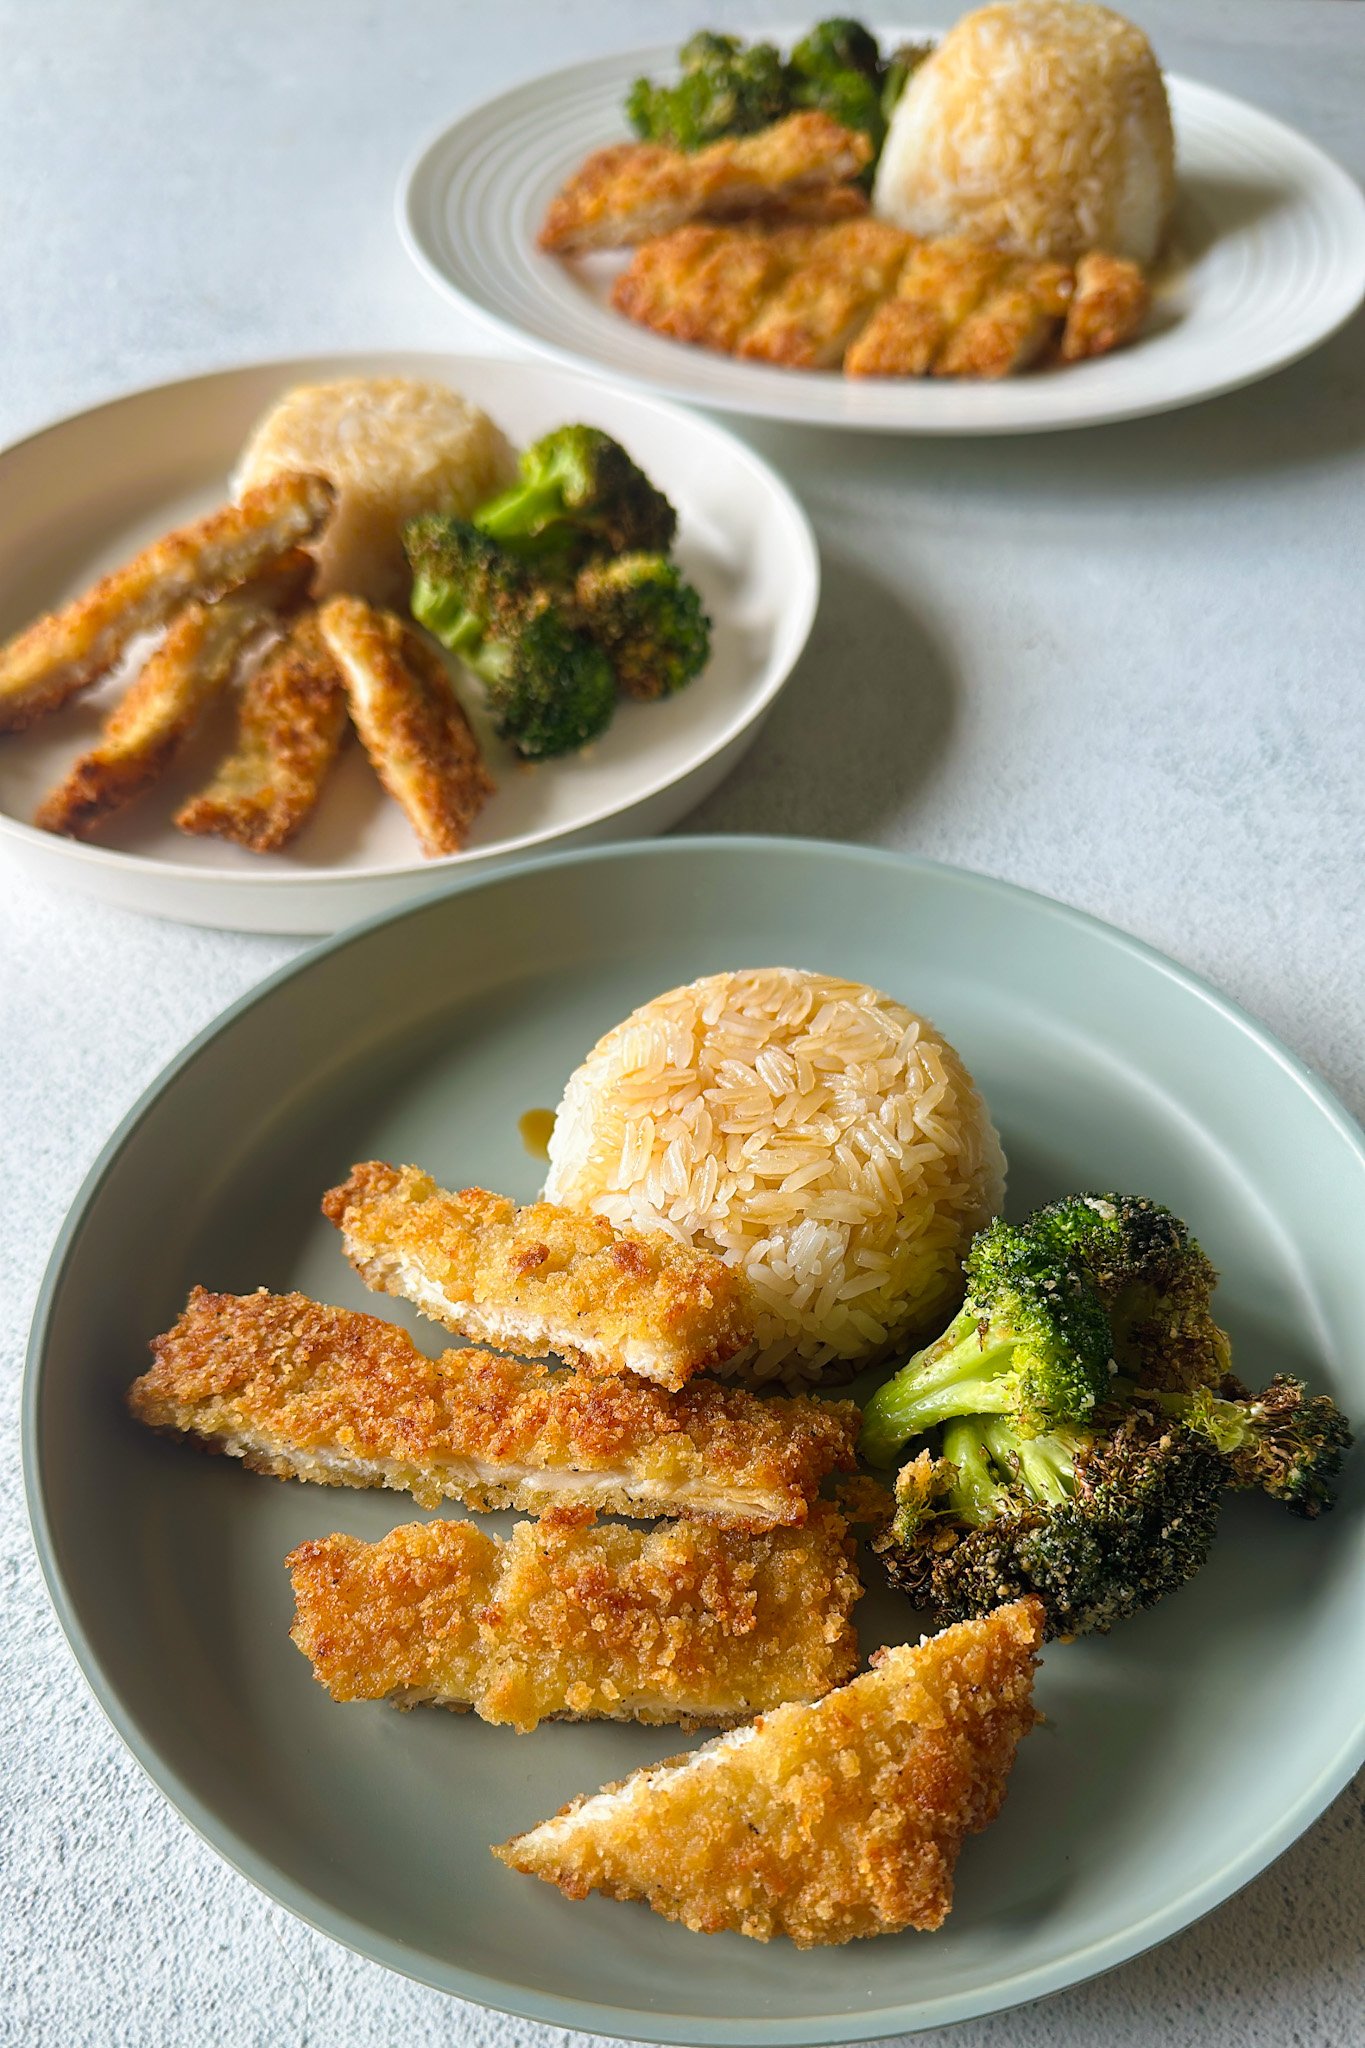
Here is what you’ll need to make this crispy panko chicken:
- Chicken Breast: I highly, highly recommend using thin-sliced chicken breast. You can find thin-sliced chicken breast at the grocery store, or thinly slice larger slices yourself. Thin chicken breasts give the chicken that ultimate crisp and crunch.
- Panko Breadcrumbs: The secret ingredient that makes these breasts super crispy. Panko breadcrumbs crisp up much better than normal breadcrumbs and add a great texture to the chicken.
- Parmesan Cheese: Adds savory, cheesy flavor and also helps the crust get a nice golden brown color.
- Flour: Used to help the breadcrumb mixture stick to the chicken breast.
- Eggs: Used as a binder between the breadcrumb mixture and chicken.
- Salt/Pepper: To season the chicken and breadcrumb mixture with.
- Oil: Used to pan-fry the breasts.
See the recipe card below for full information on ingredients and quantities.
Ingredient Substitutions
- Chicken Breast: Feel free to swap chicken breasts with chicken thighs or chicken cutlets and use the same method below to cook them.
- Parmesan Cheese: For a dairy-free option, you can swap for dairy-free parmesan cheese or nutritional yeast for added flavor.
- Eggs: Swap eggs with a plain flavored yogurt or buttermilk.
Step-by-Step Instructions
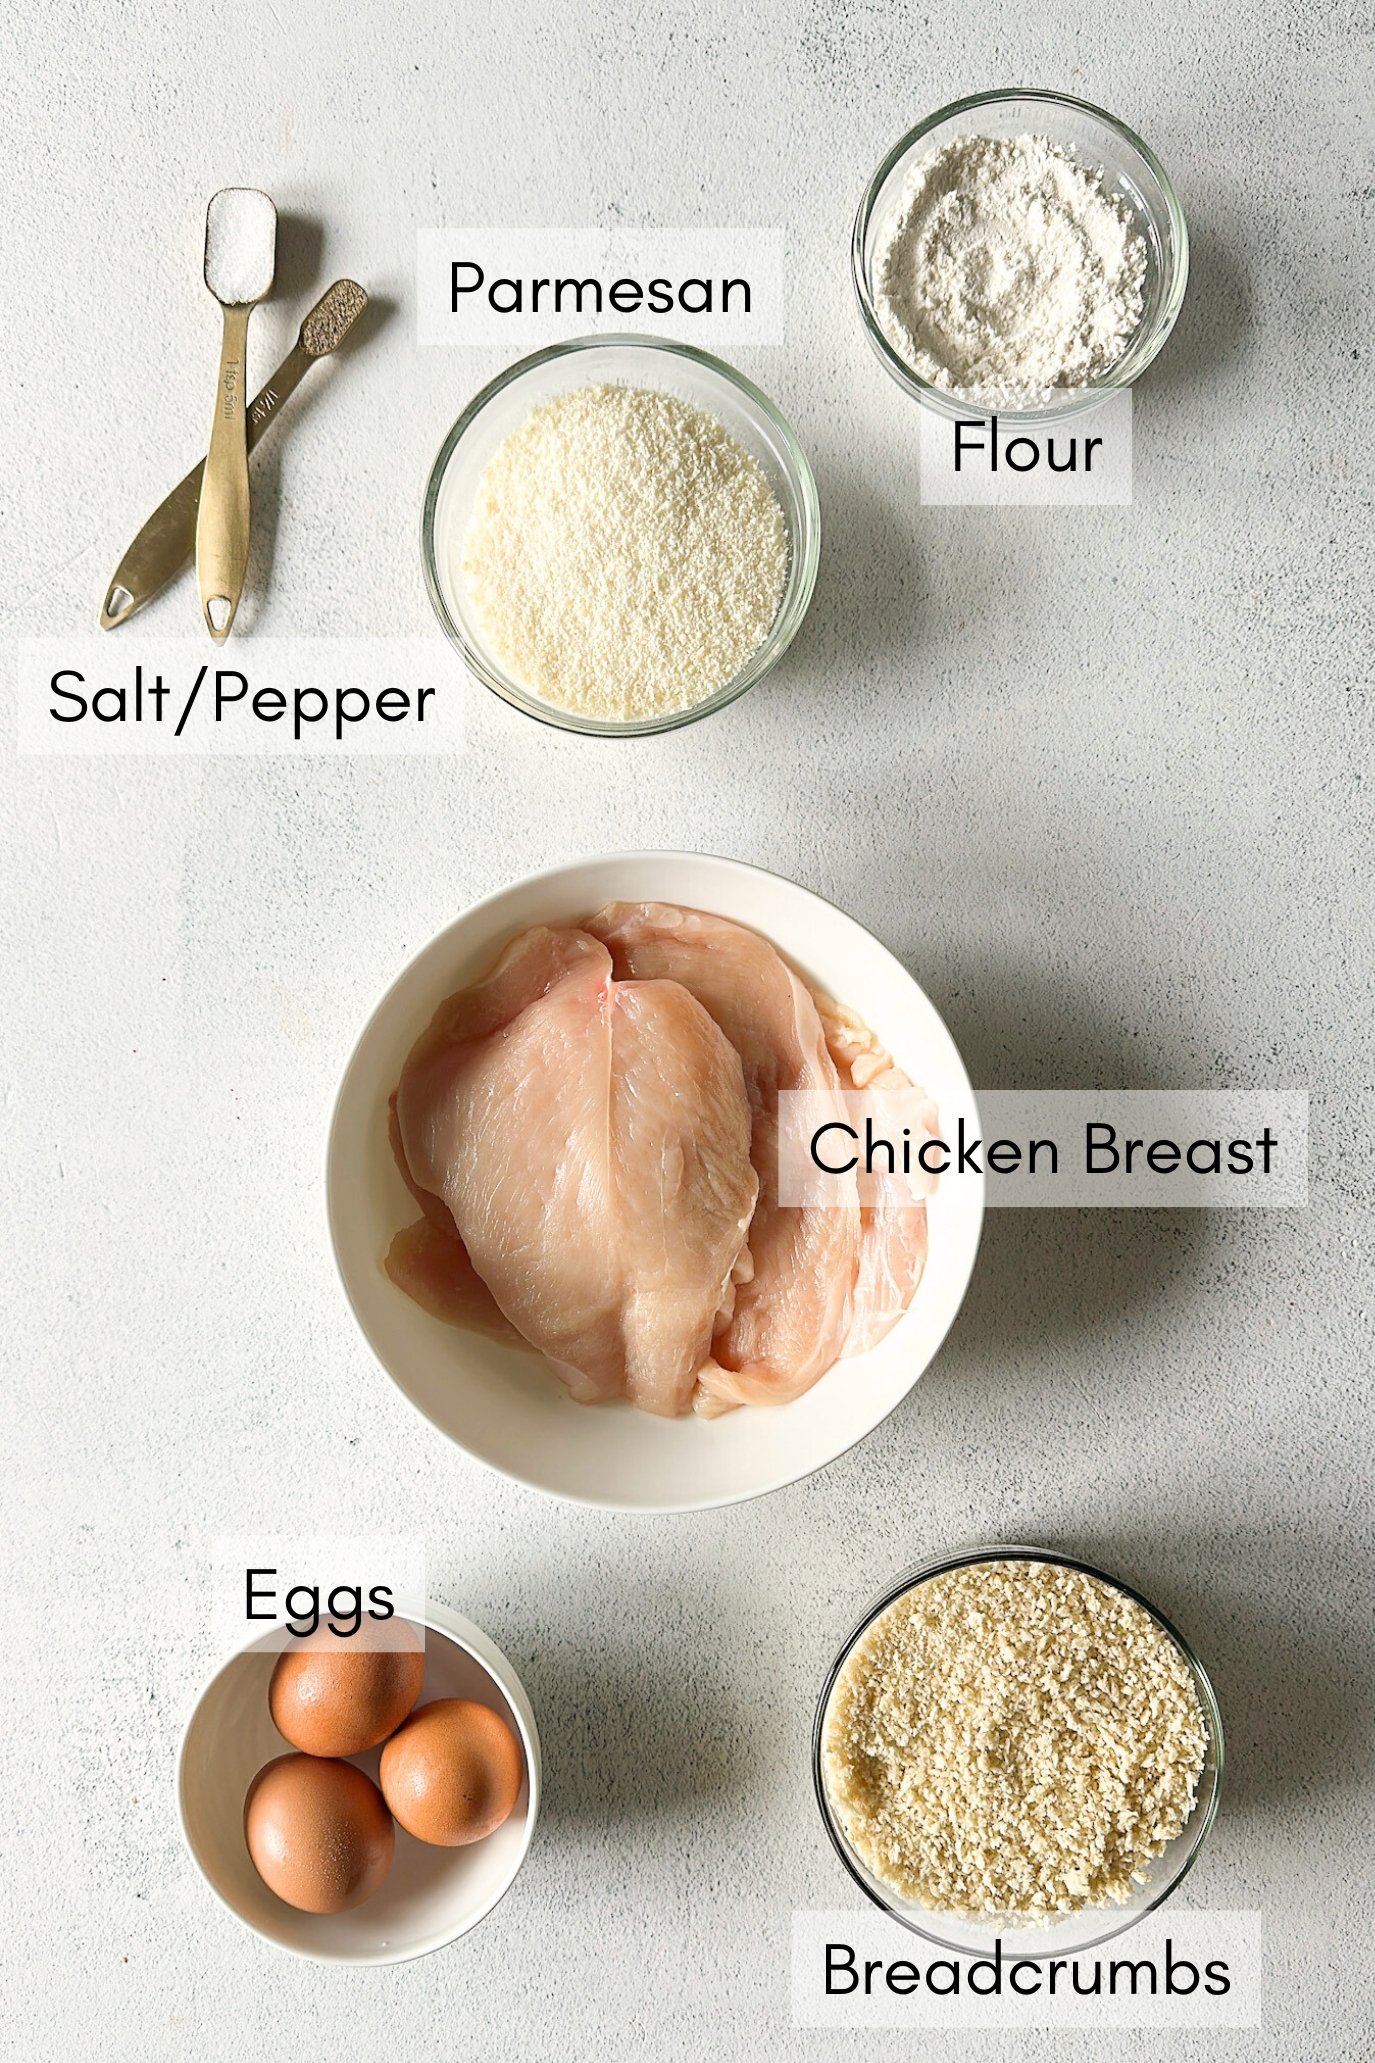
STEP 1: Pat the chicken breasts dry and season both sides with salt and pepper. Set aside (Image 1).
STEP 2: Add the breadcrumbs, parmesan, flour, salt, and pepper to a shallow bowl and mix until combined (Images 2 & 3).
STEP 3: In a separate shallow bowl, whisk the eggs. (Image 3).
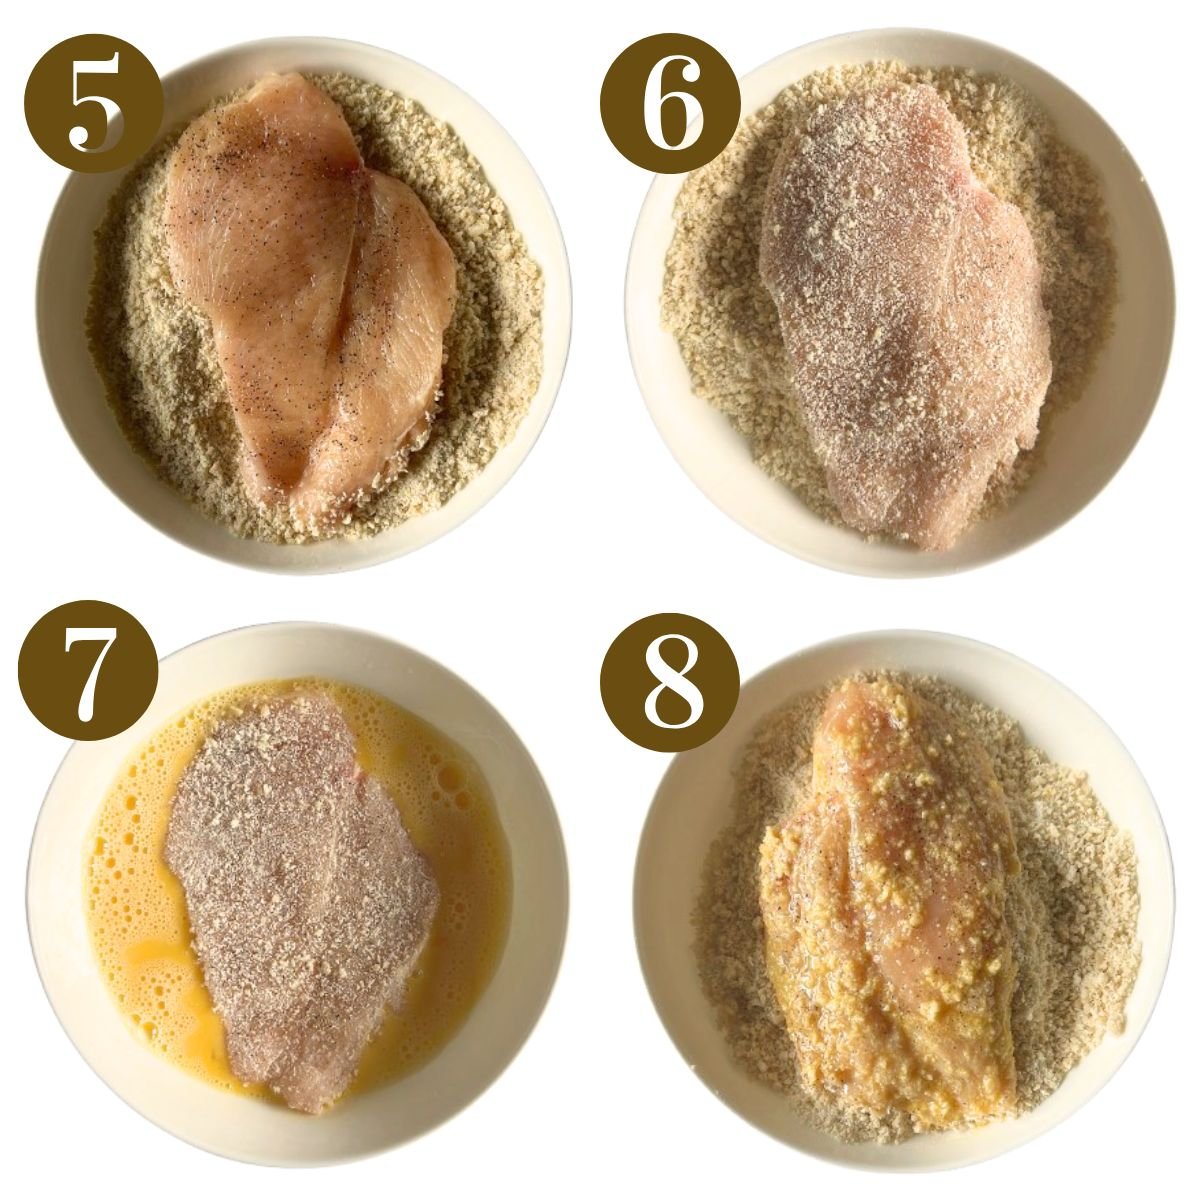
STEP 4: Start the drenching process. Dip each chicken breast first into the breadcrumb mixture until fully coated on both sides (Images 5 & 6), then into the egg mixture (Image 7), then back into the breadcrumb mixture (Image 8). Not much will adhere to the chicken on the first pass, and that is okay! Once you dip it into the breadcrumb mixture for the second time, use your hands to firmly press the breadcrumb mixture into the chicken so that it sticks. (Image 9).

STEP 5: Repeat for the remaining chicken breasts, remembering the order: breadcrumbs mixture, egg mixture, breadcrumbs mixture. Set the coated chicken breasts aside and let them rest for 10 minutes (Image 10). Doing this ensures that the breadcrumb mixture sticks well to the chicken when cooked.
STEP 6: Add oil to a large frying pan over medium heat. Once heated, place the chicken breast in batches in the pan to cook. Cook the chicken on both sides until golden and crispy, about 3 to 4 minutes per side, or until the internal temperature reaches at least 165 degrees F (Images 11 & 12). Transfer the cooked chicken breasts to a paper-towel-lined pan to cool.
Storage Instructions
Once cooled, store leftover chicken breasts in an airtight container in the fridge for 3 to 4 days. You may also freeze them in a freezer-safe bag or container for up to 3 months. To reheat, bake in an oven at 375 degrees F for about 10 minutes, or until heated through, or reheat in the air fryer at 375 degrees F for 5 to 6 minutes.
Tips For Success
- I highly recommend using thin-sliced chicken breast for that perfect crispy texture. You can buy them thin-sliced from the grocery store, or pound down normal-sized chicken breasts yourself.
- Make sure to firmly press the breadcrumb mixture into the chicken with your hands to ensure that it sticks. Let the chicken rest for a few minutes before frying.
- Don’t overcrowd the pan when pan-frying the chicken breasts. I like to cook 2 breasts per batch to ensure that they crisp up nicely.

Recipe FAQs
Make sure to pat the chicken dry, follow the breadcrumb, egg, breadcrumb method, and press the breadcrumbs on firmly. Letting the breaded chicken rest for a few minutes before cooking also helps the coating stick better.
Yes! To bake panko chicken breasts, preheat your oven to 425°F. Place the breaded chicken on a wire rack set over a baking sheet (this helps the bottom stay crispy) and lightly spray with cooking oil. Bake for 18–22 minutes, or until the internal temperature reaches 165°F and the coating is golden and crispy. For a deeper golden color, you can broil the top for 1–2 minutes at the end, just keep a close eye on it to ensure it doesn’t get too dark.
Other Chicken Recipes You’ll Love
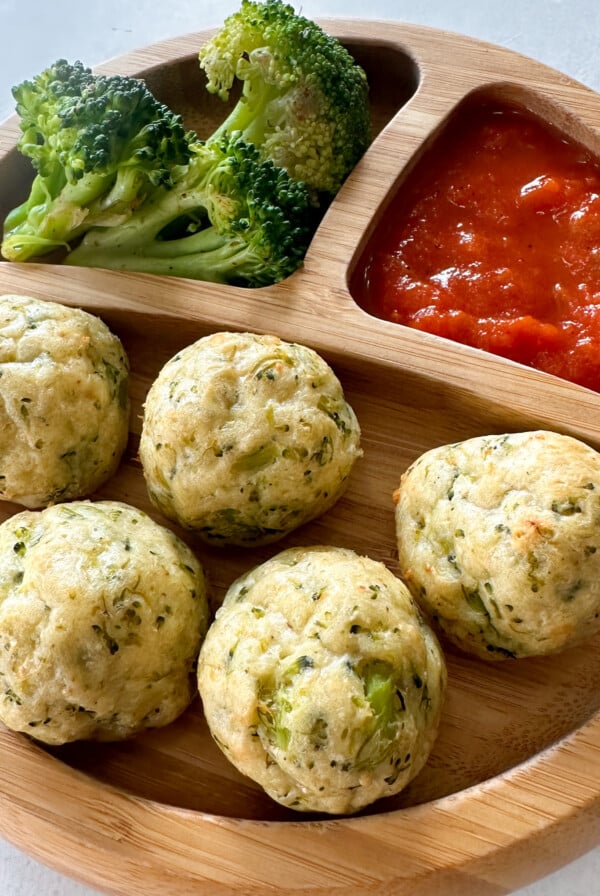
Chicken And Broccoli Meatballs
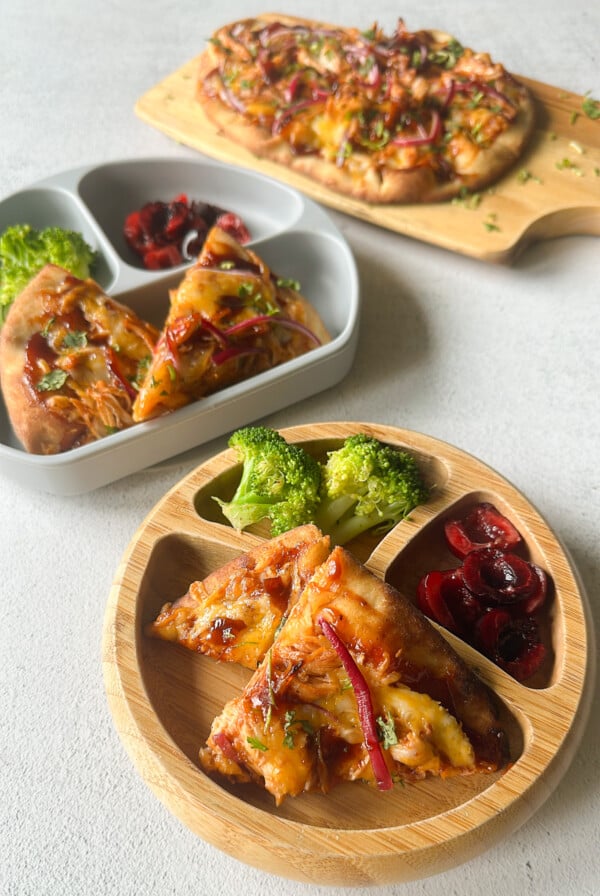
BBQ Chicken Naan Pizza
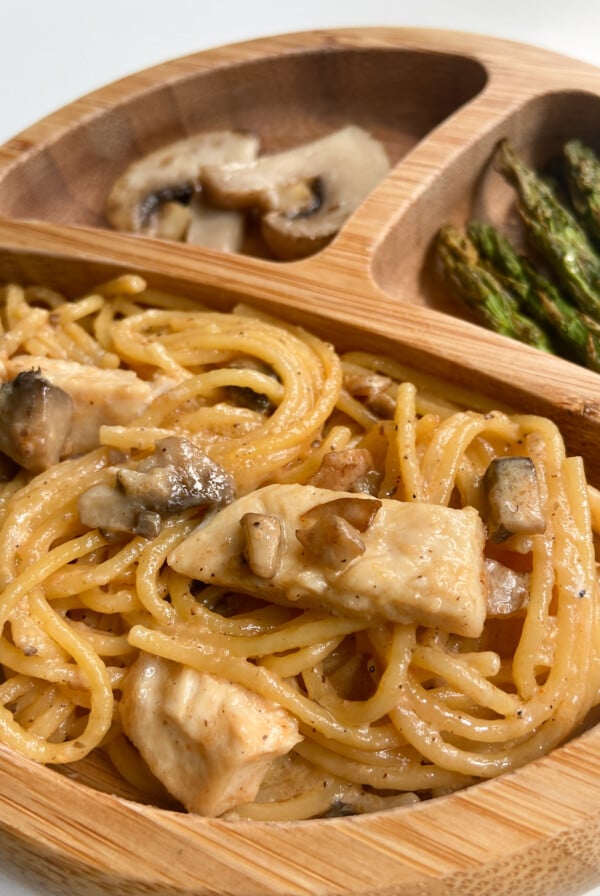
Creamy Mushroom Chicken
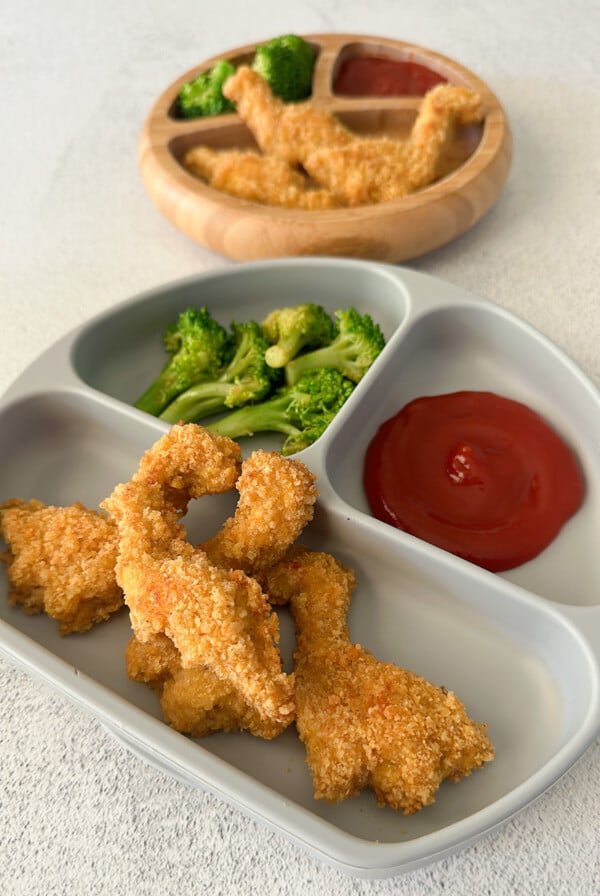
Homemade Dino Nuggets
If you tried this Crispy Panko Chicken, please leave a ⭐ star rating and let me know how it went in the comments below! I love hearing from you!
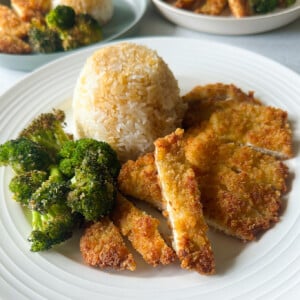
Crispy Panko Chicken
Ingredients
- 4 thin sliced chicken breast, about 1 lb in total weight
- 1½ cups panko breadcrumbs
- ¾ cup grated Parmesan cheese
- ⅓ cup all purpose flour
- 1 tsp salt, plus more for seasoning chicken
- ½ tsp pepper, plus more for seasoning chicken
- 3 eggs
- ¼ cup oil
Instructions
- Pat the chicken breasts dry and season both sides with salt and pepper. Set aside.
- Add the breadcrumbs, parmesan, flour, salt, and pepper to a shallow bowl and mix until combined.
- In a separate shallow bowl, whisk the eggs.
- Start the drenching process. Dip each chicken breast first into the breadcrumb mixture until fully coated on both sides, then into the egg mixture, then back into the breadcrumb mixture. Not much will adhere to the chicken on the first pass, and that is okay! Once you dip it into the breadcrumb mixture for the second time, use your hands to firmly press the breadcrumb mixture into the chicken so that it sticks.
- Repeat for the remaining chicken breasts, remembering the order: breadcrumbs mixture, egg mixture, breadcrumbs mixture. Set the coated chicken breasts aside and let them rest for 10 minutes. Doing this ensures that the breadcrumb mixture sticks well to the chicken when cooked.
- Add oil to a large frying pan over medium heat. Once heated, place the chicken breast in batches in the pan to cook. Cook the chicken on both sides until golden and crispy, about 3 to 4 minutes per side, or until the internal temperature reaches at least 165 degrees F. Transfer the cooked chicken breasts to a paper-towel-lined pan to cool.
Notes
- See post above for step-by-step photos.
- I highly recommend using thin-sliced chicken breast for that perfect crispy texture. You can buy them thin-sliced from the grocery store, or pound down normal-sized chicken breasts yourself.
- Make sure to firmly press the breadcrumb mixture into the chicken with your hands to ensure that it sticks. Let the chicken rest for a few minutes before frying.
- Don’t overcrowd the pan when pan-frying the chicken breasts. I like to cook 2 breasts per batch to ensure that they crisp up nicely.


This looks like the kind of recipe that saves weeknights—quick, crispy, and kid-approved! Love how detailed the instructions are, especially the tip about double-coating with panko. Definitely bookmarking this.
Do you use vegetable oil or olive/extra virgin oil? Thanks!
Hi Kassidy! I use use plain olive oil or extra light-tasting olive oil (the ones that say best for baking and frying on the package)😊