

Baked Italian Sliders

on Aug 14, 2026
This post may contain affiliate links. Please read our disclosure policy.
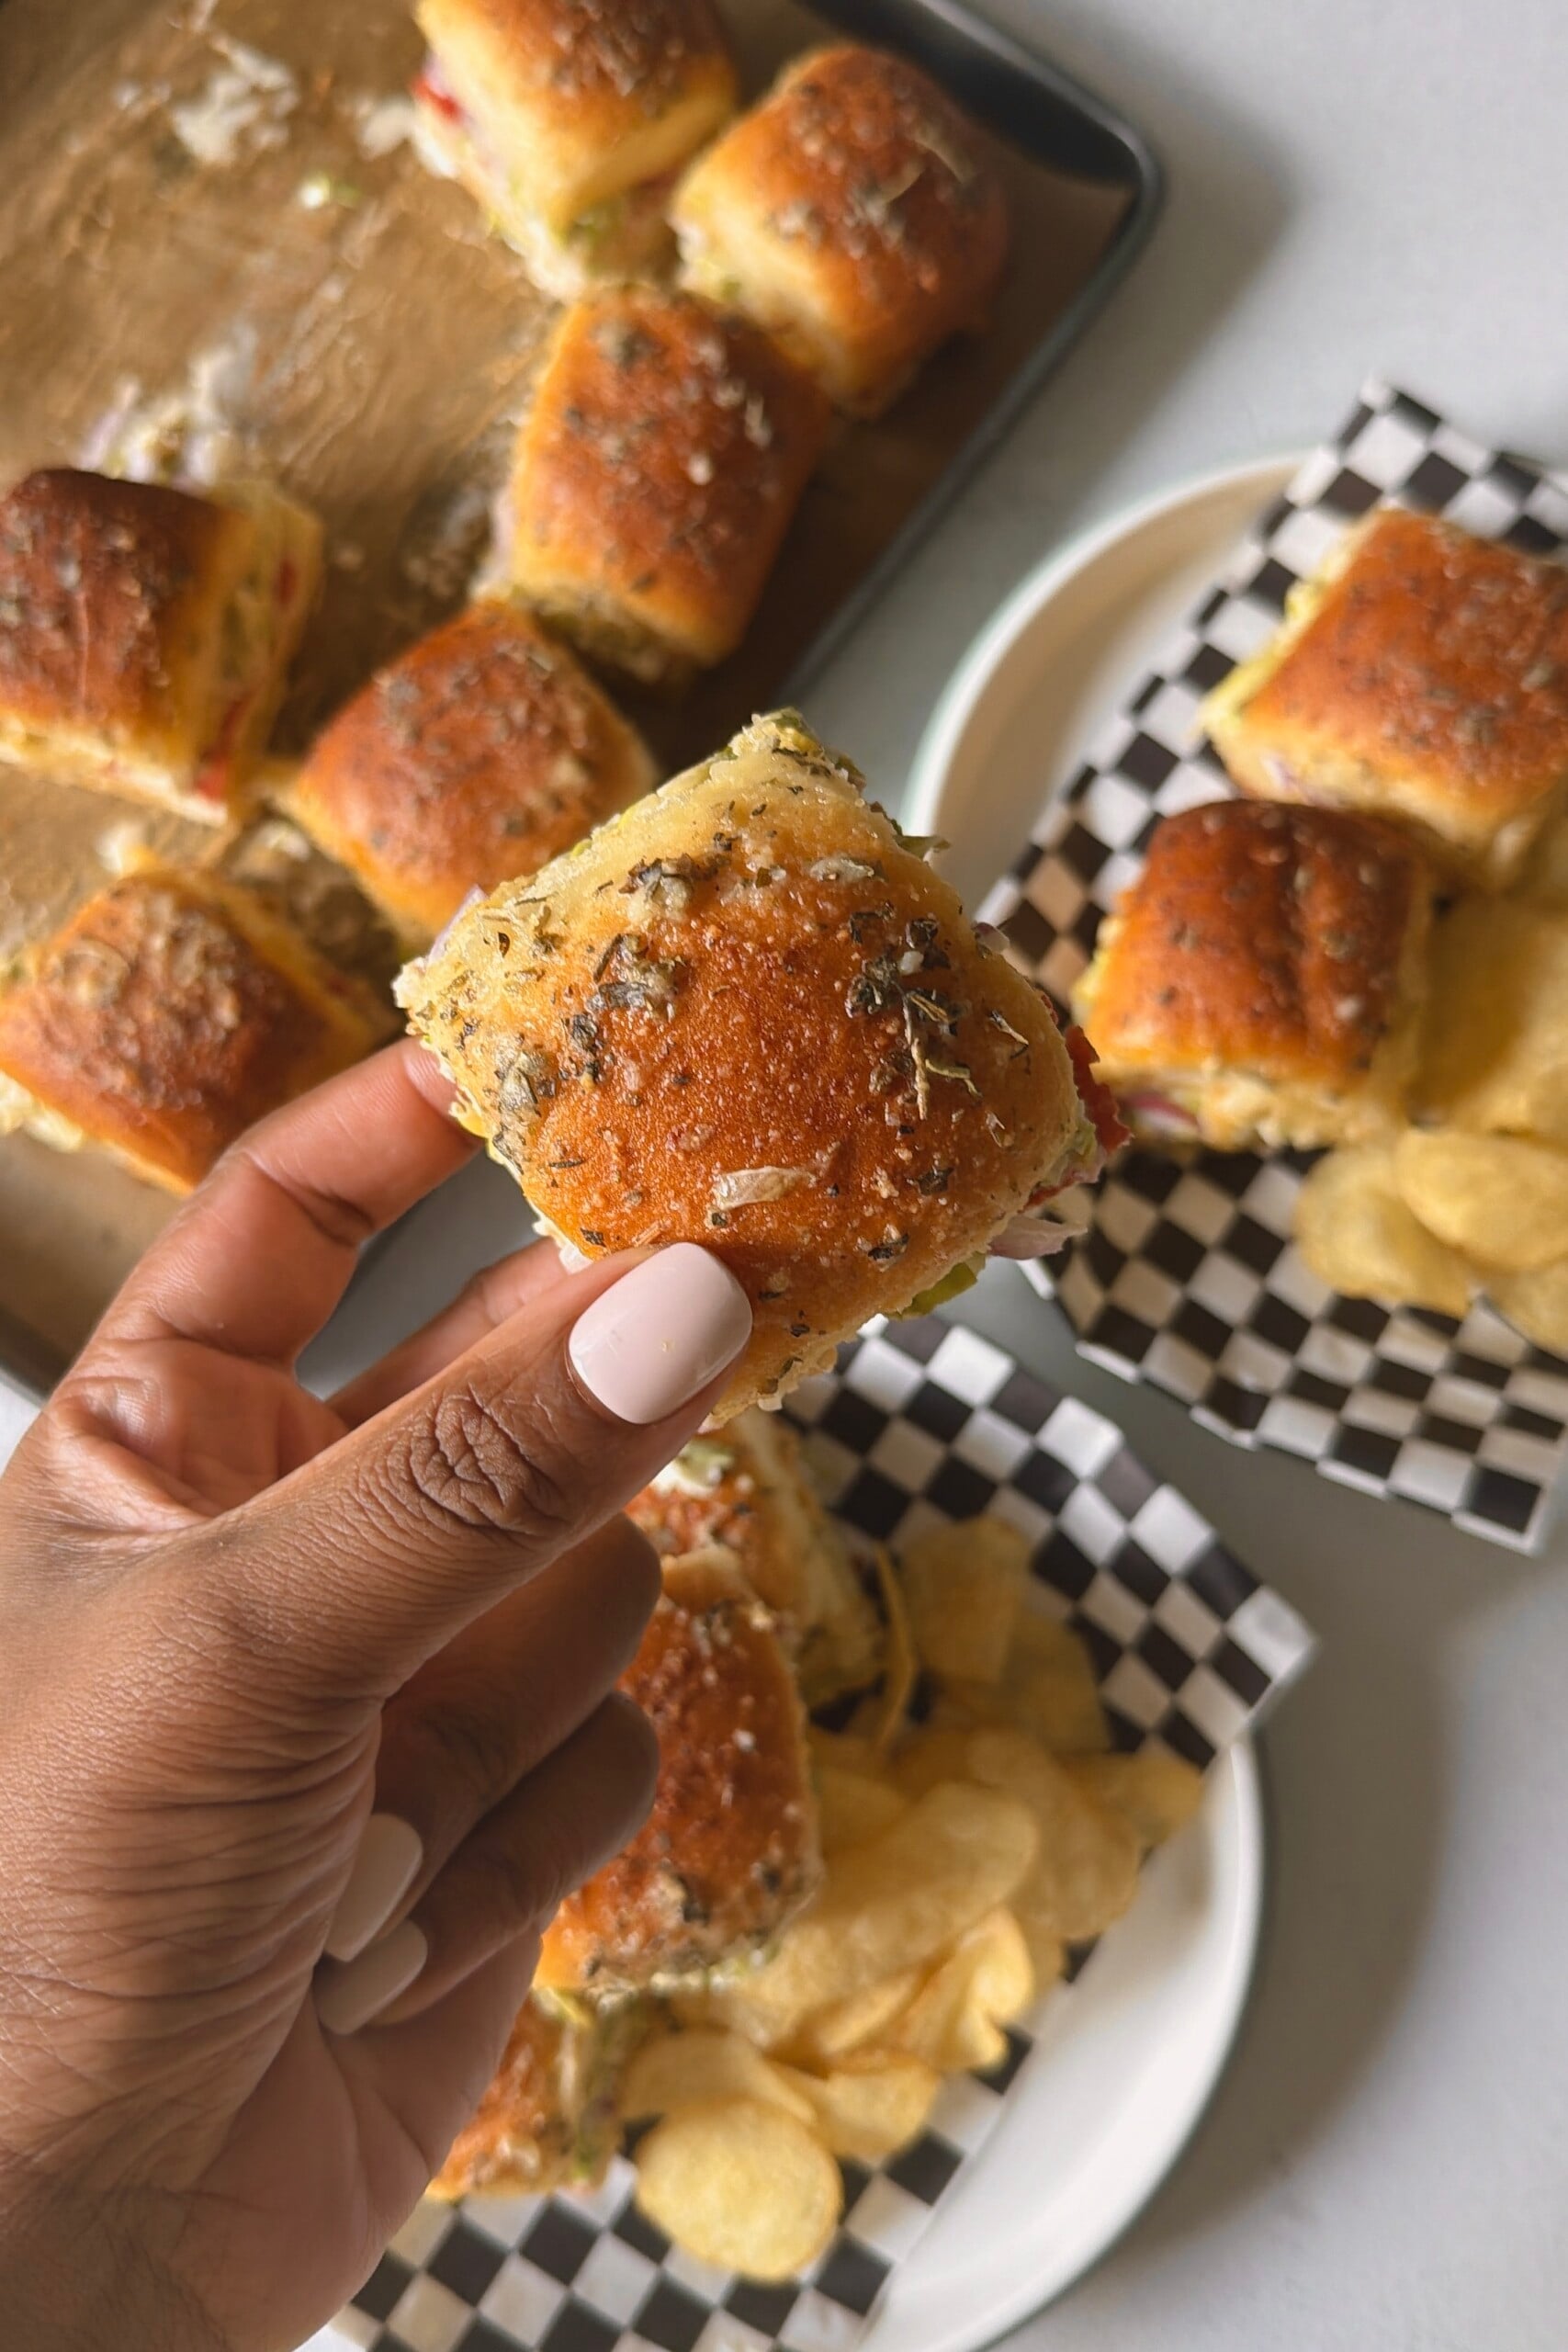
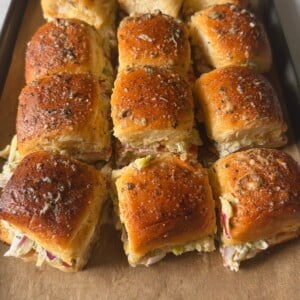
Add as Google preferred sourceCheesy, savory, and topped with a creamy, crunchy grinder salad, these baked Italian sliders pack all the flavors of a classic Italian grinder into an easy-to-eat slider form. They’re made with layers of turkey or ham, pepperoni, and melty provolone cheese on soft Hawaiian rolls and topped with a buttery Parmesan topping and fresh grinder salad.
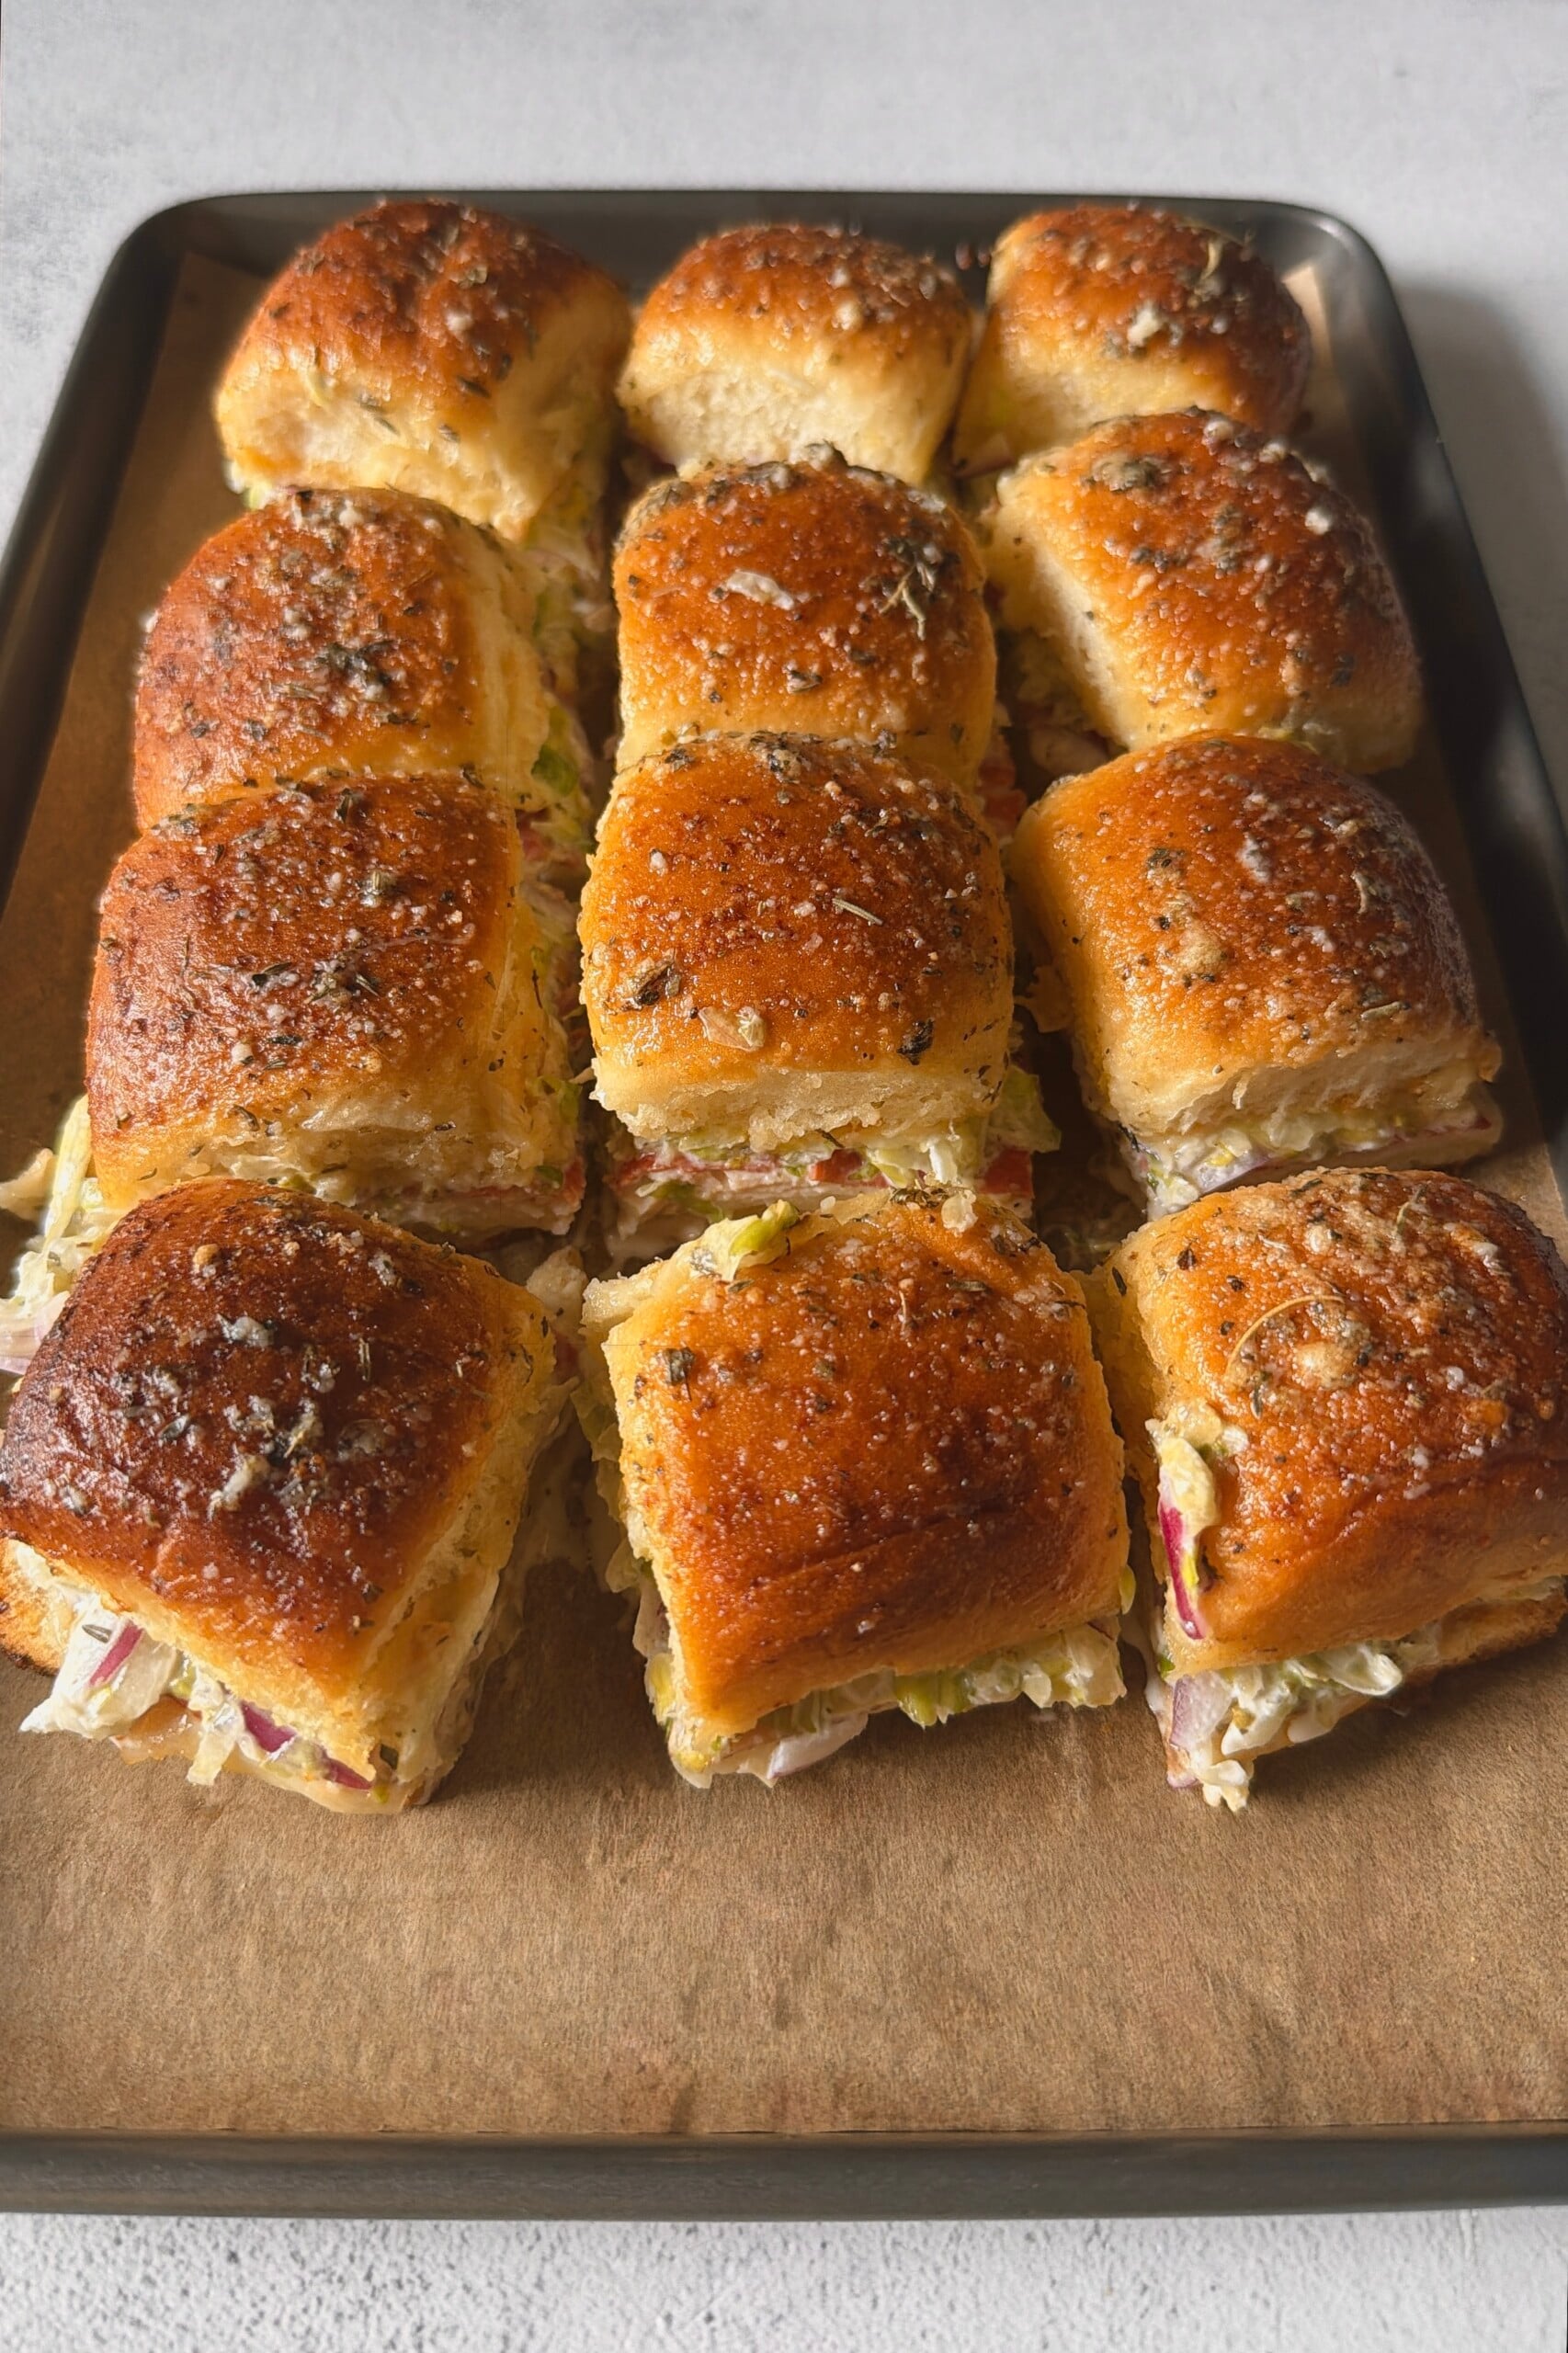
If you need an easy dinner that feels a little different than a typical sandwich night, these baked Italian sliders are such a fun option. The warm Hawaiian rolls are filled with melty provolone, turkey or ham, and pepperoni, then topped with a cool and creamy grinder salad for the perfect combo of warm, cheesy, and crunchy in every bite. They’re easy to assemble in one pan and work great for busy weeknights or anytime you need a simple meal the whole family can grab and enjoy.
And if you’re looking for a few more easy, family-friendly meals to add to your rotation, try these cheeseburger sliders for another fun slider option, these ground beef taquitos for a crispy, easy-to-hold dinner, or these cauliflower chicken nuggets for a simple way to add some veggies into a kid-favorite meal. They’re all easy options that are great for busy weeknights when you need something the whole family can enjoy!
Table of Contents
What You’ll Need
Here is what you’ll need to make these baked cheeseburger sliders:
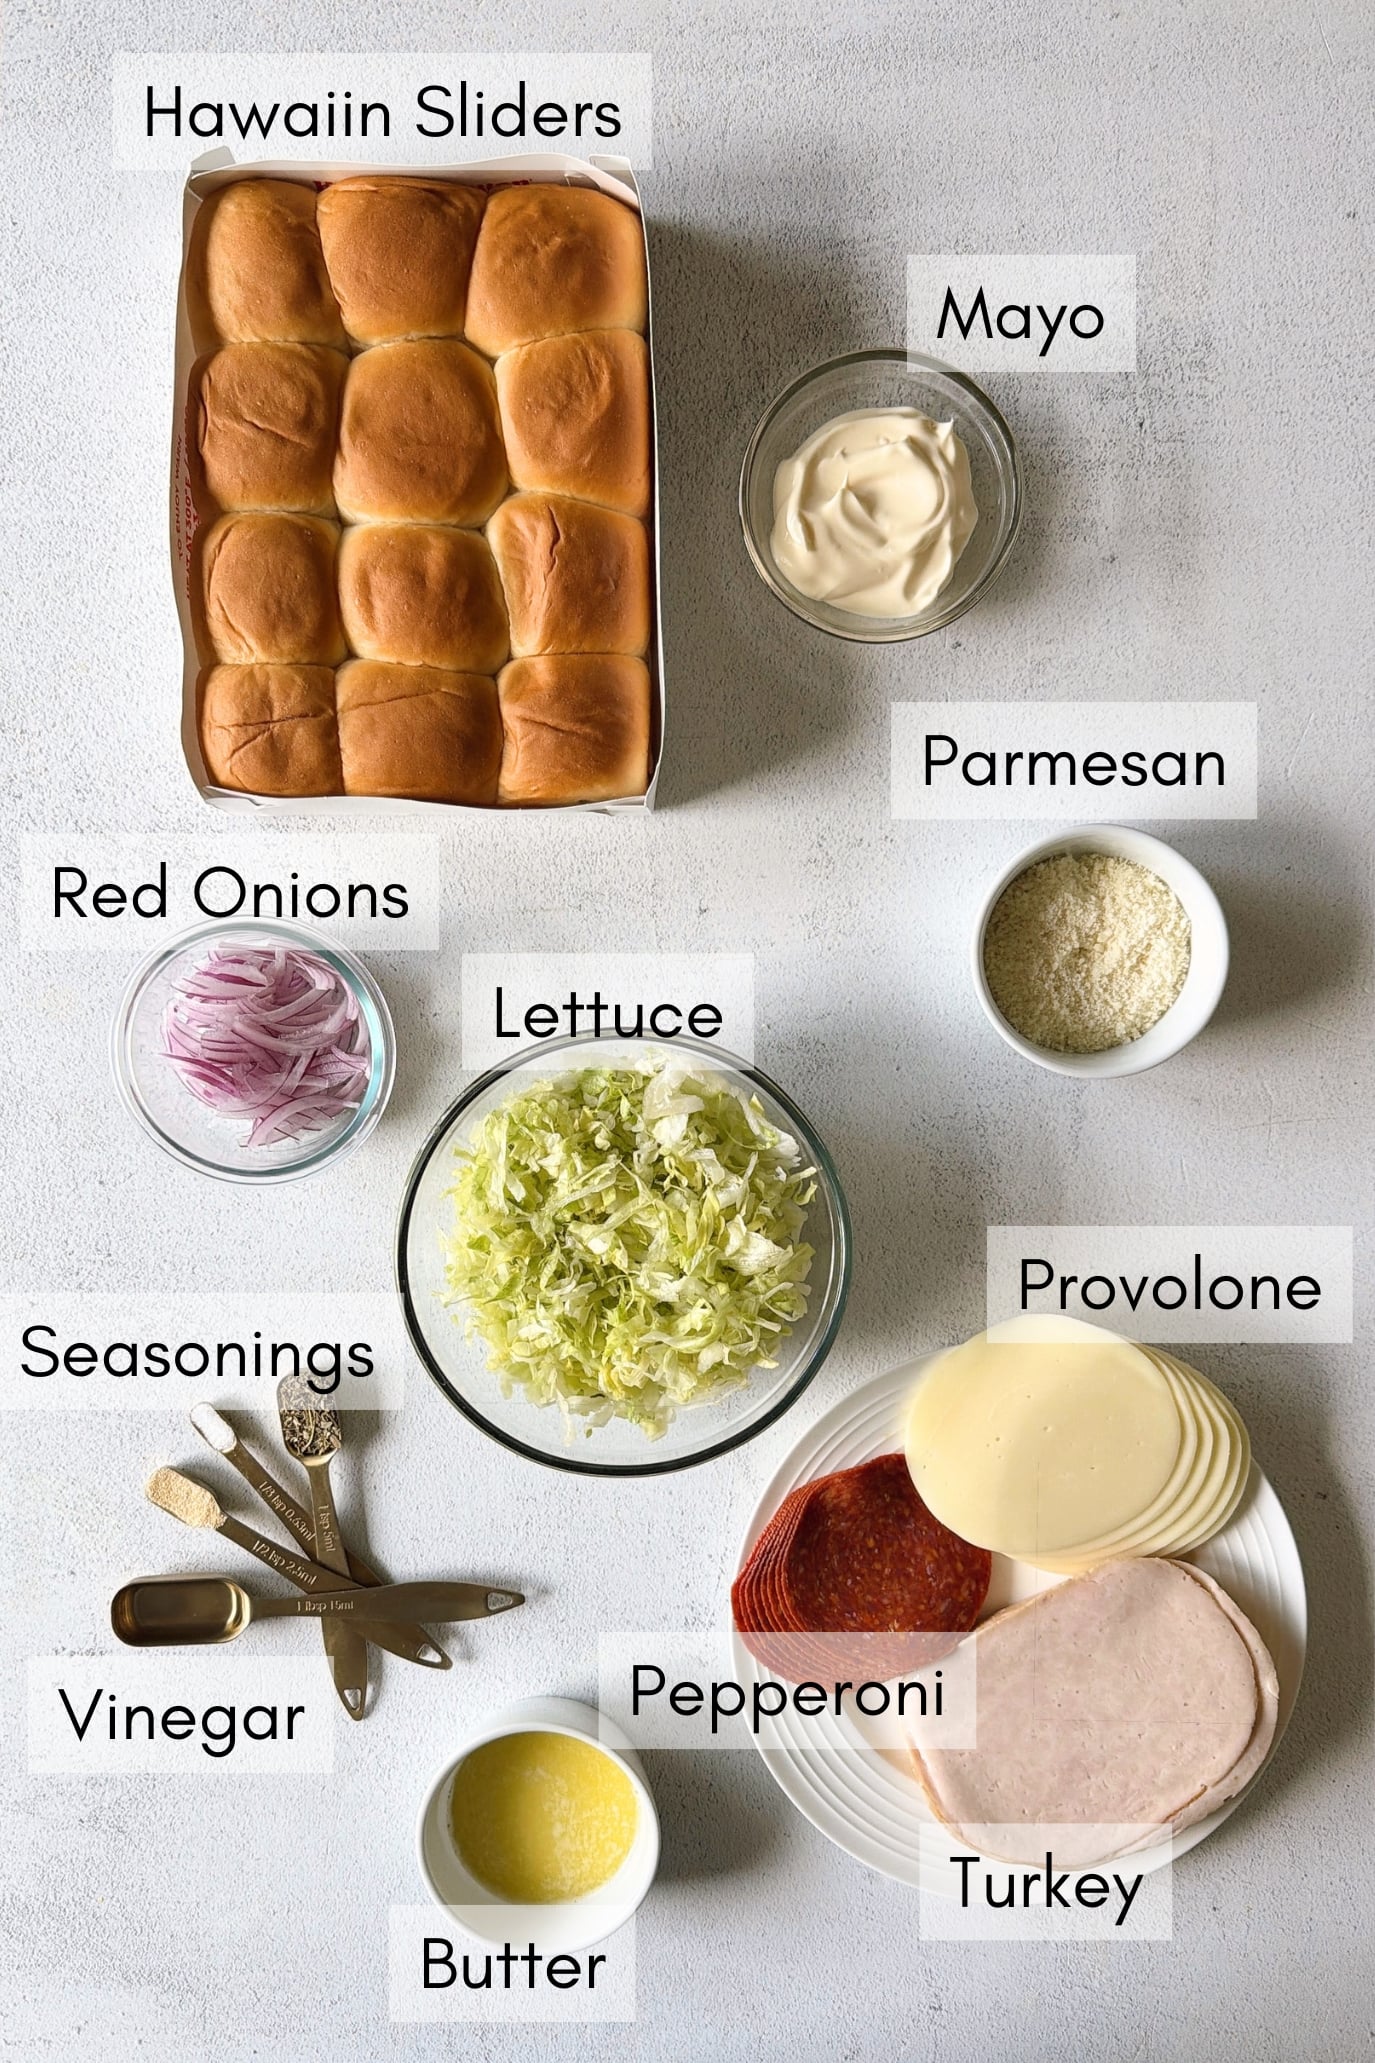
- Hawaiian Rolls: Soft, slightly sweet rolls that pair perfectly with the savory meats and cheese and bake up golden.
- Provolone Cheese: Adds that classic Italian sub flavor.
- Deli Turkey/Ham: A mild, savory meat that makes up the main filling for the sliders.
- Pepperoni: Adds a little extra spice and classic Italian flavor.
- Butter: Brushed over the tops of the rolls to help them bake up golden and flavorful.
- Parmesan Cheese: Adds a salty, savory flavor to both the buttery topping and grinder salad.
- Italian Seasoning/Garlic Powder: Adds herby Italian flavor throughout the sliders and extra flavor to both the butter topping and creamy dressing.
- Lettuce: Finely shredded iceberg gives the grinder salad its fresh crunch.
- Red Onion: Thinly sliced red onion adds crunch and flavor to balance the creamy dressing.
- Mayonnaise: Forms the creamy base of the grinder salad dressing.
- White Vinegar: Adds a little tang to balance the creamy mayo.
See the recipe card below for full information on ingredients and quantities.
Ingredient Substitutions & Additions
- Pepperoni: Regular pepperoni works in place of deli-sized pepperoni. If using smaller pepperoni slices, you’ll need more pieces to evenly cover the rolls.
- Provolone Cheese: Mozzarella is a good substitute if you don’t have provolone, though provolone gives the sliders a more traditional Italian grinder flavor.
- White Vinegar: Red wine vinegar can be used instead and is a great option for a more traditional grinder-style dressing.
- Mayonnaise: Greek yogurt or sour cream can be used in place of the mayonnaise for the grinder salad. You can also use a combo of mayo and Greek yogurt for a slightly lighter dressing that’s still creamy.
- Salami: For even more classic Italian grinder flavor, add a layer of thinly sliced salami along with the ham and pepperoni.
Step-by-Step Instructions
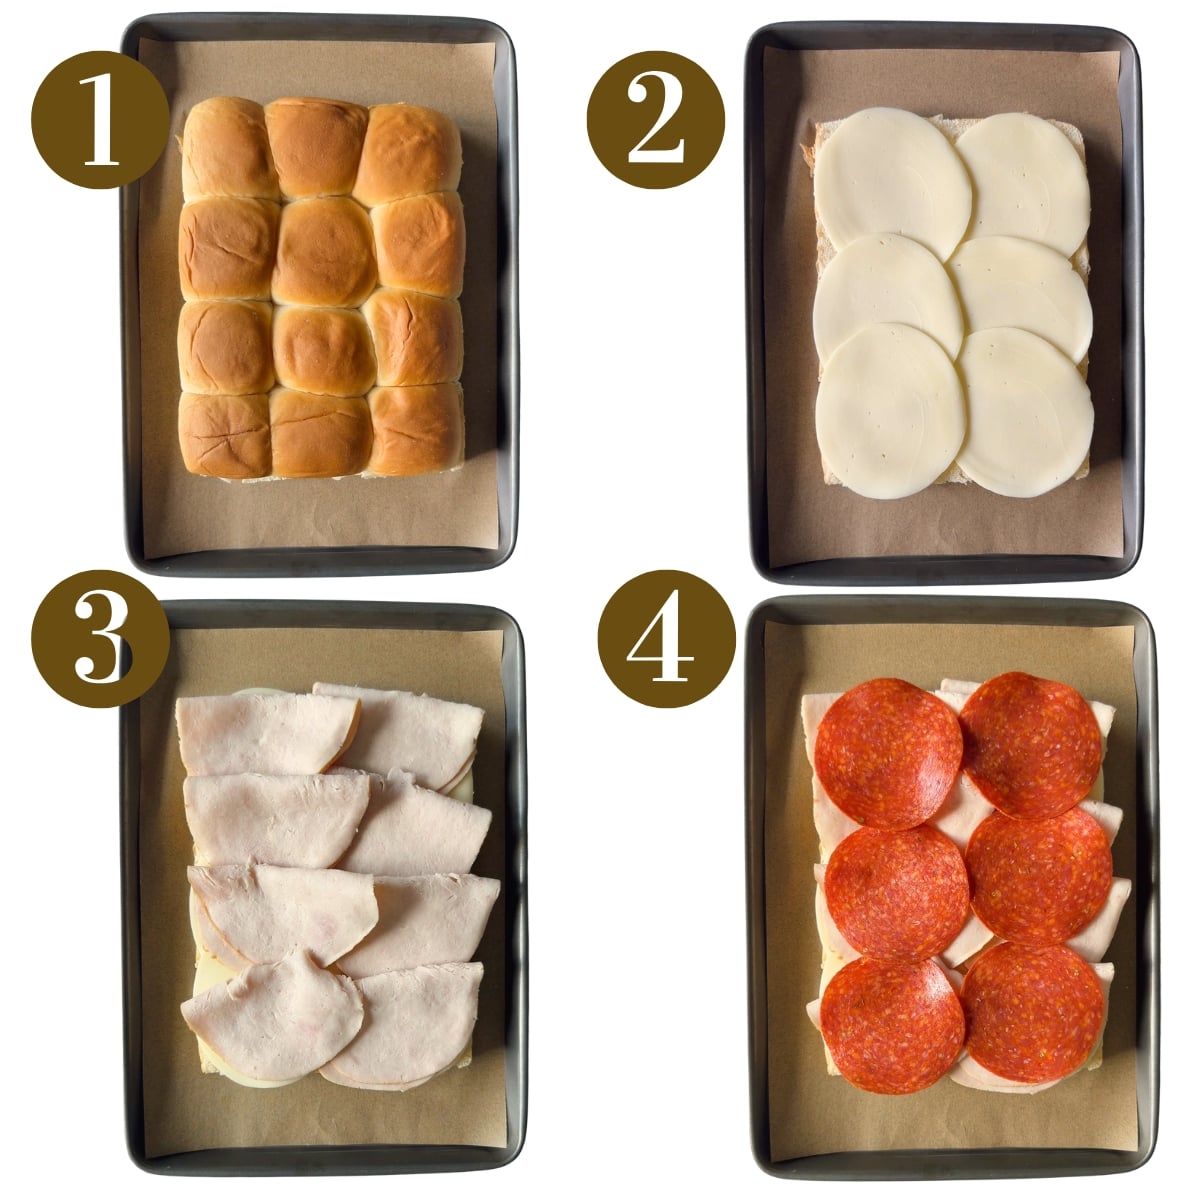
STEP 1: Preheat the oven to 350°F. Keep the Hawaiian rolls connected and slice the entire slab horizontally through the center. Place the bottom half into a greased or parchment-lined 9×13-inch baking dish.
STEP 2: Place the provolone cheese evenly over the bottom layer of rolls (Image 2).
STEP 3: Layer the sliced turkey/ham evenly over the provolone cheese (Image 3). Then layer the pepperoni on top, slightly overlapping the slices as needed (Image 4). Place the top half of the Hawaiian rolls over the pepperoni without pressing down firmly.
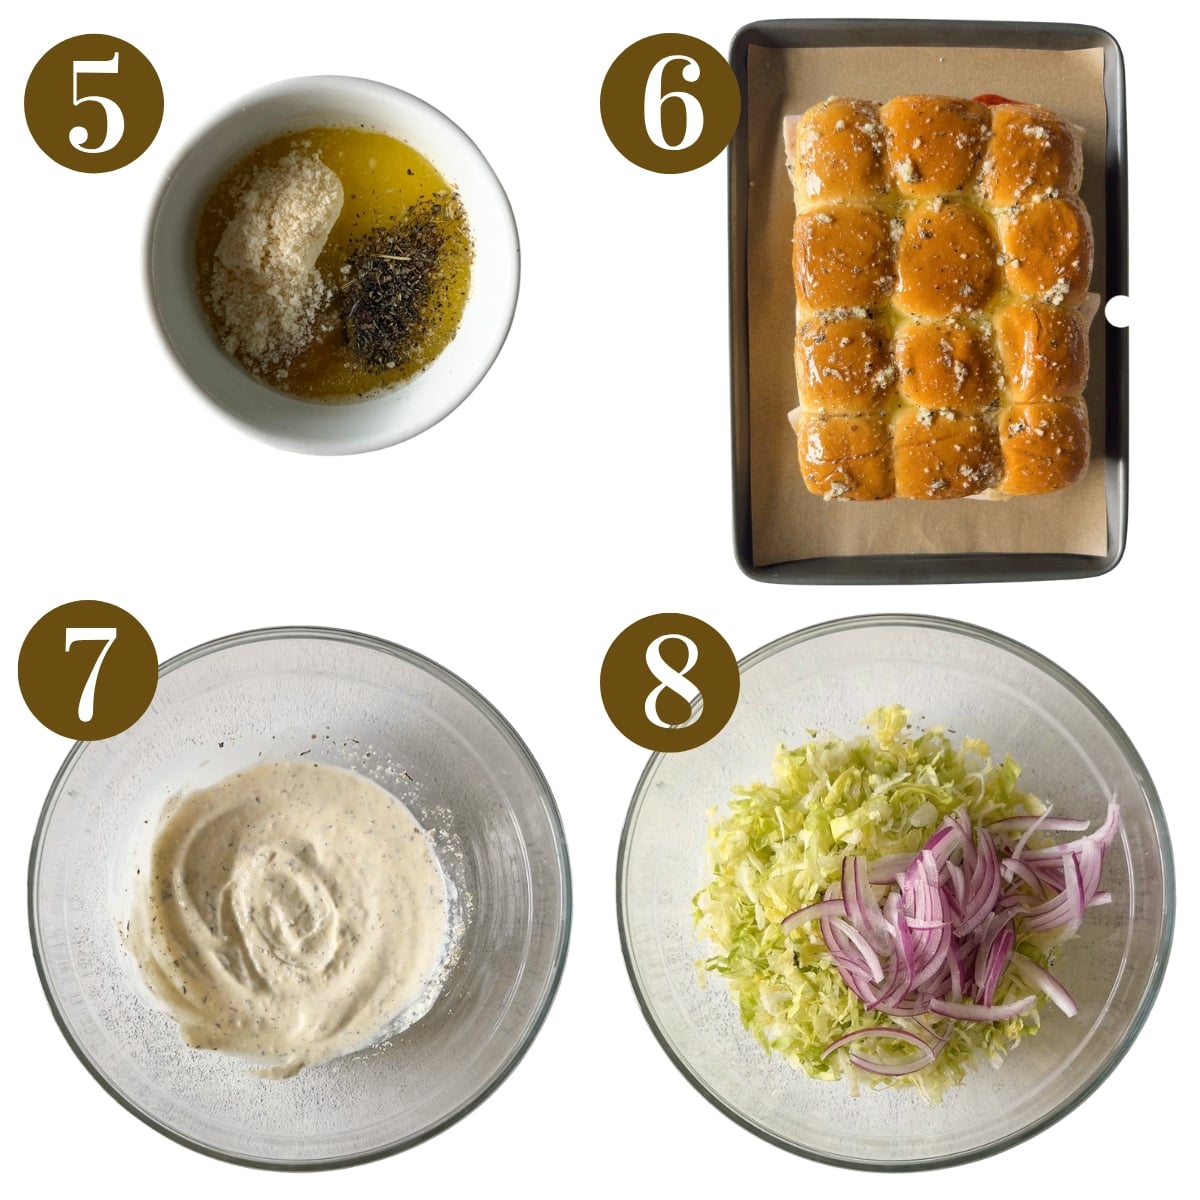
STEP 4: In a small bowl, combine the melted butter, Italian seasoning, garlic powder, and Parmesan cheese (Image 5). Brush the mixture generously over the tops of the rolls (Image 6).
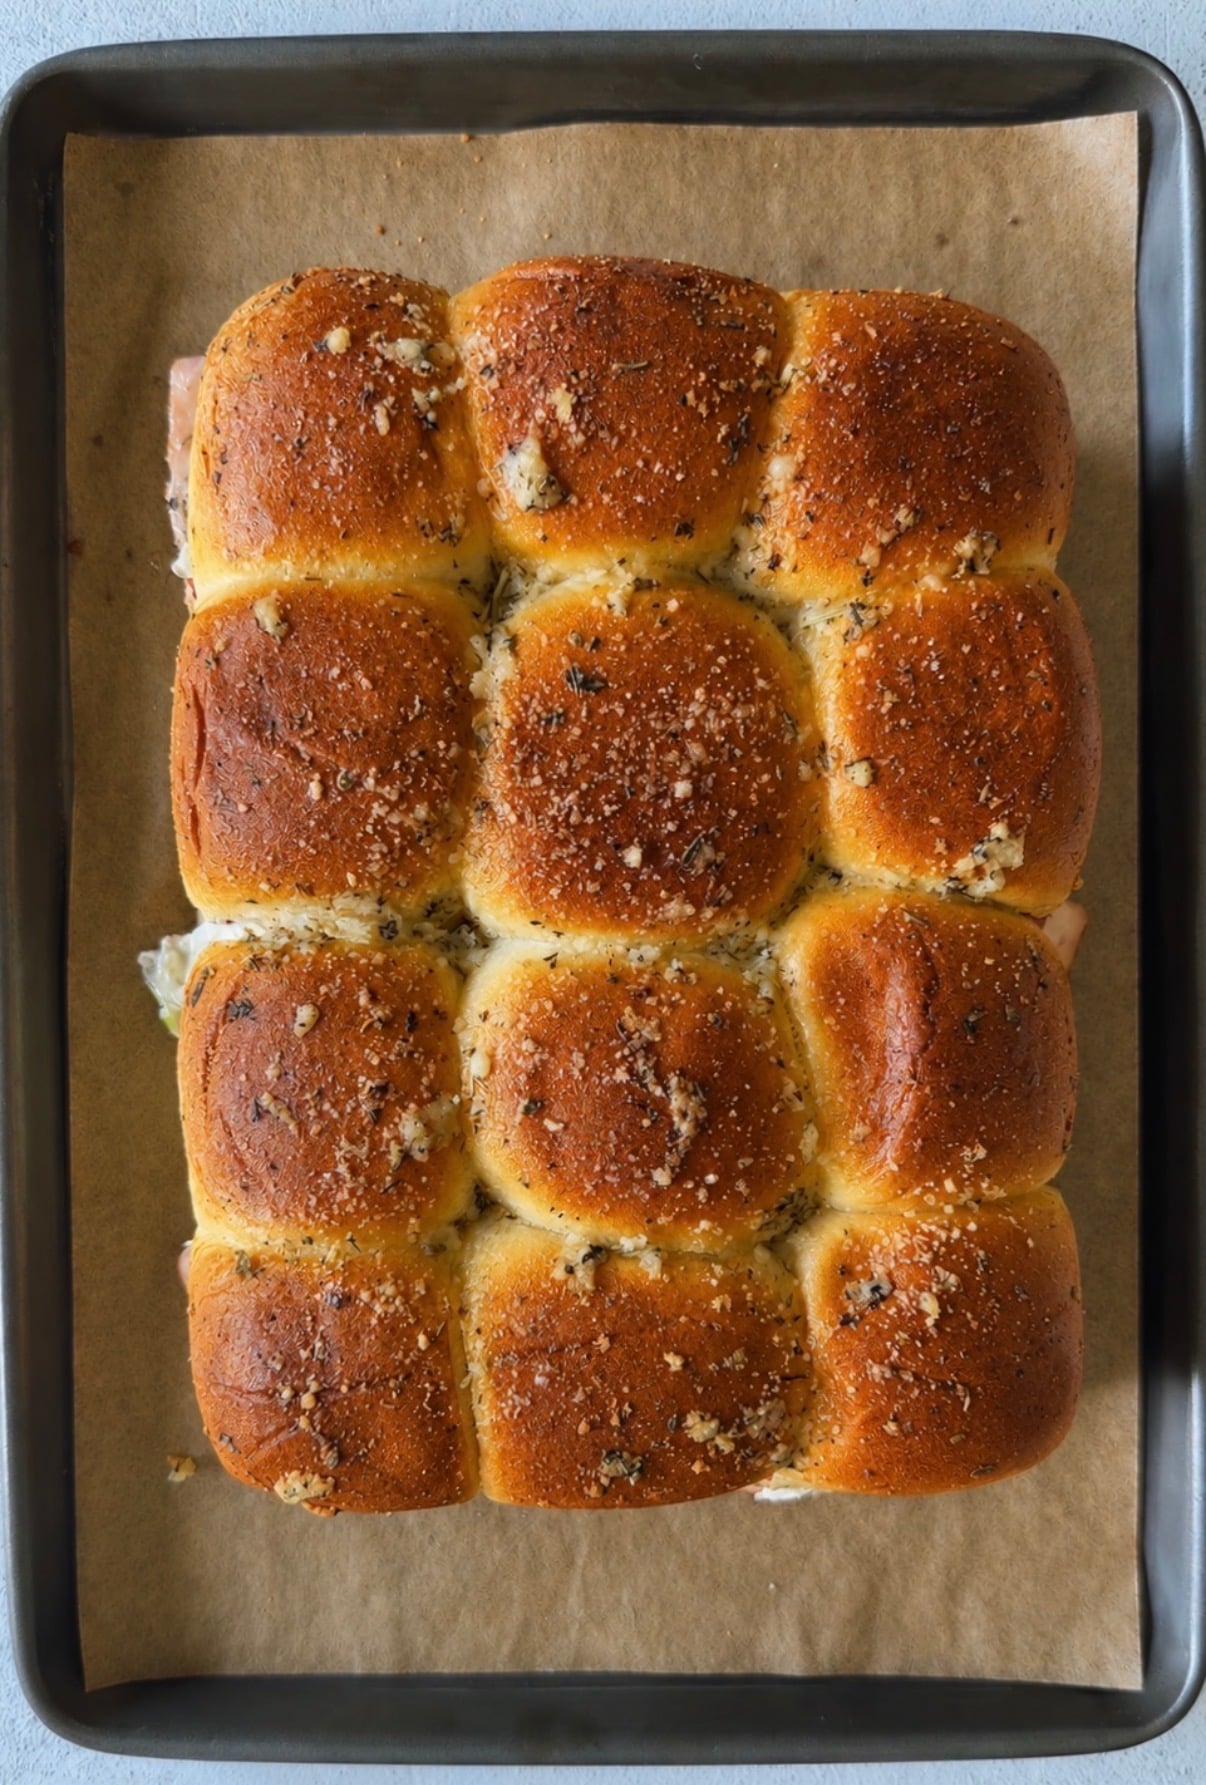
STEP 5: Loosely cover the sliders with foil and bake for 15 minutes. Remove the foil and bake for an additional 5–7 minutes, or until the cheese is melted and the tops of the rolls are lightly golden and toasted.
STEP 6: While the sliders bake, make the grinder salad. In a large bowl, whisk together the mayonnaise, white vinegar, Italian seasoning, garlic powder, salt, black pepper, and Parmesan cheese (Image 7).
STEP 7: Add the shredded lettuce and thinly sliced red onion to the dressing and toss until everything is evenly coated (Images 8 & 9).
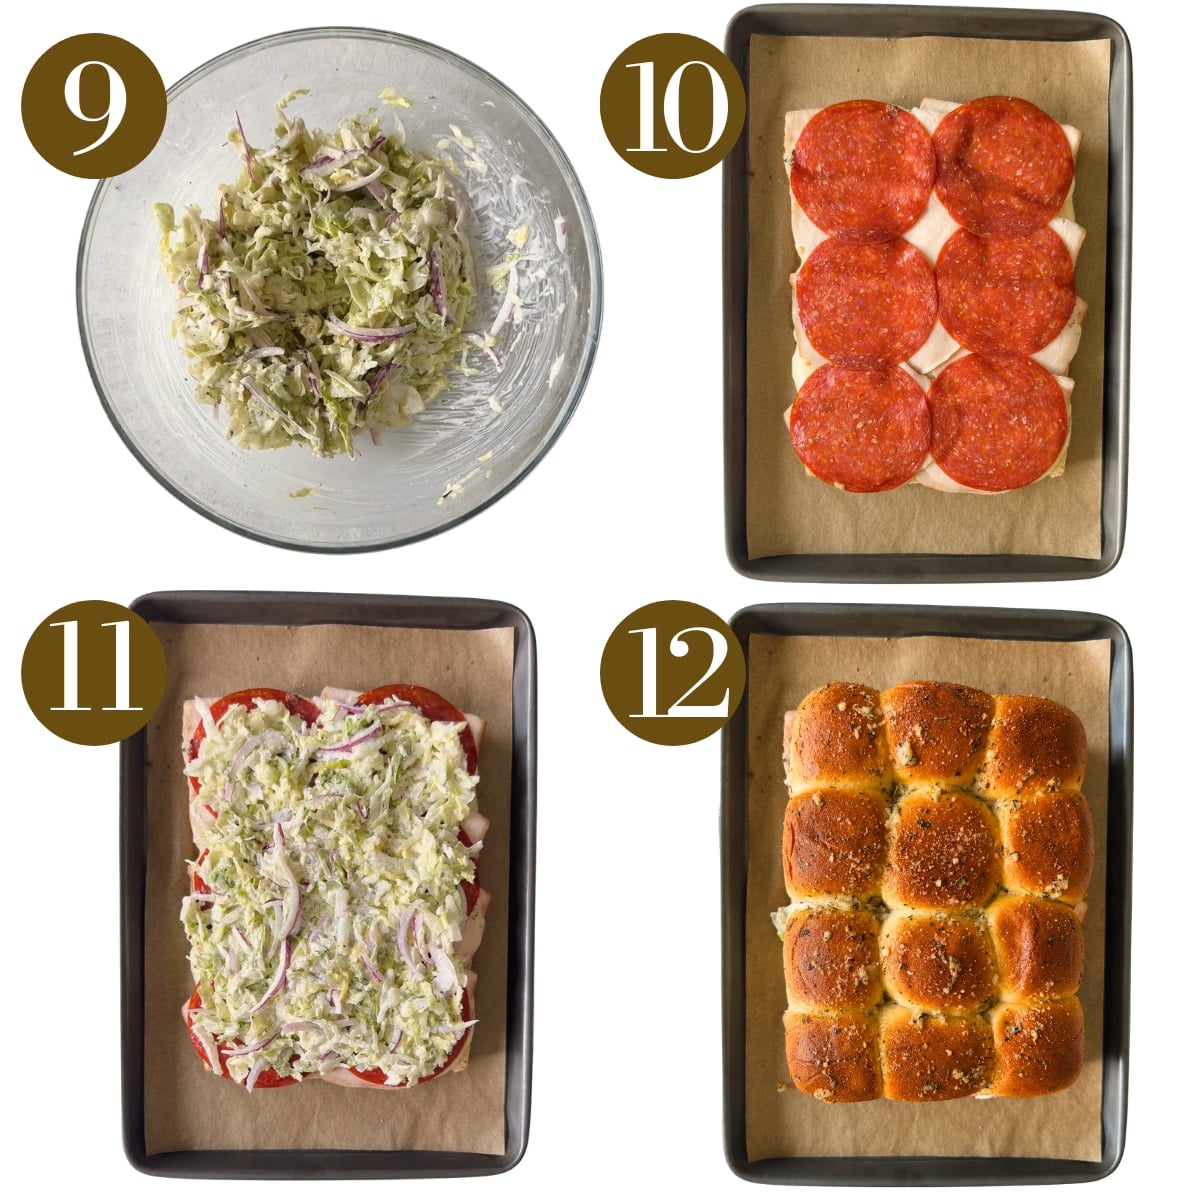
STEP 8: Remove the sliders from the oven (Image 10) and carefully lift off the top half of the rolls. Spread the grinder salad evenly over the sliders (Image 11).
STEP 9: Place the top half of the rolls back over the grinder salad (Image 12). Brush with extra garlic butter if desired. Slice into 12 individual sliders and serve.
Storage Instructions
These Italian grinder sliders are best served immediately once the grinder salad is added since the dressed lettuce will soften as it sits. If you have leftovers, store the baked meat and cheese sliders separately from the grinder salad in airtight containers in the refrigerator for up to 3–4 days. Reheat the sliders in the oven or air fryer until warmed through, then add fresh grinder salad just before serving. For make-ahead prep, you can assemble the meat, cheese, and rolls ahead of time and refrigerate them covered, then bake and prepare the grinder salad when you’re ready to serve.
Tips For Success
- Layer the provolone directly over the bottom rolls rather than on top of the meat. This prevents the melted cheese from sticking to the top buns, making it much easier to lift them off and add the grinder salad after baking.
- Only add the grinder salad after baking and right before serving. This helps keep the lettuce cool and crunchy and gives you that classic contrast of a warm Italian grinder with a fresh, creamy salad.
- Bake the sliders covered first so the cheese has time to melt without the rolls getting too dark. Uncover them for the last 5–7 minutes to give the tops a golden, lightly toasted finish.
- If your oven tends to brown the bottoms of rolls quickly, bake the sliders on the middle or upper-middle rack. You can also place an empty baking sheet on the rack underneath the baking dish to help shield the bottoms from direct heat.
Recipe FAQs
Yes! For even more of that classic Italian grinder flavor, you can add sliced salami along with the other meats. Banana peppers or pepperoncini are also great additions to the grinder salad for a little extra tang and crunch. You can also add thinly sliced tomatoes after baking, or swap in your favorite Italian deli meats to make these sliders your own.
Definitely! The grinder salad adds the creamy, tangy crunch that gives these sliders their classic grinder flavor, but you can leave it off if your kids prefer simpler sandwiches. You can also serve the salad on the side and let everyone add their own.
Wait until right before serving to add the grinder salad and any tomatoes. Both contain moisture that can soften the rolls as they sit, so keeping them separate until serving gives you the best texture.
Yes! These sliders are pretty hearty and packed with beef. You can use a little less of the beef mixture and save the extra for another meal or serve it on the side.
More Easy Dinners You’ll Love
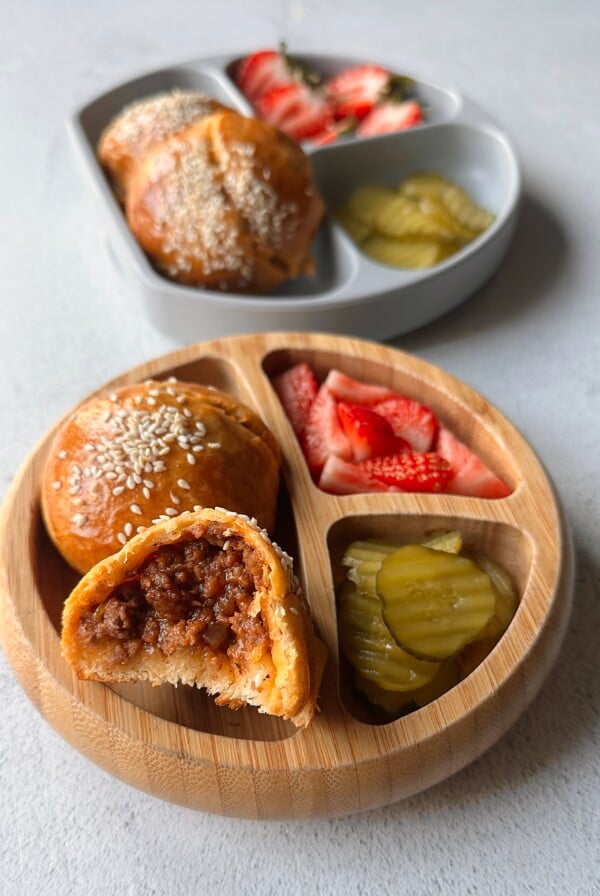
Cheeseburger Bombs
Ground Beef Taquitos
Chicken Feta Meatballs
Creamy Tomato Pasta
If you tried these Baked Italian Sliders, please leave a ⭐ star rating and let me know how it went in the comments below! I love hearing from you!
Baked Italian Sliders
Ingredients
For The Sliders
- 1 (12 -count) package hawaiian rolls
- 6 slices provolone cheese
- 8 oz deli turkey/ham
- 6 deli-sized pepperoni slices, or 20-24 small pepperoni
For The Garlic Butter
- 2 tbsp unsalted butter, melted
- ½ tsp Italian seasoning
- ¼ tsp garlic powder
- 1 tbsp freshly grated Parmesan
For The Grinder Salad
- 2½ to 3 cups finely shredded iceberg lettuce
- ¼ cup thinly sliced red onion
- ⅓ cup mayonnaise
- 2 tsp white vinegar
- ½ tsp Italian seasoning
- 1 tbsp freshly grated Parmesan
- ¼ tsp garlic powder
- salt and pepper, to taste
Instructions
- Preheat the oven to 350°F. Keep the Hawaiian rolls connected and slice the entire slab horizontally through the center. Place the bottom half into a greased or parchment-lined 9×13-inch baking dish.
- Place the provolone cheese evenly over the bottom layer of rolls.
- Layer the sliced turkey/ham evenly over the provolone cheese. Then layer the pepperoni on top, slightly overlapping the slices as needed. Place the top half of the Hawaiian rolls over the pepperoni without pressing down firmly.
- In a small bowl, combine the melted butter, Italian seasoning, garlic powder, and Parmesan cheese. Brush the mixture generously over the tops of the rolls.
- Loosely cover the sliders with foil and bake for 15 minutes. Remove the foil and bake for an additional 5–7 minutes, or until the cheese is melted and the tops of the rolls are lightly golden and toasted.
- While the sliders bake, make the grinder salad. In a large bowl, whisk together the mayonnaise, white vinegar, Italian seasoning, garlic powder, salt, black pepper, and Parmesan cheese.
- Add the shredded lettuce and thinly sliced red onion to the dressing and toss until everything is evenly coated.
- Remove the sliders from the oven and carefully lift off the top half of the rolls. Spread the grinder salad evenly over the sliders.
- Place the top half of the rolls back over the grinder salad. Brush with extra garlic butter if desired. Slice into 12 individual sliders and serve.
Notes
- Layer the provolone directly over the bottom rolls rather than on top of the meat. This prevents the melted cheese from sticking to the top buns, making it much easier to lift them off and add the grinder salad after baking.
- Only add the grinder salad after baking and right before serving. This helps keep the lettuce cool and crunchy and gives you that classic contrast of a warm Italian grinder with a fresh, creamy salad.
- Bake the sliders covered first so the cheese has time to melt without the rolls getting too dark. Uncover them for the last 5–7 minutes to give the tops a golden, lightly toasted finish.
- If your oven tends to brown the bottoms of rolls quickly, bake the sliders on the middle or upper-middle rack. You can also place an empty baking sheet on the rack underneath the baking dish to help shield the bottoms from direct heat.







Thank you so much for these little ideas! I am making my 2yr old sliders for the week & paired with multiple healthy options. I always wake up Sunday not knowing what I am going to make him for the week & came across your instagram page. We appreciate you.
I’m so glad to hear that you’ve been finding the recipes helpful, Layotya!😊❤️
Thank you so much for these little ideas! I am making my 2yr old sliders for the week & paired with multiple healthy options. I always wake up Sunday not knowing what I am going to make him for the week & came across your instagram page. We appreciate you.