Mini Waffles
on Feb 04, 2026
This post may contain affiliate links. Please read our disclosure policy.
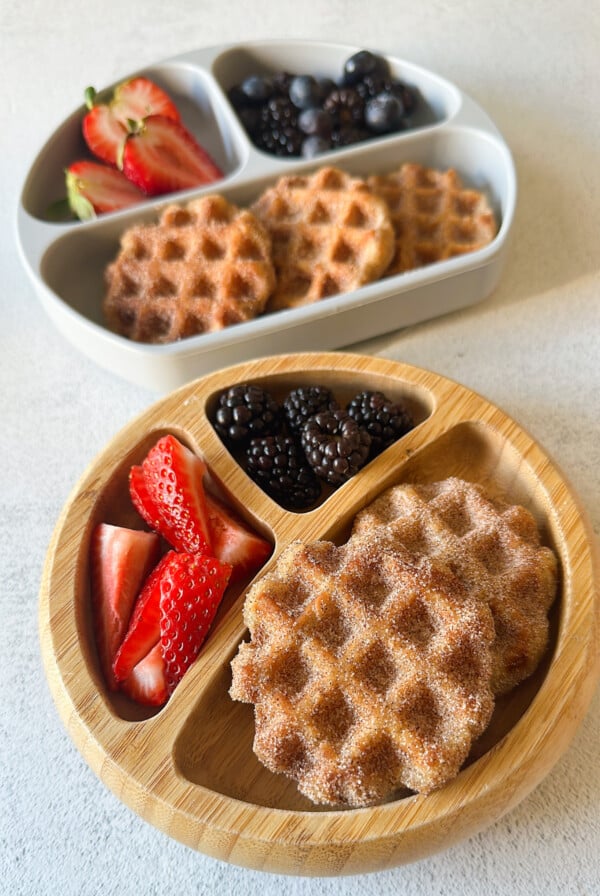
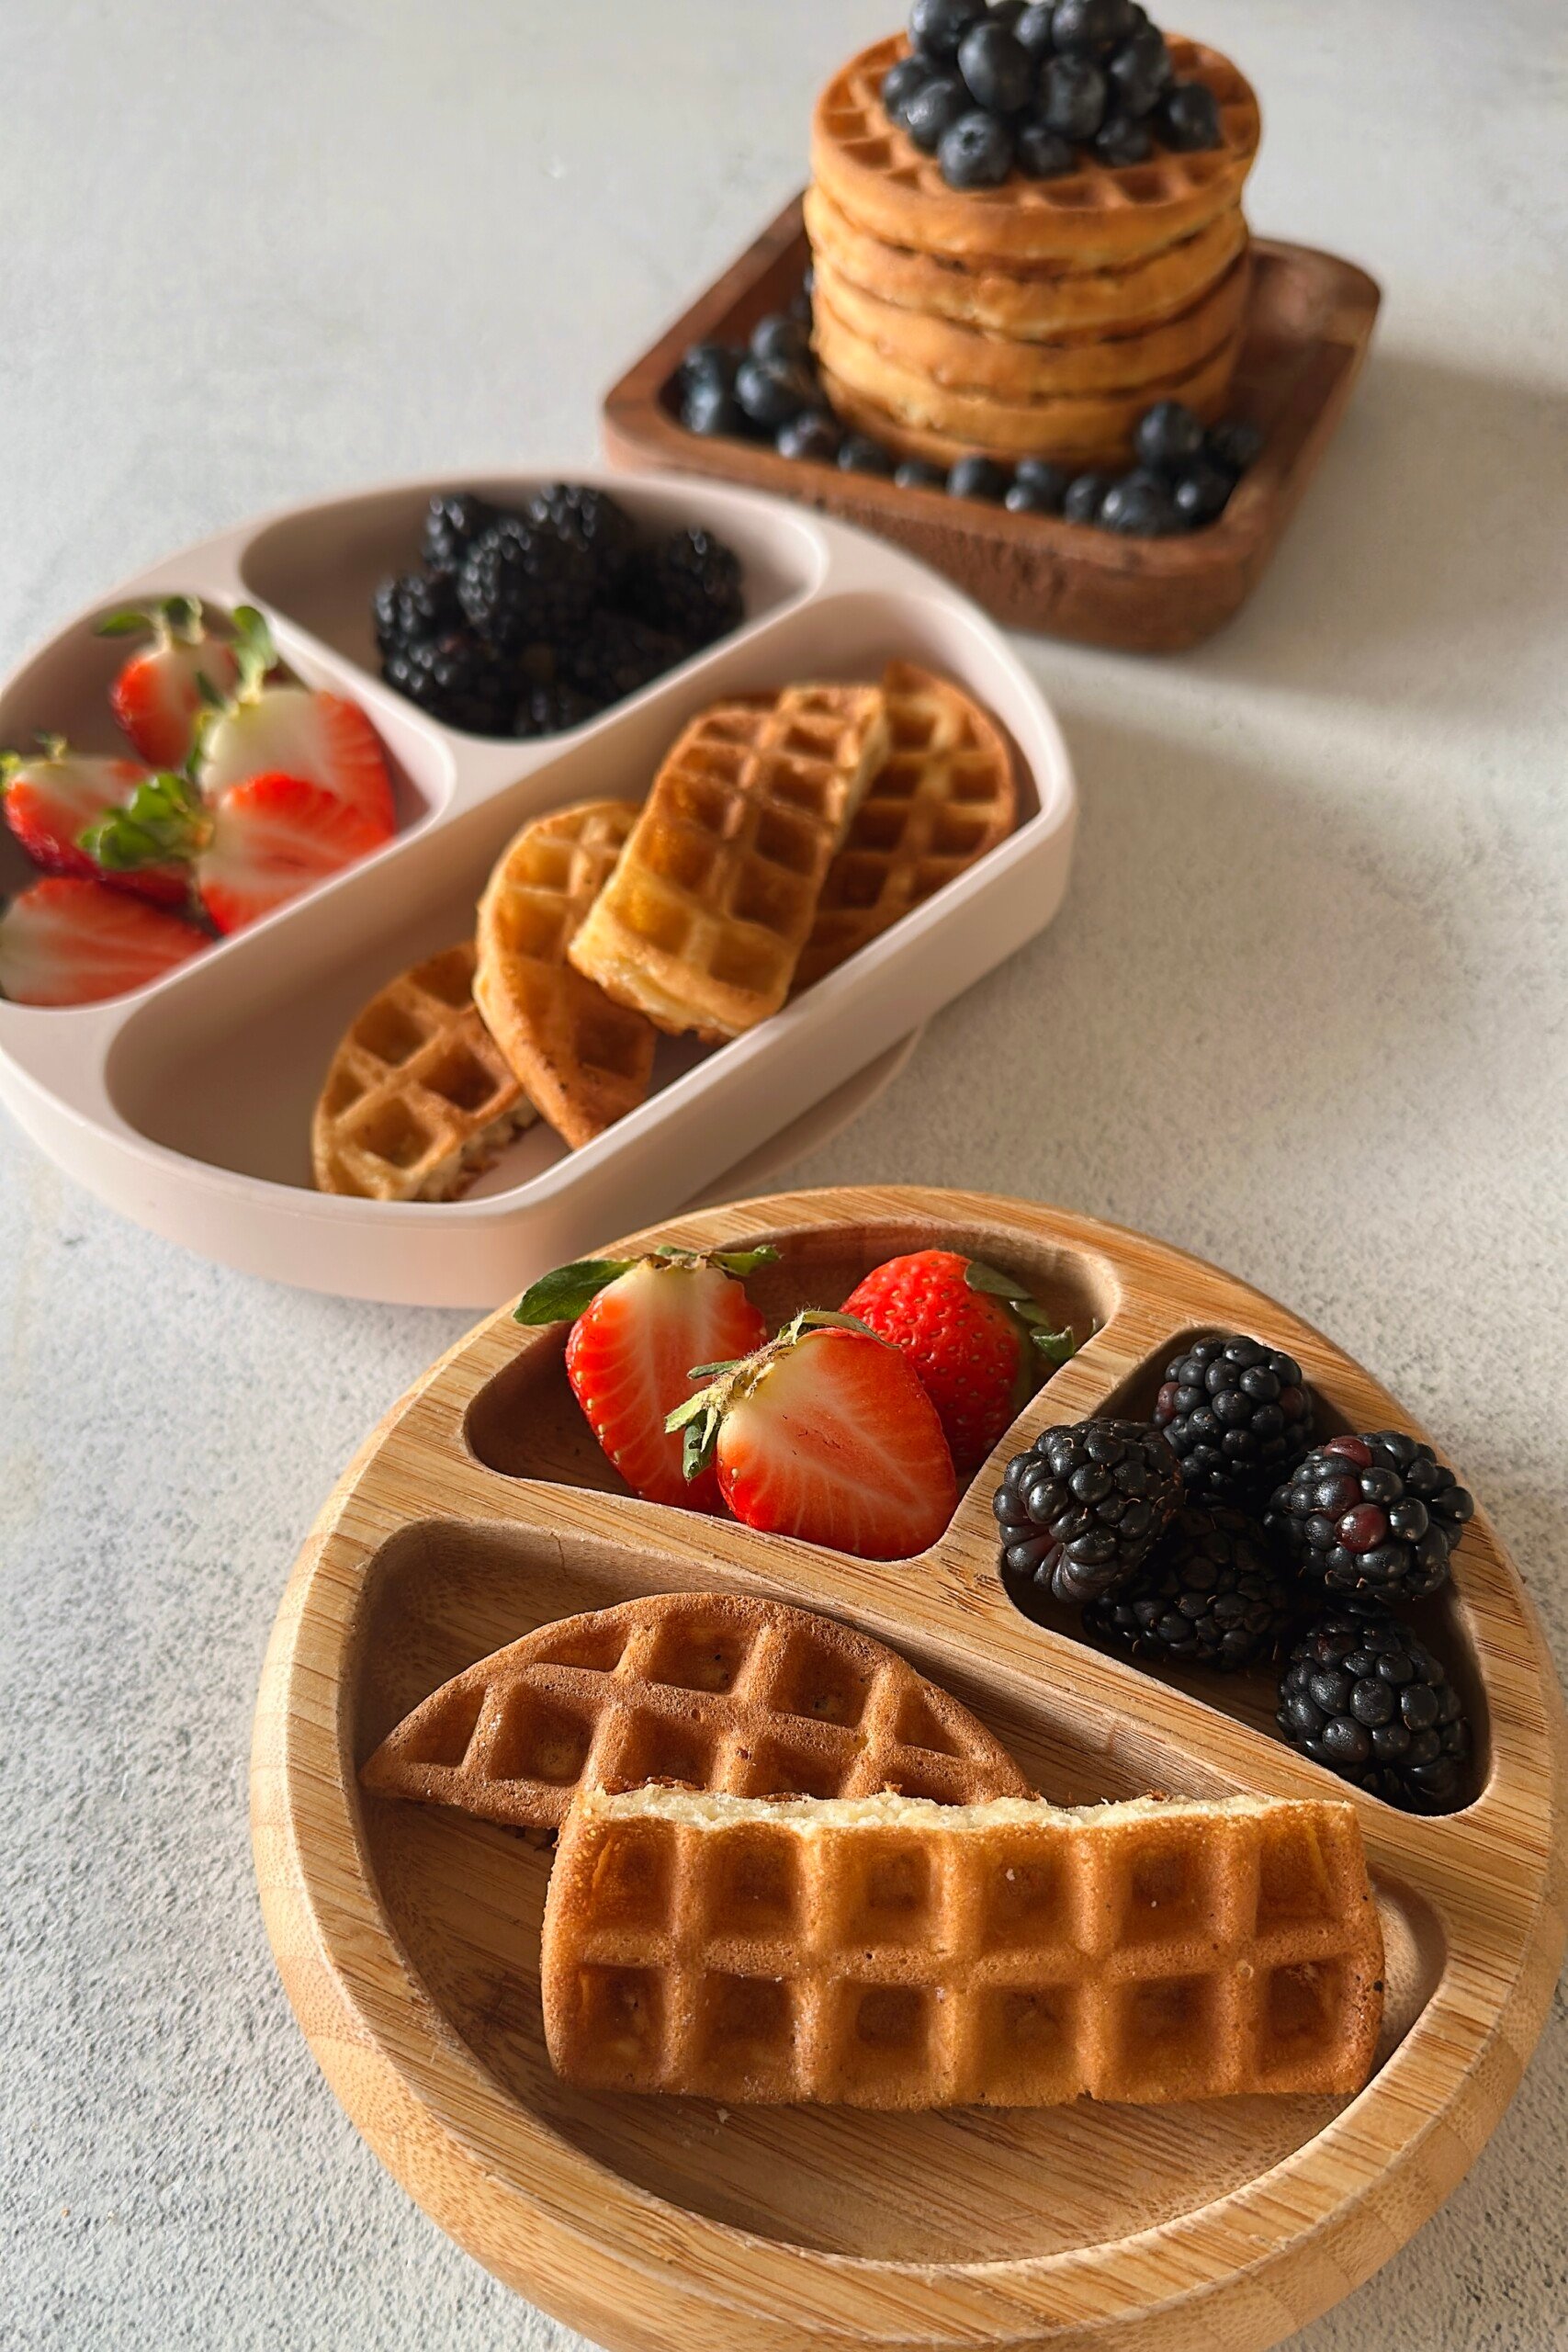
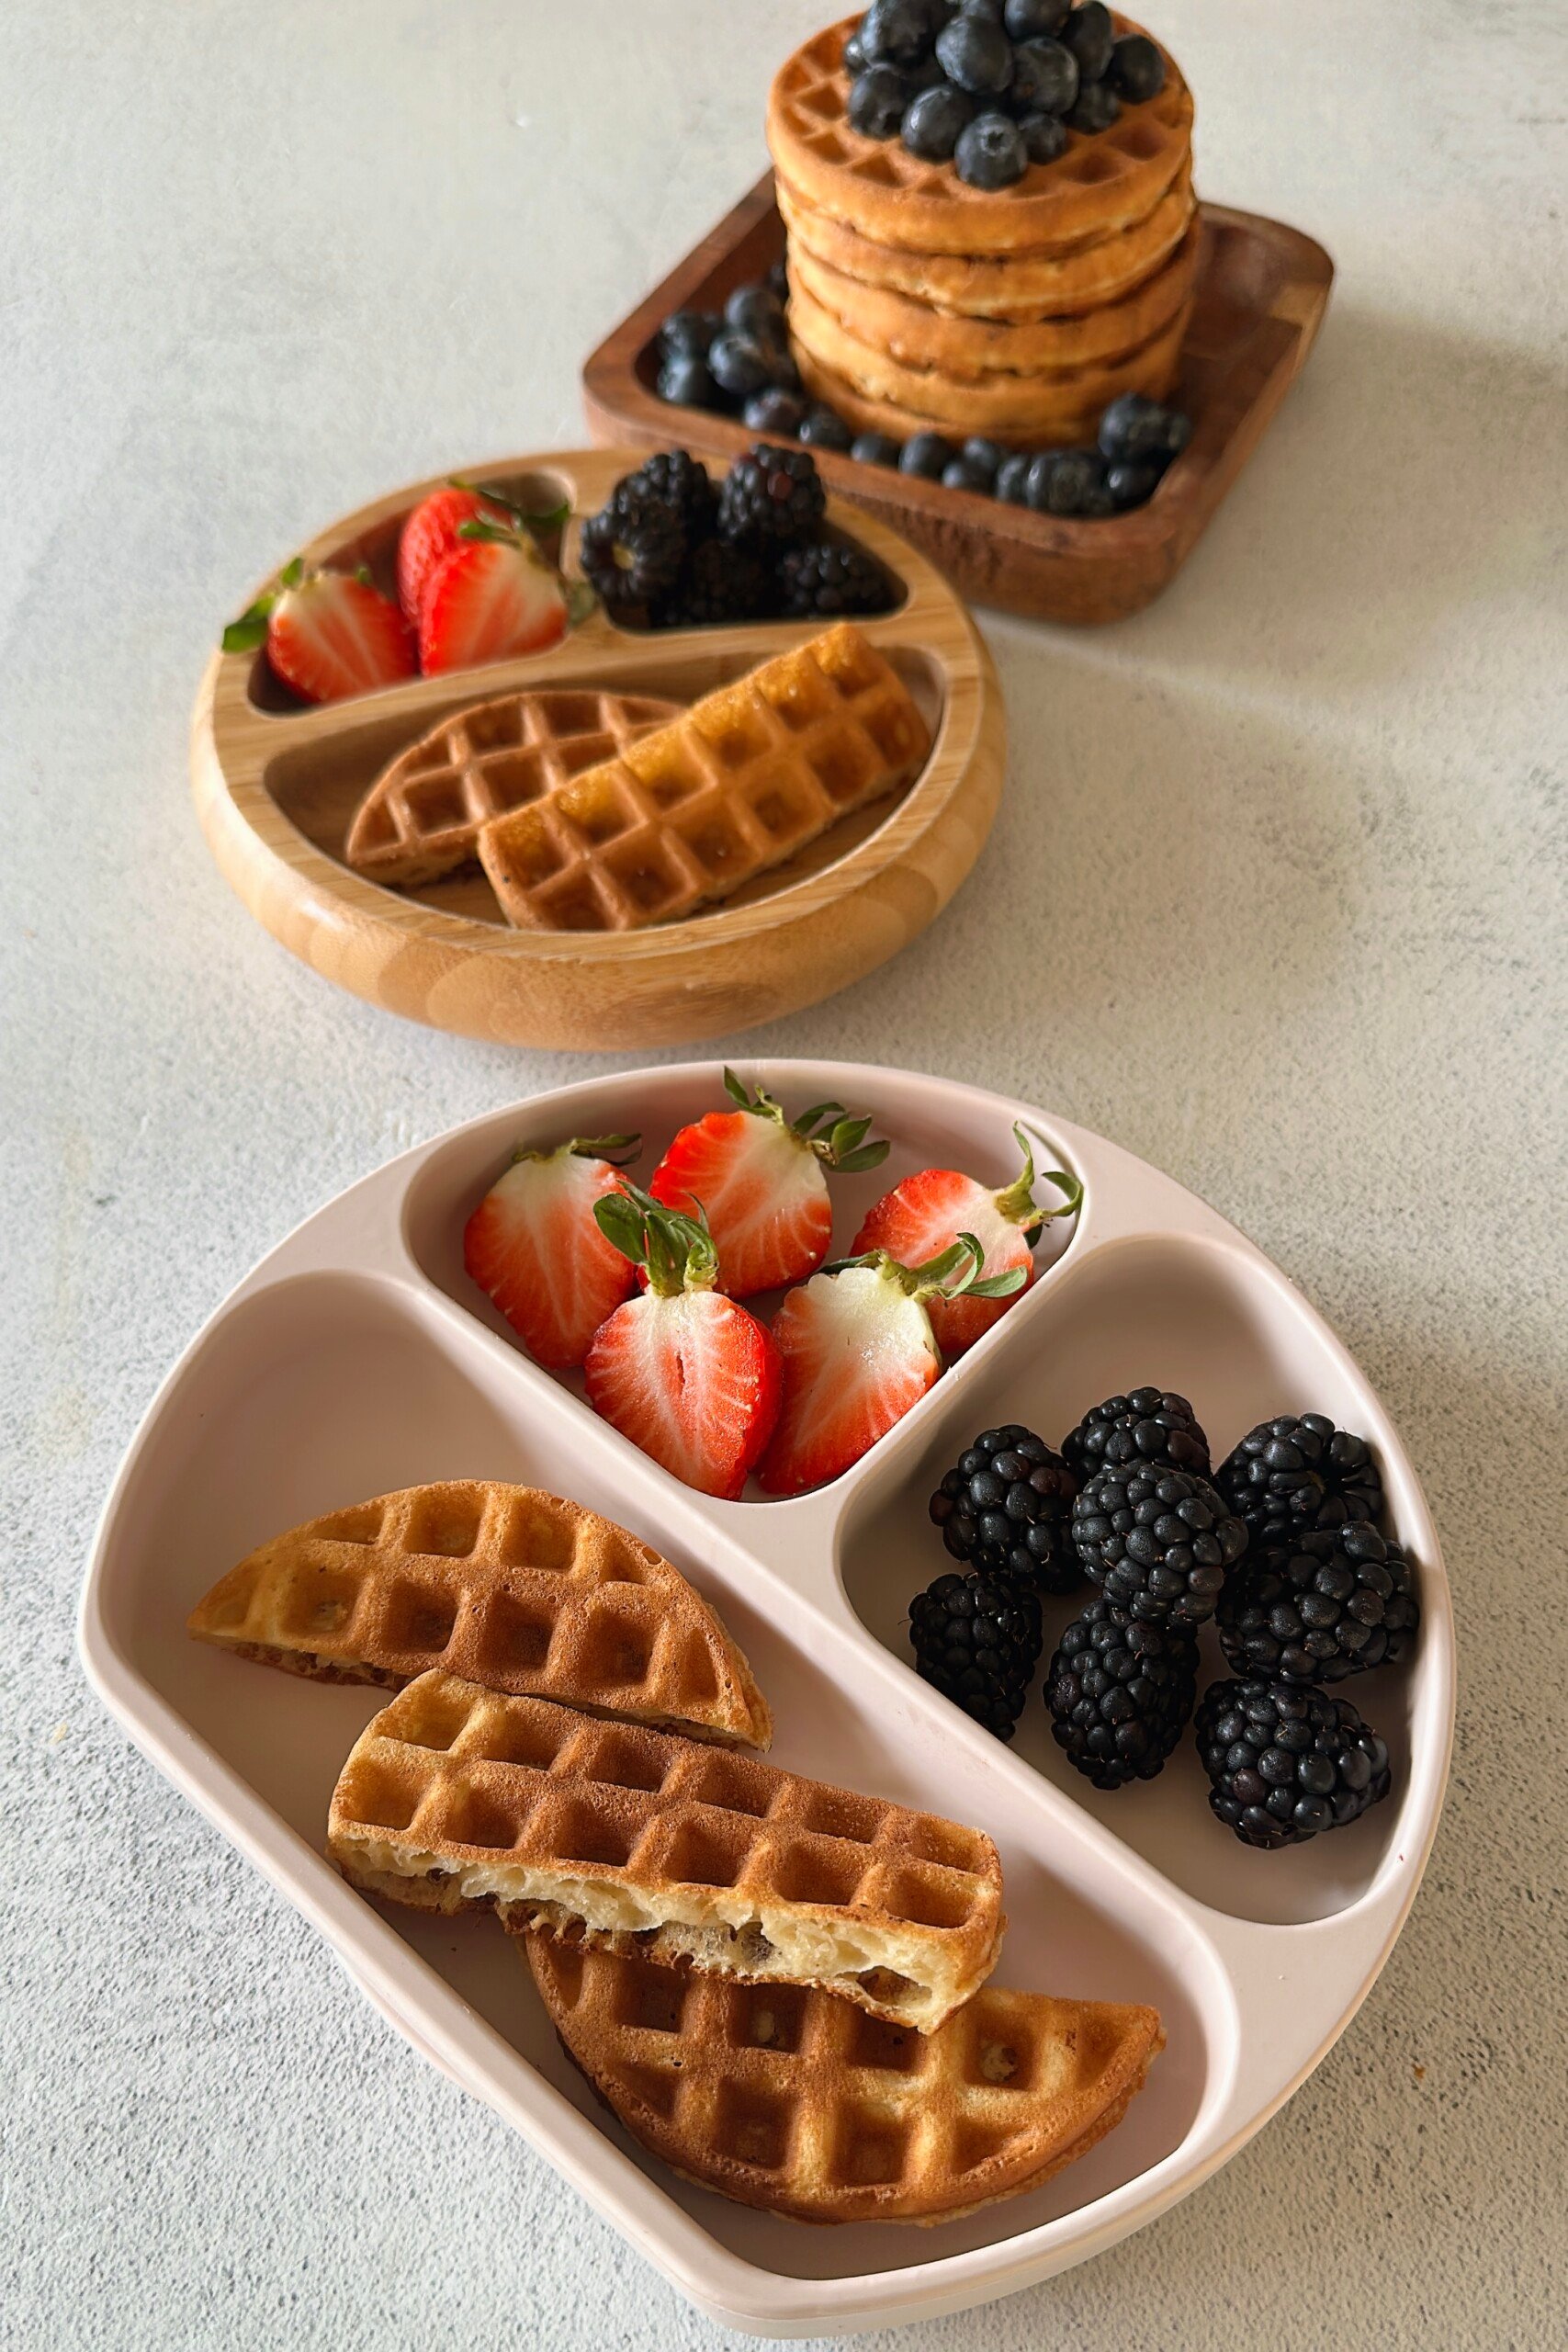
These mini waffles are crispy on the outside, fluffy in the middle, and just the right size for little hands. They’re perfect to batch-make, freeze, and reheat for those busy mornings.
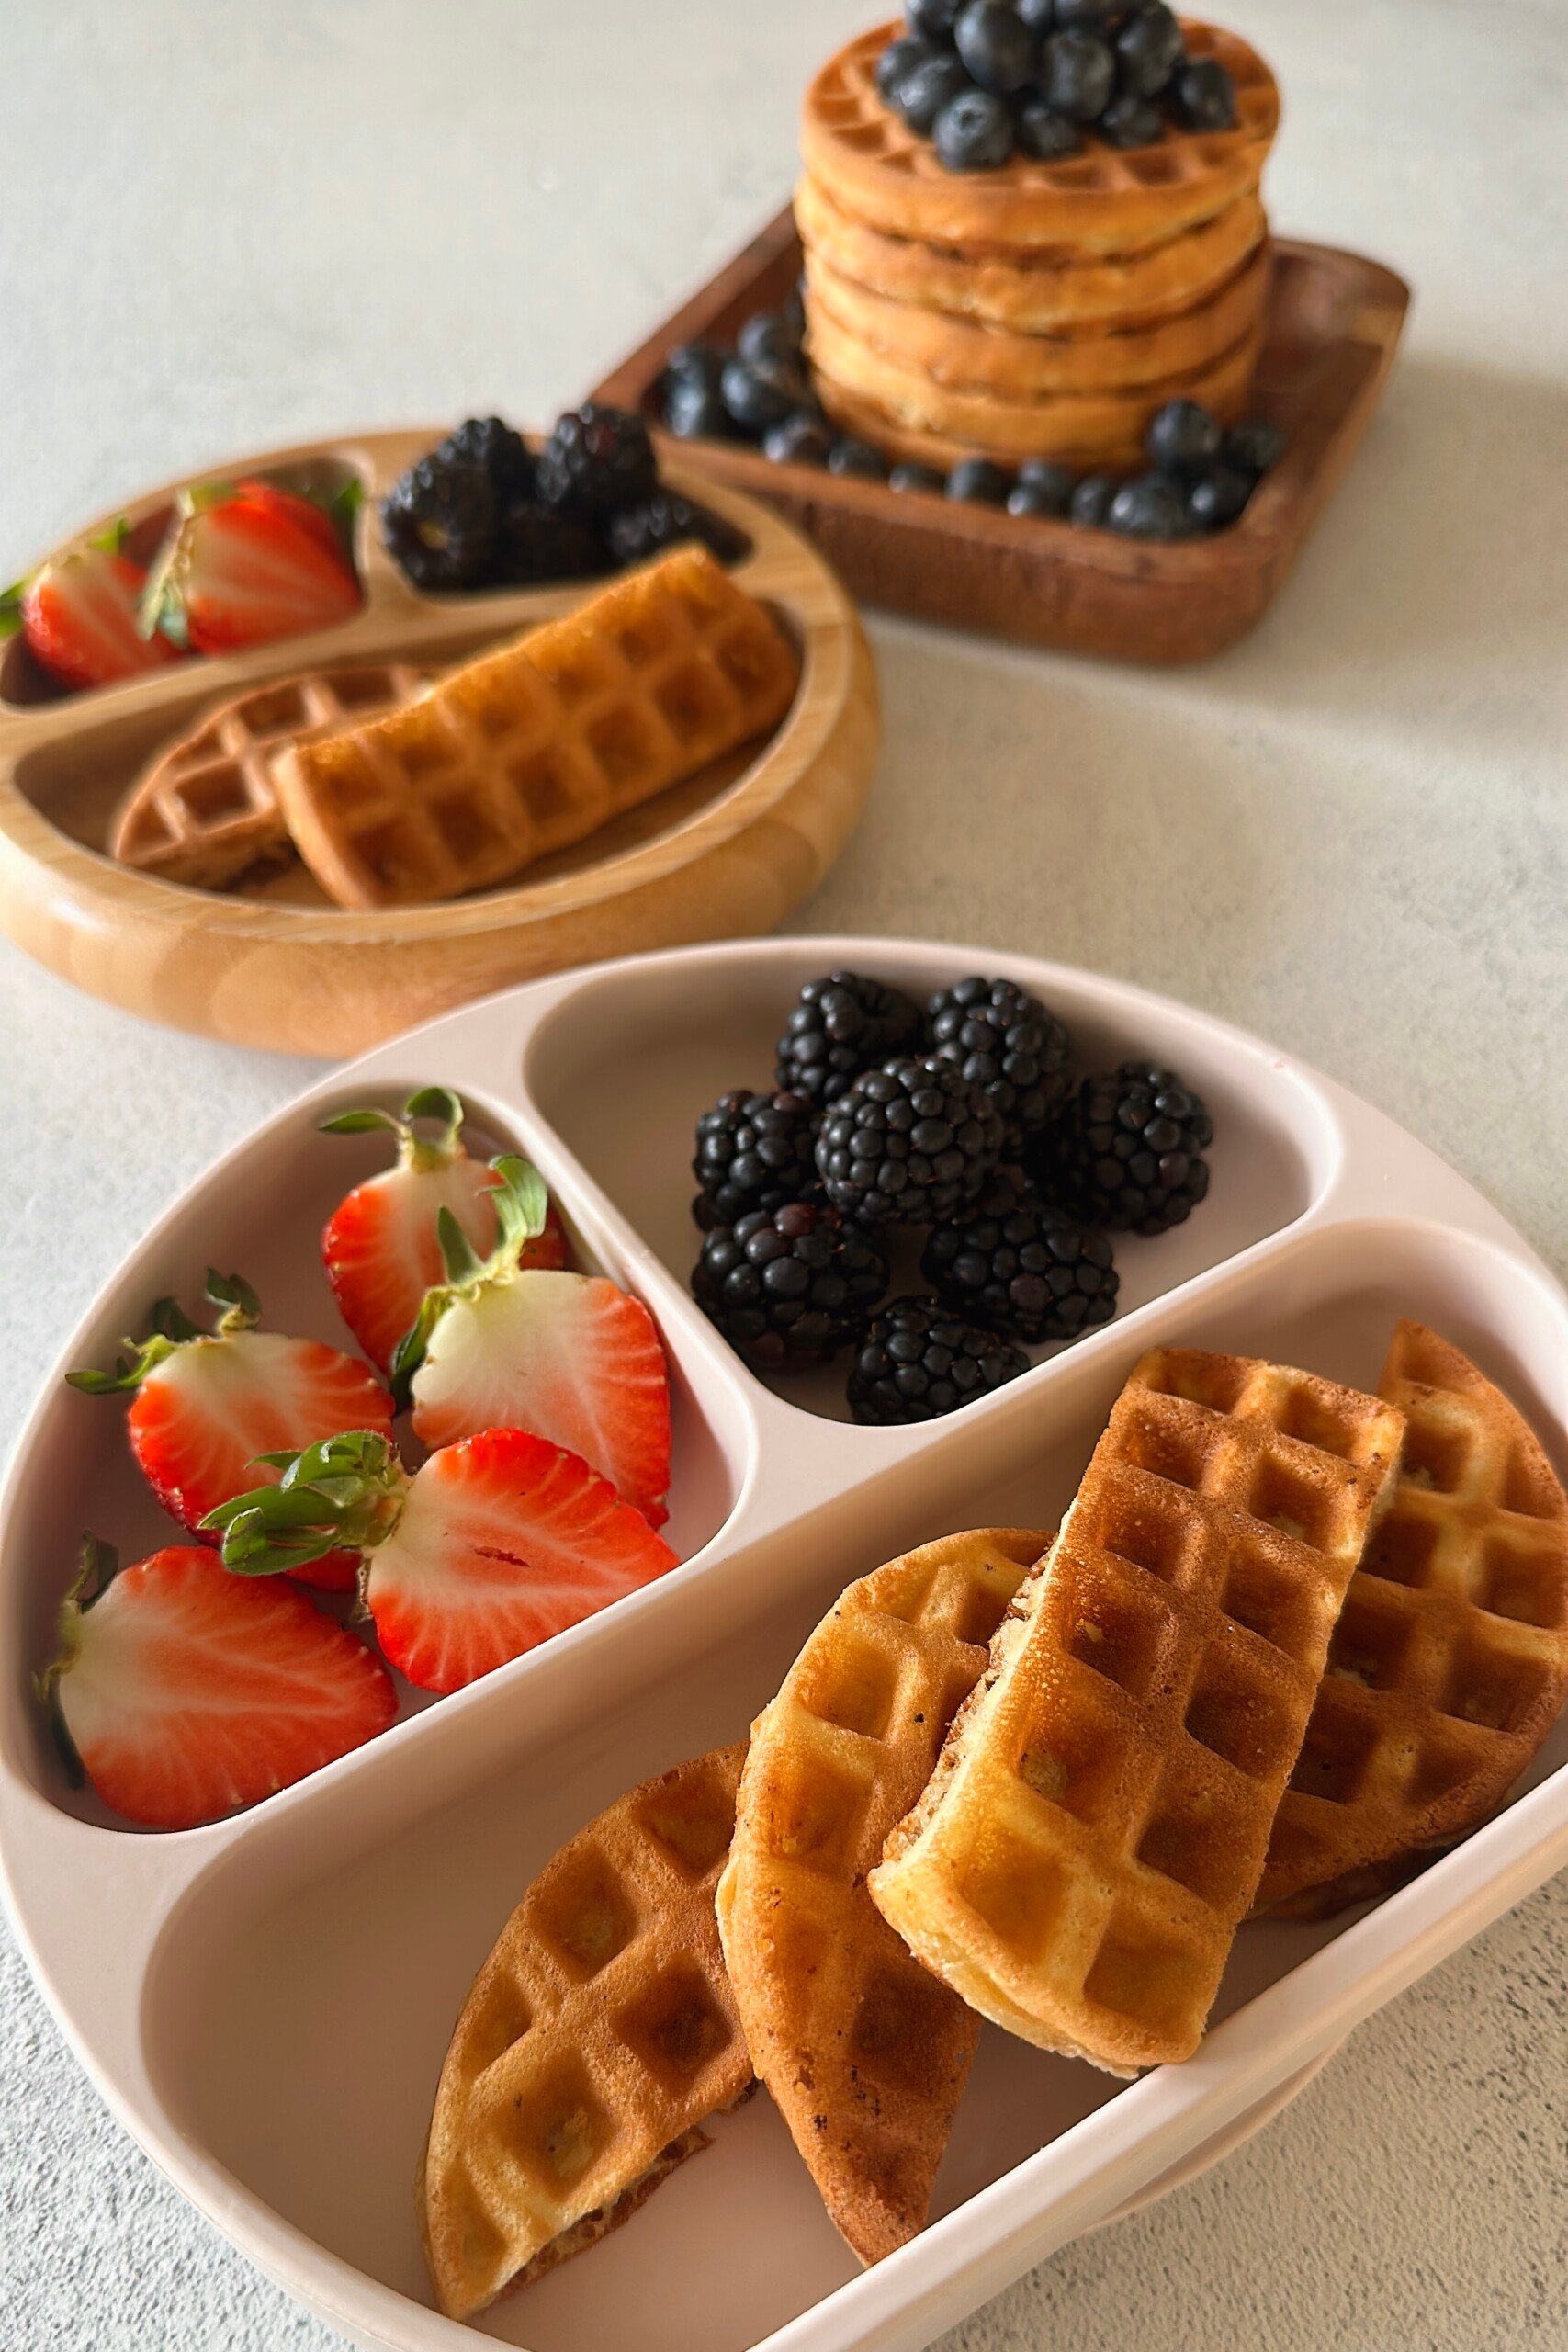
One of my favorite ways to make mornings easier is to have a few simple, freezer-friendly recipes ready to go, and these mini waffles are always in the rotation. They freeze and reheat well, making them a great option for quick breakfasts, snacks, or even packed into lunchboxes. I love pulling a few from the freezer, popping them in the toaster, and pairing them with a side of fruit for a simple breakfast win.
If you love these mini waffles and are looking for some other simple freezer-friendly breakfast recipes to batch-make, you’ll love this sourdough French toast casserole, these veggie-packed banana carrot muffins, and this cottage cheese egg bake for a savory option.
Table of Contents
What You’ll Need
Here is what you’ll need to make these mini waffles:
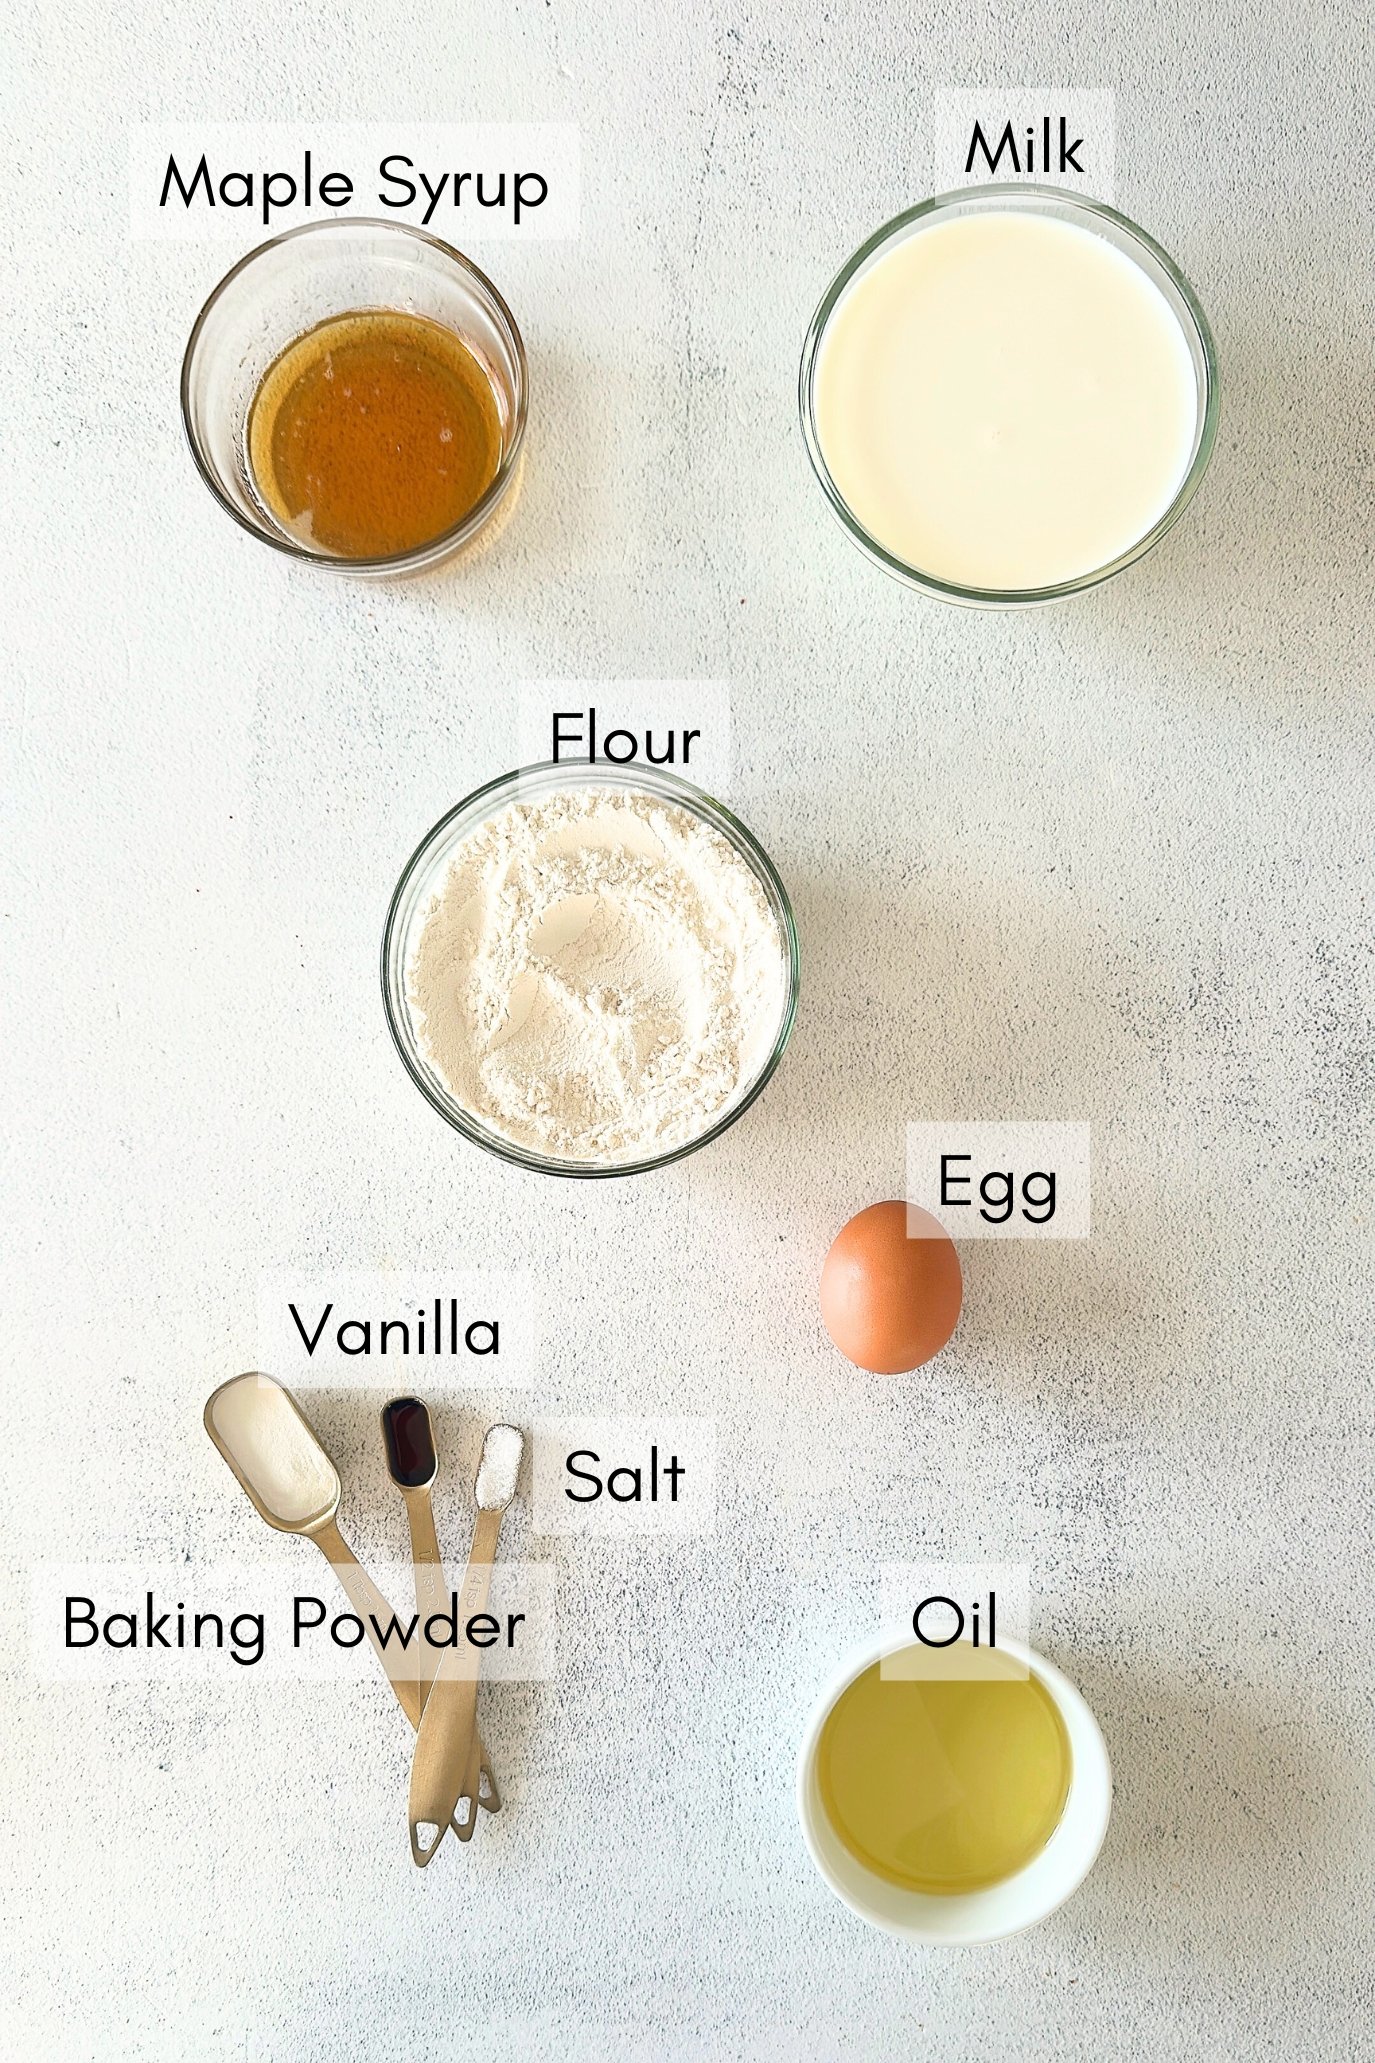
- Flour: Forms the base of the waffles and gives them structure while keeping them soft and fluffy.
- Milk: Adds moisture and helps create a smooth, pourable batter.
- Egg: Binds the ingredients together and adds richness for a tender texture.
- Oil/Melted Butter: For a little added moistness to these waffles. If using oil, make sure to use a mild-tasting oil.
- Baking Powder: Leavening agent to help the waffles rise.
- Maple Syrup: For subtle sweetness and warm flavor.
- Vanilla: Adds a hint of sweetness and depth to the overall flavor.
- Salt: Enhances the overall flavor and balances the sweetness.
See the recipe card below for full information on ingredients and quantities.
Ingredient Substitutions & Additions
- All-purpose flour: Swap with white whole wheat flour for a slightly heartier texture. For gluten-free, use a 1:1 gluten-free baking flour blend.
- Egg: Replace the egg with a flax egg (1 Tbsp ground flaxseed + 3 Tbsp water, let sit 5 minutes). The texture will be slightly softer but still delicious. You can also make these egg-free waffles that have a similar crisp texture and taste without eggs.
- Milk: You may replace the milk with a dairy-free alternative like coconut milk or oat milk.
- Maple Syrup: Honey (for kids over 1 year), agave, date syrup, or a little sugar can be used in place of maple syrup.
- Oil: Melted butter may be used in place of the oil.
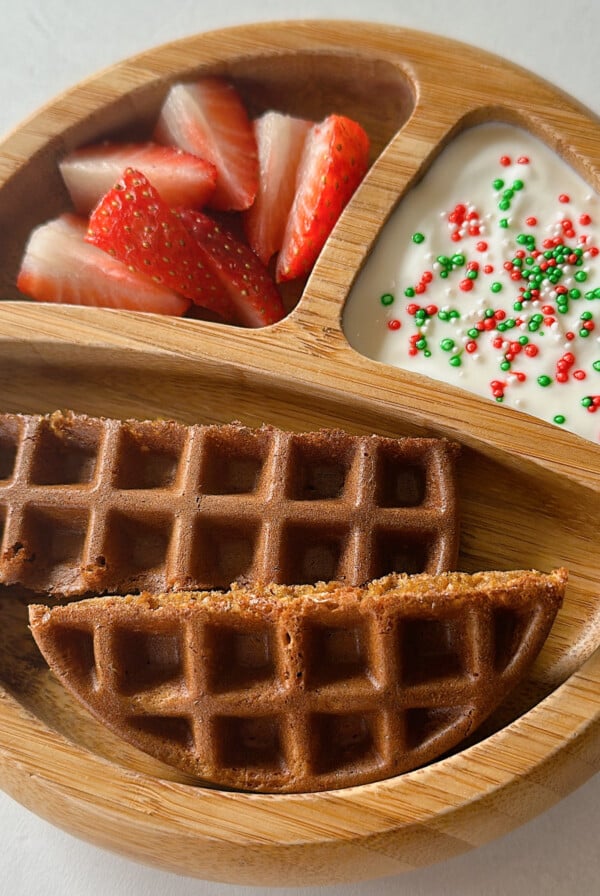
- Add-Ins: Feel free to stir in some chocolate chips or finely chopped nuts for added flavor and crunch! They’re also great topped with maple syrup, butter, or whipped cream!
Step-by-Step Instructions
STEP 1: Preheat the mini waffle iron.
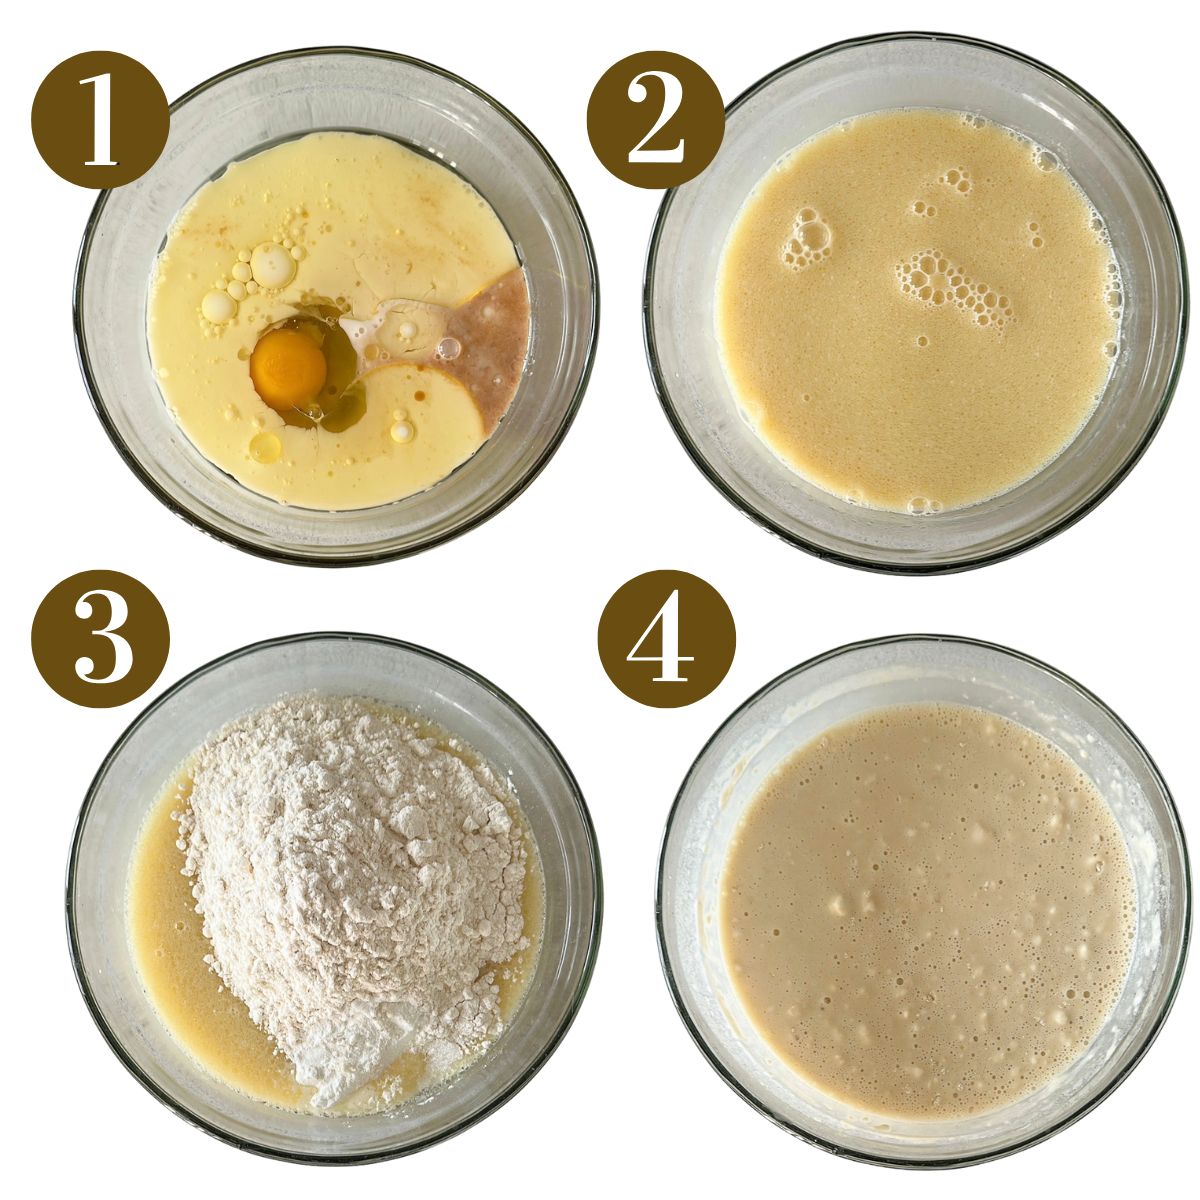
STEP 2: In a bowl, mix the milk, egg, melted butter or oil, maple syrup, and vanilla extract until combined (Images 1 & 2).
STEP 3: To the same bowl, add the flour, baking powder, and salt, and mix until just combined. (Images 3 & 4).
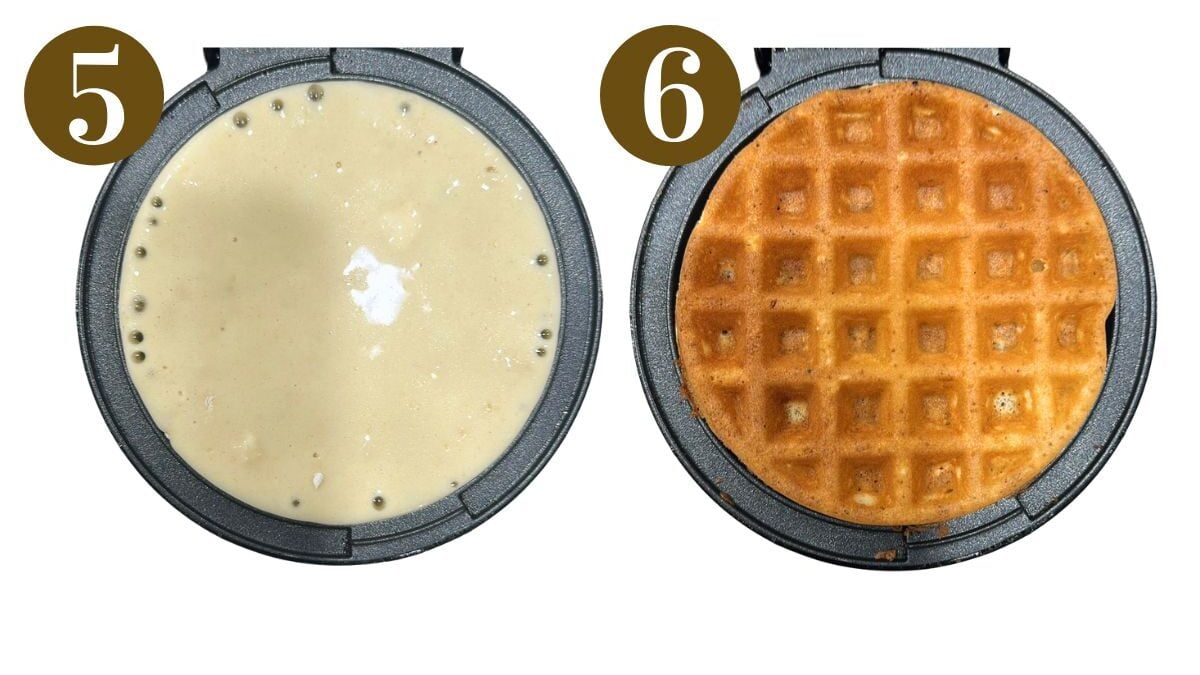
STEP 4: Pour a little less than 1/4 cup of the batter into the mini waffle iron and cook it until the steam slows down and golden brown, about 3 minutes (Images 5 & 6).
STEP 5: Place finished waffles on a wire rack instead of stacking so they don’t steam and soften.
Storage Instructions
Let the waffles completely cool and store them in an airtight container for up to 3 days in the refrigerator. Once cooled, place waffles in a single layer on a baking sheet to flash-freeze, then transfer to a freezer-safe bag or container. Freeze for up to 2 months. This helps prevent them from sticking together. Reheat in the toaster, toaster oven, air fryer, or microwave until warmed through.
Tips For Success
- Don’t overmix the batter. Stir just until combined. A few small lumps are okay and will keep the waffles tender instead of dense.
- ‘Don’t overfill the mini waffle maker. About 3 tablespoons of batter per mini waffle is plenty to avoid spillovers. If you want to save on time, you can use this multi-mini waffle maker that cooks 4 mini waffles at once.
- Wait until the steam slows down before opening the waffle maker. This helps the waffles cook through and crisp up.
- Place cooked waffles on a rack instead of stacking so they don’t get soggy from trapped steam.

Recipe FAQs
Yes! This batter works in a standard waffle maker, too, just adjust the cooking time. This will make around 2 large waffles.
Yes! These mini waffles are great for meal prep. Make a batch ahead, store in the fridge or freezer, and reheat as needed for quick breakfasts or lunchboxes.
It is perfectly fine if there are a few some tiny lumps in the batter, they will cook through once added to the waffle maker.
Other Waffle Recipes You’ll Love
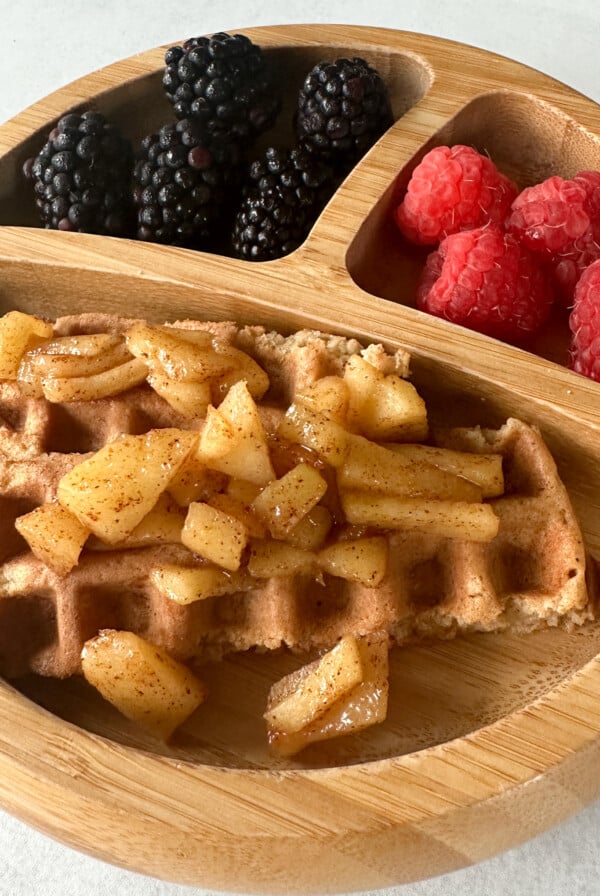
Cinnamon Apple Waffles

Stuffed Croffles (Croissant Waffles)

Banana Oat Waffles

Healthy Sweet Potato Waffles
If you tried these Mini Waffles, please leave a ⭐ star rating and let me know how it went in the comments below! I love hearing from you!

Mini Waffles
Equipment
Ingredients
- 1 cup all purpose flour
- 1 ½ tsp baking powder
- ¼ tsp salt
- ¾ cup milk
- 1 large egg
- 2 tbsp maple syrup
- 2 tbsp neutral oil
- ½ tsp vanilla extract
Instructions
- Preheat the mini waffle iron.
- In a bowl, mix the milk, egg, melted butter or oil, maple syrup, and vanilla extract until combined.
- To the same bowl, add the flour, baking powder, and salt, and mix until just combined.
- Pour a little less than 1/4 cup of the batter into the mini waffle iron and cook it until the steam slows down and golden brown, about 3 minutes.
- Place finished waffles on a wire rack instead of stacking so they don’t steam and soften.
Notes
- Don’t overmix the batter. Stir just until combined. A few small lumps are okay and will keep the waffles tender instead of dense.
- ‘Don’t overfill the mini waffle maker. About 3 tablespoons of batter per mini waffle is plenty to avoid spillovers. If you want to save on time, you can use this multi-mini waffle maker that cooks 4 mini waffles at once.
- Wait until the steam slows down before opening the waffle maker. This helps the waffles cook through and crisp up.
- Place cooked waffles on a rack instead of stacking so they don’t get soggy from trapped steam.