Sweet Potato Tortillas
on Apr 24, 2024
This post may contain affiliate links. Please read our disclosure policy.
These sweet potato tortillas are made with only 3 ingredients and are the perfect way to incorporate some veggies into a classic favorite! In just 20 minutes, you’ll have the easiest wraps ready to serve!
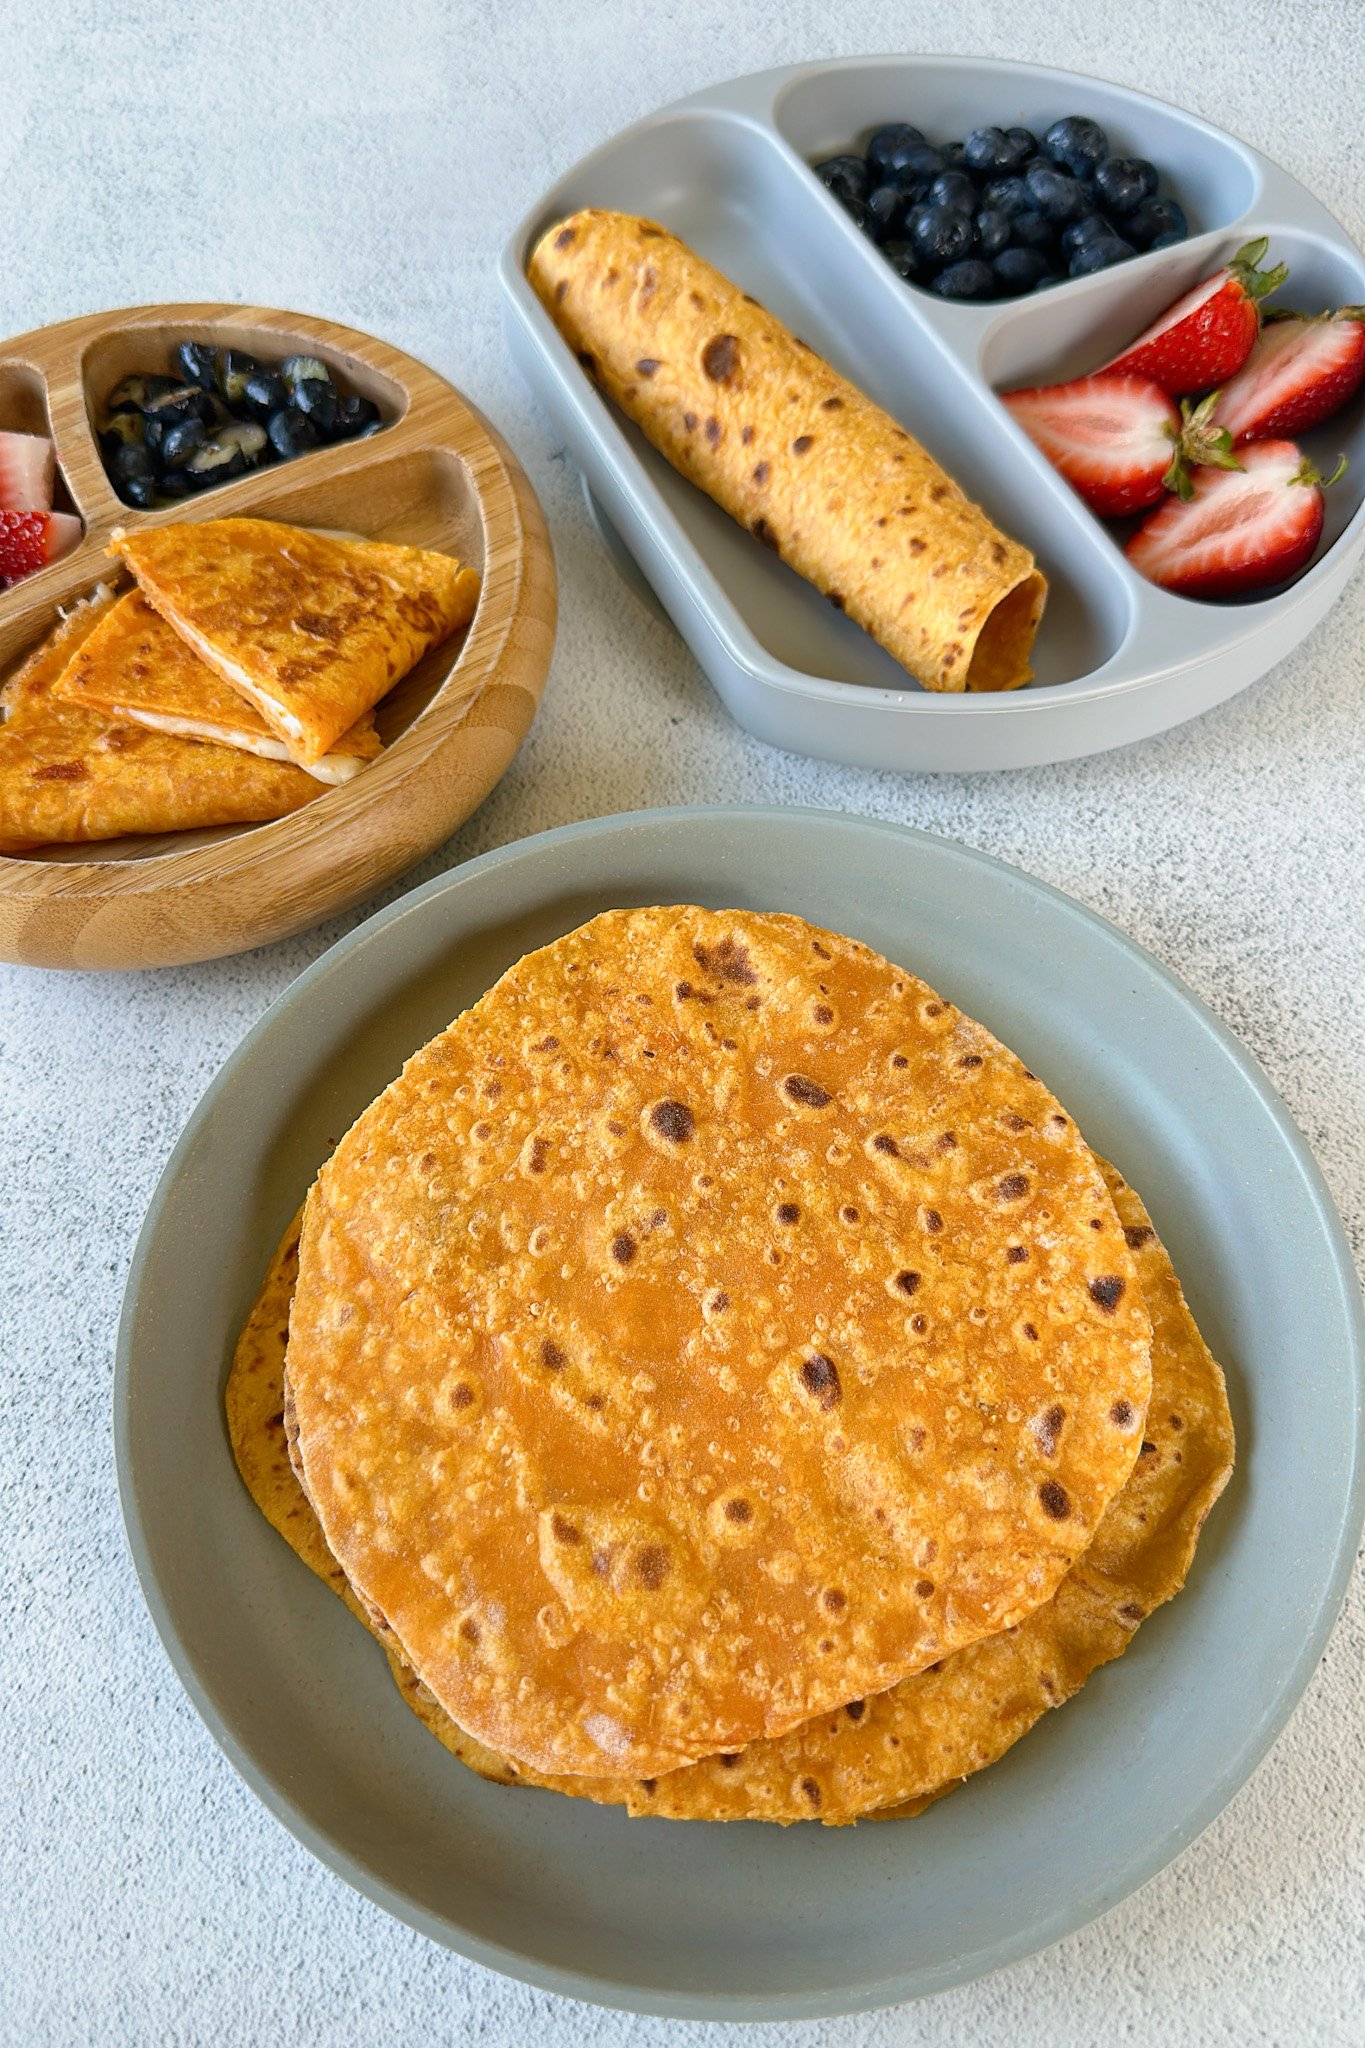
If you love classic tortillas, you’ll love this easy-to-make homemade version with this fun veggie add-in. Sweet potatoes not only add in nutrients and flavor, but also a bright fun orange color your little ones won’t be able to resist! They’re savory with subtle sweetness and pair well with so many filling combinations. From savory fillings like a classic cheese quesadillas to sweet fillings like a peanut butter and banana rollups, these will become your new go to wraps!
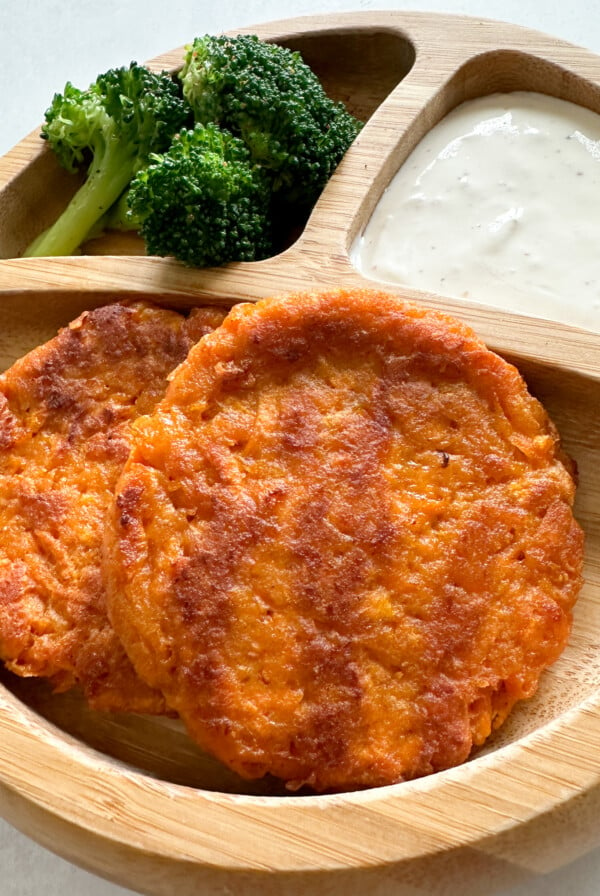
Looking for more fun recipes that incorporate sweet potato? Make sure to try out these savory sweet potato fritters for lunch and these lightly and fluffy sweet potato waffles for breakfast or a snack!
Table of Contents
What You’ll Need
Here is what you’ll need to make these sweet potato tortillas:
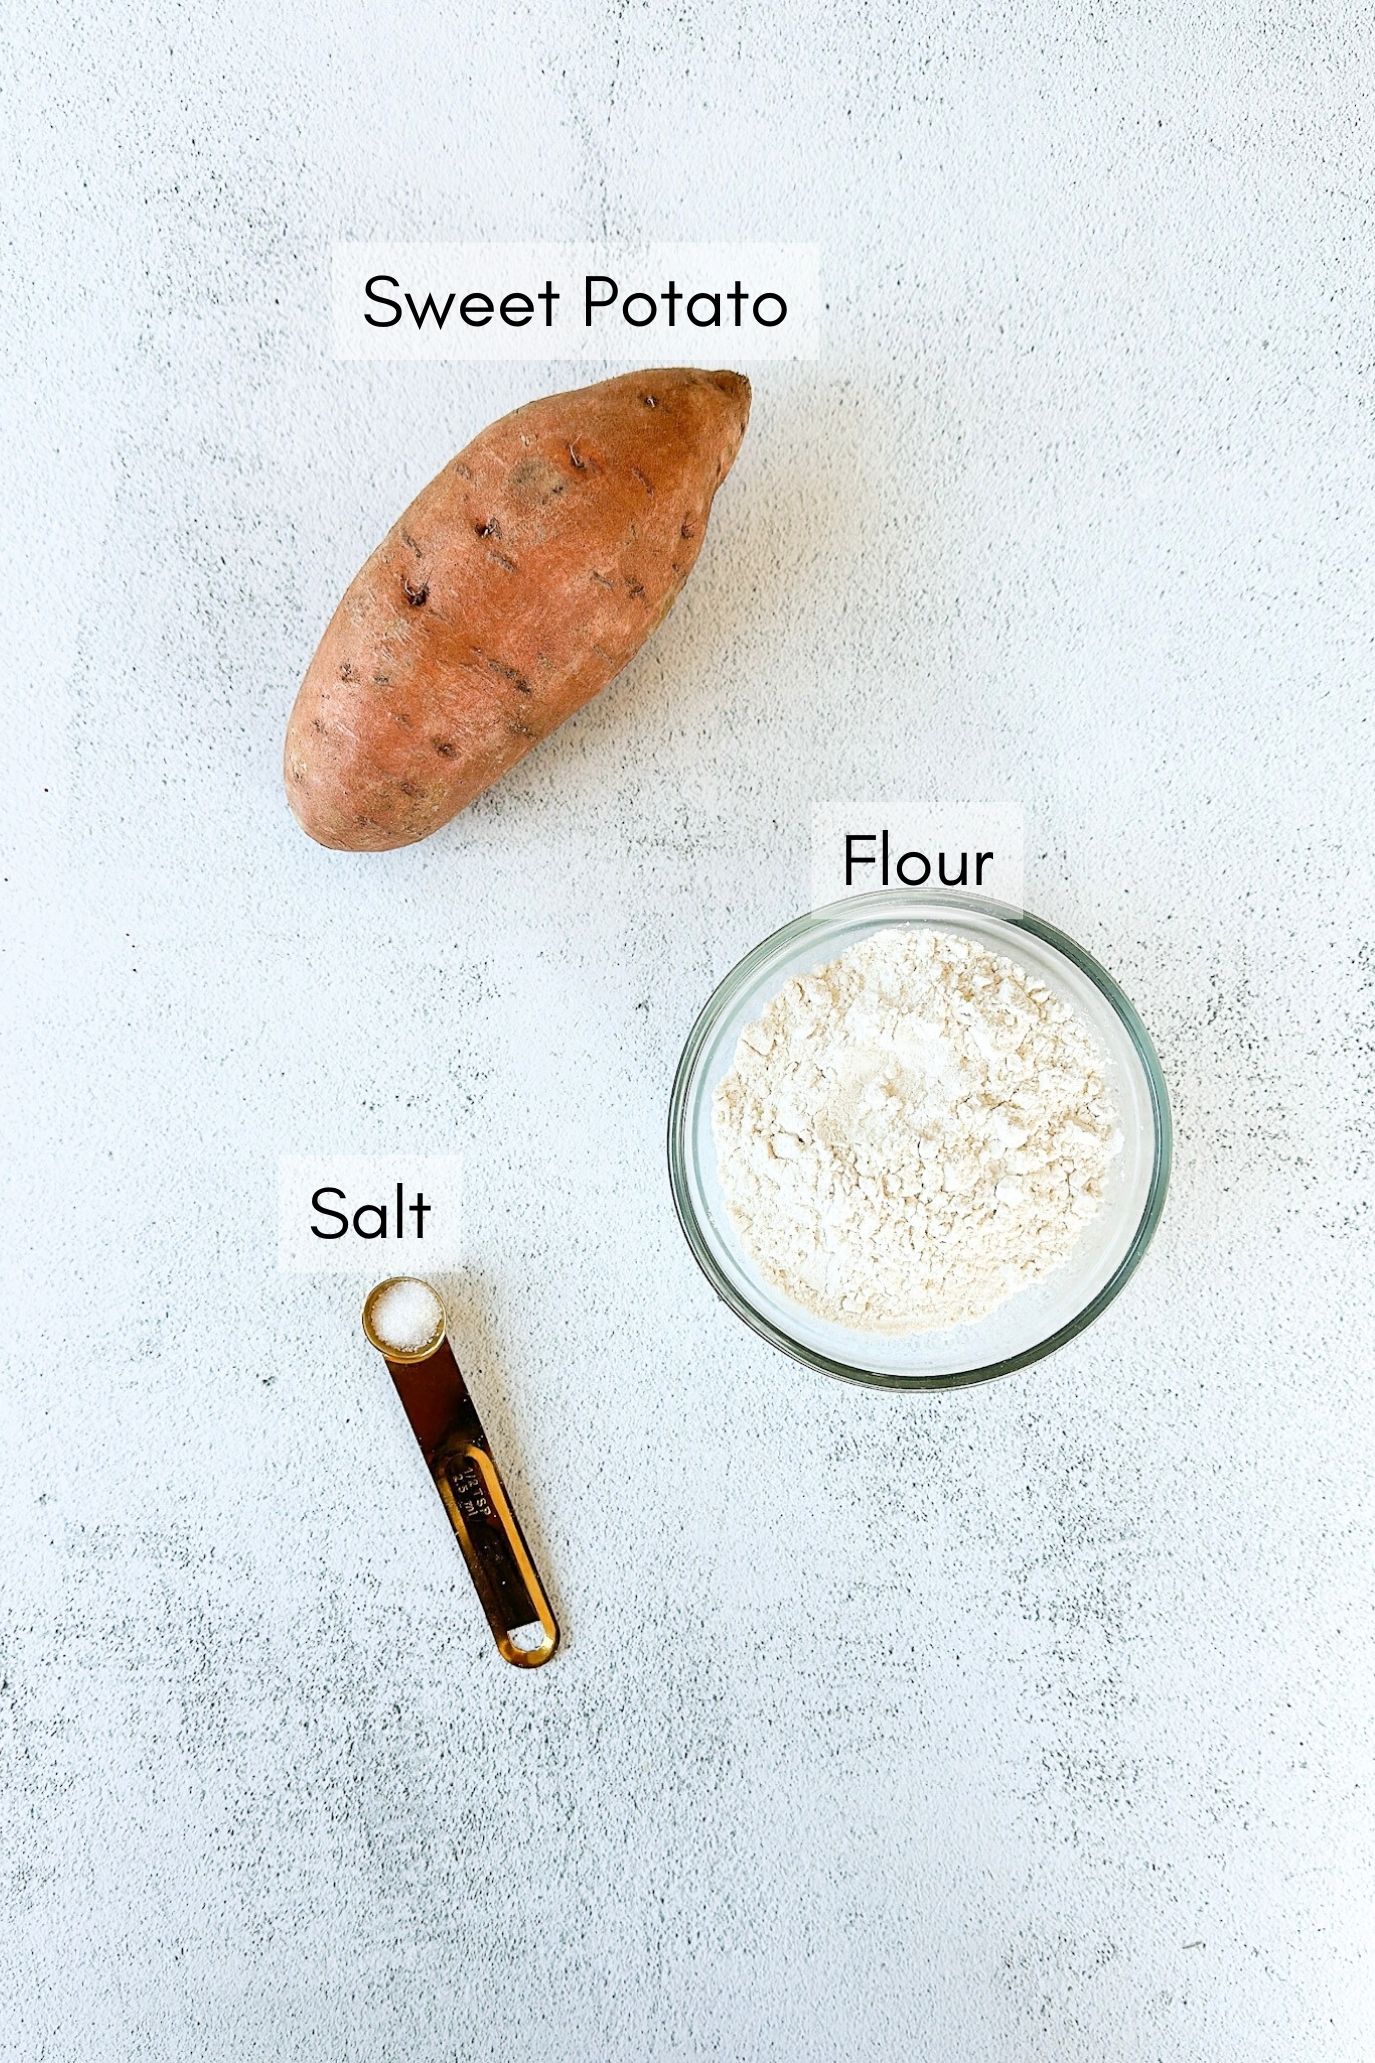
- Sweet Potato: The main star ingredient for these tortillas. Use a large potato that is about 8 ounces in weight.
- Flour: Combined with the sweet potato to form the base tortilla dough.
- Salt: For added flavor.
See the recipe card below for full information on ingredients and quantities.
Ingredient Substitutions
- Flour: To make these tortillas gluten-free, replace all-purpose flour with gluten-free all-purpose flour in a 1:1 ratio.
- Seasoning: I used just salt in the dough but feel free to customize it with your flavor flavors!
Step By Step Instructions
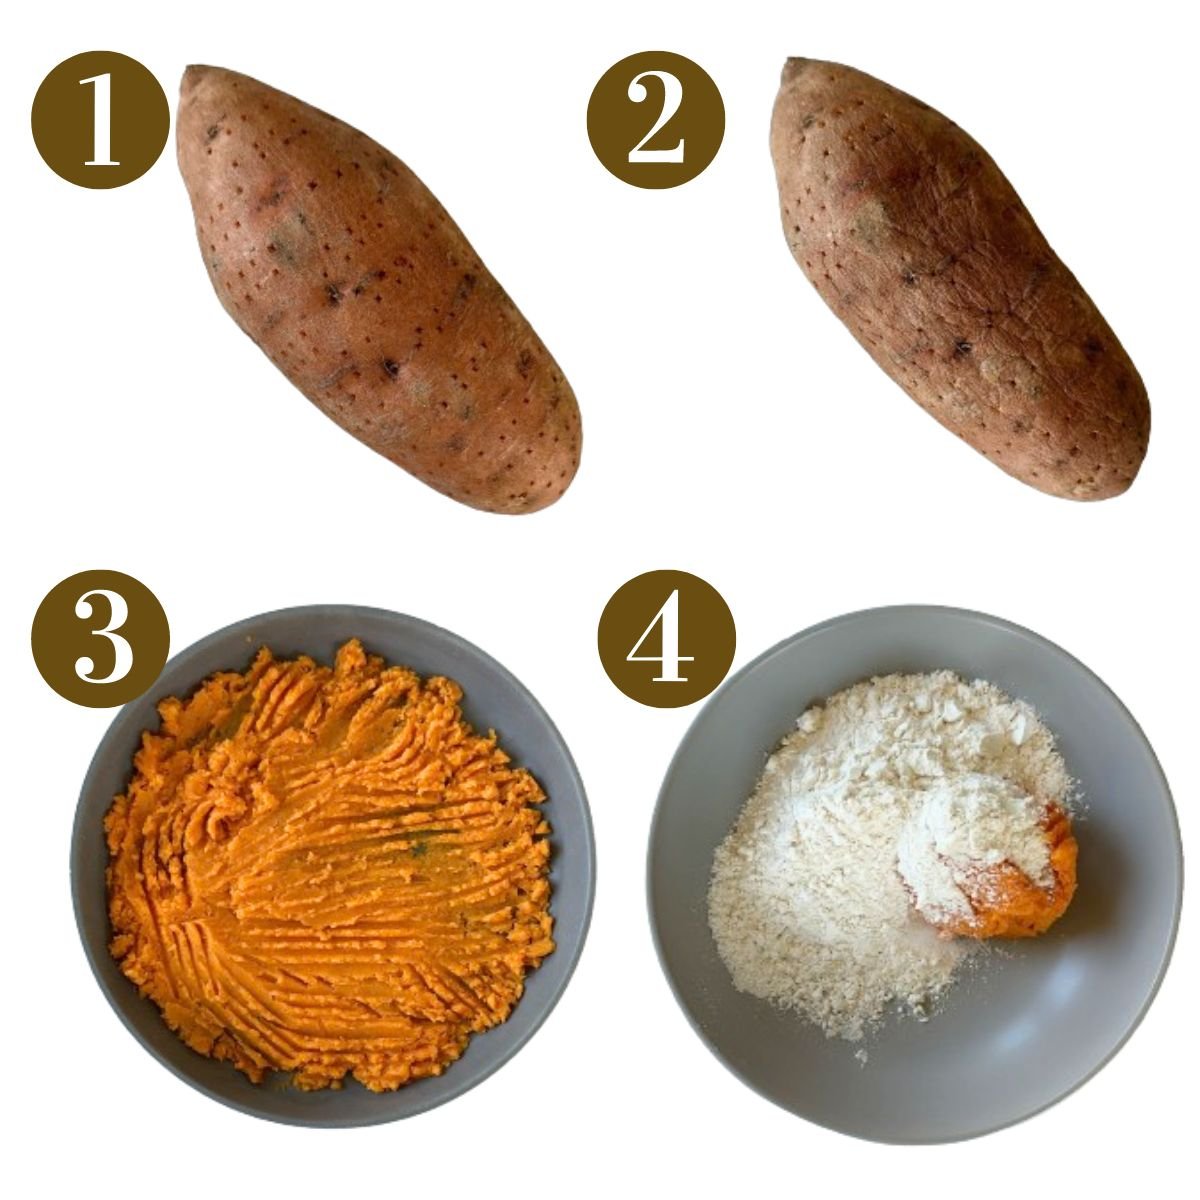
STEP 1: Poke several holes in the sweet potato and microwave it for 6 to 7 minutes or until soft and tender (Images 1 & 2).
STEP 2: Scoop the sweet potato out into a bowl and mash it with a fork until smooth (Image 3). Measure out ½ cup of the sweet potato and add it to a bowl. It is important to measure this out so that your dough consistency is correct. Add the flour and salt to the bowl with the sweet potato (Image 4).
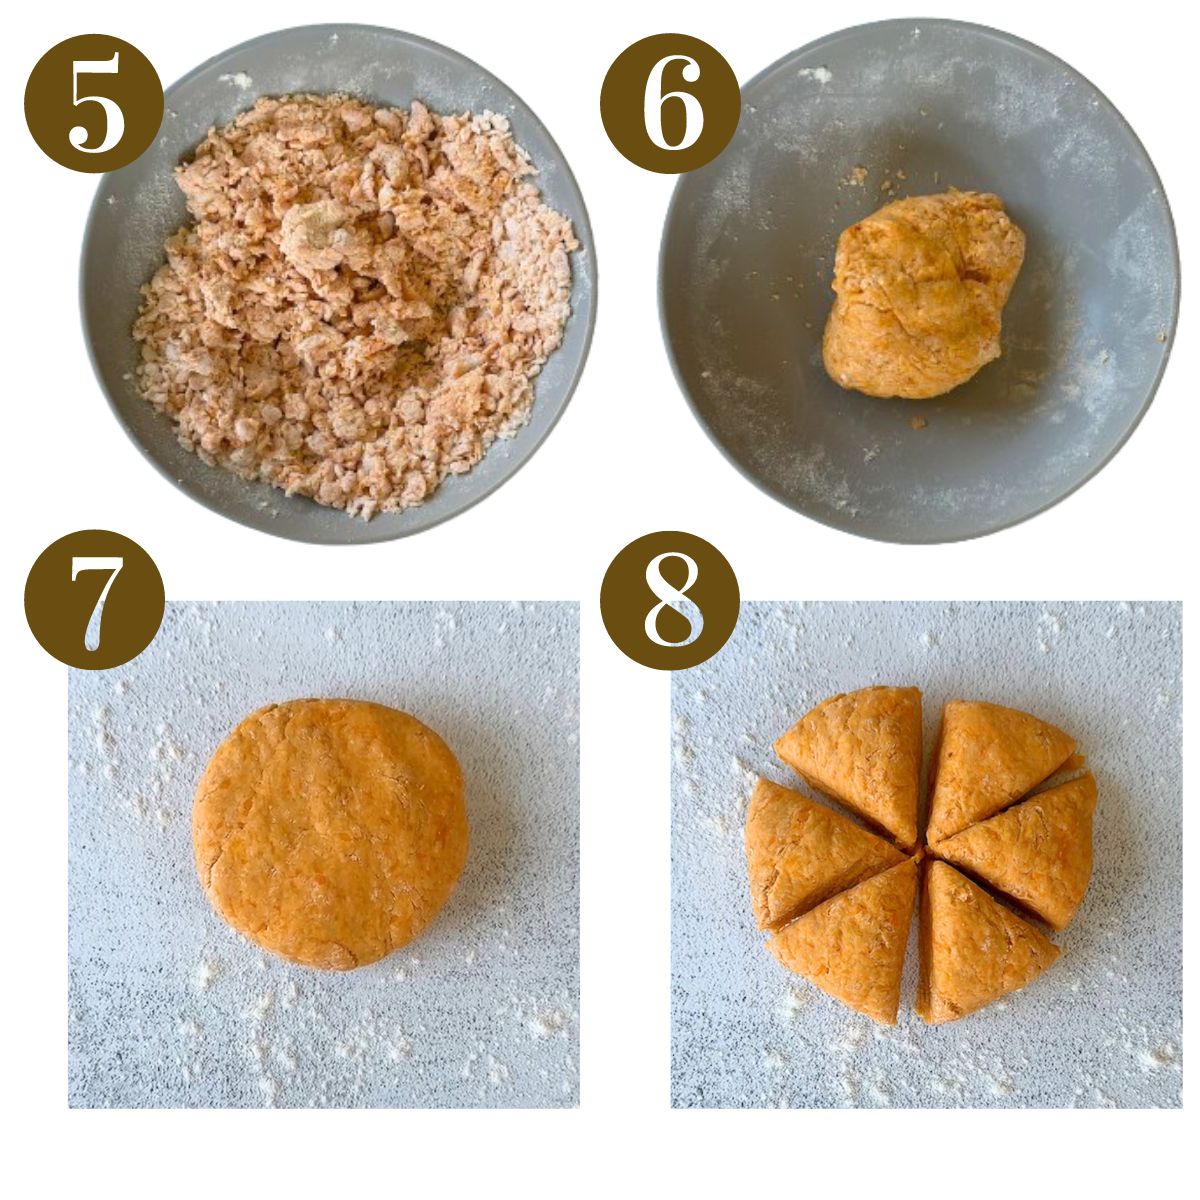
STEP 3: Use a fork to mix together the mashed sweet potato, flour, and salt until it becomes dry and crumbly in texture (Image 5). Once the dough becomes crumbly, use your hands to knead and work it into a dough (Image 6). If your dough seems really sticky, add a little more flour, 1 tablespoon at a time until it forms into a dough ball.
STEP 4: Place the dough ball onto a floured surface and slice it into 6 pieces for mini tortillas or 4 pieces for larger tortillas (Images 7 & 8).
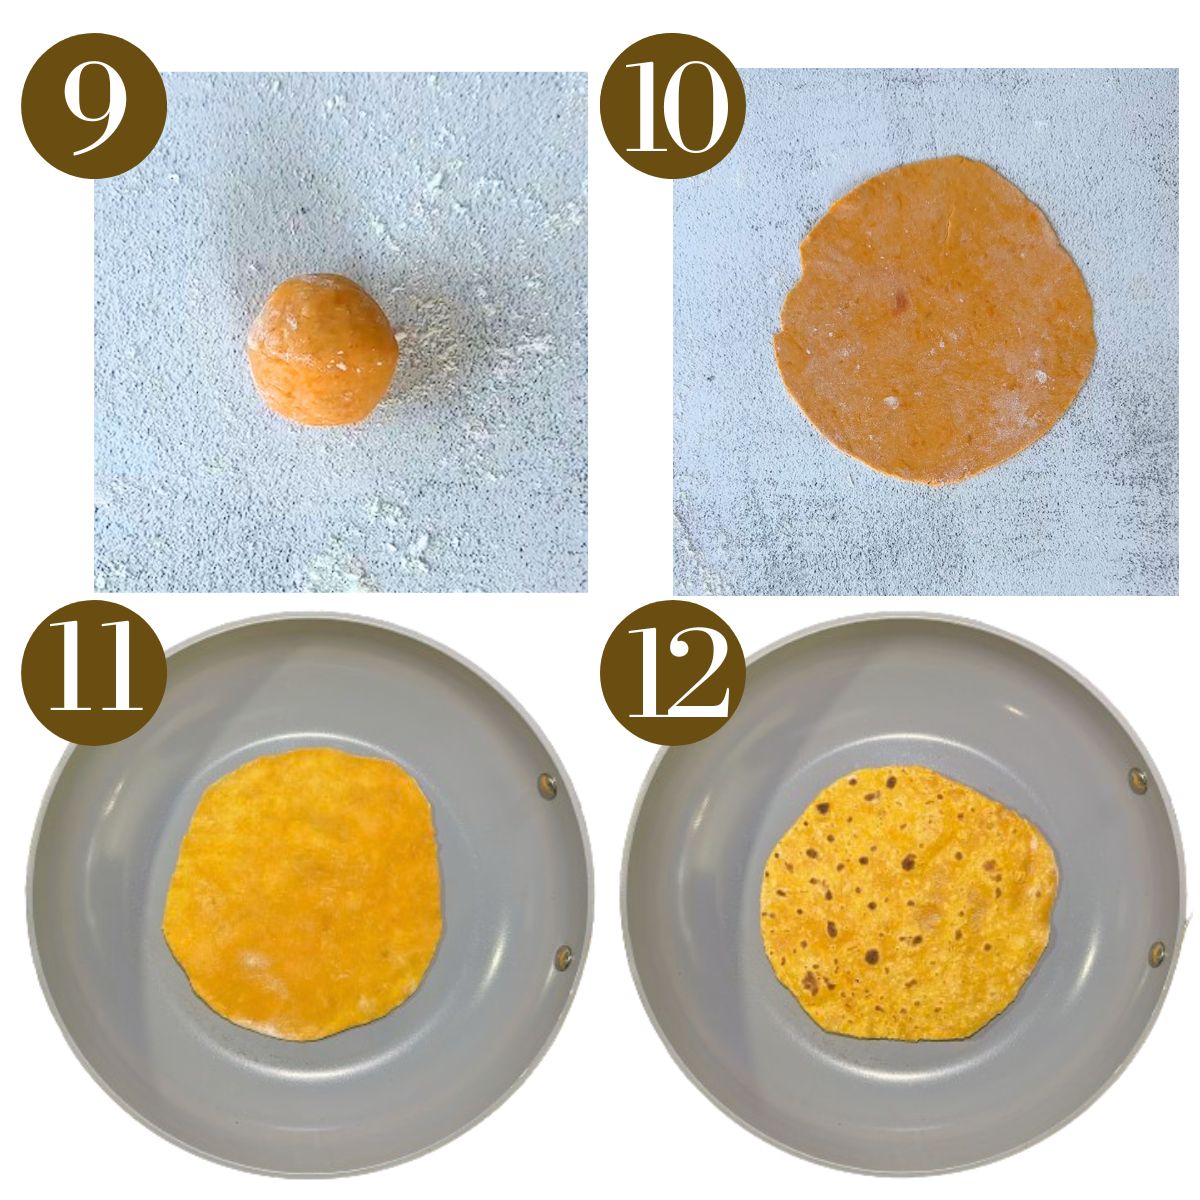
STEP 5: Form each piece into a small dough ball and use a floured rolling pin to roll it out into a thin circle about 6 inches in diameter (Images 9 & 10). Make sure that both the rolling pin and surface are floured so that the dough rolls out easily and does not stick. You’ll want to roll the tortillas out pretty thin as they will slightly rise once cooked.
STEP 6: Cook the tortillas in a nonstick or lightly oiled pan for about 1 minute per side, or until each side is lightly charred (Images 11 & 12). Repeat for the remaining tortillas.
Storage Instructions
These sweet potato tortillas can be stored in an airtight container at room temperature for up to 2 days or in the fridge for up to 5 days. They can also be frozen in a freezer-safe container or bag for up to 3 months but if freezing, I recommend placing a sheet of parchment paper in between them so that they don’t stick.
Tips For Success
- This recipe makes 6 mini tortillas that are about 6 to 7 inches in diameter. For larger-sized tortillas, split the dough into 3 or 4 pieces.
- I tested this recipe with both microwaved and oven-roasted sweet potatoes and found that microwaved potatoes provided the best result. Microwaving the sweet potato resulted in sweet potato flesh that was drier and easier to roll into a dough while oven-roasted resulted in flesh that was more moist and required much more flour.
- You’ll want to roll the dough out as thin as you can get it as it will slightly rise when cooking.
- You may need to add oil to your pan when cooking depending on the type of pan you are using. I used this caraway frying pan which is non-stick and non-toxic for the perfect light char!
Recipe FAQs
I tested this recipe with both microwaved and oven-roasted sweet potatoes and found that microwaved potatoes provided the best result. Microwaving the sweet potato resulted in sweet potato flesh that was drier and easier to roll into a dough while oven-roasted resulted in flesh that was more moist and required much more flour. If you prefer to oven bake, I suggest letting the sweet potato bake until it is a little drier inside so that it is easier to work with. Bake at 425 degrees F for 50 to 60 minutes.
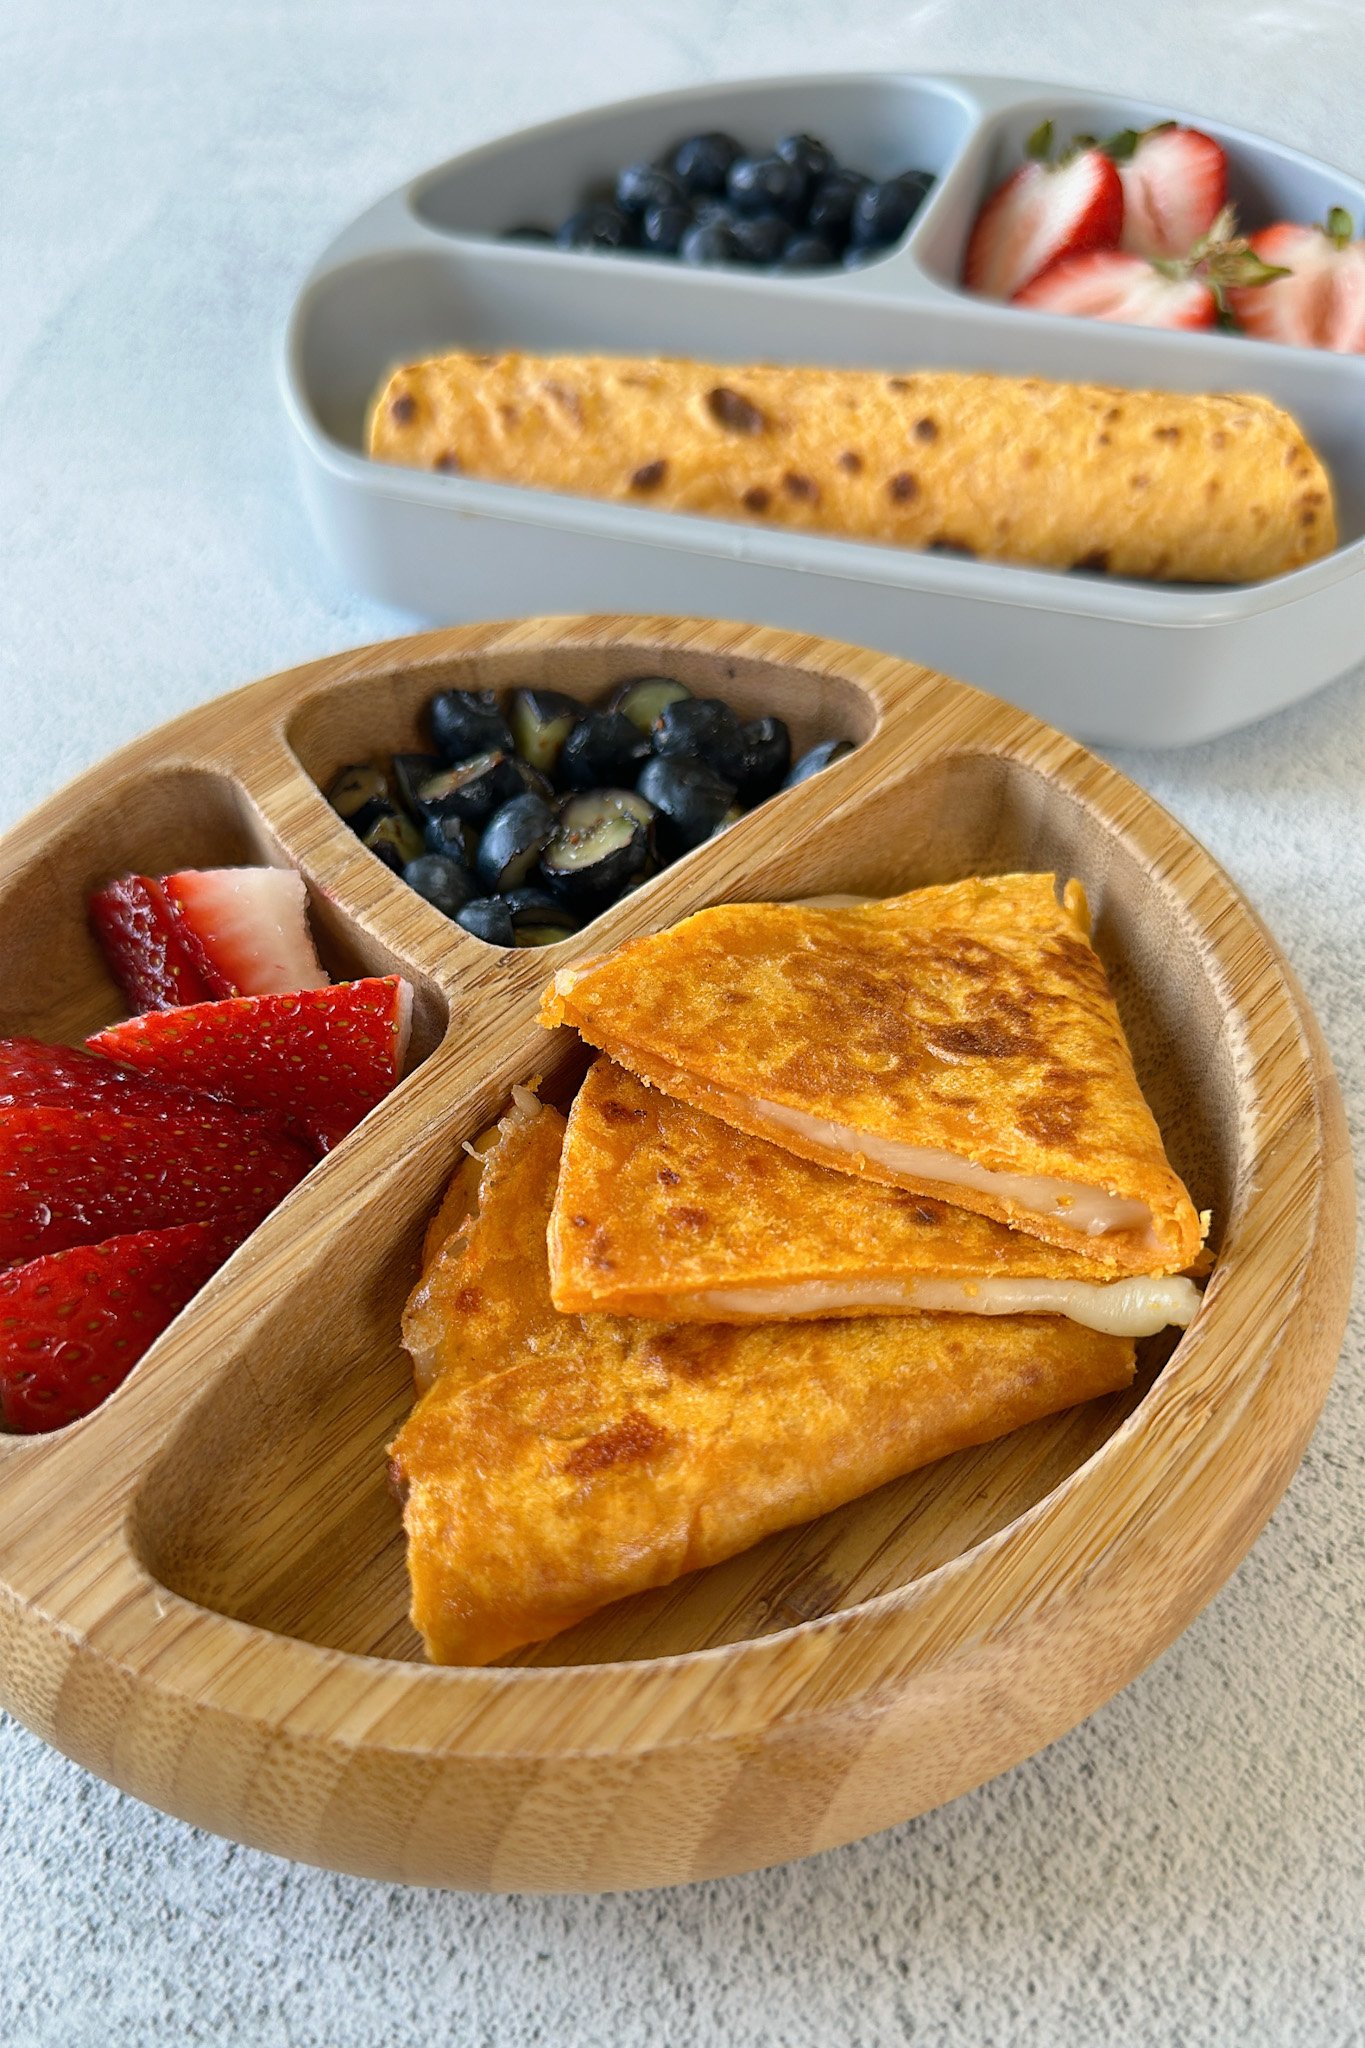
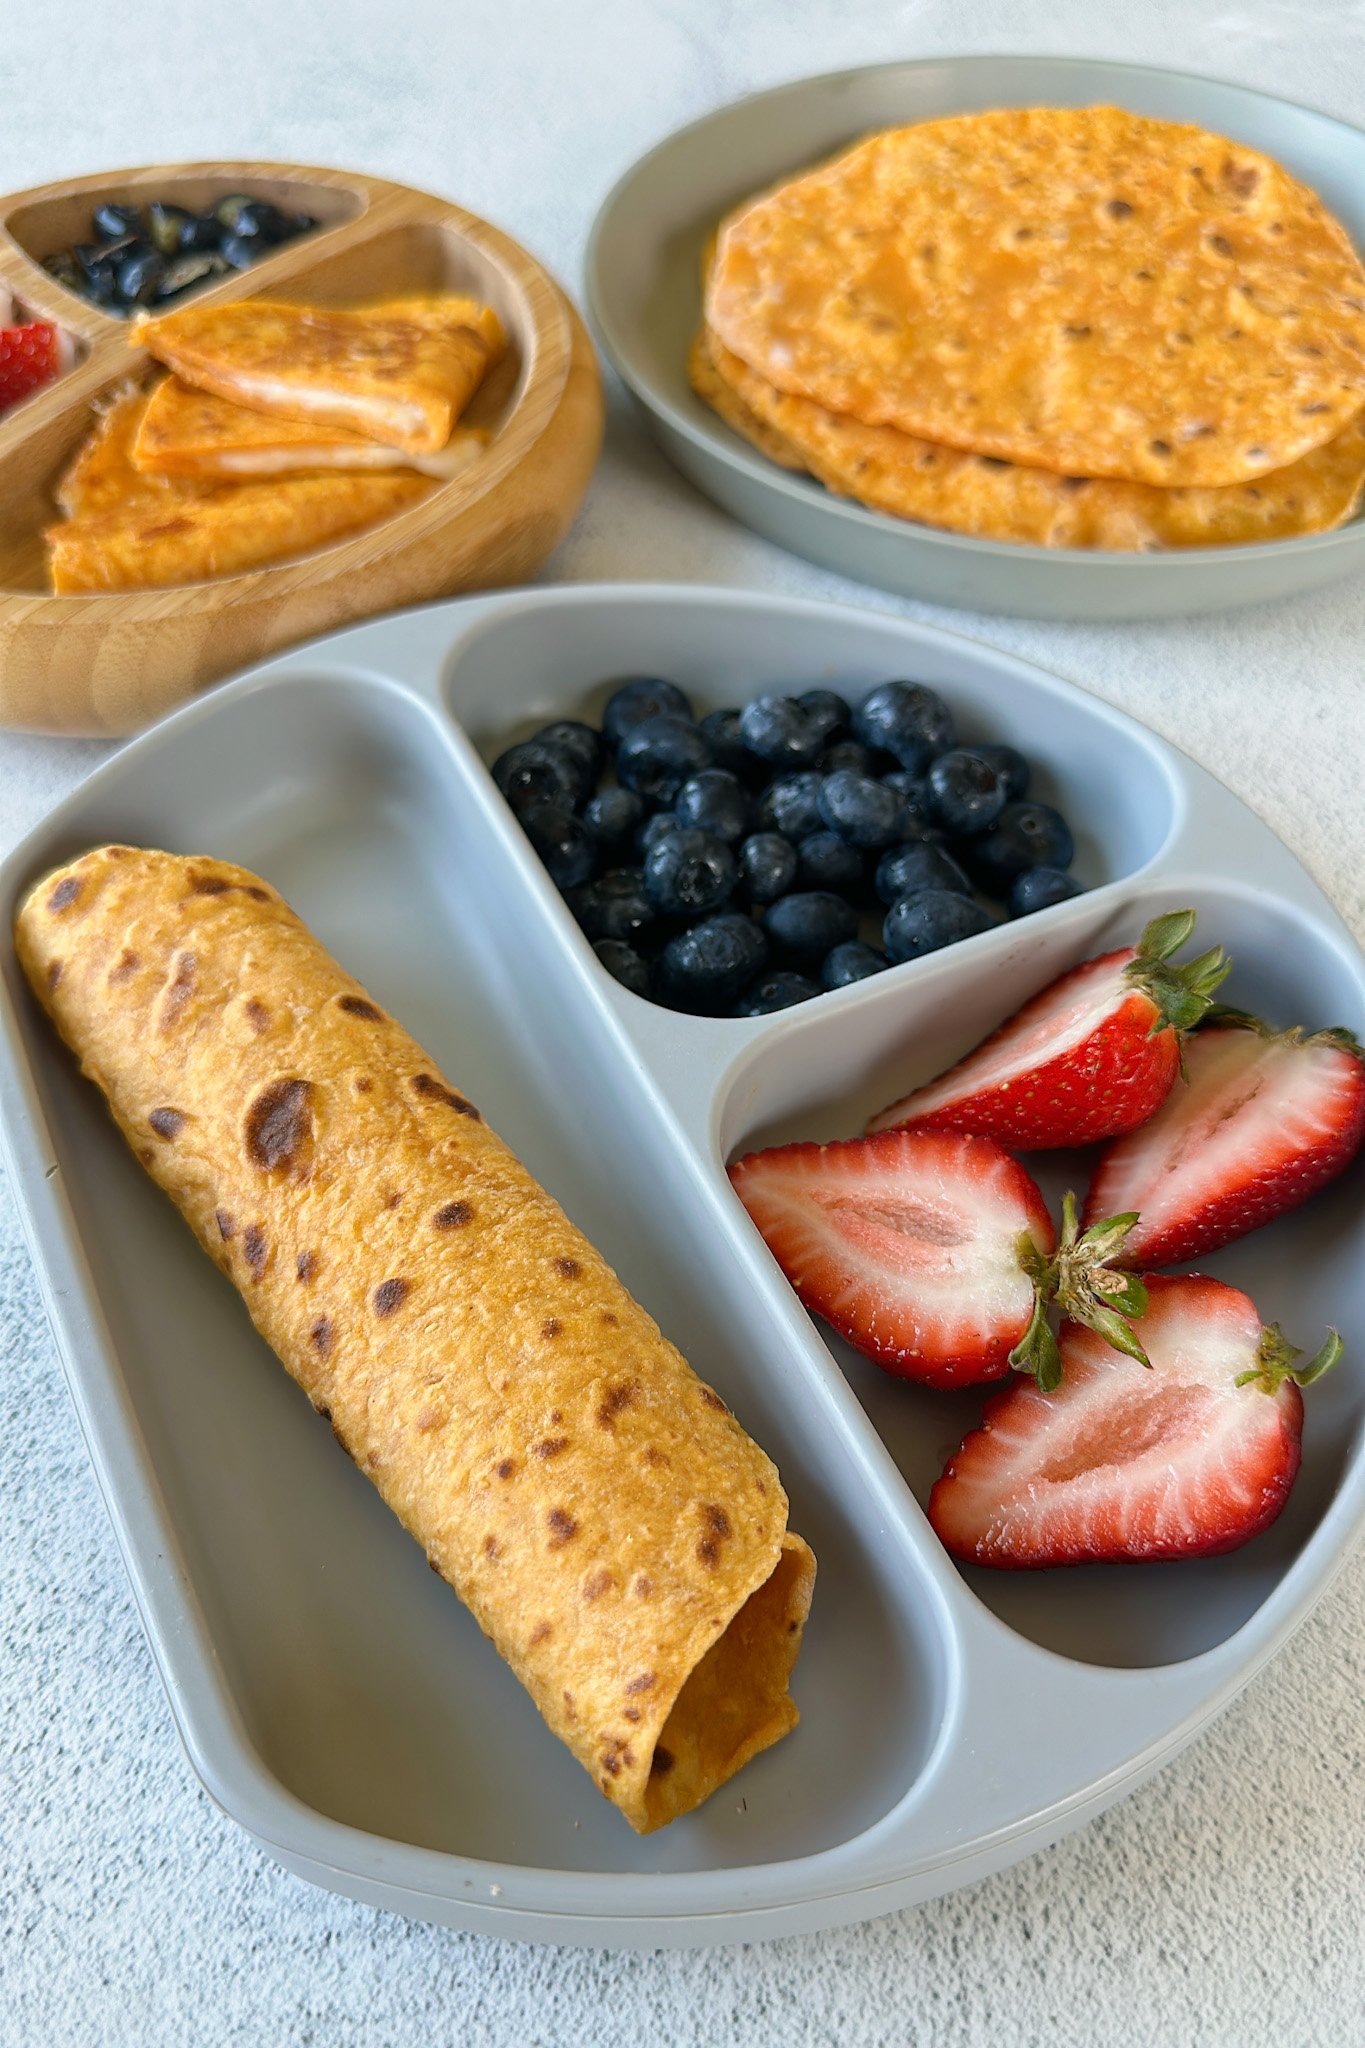
These tortillas are great to use for cheese quesadillas for a fun way to get in some veggies! They also make great crust for tortilla pizza or can be paired with sweet fillings like peanut butter and bananas or sliced strawberries!
Other Sweet Potato Recipes You’ll Love
Healthy Sweet Potato Waffles
Sweet Potato Fritters
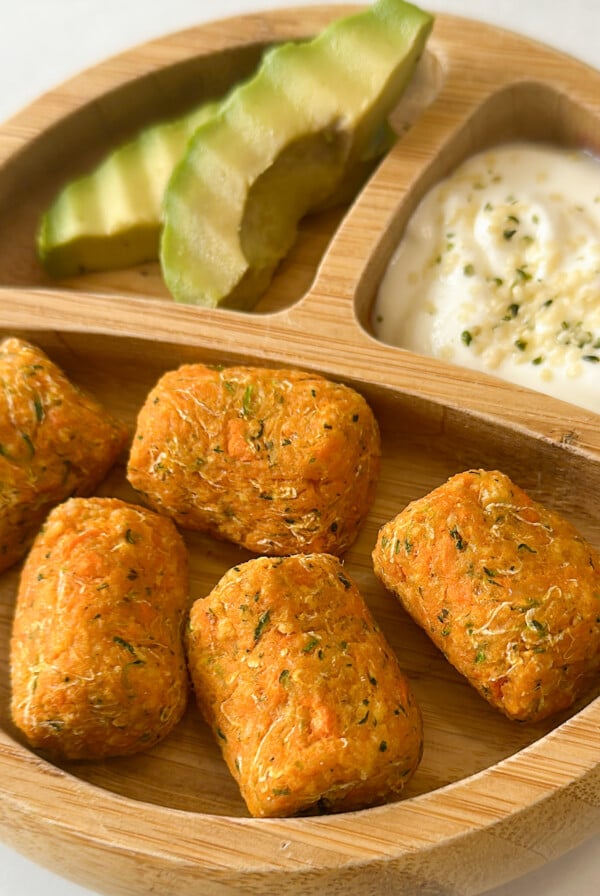
Sweet Potato Zucchini Tots
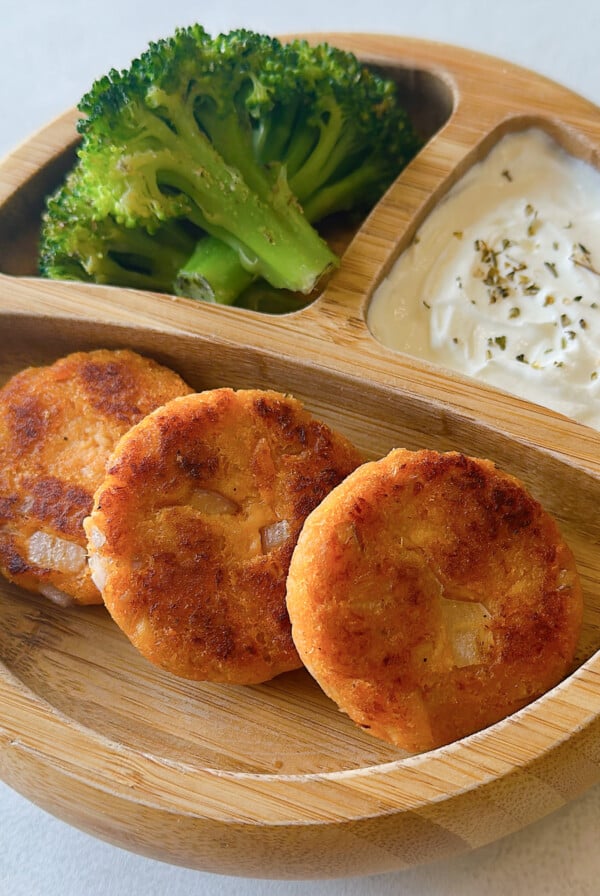
Salmon Sweet Potato Patties
If you tried these Sweet Potato Tortillas please leave a ⭐ star rating and let me know how it went in the comments below! I love hearing from you!

Sweet Potato Tortillas
Ingredients
- 1 medium sweet potato, (measure out ½ cup once cooked)
- ¾ cup all purpose flour
- ¼ tsp salt
Instructions
- Poke several holes in the sweet potato and microwave it for 6 to 7 minutes or until soft and tender
- Scoop the sweet potato out into a bowl and mash it with a fork until smooth. Add the flour and salt to the bowl with the sweet potato
- Use a fork to mix together the mashed sweet potato, flour, and salt until it becomes dry and crumbly in texture. Once the dough becomes crumbly, use your hands to knead and work it into a dough. If your dough seems sticky, add a little more flour, 1 tablespoon at a time until it forms into a dough ball.
- Place the dough ball onto a floured surface and slice it into 6 pieces for mini tortillas or 4 pieces for larger tortillas.
- Form each piece into a small dough ball and use a floured rolling pin to roll it out into a thin circle about 6 inches in diameter. Make sure that both the rolling pin and surface are floured so that the dough rolls out easily and does not stick. You'll want to roll the tortillas out pretty thin as they will slightly rise once cooked.
- Cook the tortillas in a nonstick or lightly oiled pan for about 1 minute per side, or until each side is lightly charred. Repeat for the remaining tortillas.
Notes
- This recipe makes 6 mini tortillas that are about 6 to 7 inches in diameter. For larger-sized tortillas, split the dough into 3 or 4 pieces.
- I tested this recipe with both microwaved and oven-roasted sweet potatoes and found that microwaved potatoes provided the best result. Microwaving the sweet potato resulted in sweet potato flesh that was drier and easier to roll into a dough while oven-roasted resulted in flesh that was more moist and required much more flour.
- You’ll want to roll the dough out as thin as you can get it as it will slightly rise when cooking.
- You may need to add oil to your pan when cooking depending on the type of pan you are using. I used this caraway frying pan which is non-stick and non-toxic for the perfect light char!





thank you for this recipe! my fussy 4 year old loves them with banana!
do I freeze the dough to have later or do I need to cook them then freeze?
I’m so glad to hear that your little one enjoyed them! I’d suggest cooking the tortillas beforehand then freezing, especially if using banana since it tends to brown naturally when stored😊
Absolutely LOVE them!! Thank you for this recipe:)
yummy I love sweet potato
These are amazing! So easy to make and tastier than your average tortilla. I’m obsessed. I prefer to steam the sweet potatoes instead of microwaving. That does mean there is more moisture and requires more flour, but they are even gummier with the steamed sweet potatoes. I recently tried them with purple potatoes and that was just way too much fun. Thank you for the awesome recipe!
Once again I am back to leave a review — which i never do. lol These are incredible—i haven’t been disappointed by one of your recipes yet! You’re amazing! Also my 1 year old was also a big fan!
Hi Katie! I’m so glad to hear that you loved these tortillas! Thank you again for taking the time to share your feedback!😊
Best gf clean tortillas ever!!
I’m so glad you liked them, Hannah!😊
I’m so happy to see this comment because my daughter was recently diagnosed with gluten sensitivity and I cannot find a clean gluten free tortilla without additives in our area.
Loved these! Simple but delicious, thanks for sharing! Made quesadillas with cheese and refried beans with them and my girls gobbled them up, I enjoyed one too!
I’m so glad to hear that you enjoyed them, Esther!😊
Can I use whole wheat flour?
HI Val! You can try using whole wheat flour but the tortillas may come out a little dense and will have a slightly different texture than with all purpose flour.
Can you make these ahead & freeze? How long do they stay refrigerated?
Hi Kelsey! These sweet potato tortillas can be stored in an airtight container at room temperature for up to 2 days or in the fridge for up to 5 days. They can also be frozen in a freezer-safe container or bag for up to 3 months but if freezing, I recommend placing a sheet of parchment paper in between them so that they don’t stick.